12/27/25 Weekly Favorite at Splitcoast Stampers!
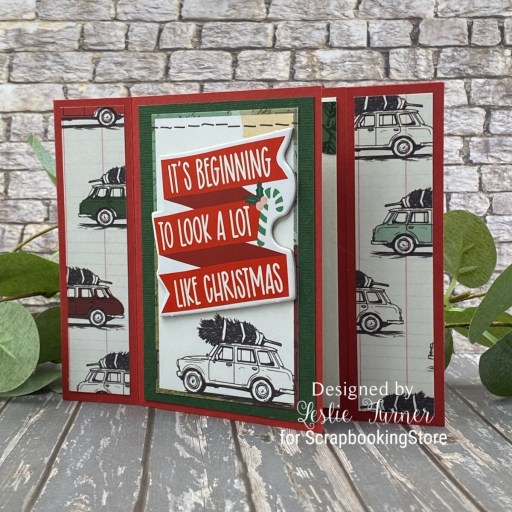
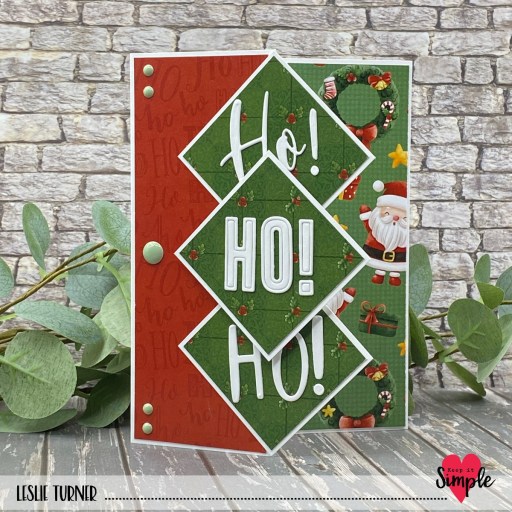
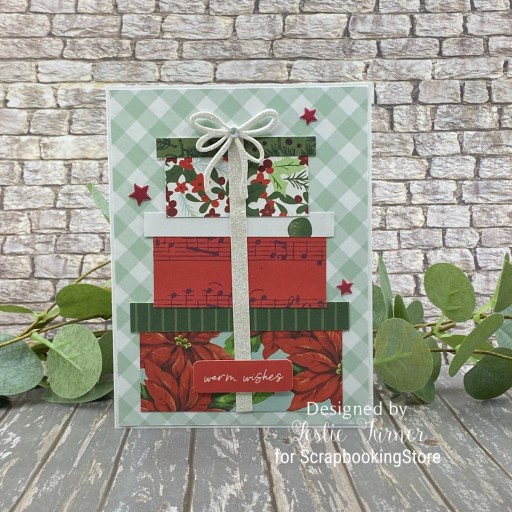
Hey everybody! Happy Tuesday – I hope your week has started off on a nice note! I have a pretty ScrapbookingStore DT inspiration project to share with you today created with items in the December 2025 Scrapbook Kit with Upgrades. This card features three stacked gifts created from assorted prints in the Simple Stories All Wrapped Up Collection Kit. I also used elements from the Rosie’s Studio Oh Joyful Day Puffy Stickers and Carta Bella Christmas Flora Ephemera, both from the upgrades.
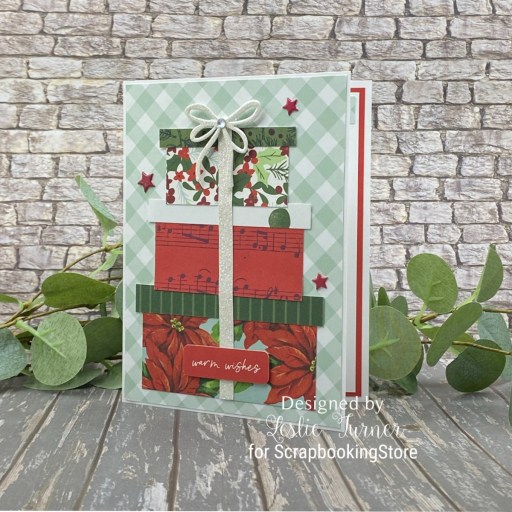
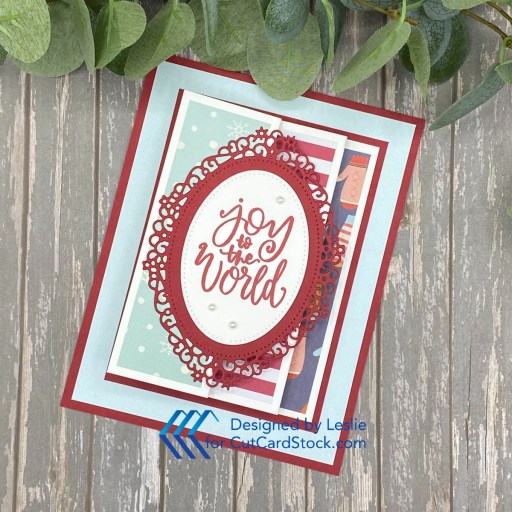
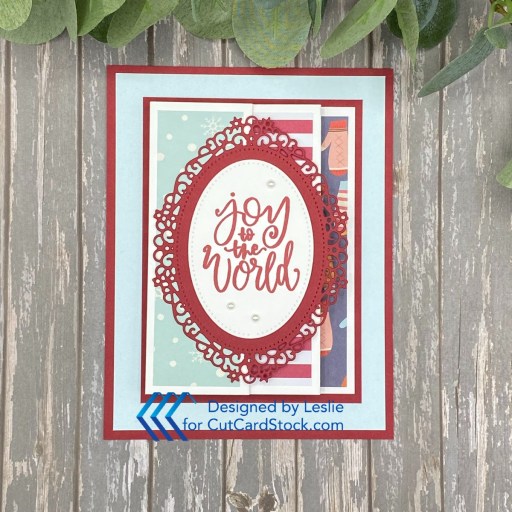
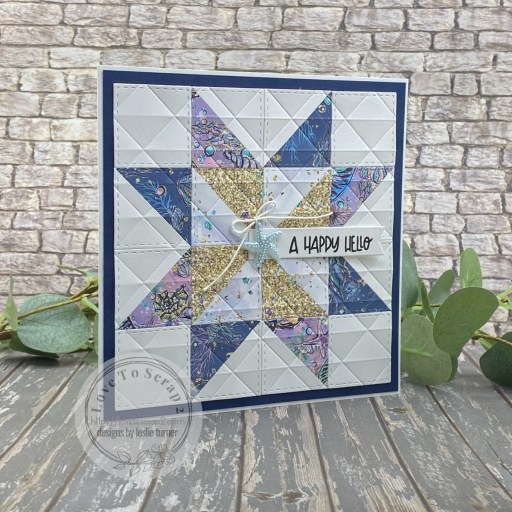
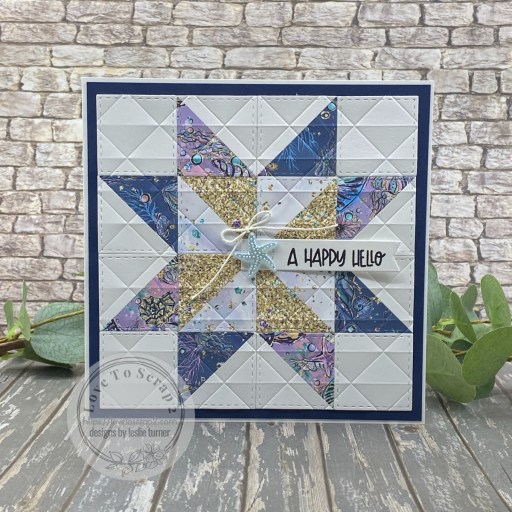
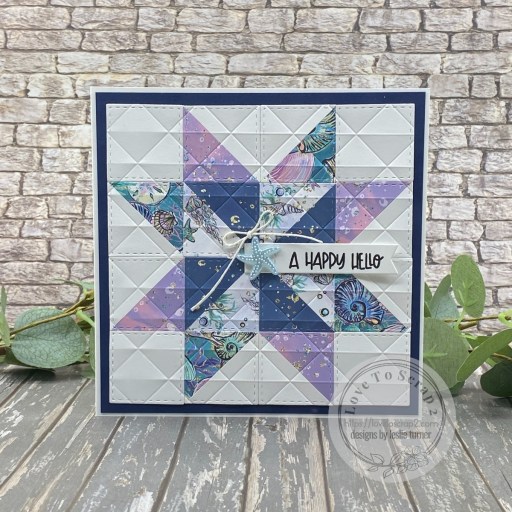
I grabbed a pre-scored 110# Solar White card base from CutCardStock and adhered a panel of green gingham paper from the Simple Stories All Wrapped Up Collection Kit. I then fashioned three gift boxes from more prints in the collection and tied them together with a strip of CutCardStock Silk Glitter Opulent Opal cardstock. I added a die cut bow at the top which I cut from the same glitter cardstock using a Scrapbook.com Bow Toppers Shape Die. The finishing touch on the front was adding several stars from the Rosie’s Studio Oh Joyful Day Puffy Stickers along with a sentiment from the Carta Bella Christmas Flora Ephemera.
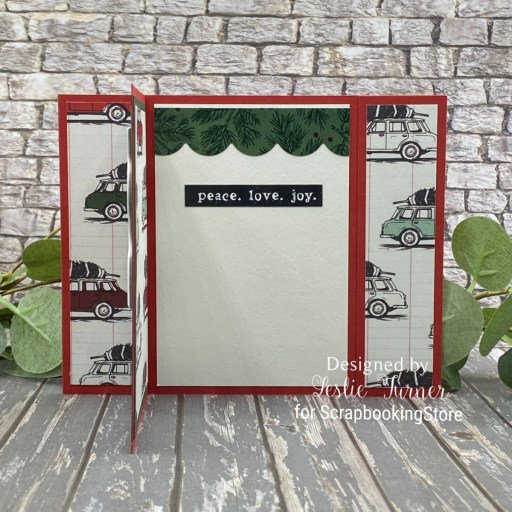
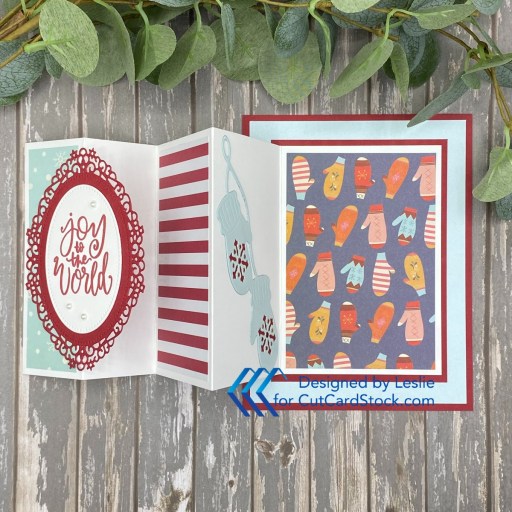
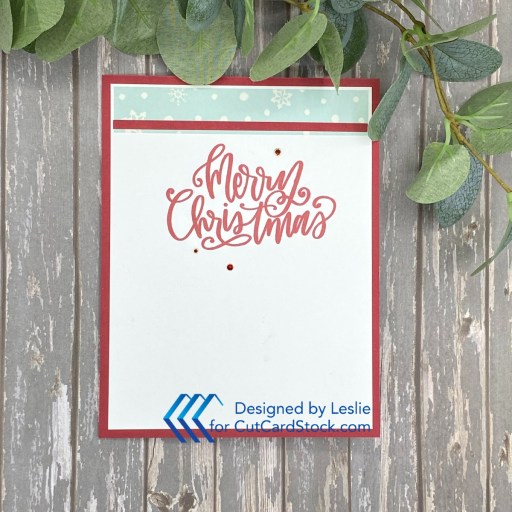
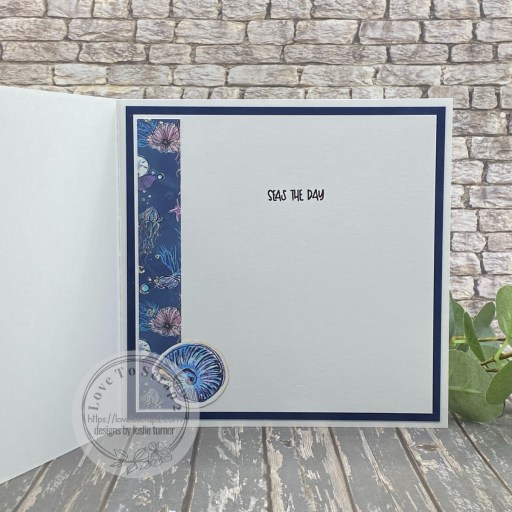
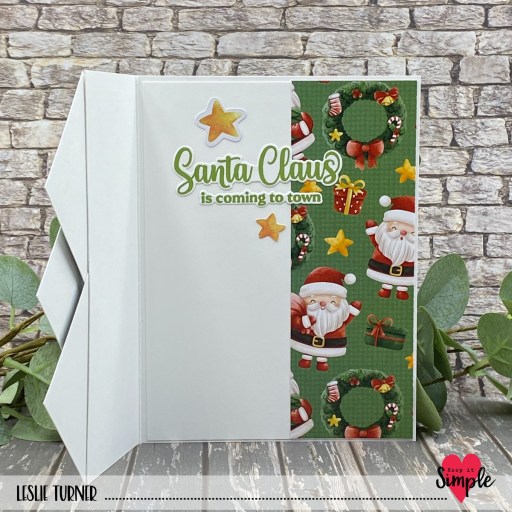
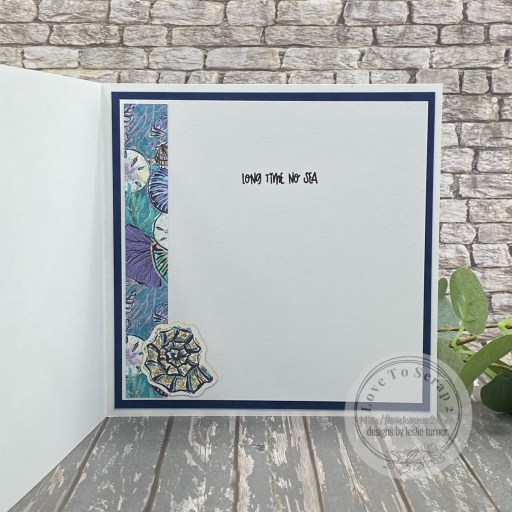
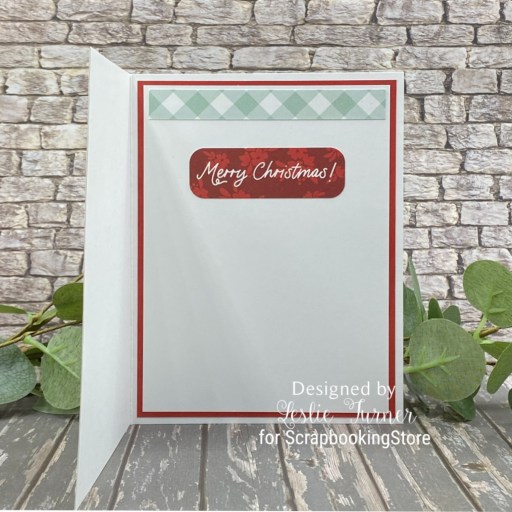
I cut the inside panel from 80# Solar White and embellished it with a leftover strip of the gingham paper used on the front and an additional sentiment from the Carta Bella Christmas Flora Ephemera. I layered the panel on CutCardStock Basis Red cardstock, which completed this easy card!
Affiliate links are used in this post at no cost to you – I really appreciate your support!
ScrapbookingStore products:
December 2025 Scrapbook Kit with Upgrades
Simple Stories All Wrapped Up Collection Kit
Upgrades: Carta Bella Christmas Flora Ephemera
Rosie’s Studio Oh Joyful Day Puffy Stickers
Echo Park Happy Holidays Chipboard Phrases
Other products used:
CARDSTOCK/PAPER: Neenah Classic Crest 110# Solar White Pre-Folded Card Base, CutCardStock 12×12 Silk Glitter Opulent Opal and Basis Red cardstock, Neenah Classic Crest 80# Solar White cardstock
DIES/PUNCHES: Scrapbook.com Bow Toppers Shape Dies
ACCESSORIES: Fiskars 12″ ProCision Rotary Bypass Paper Trimmer, Spellbinders 12×12 Scoring Board, My Sweet Petunia Precision Glue Press, Bearly Art Precision Craft Glue, TapeRunner Retractable tape runner, Scrapbook Adhesives 3D Foam Micro Squares and Thin 3D Foam Squares, iridescent clear gemstones
I hope you’ve enjoyed today’s project and you’re thinking about all the fun you could have with this month’s kit… you really ought to think about joining the Subscription Club! Be sure to Follow us on Facebook, Instagram, Pinterest and YouTube for lots of crafty inspiration! And if you do decide to join the Subscription Club, join our ScrapbookingStore Club Member Group on Facebook for more inspiration and to share your projects! Thanks so much for stopping by today – we’ll see you next time!
Scrappy hugs,