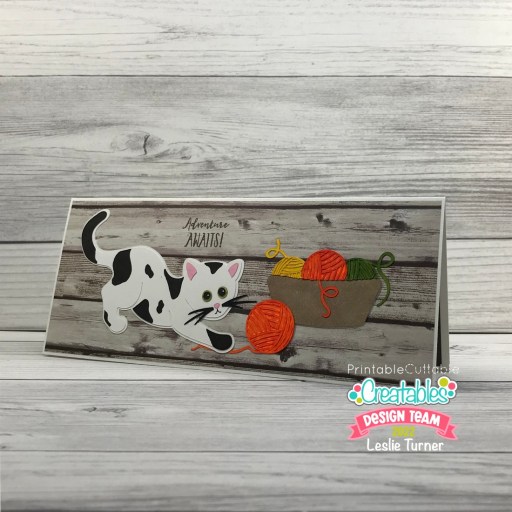
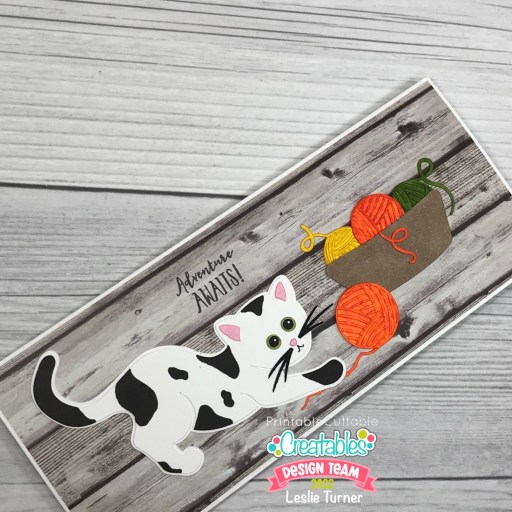
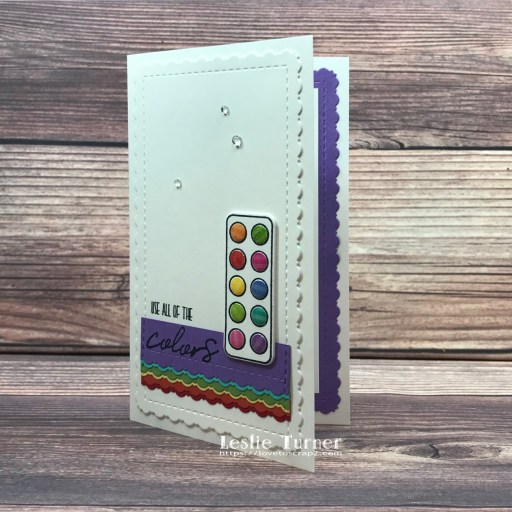
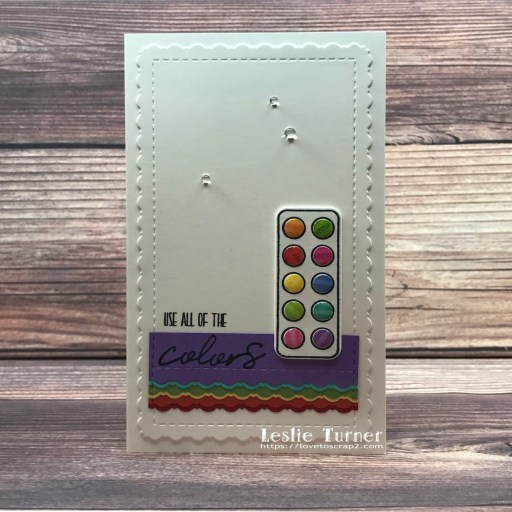
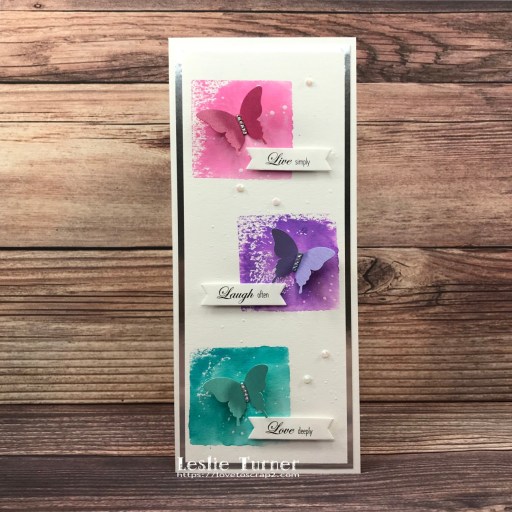
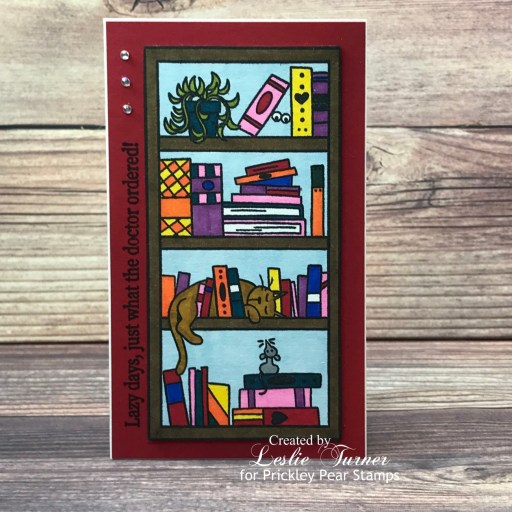
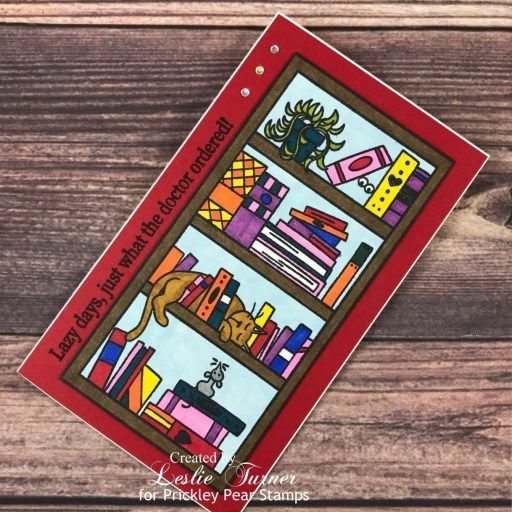
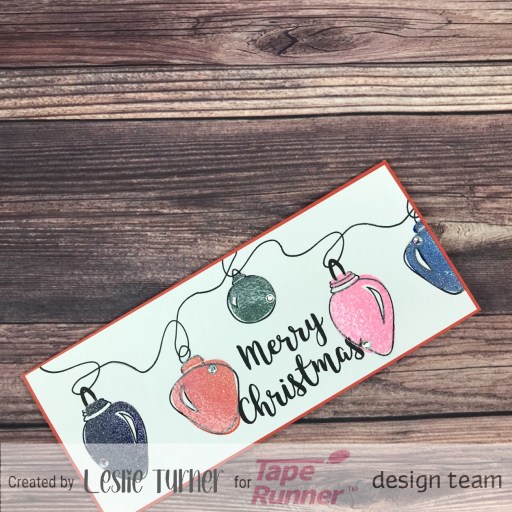
Howdy peeps! We’ve busted into August and my sister’s birthday is in five days, so that means Christmas will literally be here in no time. This happens every year, lol! I have an awesome Tape Runner DT inspiration project to share with you today. I created a slimline card featuring a string of sparkling bulbs, and of course, all panels were adhered with Tape Runner. This is the first time I’ve used the STAMPlorations Layered Lights stamp set and I have to say I thoroughly enjoyed it! I love the whimsical fill-ins on all the layered sets!
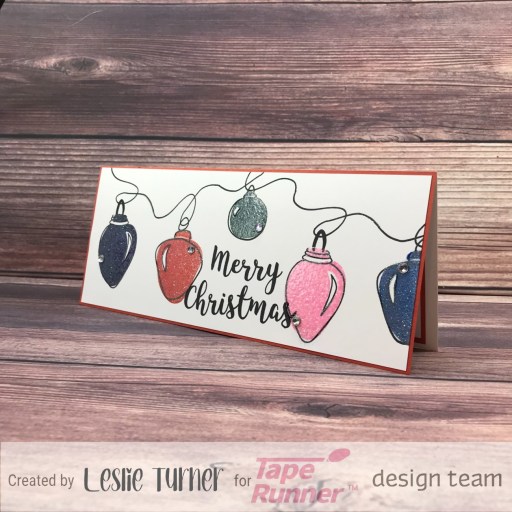
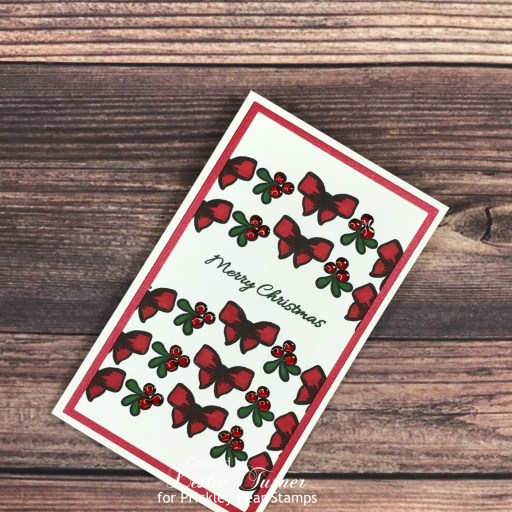
As mentioned above, all panels were adhered with Tape Runner. I cut a 3-3/4″ x 9″ slimline card base from 110# Solar White cardstock along with layering panels from CutCardStock Pop Tone Tangy Orange cardstock and 80# Solar White cardstock. Using an acrylic stamp block, I stamped the lights and cord in Catherine Pooler Midnight ink on the white layering panel. Next, I stamped the bulb fill-ins with Ranger rustic wilderness, prize ribbon, crackling campfire, villainous potion and kitsch flamingo distress inks. I stamped over each one a second time with Versamark Dazzle and applied Ranger Bridal Tinsel Embossing Powder along with Hero Arts Clear Embossing Powder to seal the tinsel. I stamped the Merry Christmas sentiment in black ink with the MISTI, adhered the panel to the orange panel and then to the card base, and added one small Darice iridescent gemstone to each bulb which completed the card front.

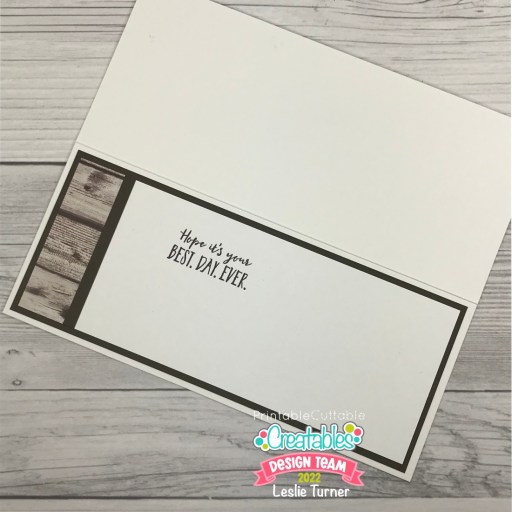
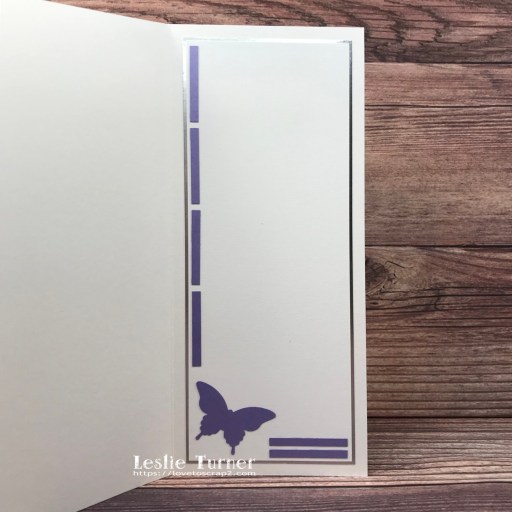
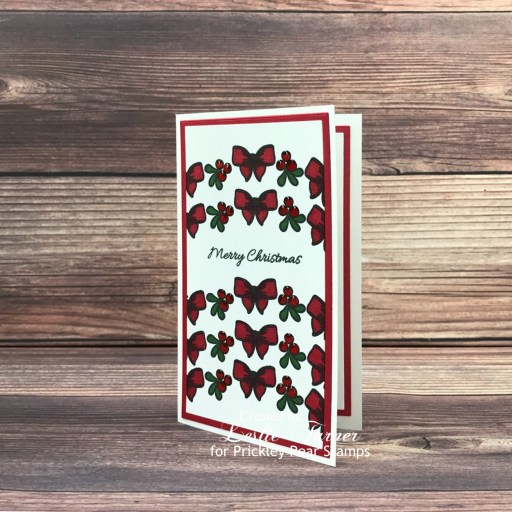
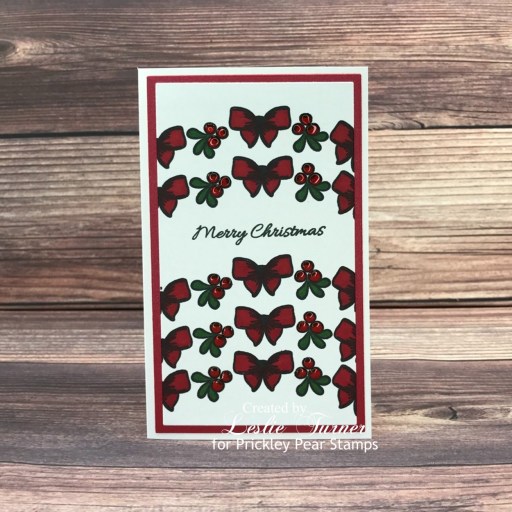
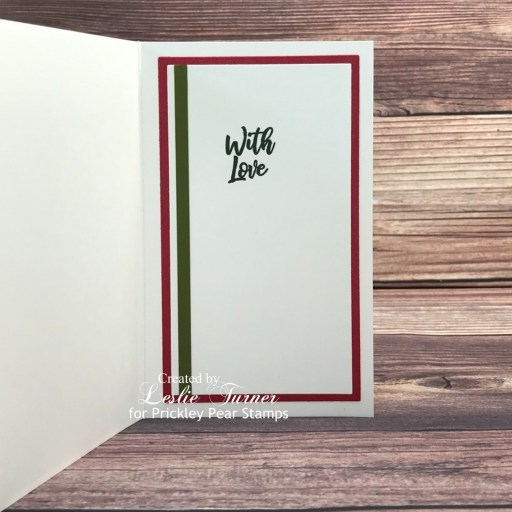
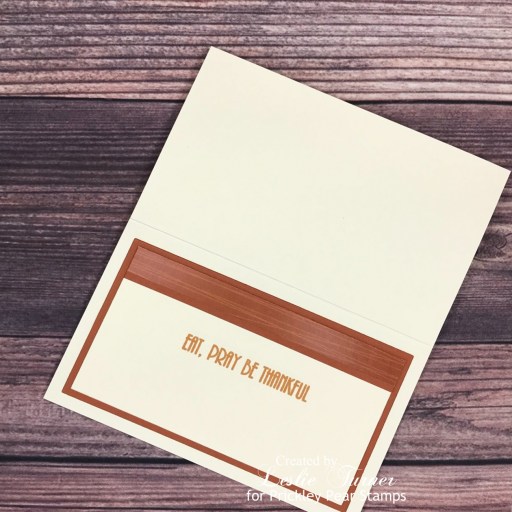
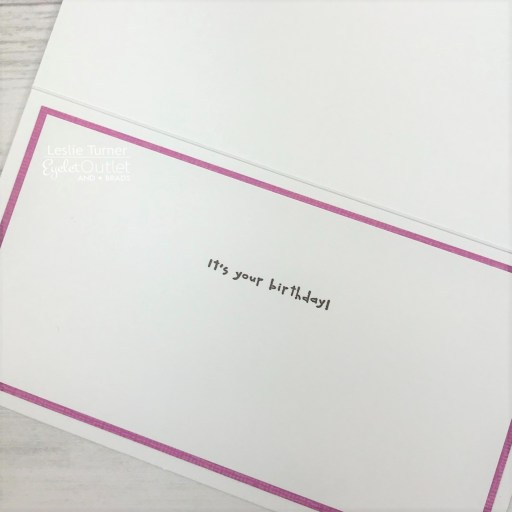
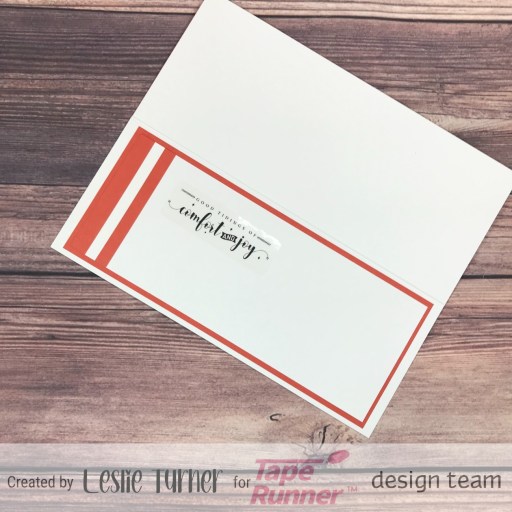
I cut the inside panel from 80# Solar White cardstock and embellished it with strips of CutCardStock Pop Tone Tangy Orange cardstock. I added a STAMPlorations Comfort & Joy Clear Sticker and layered the panel on orange cardstock.
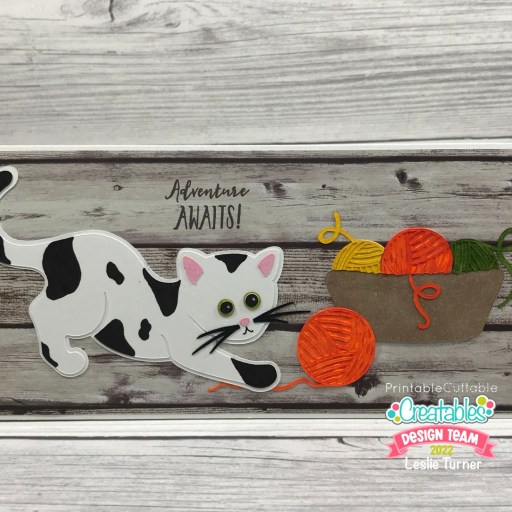
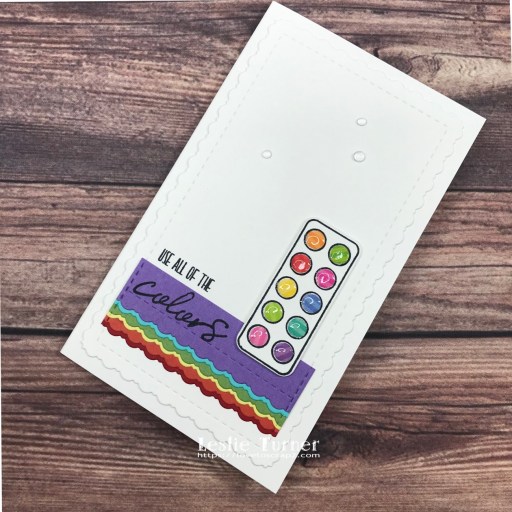
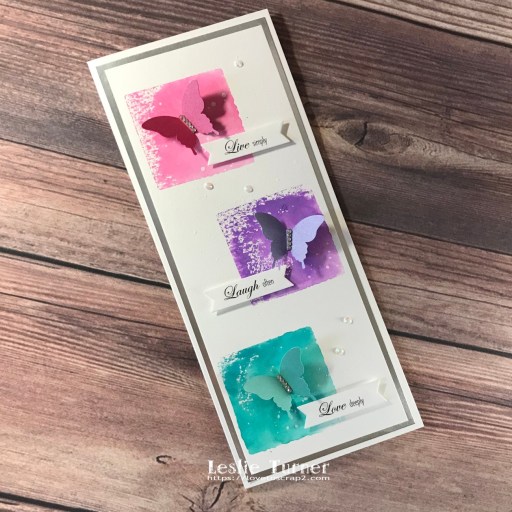
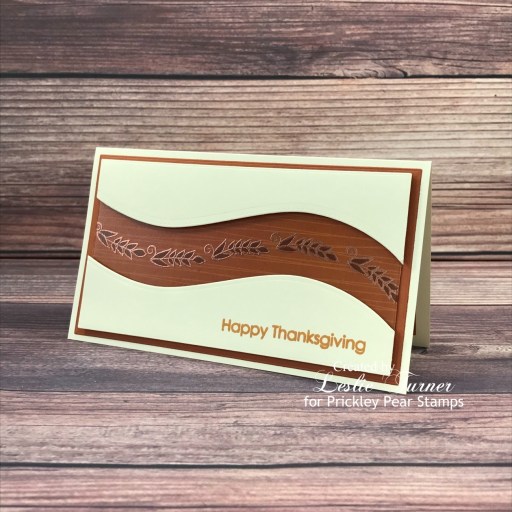
And one more peek… such a FUN card! I love this stamp set and will be using it again and again, I’m sure. And, as I always say, it’s awesome having a great adhesive to hold everything together!
Sharing in the following challenges:
1. A Perfect Time To Craft Open Challenge: August #8 2022 – Anything Goes
2. ABC Christmas Challenge: N for New, O for Old (new stamp set)
3. Classic Design Challenge: August #8 – Anything Goes
4. Ellibelle’s Crafty Wednesday Challenge – August Anything Goes
5. Jan’s Digi Stamps Challenge: August Anything Goes
6. Penny’s Paper-Crafty Challenge Blog: #527 – Anything Goes
7. Wednesday’s Creative Inspirations Challenge Blog: August Challenge – Anything Goes
8. Your Scrapbook Place: August Anything Goes
Tape Runner products used:
Tape Runner
Affiliate links are used in this post at no cost to you – I really appreciate your support!
Other products used:
Cardstock/Paper: Neenah Classic Crest 110# and 80# Solar White cardstock, CutCardStock Pop Tone Tangy Orange cardstock
Stamps: STAMPlorations Layered Lights stamp set
Ink: Catherine Pooler Midnight ink; Ranger distress inks- rustic wilderness, prize ribbon, crackling campfire, villainous potion and kitsch flamingo; Versamark Dazzle, Arteza BK00 alcohol marker
Accessories: Tonic Studios 12″ Guillotine Paper Trimmer, acrylic stamp block, Ranger Bridal Tinsel Embossing Powder, Hero Arts Clear Embossing Powder, STAMPlorations Comfort & Joy Clear Stickers, MISTI stamping tool, Big Shot, Darice iridescent gemstones
I hope you’ve enjoyed today’s project and you’re inspired to get your craft on! Be sure to check out the ah-mazing Tape Runner, Retractable Tape Runner and Highlight Tape Runner at TapeRunner.com! Be sure to Follow us on Facebook and Instagram! Thanks so much for stopping by today – we’ll see you next time!
Scrappy hugs,