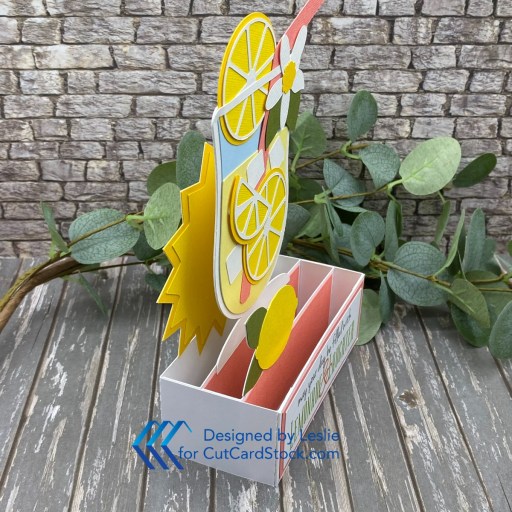
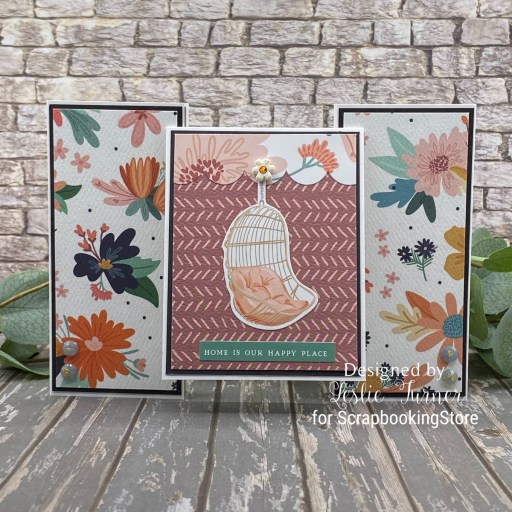
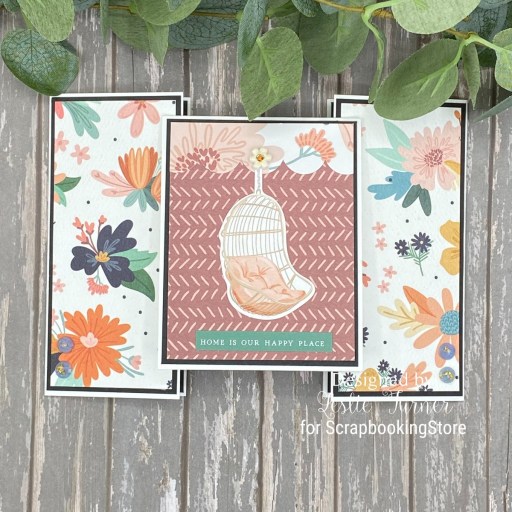
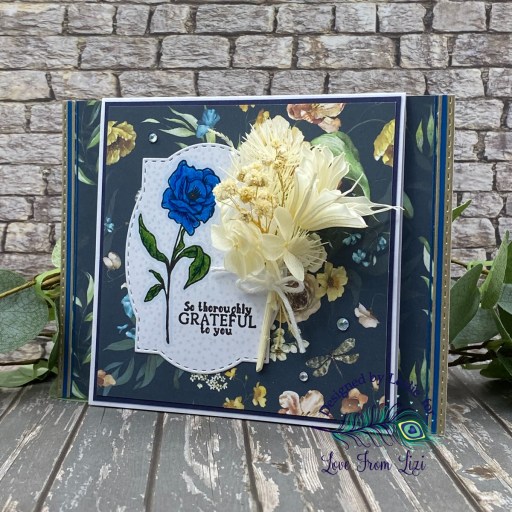
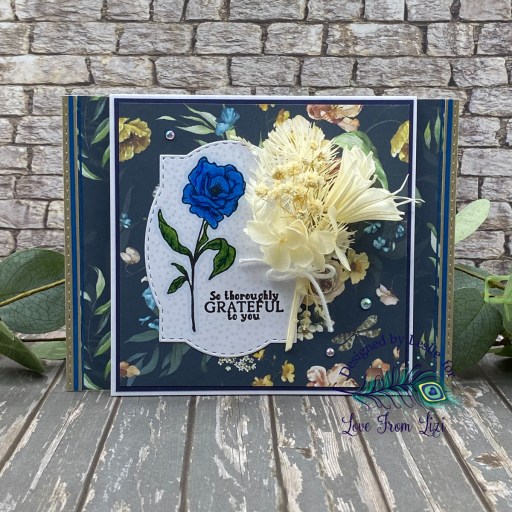
Howdy peeps – I hope you’re having a good weekend! I’m back this morning with a fan fold card – one I’ve been seeing at every turn when I get online. At first I was not a ‘fan’ (pardon the pun) and I’m not sure why because it’s very cool-looking and can be dressed up or down. My late sister gave me this Shabby Chic paper pack years and years ago and I only have a few sheets of it left, so I decided to use it to make this card. I also used some Stardream Metallic Sapphire and Neenah Classic Crest Solar White cardstock (both from CutCardStock) along with some Stampin’ Up stamps and dies. It’s a ‘just because I wanted to make something’ card and not for a design team, and I totally love how it turned out!

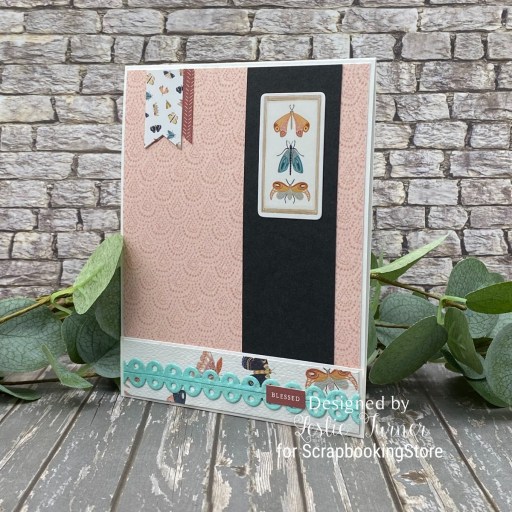
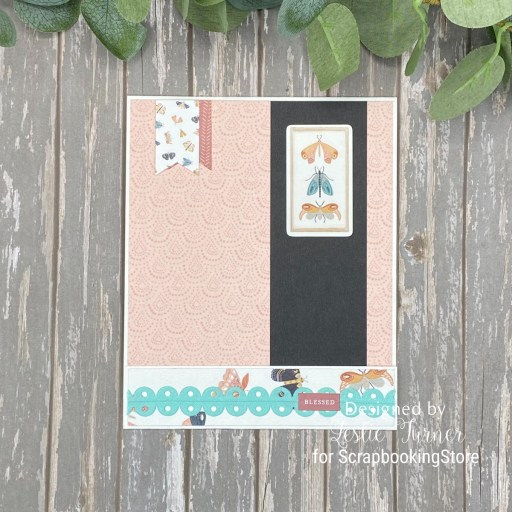
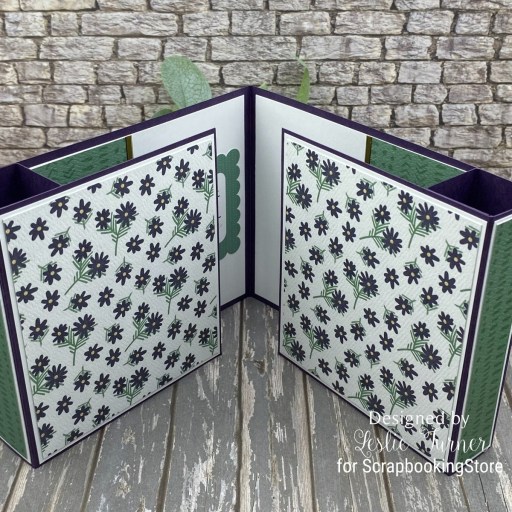
I cut the card base and two triangular elements for the front from CutCardStock Stardream Metallic Sapphire cardstock, along with layering panels from two papers in the Shabby Chic 6×6 paper pack. I will admit that I ended up not following any of the videos I watched (and there are a ton of them out there) because the measurements for the layers just weren’t right. Fortunately, I cut the pieces from copy paper before cutting into the few papers that were left in this pack. Because it was given to me by my deceased sister, I would’ve cried had they been wasted.
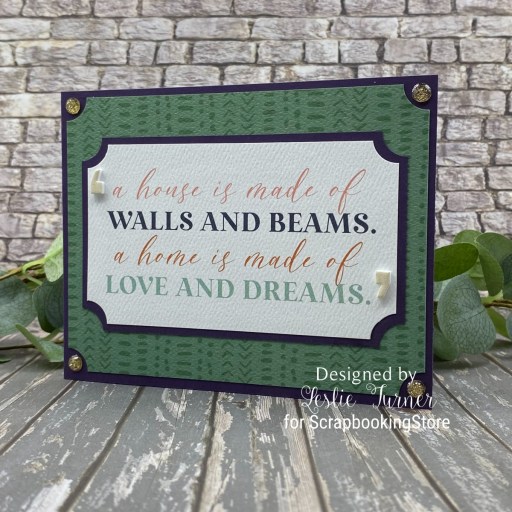
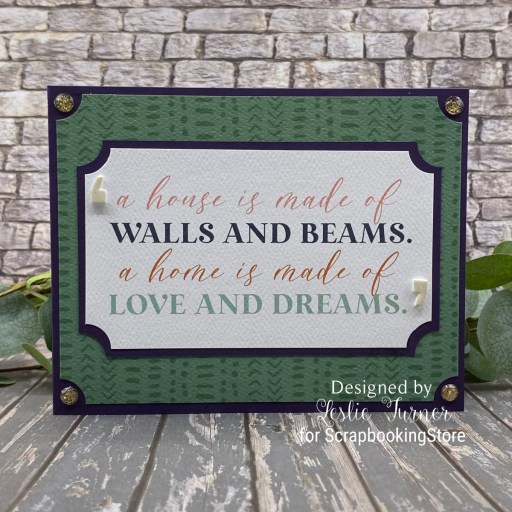
I fussy cut a floral element in the paper pack which I layered on a scrap piece of the Sapphire cardstock and fussy cut again, and popped it up on foam squares. I stamped a sentiment from the Stampin’ Up Charming Sentiments stamp set on Solar White cardstock in Memento Paris Dusk ink and cut it with the coordinating Stampin’ Up Sentiment Silhouettes die.

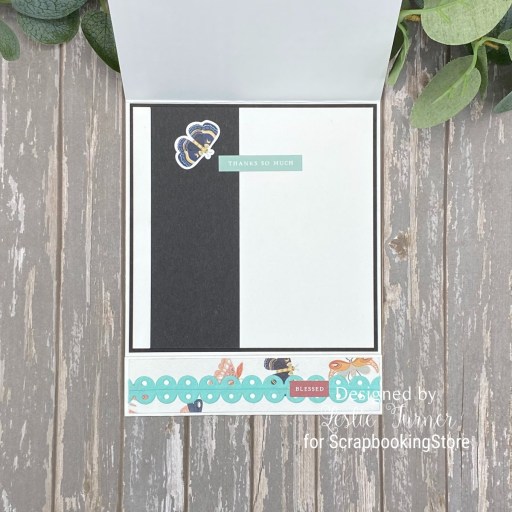
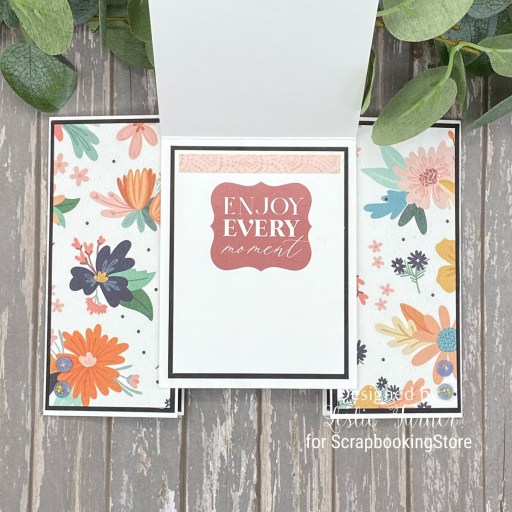
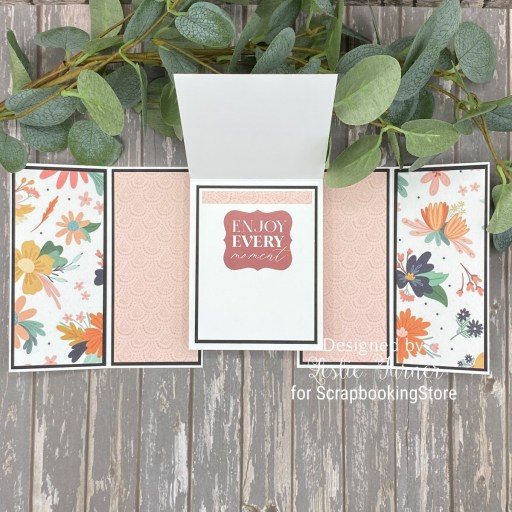
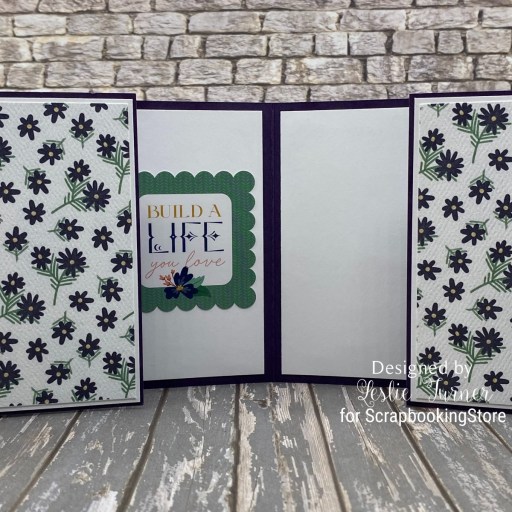
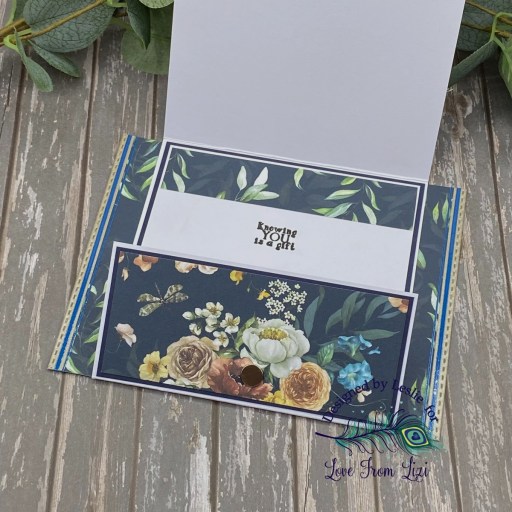
I cut the inside panel from Solar White cardstock and embellished it with a vertical strip cut from one of the papers in the pack. I added another sentiment from the same stamp set stamped in blue ink and cut with the coordinating die.

Affiliate links are used in this post at no cost to you – I really appreciate your support!
Products used:
CARDSTOCK/PAPER: CutCardStock Stardream Metallic Sapphire cardstock, Neenah Classic Crest 80# Solar White cardstock, Shabby Chic 6×6 paper pack
STAMPS: Stampin’ Up Charming Sentiments stamps
INK: Memento Paris Dusk ink
DIES/PUNCHES: Stampin’ Up Sentiment Silhouettes dies
ACCESSORIES: Fiskars 12″ ProCision Rotary Bypass Paper Trimmer, Spellbinders 12×12 Scoring Board, My Sweet Petunia Precision Glue Press, Bearly Art precision craft glue, Mini MISTI, Big Shot; Scrapbook Adhesives E-Z Runner Permanent Strips, Adhesive Sheets, 3D Foam Squares, Thin 3D Foam Squares
I hope you’ve enjoyed seeing this fan fold card and I’ve inspired you to make one – be sure to check out one of the many tutorials on YouTube! Thanks so much for stopping by today – we’ll see you next time! ;)
Scrappy hugs,