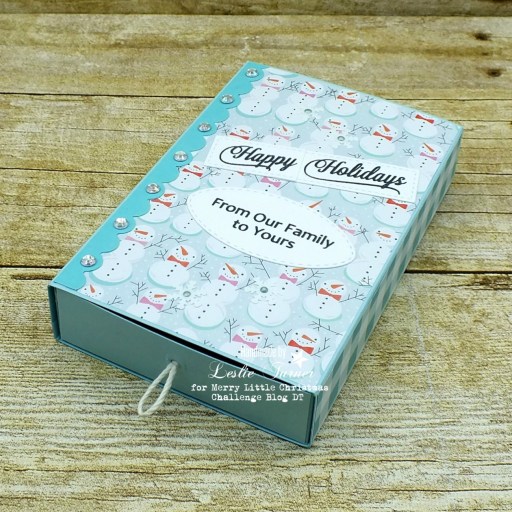
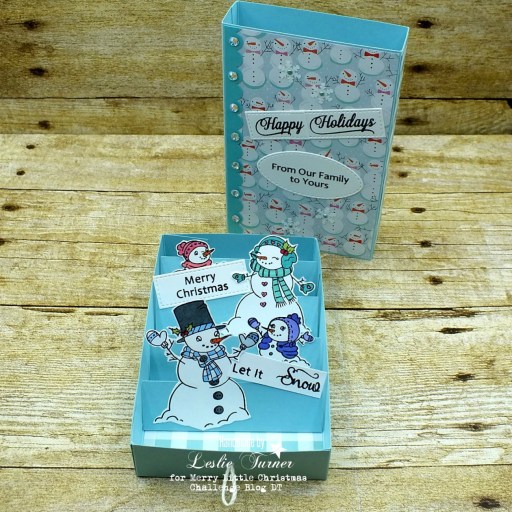
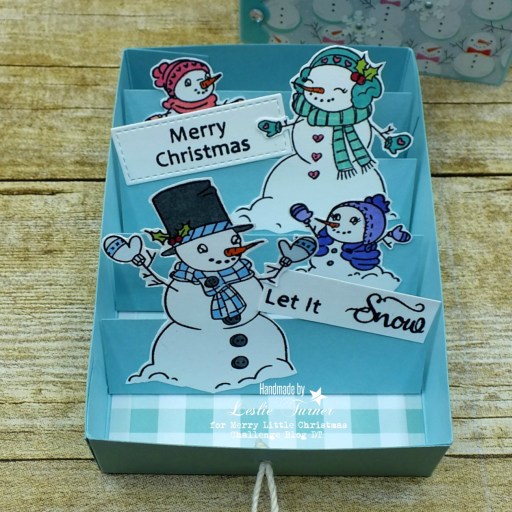
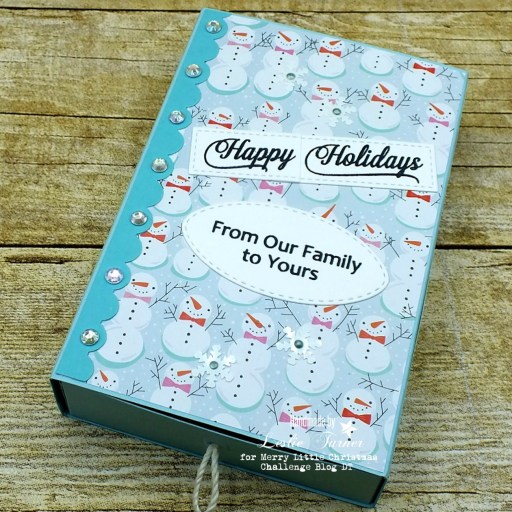
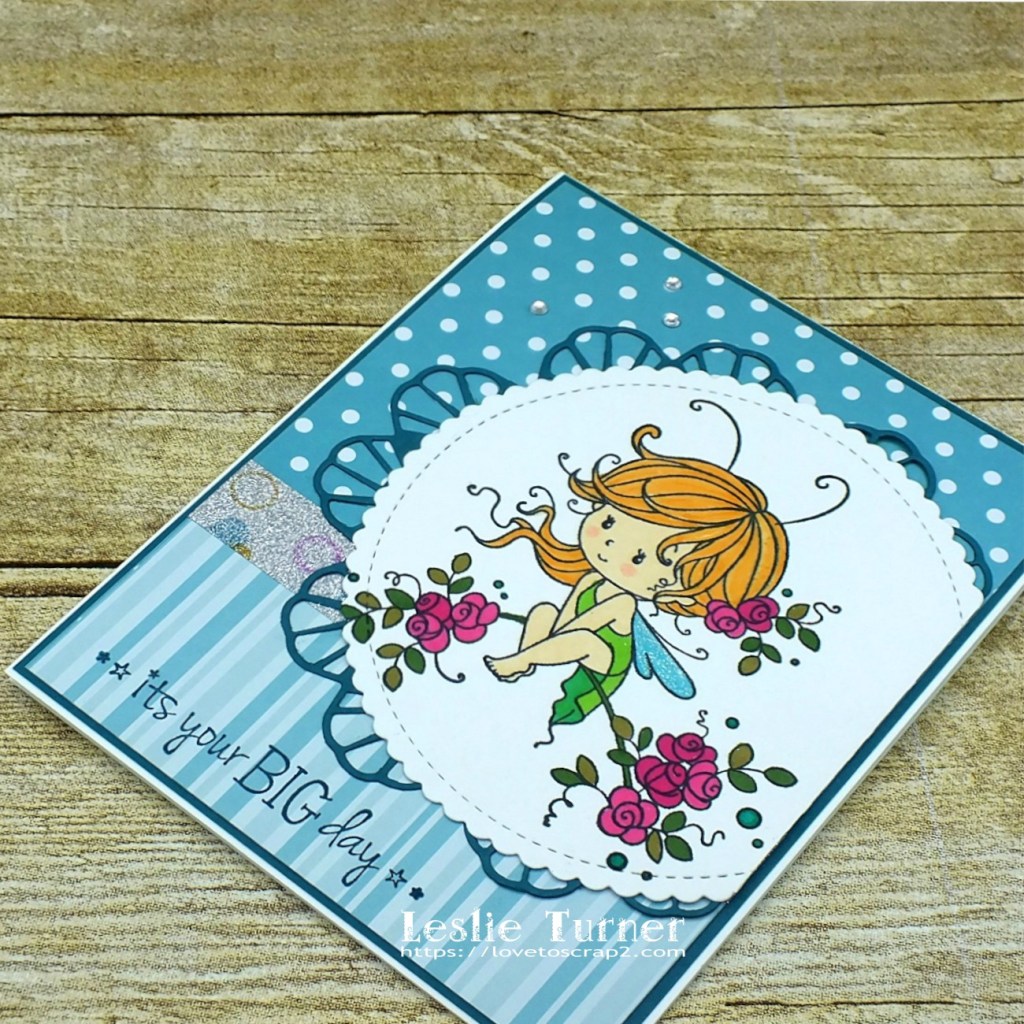
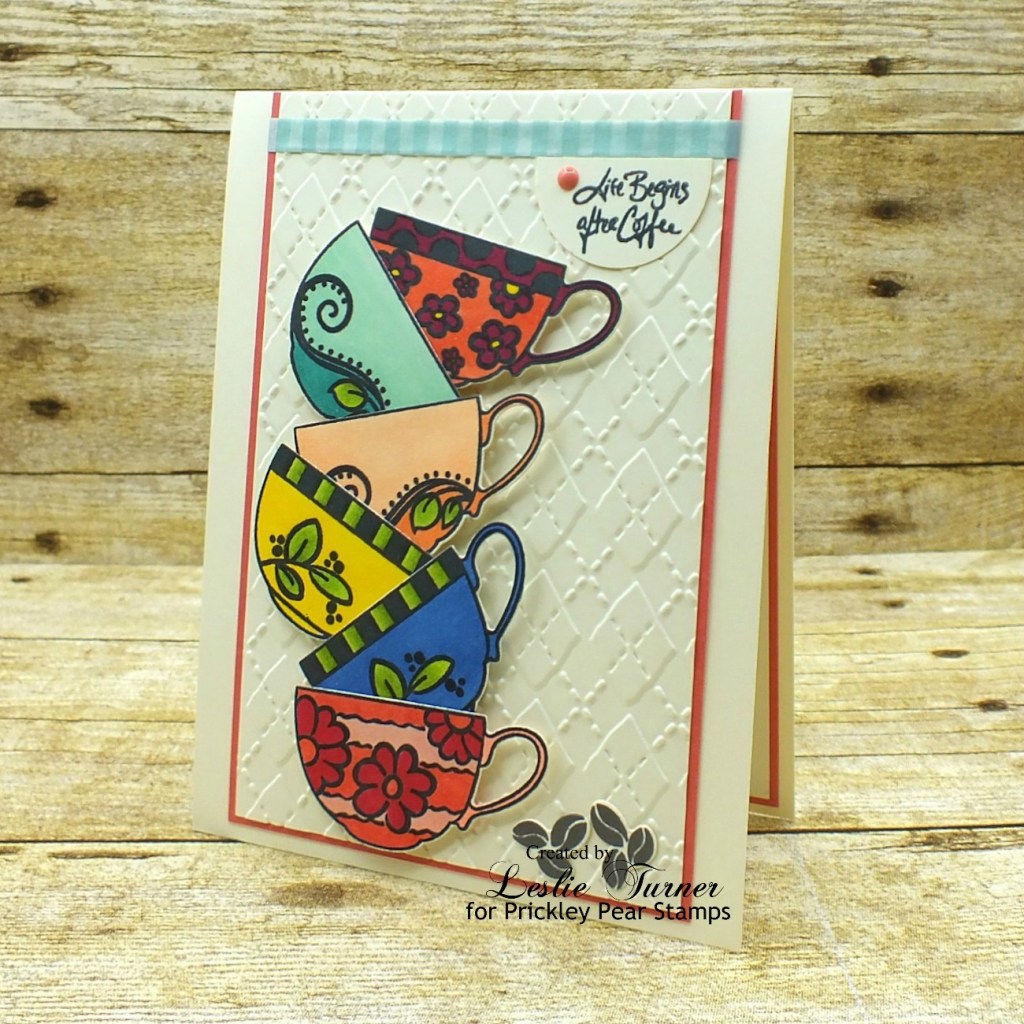
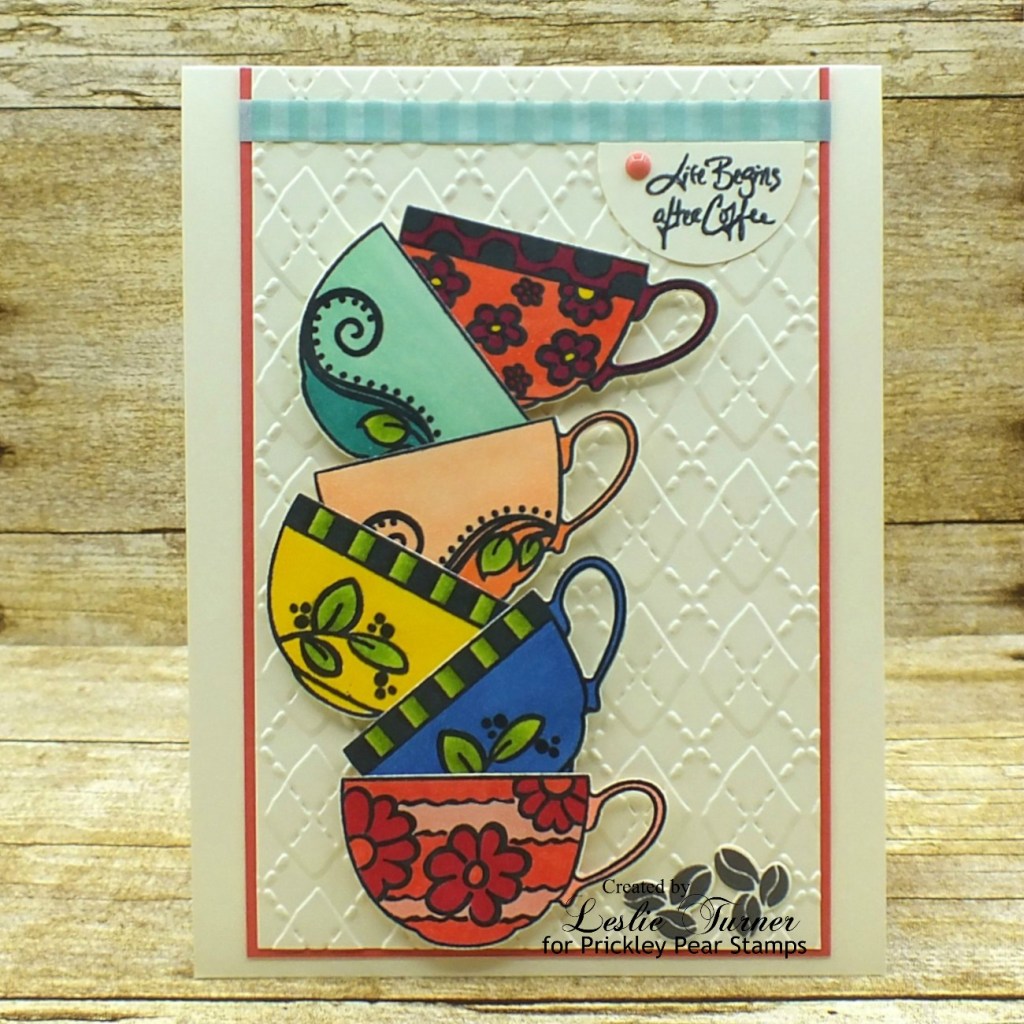
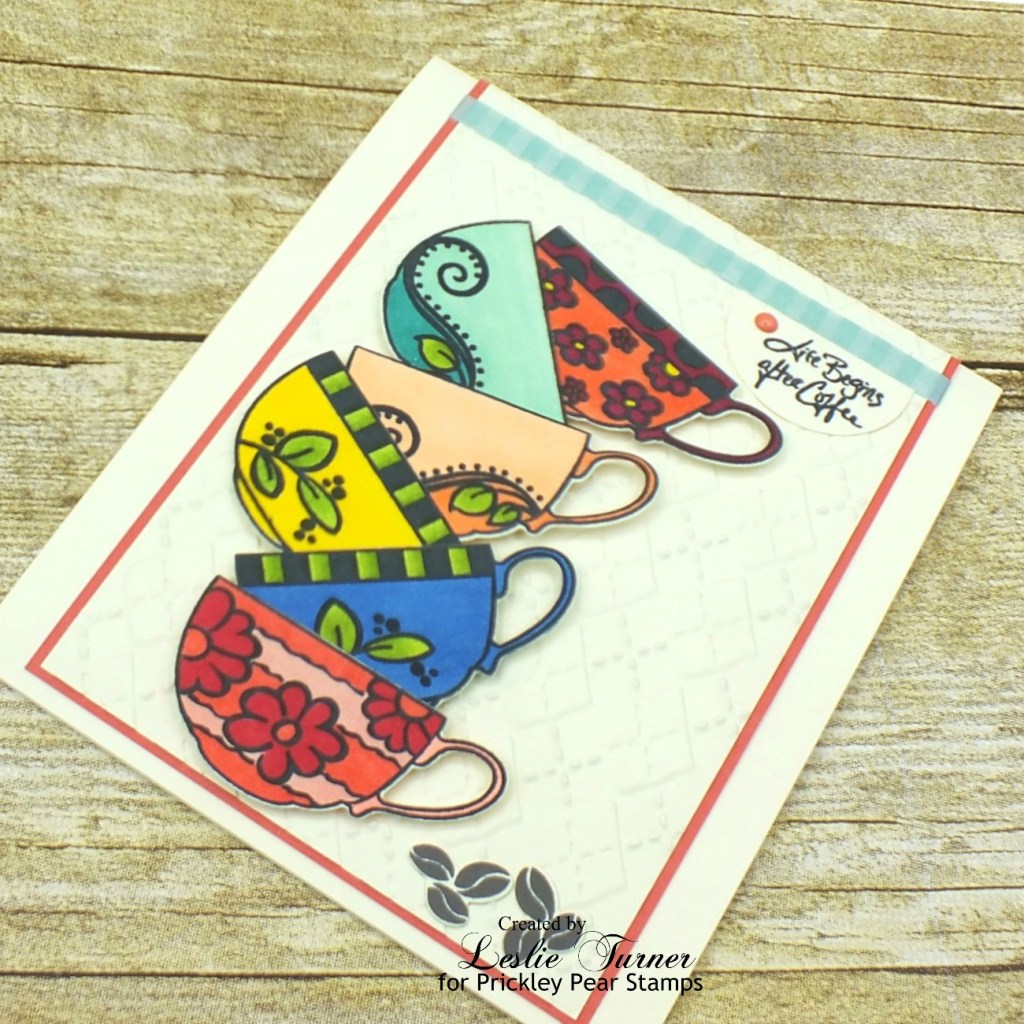
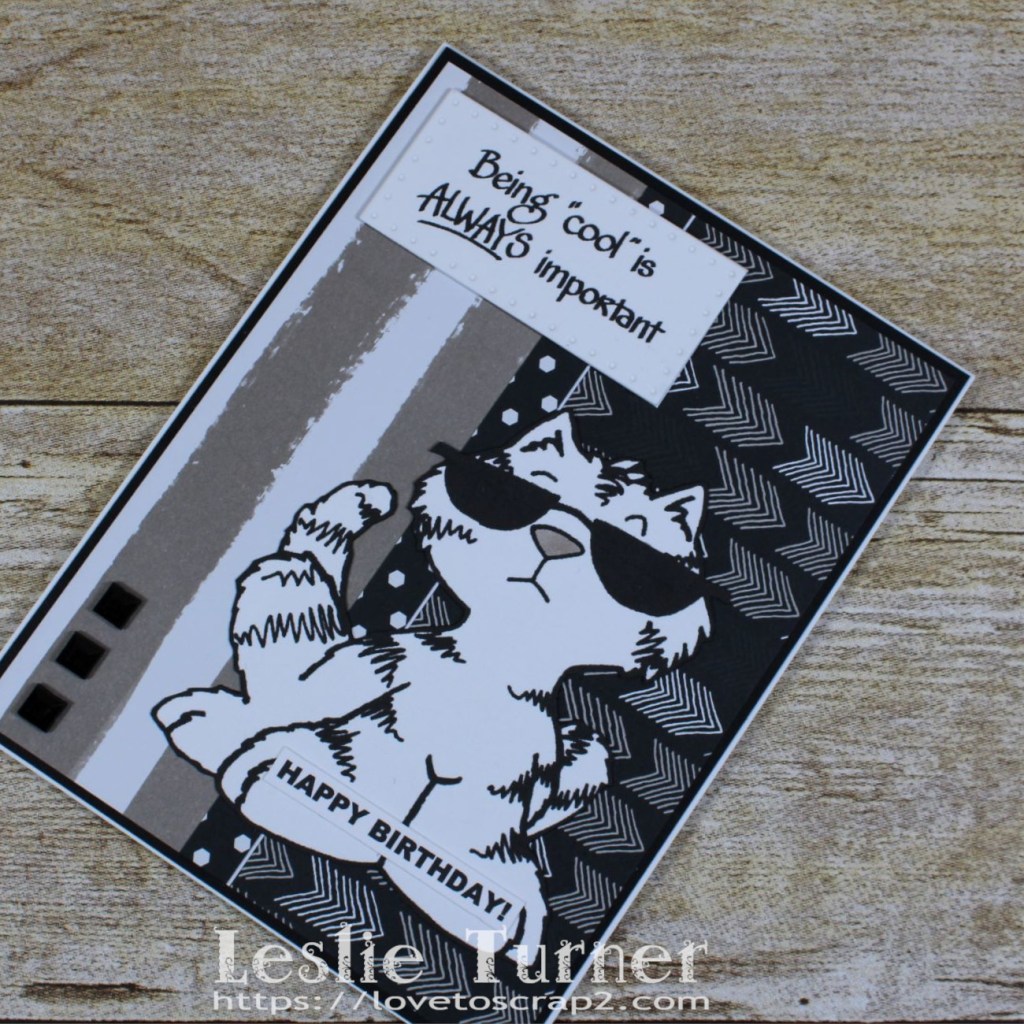
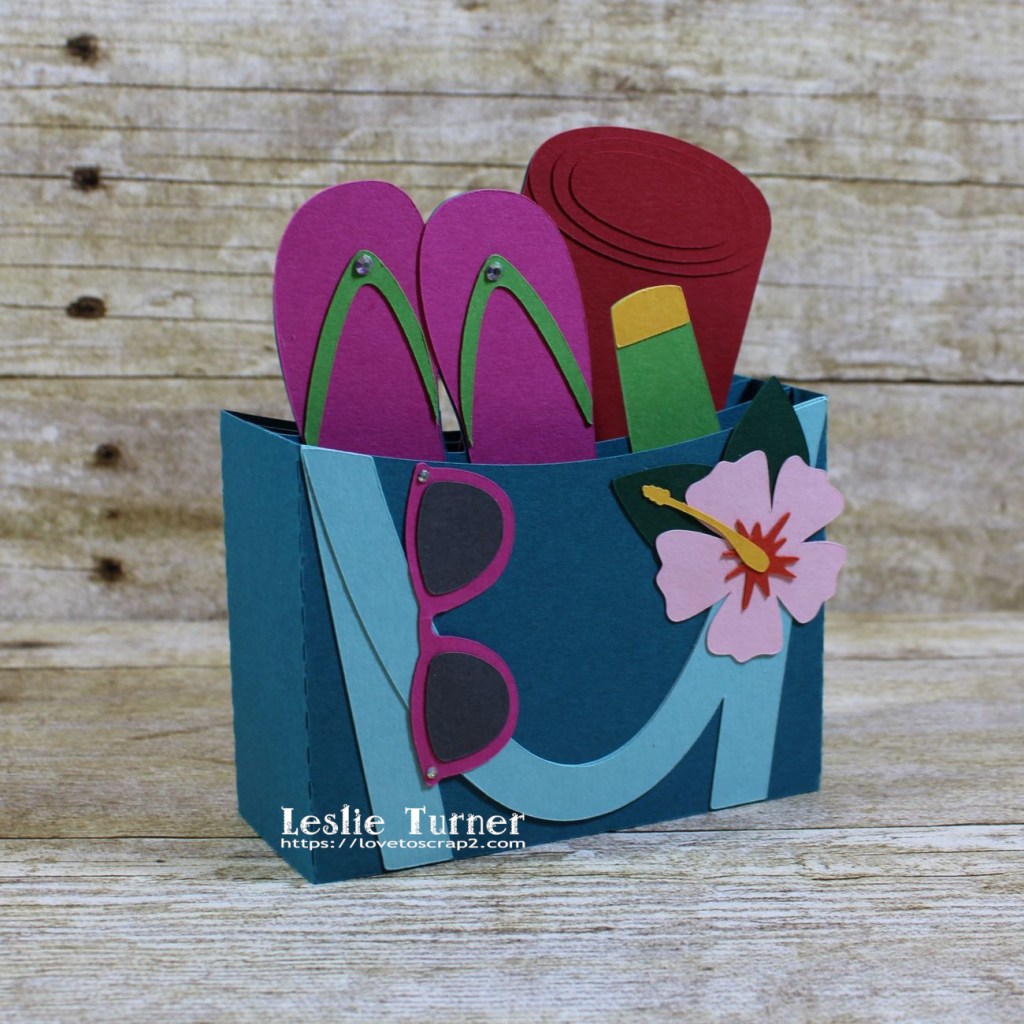
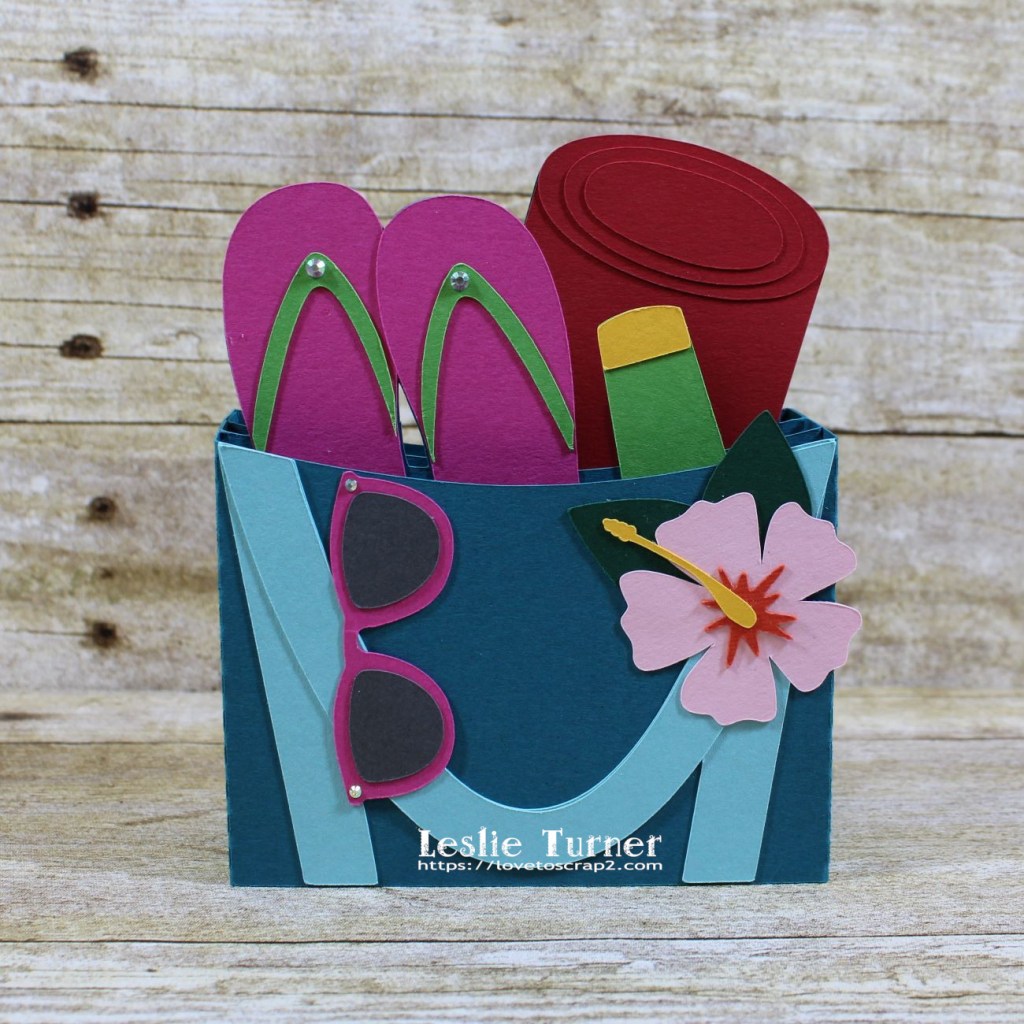
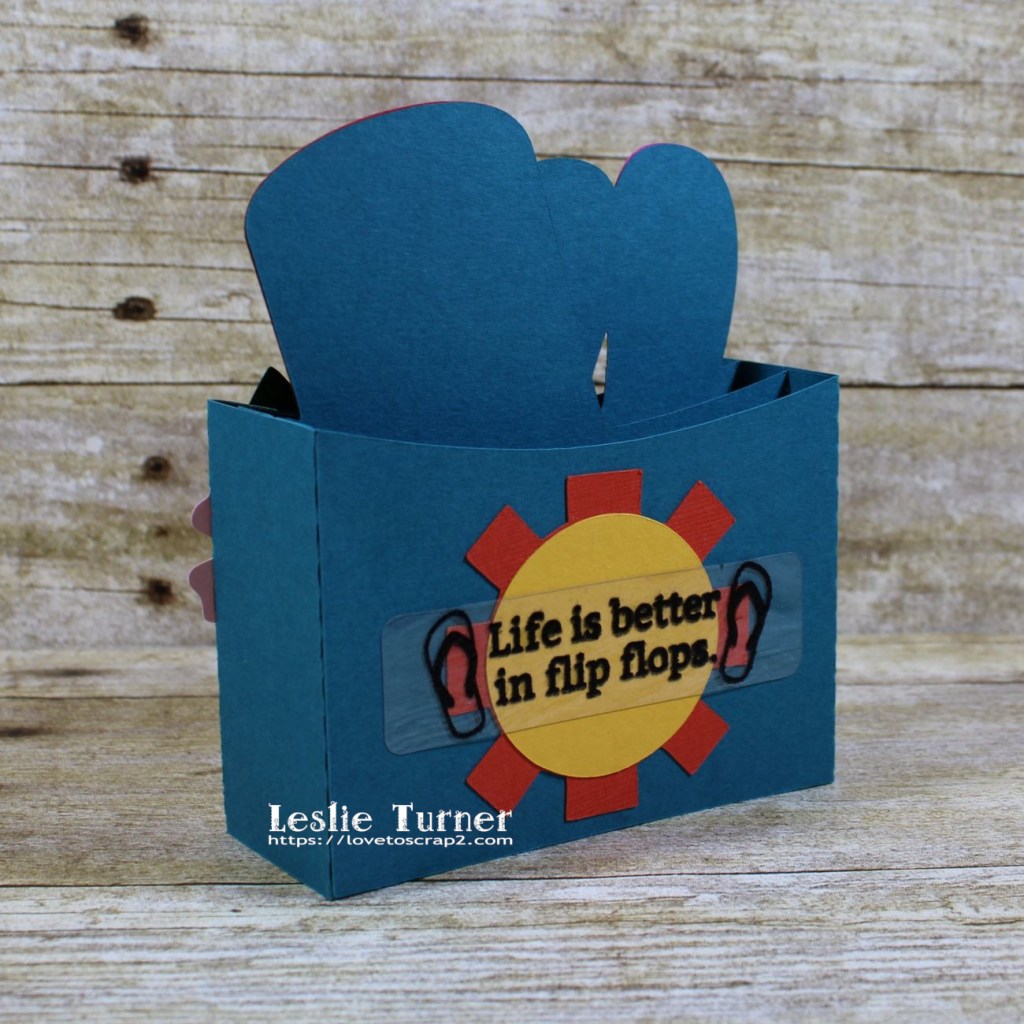
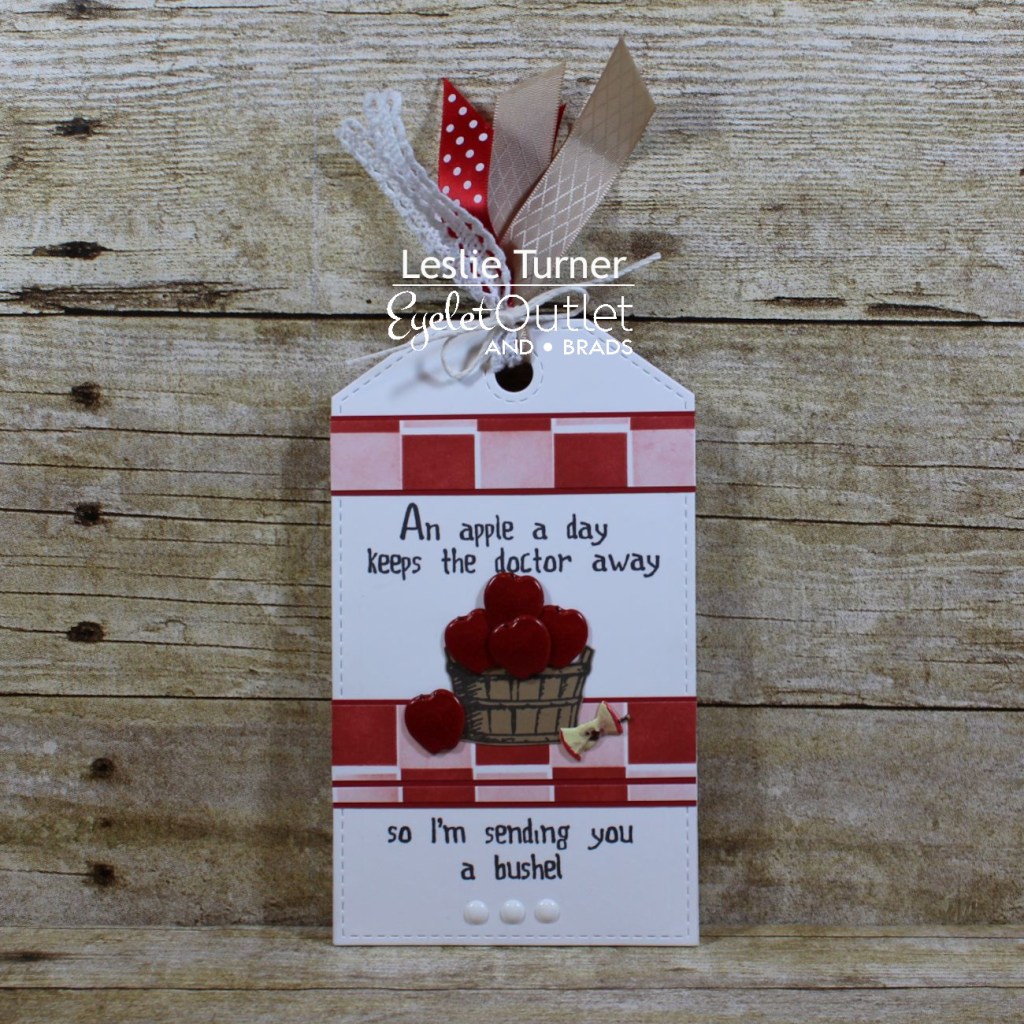
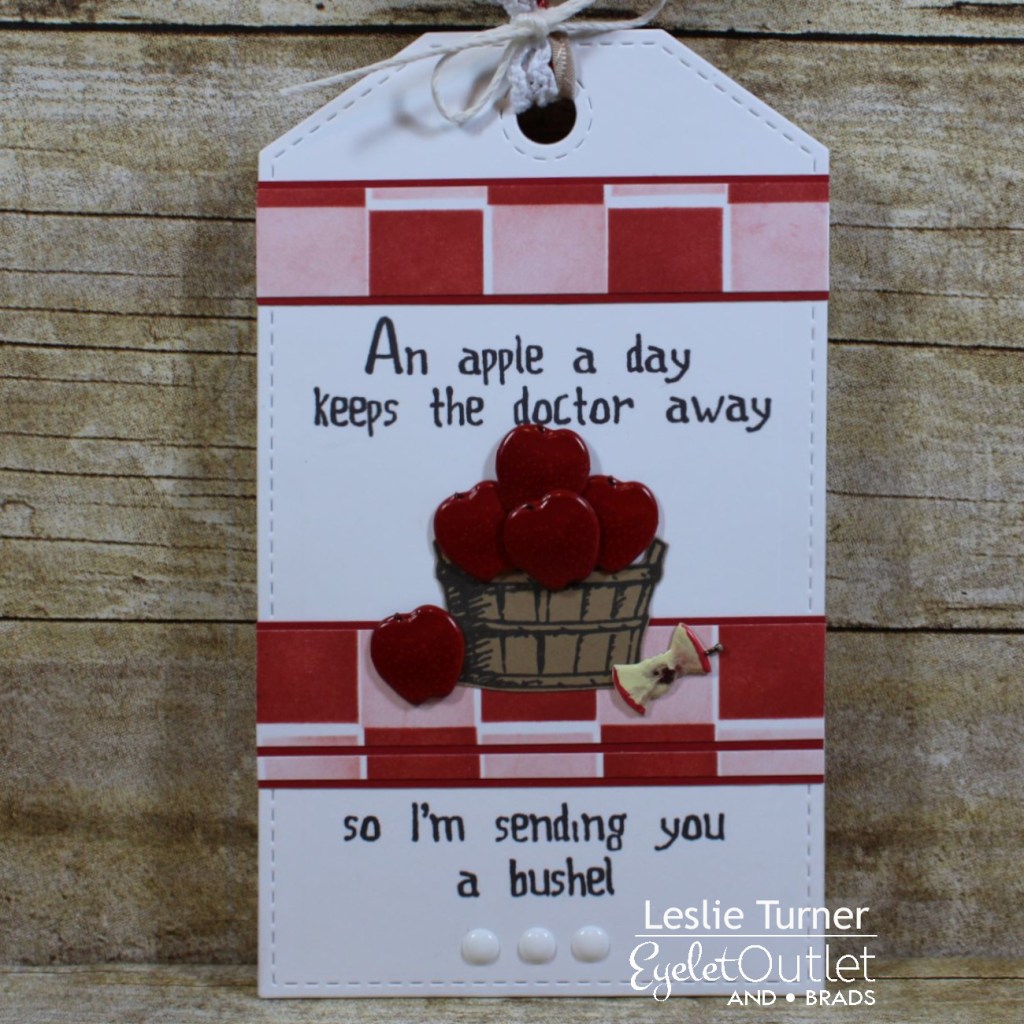
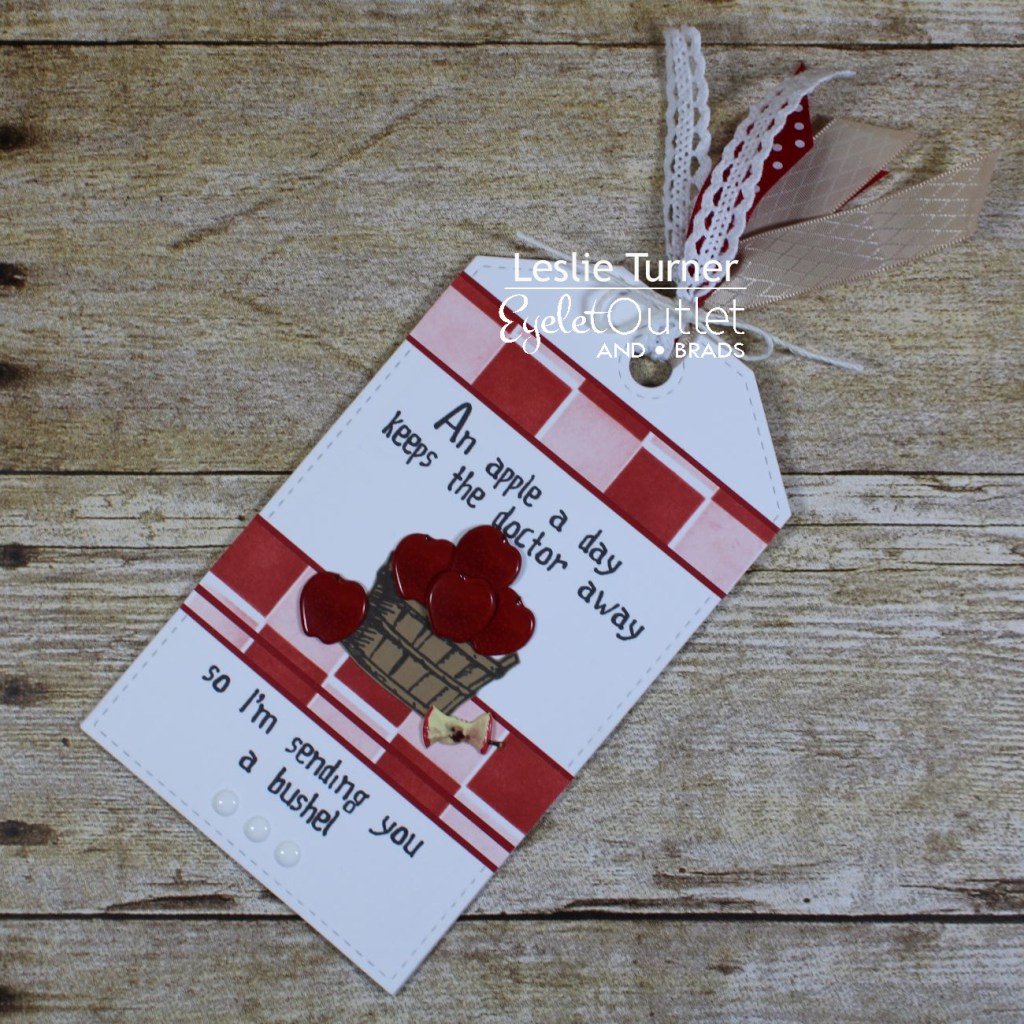
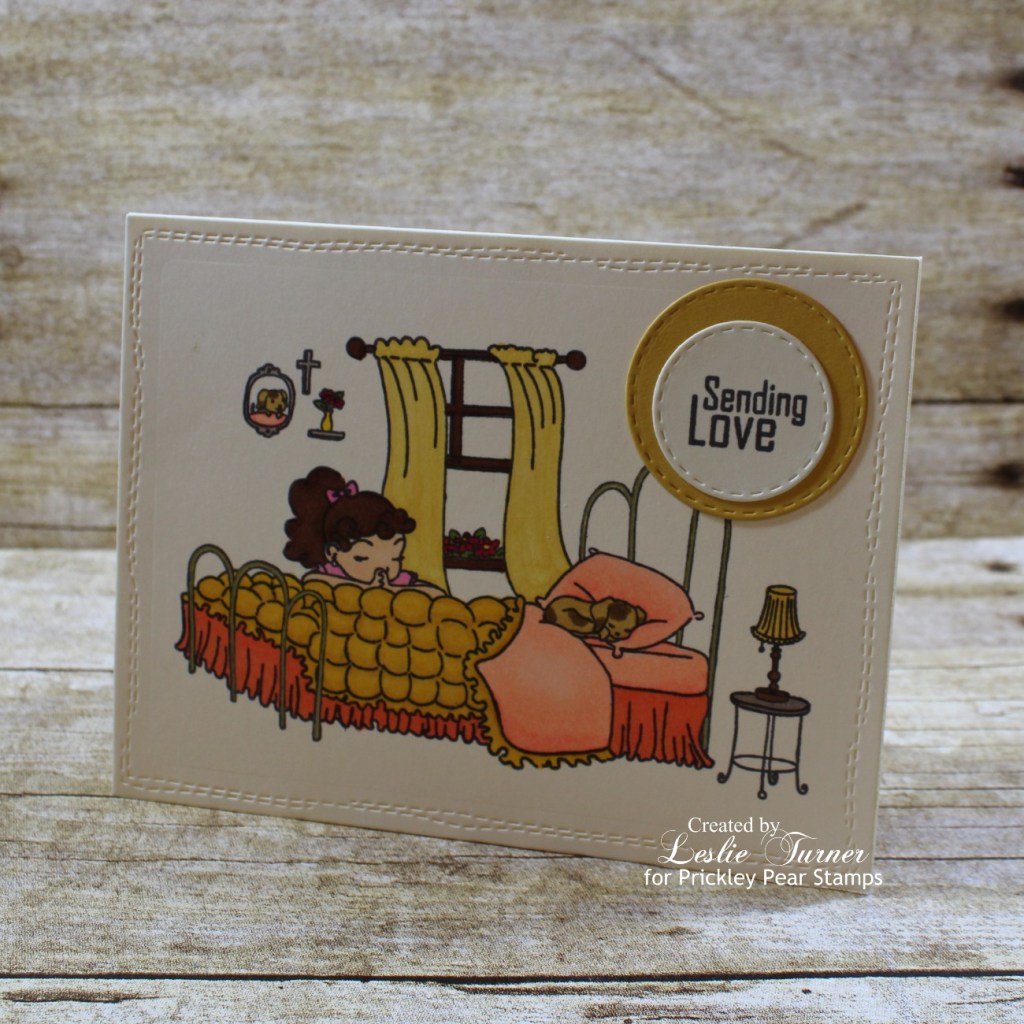
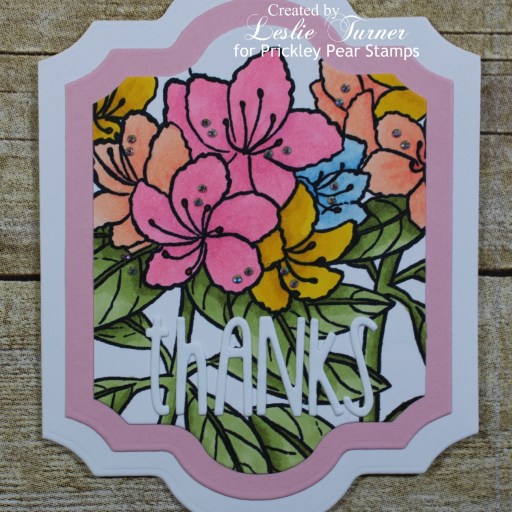
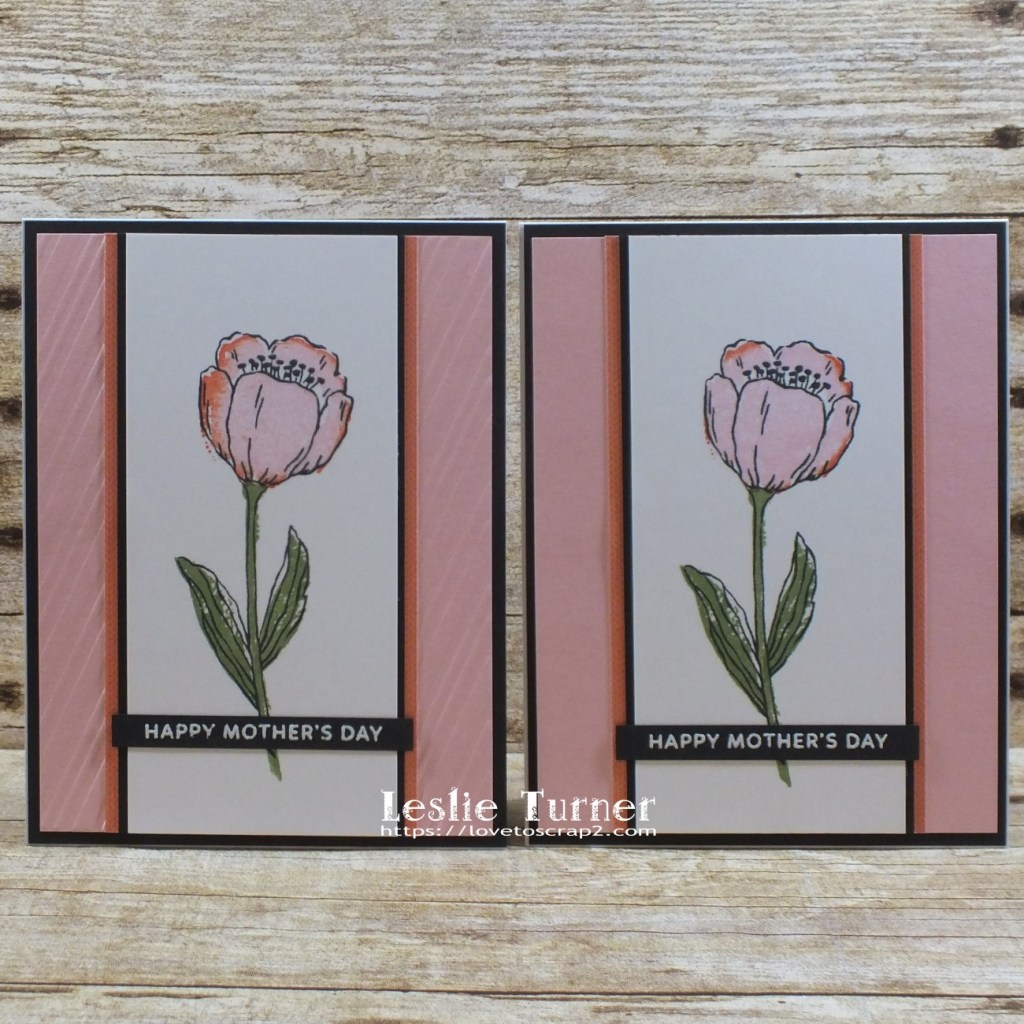
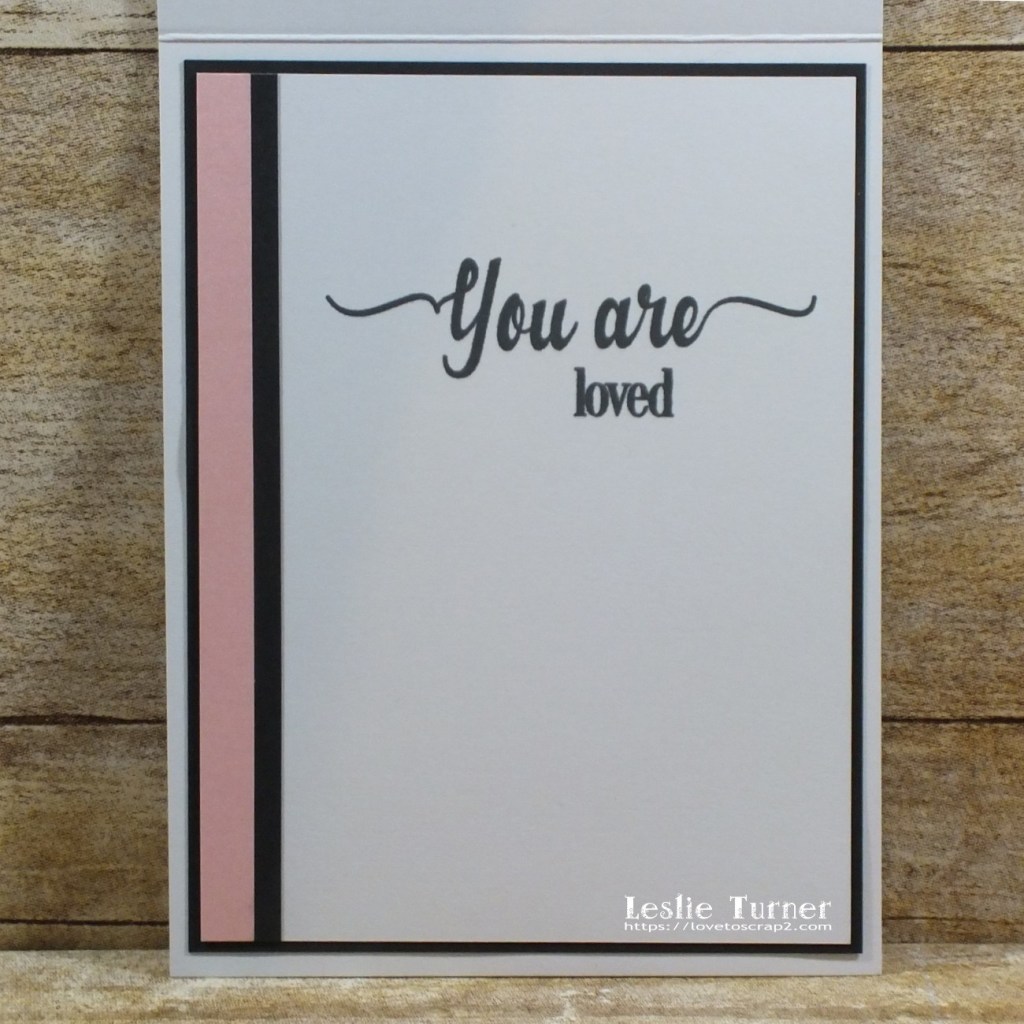
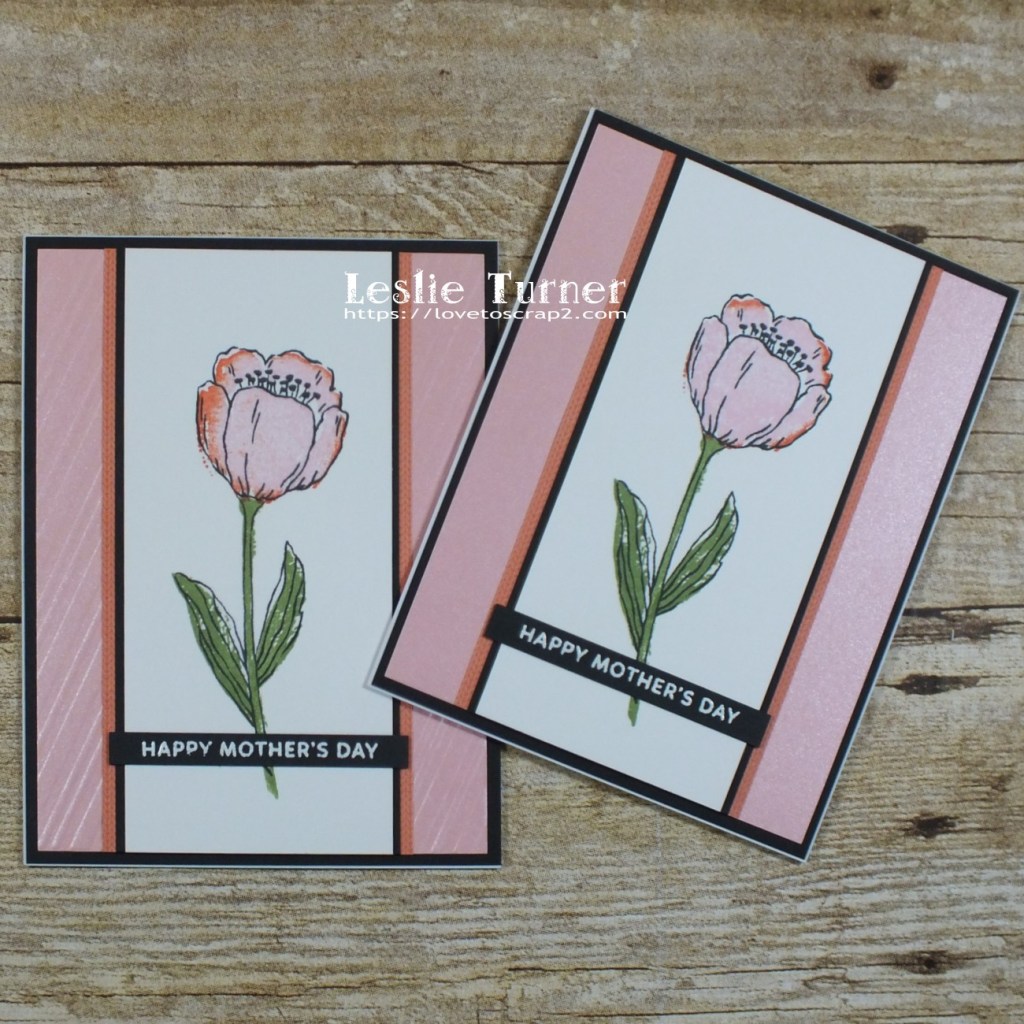
Howdy peeps! I have to tell you that it’s absolutely gorgeous this time of year out here in Colorado! Spring has finally sprung! I’m into my second month as a guest designer for STAMPlorations Stencil Sunday and having a blast! Affiliate links are used in this post at no cost to you. I really appreciate your support! For my feature this month I have three more projects to showcase, all using different ARTplorations Stencils along with other goodies available in the store!
For more details and photos of each project, click the link above each photo below which will take you directly to the corresponding blog post. I’m posting each project individually so I can enjoy sharing them in some challenges. :)
I hope you’ll enjoy seeing each of these projects and will be inspired to grab some of your stencils and play! Be sure to check out all the amazing stamps, dies, stencils, digis and other crafty goodies at the STAMPlorations main, outlet and digital stores! Use code STAMPGIRLLESLIE for a 20% discount on your orders in the store (with unlimited uses)! And there is A LOT going on over at the STAMPlorations blog – tons of creative inspiration, tutorials, promotions and giveaways – all month long! If you’ve never visited, you are definitely in for a good time! When you do visit, be sure to leave comments on the posts! Every month Shery draws seven random winners from all the posts published during the month, so the more posts you comment on, the more chances you have to win! And be sure to Follow STAMPlorations on Facebook, Instagram and Pinterest for more creative inspiration! Thanks so much for stopping by today – we’ll see you next time! ;)
5/31/21 Spotlight Winner at A Perfect Time To Craft Open Challenge!
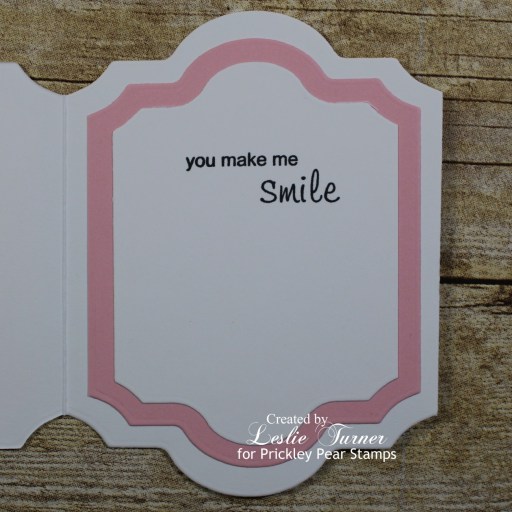
Hi everyone! A very Happy Saturday to you – I hope you’ve had a great week! They sure do seem to be going by at an alarming rate these days, lol! Affiliate links are used in this post at no cost to you. I really appreciate your support! I’m thrilled to be back on the Eyelet Outlet blog today with another awesome DT inspiration project! I created a ‘love you just because’ card featuring some of the new brads in the store along with several others that have been around for a while and some cool washi tape! Building fun scenes is so easy when you have the right crafty stuff in your arsenal!
I hope you’ve enjoyed today’s project! Be sure to check out all the fun goodies at Eyelet Outlet! I can already see you drooling, lol! Be sure to ‘like’ and ‘follow’ Eyelet Outlet Facebook Page to keep up with news and sales, and while you’re at it, join the Eyelet Outlet Fans Facebook group for lots of creative inspiration! Thanks so much for stopping by today – we’ll see you next time! ;)
Howdy peeps! I hope you’re having a great day! We’re having some gorgeous Spring weather here, and as much as I love being in my studio, I feel a little guilty that I’m not outside enjoying the sunshine and light breeze! Affiliate links are used in this post at no cost to you. I really appreciate your support! I’ve popped in this morning with a thank you card of sorts that I created for The OutLawz May Freebie/Progressive Challenge! Our sponsor this month is Dr. Digi’s House of Stamps and we were gifted the awesome Bertha Bread Baking Bonanza digital image for this challenge! I know I’ve mentioned that a free digital image from the sponsor is the perk for playing in this challenge every month. And yep, I definitely LOL’d – literally – when I saw this image! I LOVE Dr. Digi’s sense of humor! Bertha’s got some bread dough going on there and since I have absolutely no bread or bread-related stamps, I had to come up with Plan B which was pizza dough! ;)
I cut the inside panel from Neenah Classic Crest 80# Solar White cardstock and embellished it with Saffron Spice and Americana cardstock strips. I stamped the sentiment on a Solar White scrap and cut it with a stitched rectangle die, then layered the panel on Olive Twist cardstock.
Products used: Cardstock/Paper: Neenah Classic Crest 110# and 80# Solar White cardstock, Papertrey Ink Olive Twist, Americana and Saffron Spice cardstock Stamps: My Favorite Things Pizza My Heart stamp set Ink: Nuvo alcohol markers- 476, 405, 408, 410, 379, 465, 466, 479, 497, 489, 451, 495, 387, 487; Memento Tuxedo Black ink Dies/Punches: CUTplorations Circles All Over Texture Cover Plate Die, CUTplorations Pierced Curly Frames/Tags Nesting Dies, My Favorite Things Die-namics Stitched Rectangle STAX die, Memory Box Stitched Oval Layers die Accessories: Bearly Art precision craft glue, MISTI stamp tool, Big Shot, Eyelet Outlet Brick Washi Tape and Wood Washi Tape, Doodlebug Design Sprinkles Tangerine Assortment
I hope you’ve enjoyed this project and will come join us in The Outlawz Challenges! Lots of fun going on! Thanks so much for stopping by – we’ll see you next time!
Hi everyone! I hope you’ve had a great week and you’re looking forward to a nice and relaxing weekend! Affiliate links are used in this post at no cost to you. I really appreciate your support! I’m delighted to be back on the Dies R Us Inspiration Blog today with another awesome DT inspiration project! I created a fun Christmas card using one of my new favorite Sizzix thinlits sets! This is the third time I’ve used it and it gets more fun every time! The first one was a practice run and then the next two were used for DT projects!
I cut the inside panel from Neenah Classic Crest 80# Solar White cardstock and embellished it with strips cut from the red and green cardstock and a strip of washi tape, stamped the sentiment in black ink and layered the panel on green cardstock.
And one more look… sure am loving how this turned out! Did I mention how much I love this Sizzix die set?! ;)
I hope you’ve enjoyed today’s project! Be sure to check out all the fun goodies at the Dies R Us store! They not only sell dies… they also carry stamps, embossing tools and supplies, all kinds of craft supplies, slimline products and even Yupo paper! Be sure to join in the fun going on over at the Dies R Us Challenge Blog – there’s a new challenge theme posted on the 1st and 15th of each month and one lucky random winner will receive a gift voucher prize to the Dies R Us store! And be sure to ‘like’ and ‘follow’ Dies R Us Facebook Page for lots of creative inspiration and to keep up with the latest news! Thanks so much for stopping by today – we’ll see you next time! ;)
Hi everyone! I hope your week is off to a great start! I’ve been spending some quality time in my studio, so no complaints here! I’m stoked to be back on the CutCardStock blog today with an awesome DT inspiration project featuring Basis cardstock that’s on sale this month so be sure to get some! Affiliate links are used in this post at no cost to you. I really appreciate your support! I created a set of nine colorful and pun-y ATCs, both cards and coins! If you know me, you know that I absolutely love ATCs and I typically don’t trade them! It’s been a little while since I’ve made any, so I figured it’s time to add to my collection!
I cut the cards at 2-1/2″ x 3-1/2″ and punched the coins with a 2-1/2″ circle punch, all from Neenah Classic Crest Solar White 110# cardstock. I cut layers and strips in varying widths from CutCardStock Basis Aqua, Basis Dark Purple, Basis Gray, Basis Green, Basis Light Yellow, Basis Medium Blue, Basis Navy, Basis Orange (no longer stocked but Pop-Tone Tangy Orange would be a good alternative), Basis Red and Basis Teal cardstock. I cut additional layers and strips from bright patterned papers. I then stamped the images on Neenah Classic Crest Solar White 80# cardstock, colored them with alcohol markers and cut them with the coordinating dies. Then came the fun of assembling each one, stamping the sentiments, and adding a few tiny iridescent gemstones. I will say that after using Hero Arts Unicorn ink for the second time now, I’m not a fan. I used Memento Luxe ink for the first time on two of these ATCs and I like it much better. All in all, I’m super happy with how these turned out! Here are close-ups of each card and coin:
Other products used: Paper: Doodlebug Design Dot-Grid-Daisy-Stripe Rainbow Petite Prints, Gingham-Linen Rainbow Petite Prints and Nifty Notions 6×6 paper pads Stamps: PhotoPlay Fruits & Veggies stamp set Ink: Memento Tuxedo Black, Morocco, Cottage Ivy, Grape Jelly, Gray Flannel and Teal Zeal ink; Nuvo alcohol markers- 387, 392, 479, 375, 439, 408, 409, 410, 412, 413; Faber-Castell Pitt Artist pen (fine point)- May Green; Sakura White Gelly Roll pen; Memento Luxe Wedding Dress ink, Hero Arts Unicorn ink Dies/Punches: Fiskars 2-1/2″ circle punch, PhotoPlay Fruits & Veggies die set Accessories: Bearly Art precision craft glue, MISTI stamp tool, Big Shot, ScraPerfect iridescent gemstones
I hope you’ve enjoyed today’s project and you’re inspired to get crafty! Be sure to check out all the awesome cardstock and other goodies at CutCardStock (adhesives, labels, stickers, pens, watercolors and ribbon to name a few). And head on over to the CutCardStock Facebook Page for more inspiration! Thanks so much for stopping by today – we’ll see you next time!
My United States stalker continues to increase my blog stats – I’m estimating about a 10% increase over the past several months. She continues to look at my Simply Crafty SVGs projects and other 3-D projects – and a lot of old stuff – but seems to really dig my purses and my Handbag Palooza Part 1 and Part 2 posts – looking multiple times a day and many, many times a week. :)
I’m thankful she’s inspired by my projects, but I’m not sure if I should be creeped out, worried, or sad, or think it’s funny. Typically when I find something that inspires me on someone else’s blog or website, I take a screenshot to refer to later on… I never visit multiple times a day looking at that same project. In fact, most times I never visit a second time period. Just thinking about this from my own perspective.
I believe that if I found a specific Simply Crafty SVGs designer that inspired me, I’d visit the Simply Crafty SVGs website and search for all the projects that designer has made and take screen shots from there.
Or is she perhaps ‘working’ for the Chinese underground and stealing my photos so they can bootleg American products. I’m joking but this is happening more than people realize. Sadly, there are no copyright laws over there to protect American businesses selling stamps and dies.
This scenario reminds me of that childhood kid visiting the candy store every day, looking in from the outside drooling over the candy, because she doesn’t have any money to buy the candy. So I’d like to publicly ask her a couple questions – Would you like to have the Concord & 9th purse dies so you can make your own paper purses? Or would you like to have some of the Simply Crafty SVGs cut files so you can make your own 3-D projects? Please reach out to me to let me know where your head is. Maybe I can help.
5/8/21 Top Rocker at 613 Avenue Create! 5/15/21 Top 5 at QKR Stampede!
Hi everybody! Hope you’re having a great day! We’ve had medical appointments yesterday and today, out of town both days, so I finally have a spare few minutes this evening to post my newest matchbook! Affiliate links are used in this post at no cost to you. I really appreciate your support! I believe I mentioned how addictive these little matchbooks are, lol! They are so fun! I’ve mailed the first two out and have someone in mind for this one so thought I might better get my post done. And I didn’t forget to include the itty bitty envelope with this one! ;)
I cut the base from CutCardStock Basis Gray cardstock and used Stardream Metallic Silver cardstock for the window trim on both sides. I used coordinating patterned papers from Polly’s Paper Studio for the wallpaper and rug. I stamped all the elements on Neenah Classic Crest Baronial Ivory cardstock, colored them with alcohol markers and cut them with the coordinating dies. There’s even a mirror on the wall above the fireplace that has a silver foil cardstock ‘mirror.’
Here are shots going around the outside.
And one more peek… these matchbooks are so stinkin’ cute I can’t stand it! I have one more to play with, the Kitchen Set, so stay tuned! I’ve only seen four sets and I bought all four, so if Bonnie Krebs designs any more of them for Ai, I’ll definitely add them to my collection! She’s one talented gal!
Hi friends! Happy Tuesday and top of the morning to you! A new ‘Colors and a Letter’ challenge has started today over at The Outlawz Tuesday Color Challenge and our sponsor is Bugaboo Stamps so be sure to come on over and play! You know you love some Bugaboo! Affiliate links are used in this post at no cost to you. I really appreciate your support! For this challenge, we are to feature something ‘beginning with the letter C’ in our project. I created a thank you card featuring Bugaboo’s adorable Chibi Cupcake Peeker from my stash. Isn’t she the cutest little thing ever?!
And for the ‘Colors and a Letter’ challenge, we are to use the colors in this graphic:
I printed the digital image on Neenah Classic Crest Solar White cardstock, colored it with alcohol markers, cut it with a dotted rectangle die, and then layered it on a slightly larger dotted rectangle cut from CutCardStock Pop-Tone Tangy Orange. I set this piece aside to work on the card base. I cut a standard A2 size top-folding card base from Neenah Classic Crest Solar White cardstock and then cut a Jillibean Soup aqua star panel to cover the front of the card base. Several weeks ago I used the Concord and 9th Gingham Background stamp set and stamped several panels in different colors and they were out on my desk so I grabbed the yellow one and cut a stitched flag, trimming off the bottom and the top to use later on. I had a solid yellow flag and flag frame already cut from CutCardStock Astrobright Solar Yellow cardstock in my extra die cut bin so I grabbed the flag frame and adhered it to the bottom portion of the card front. I adhered the layered image to the card base so that the top 1/4″ or so protruded above the top edge of the card base which I thought was a fun and unique touch. I adhered the bottom and top portions of the stitched flag (that I trimmed off earlier) to the bottom and top edges of the image over top of the orange die cut. Next up was adding the layered sentiment from Prickley Pear Stamps that I cut from CutCardStock Pop-Tone Black Licorice and CutCardStock Pop-Tone Gumdrop Green cardstock. Then the final touch was adding some orange enamel dots and some tiny yellow gemstones.
I printed the MyScrapChick digital sentiment on Neenah Classic Crest Solar White cardstock and trimmed it with the sentiment centered, leaving room to embellish the panel with leftover strips of the stamped gingham and Jillian Bean soup papers. I layered the panel on CutCardStock Pop-Tone Gumdrop Green and adhered it to the inside of the card base.
And one more look… totally loving how this turned out with all the colors in the graphic! What a fun challenge and totally adorable image!
Products used: Cardstock/Paper: Neenah Classic Crest Solar White cardstock, CutCardStock Pop-Tone Tangy Orange, Pop-Tone Black Licorice and Pop-Tone Gumdrop Green cardstock, CutCardStock Astrobright Solar Yellow cardstock, Jillibean Soup Blossom Soup 6×6 mini pad Stamps: Concord and 9th Gingham Background stamp set, Bugaboo Chibi Cupcake Peeker digital image, MyScrapChick digital sentiment Ink: Stampin’ Up Crushed Curry ink; Nuvo alcohol markers- 485, 476, 428, 409, 393, 392, 389, 379, 360 Dies/Punches: Sizzix Dotted Squares die set, JustRite Stitched A2 Banners and Rectangles die set, Prickley Pear Stamps Shadow Words-Thank You die Accessories: Tombow Mono permanent adhesive, Bearly Art precision craft glue, Big Shot, Eyelet Outlet Orange Enamel Dots, Darice tiny yellow gemstones
I hope you’ve enjoyed this project and will come over and join in all the fun at The Outlawz Challenges! I hope you’ll link up a project this fortnight – we’d love to see what you do with this color challenge! And be sure to check out all the fun images at Bugaboo Stamps! Thanks so much for stopping by – we’ll see you next time! ;)
Hi everyone! A big ole Happy Monday to you! I’m thrilled to share that I’m guest designing for Make The Cards Challenges over the next three months! Affiliate links are used in this post at no cost to you. I really appreciate your support! My GD inspiration project for MTCC #14: 3-2-1 Challenge is a pretty birthday card created in kraft and black, which is one of my favorite color combos although I don’t use it nearly enough!
As the graphic depicts, the challenge is to create a project using 3 embellishments, 2 die cuts and 1 stamped image. Fun, fun, fun!
I created a standard A2 size top-folding card base from CutCardStock Royal Sundance Felt Natural cardstock, a really sturdy cardstock, and covered the front with CutCardStock Brown Bag Kraft cardstock. Using the CUTplorations Butterfly Cover Plate, I die cut the decorative front panel from CutCardStock Pop-Tone Black Licorice cardstock and then die cut the flagged label from the kraft cardstock using the Inspired by Stamping Fancy Label Dies 3, which took care of my two die cuts. I stamped the sentiment in black ink on the label die cut which satisfied the stamping requirement. I added three tiny white flat-back pearls (colored black with an alcohol marker) to the stamped sentiment which took care of the requirement of three embellishments. ;)
I hope you’ve enjoyed today’s project and will link up with us this week! We can’t wait to see your 3-2-1 project! Thanks so much for stopping by today – we’ll see you next time! ;)
Hello, everybody! Hey, Hey, Happy Satur-Day! Hope you have some fun planned this weekend! Affiliate links are used in this post at no cost to you. I really appreciate your support! Our new challenge launched this morning over at Merry Little Christmas Challenge Blog and I’m stoked to share my DT inspiration project for MLCCB #34 – May Anything Christmas Goes! I’ve been playing with more Prickley Pear Stamps and coordinating die, and had a great time creating this card!
I created a standard A2 size top-folding card base from Neenah Classic Crest 110# Solar White cardstock along with a dark green background panel from the last few scraps of this cardstock. I was so sad to see it come to an end – it’s a gorgeous color and I’m not sure I can get any more of it. I tore some snow banks from white cardstock, layered them together and adhered them to the bottom of the green panel. I stamped, embossed and cut the trees with the coordinating die, and adhered them to the panel. This is that funky clear embossing powder in my stash that looks like it has some white embossing powder mixed in it. I know I’ve talked about it before. I’m so tempted to throw it away and replace it with a new container of that brand, but somehow it looks so cool that I always talk myself into keeping it, lol! I added three snowflake brads and then adhered the panel to the front of the card.
I cut the inside panel from Neenah Classic Crest 80# Solar White cardstock and stamped the sentiment in dark green ink. Since I was literally down to scraps of this cardstock as mentioned above, I fashioned a semi-border with four strips which I thought looked kind of cool. There’s more than one way to make this design happen even if you ARE running out of a particular color of cardstock! ;)
And one more look… totally loving this design! This is another one that would be easy to mass produce!
Products used: Cardstock/Paper: Neenah Classic Crest 110# and 80# Solar White cardstock, Stampin’ Up Tranquil Tide cardstock scraps Stamps: Prickley Pear Stamps Christmas Trees and Christmas Trees 2 stamp sets Ink: Stampin’ Up Tranquil Tide ink, Versamark Dies/Punches: Prickley Pear Stamps Tree die Accessories: Scotch ATG, Bearly Art precision craft glue, MISTI stamp tool, Ranger Clear Embossing Powder, Hero Arts White Embossing Powder, Gemini Junior, Eyelet Outlet Snowflake Brads
I hope you’ve enjoyed seeing this Christmas tree card and will link up a Christmas project with us this month! We can’t wait to see what you create! Thanks so much for stopping by today – we’ll see you again soon! ;)