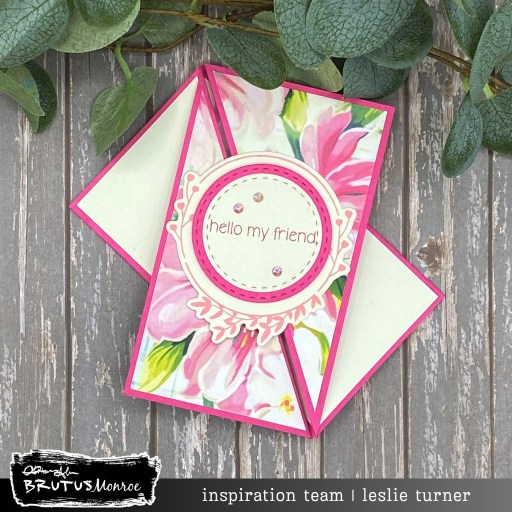
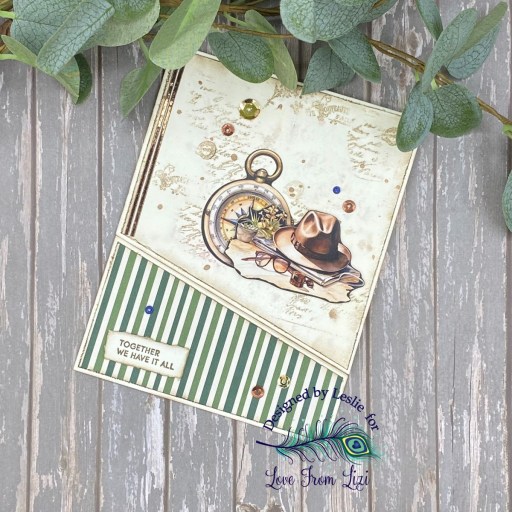
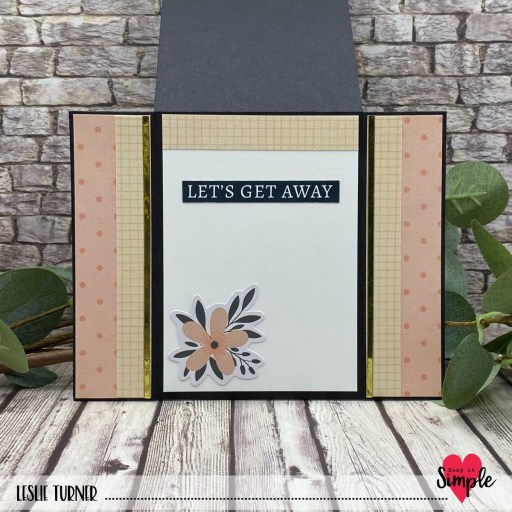
Hey everybody, Happy Wednesday! I hope you’re having a great week! I’m up on the Love From Lizi blog today with a tutorial for making a masculine faux center step card featuring papers, stamps, ephemera and sequins from our new ‘For Him’ release which I totally love! Our design team has been sharing lots of samples in case there’s anybody out there who gets stumped making masculine cards. This fun fold is right up there at the top of my list of favorites and I’ve made quite a few of them. ;)

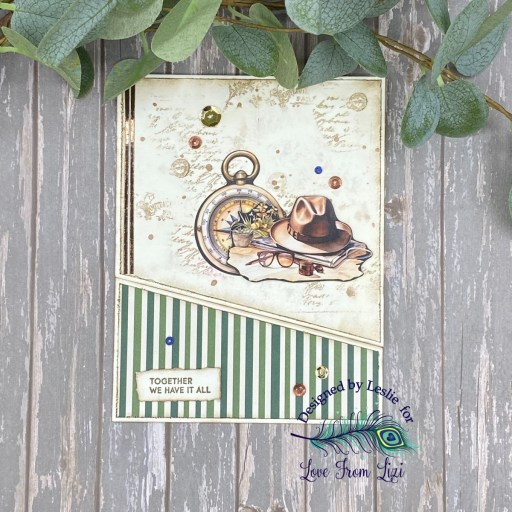
I cut the card base and faux center panel from Neenah Classic Crest 80# Solar White cardstock along with layering panels from papers in our A Spot of Autumn and Neutrals 6×6 Paper Packs. I used stamps from the Heartfelt Hello Stamp Set for the sentiment and then added a hat from the Vintage Escapes Ephemera. The finishing touch was adding several gemstones from the For Him Sequin Mix.

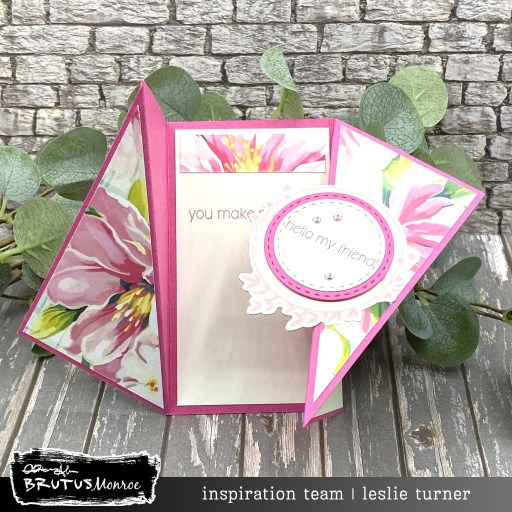
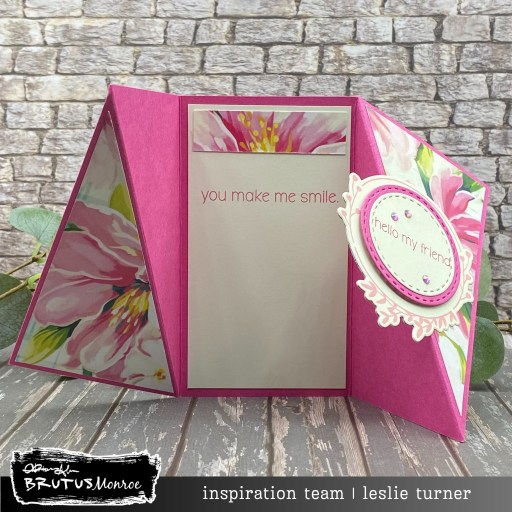
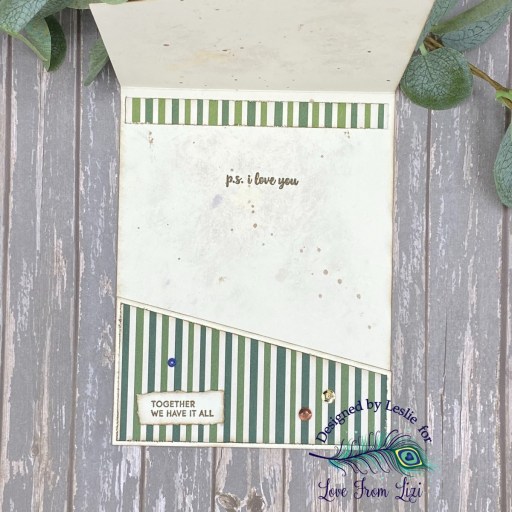
I cut the inside panel from Solar White cardstock and embellished it with a leftover strip of the plaid paper used on the front and sunglasses from the Vintage Escapes Ephemera. I stamped a sentiment from the Summer Botany Stamp Set and then layered the panel on a panel cut from the Matte Mirror Pastel Cardstock Bundle. The finishing touch (and optional step) was adding a panel of paper from our A Spot of Autumn 6×6 Paper Pack. For more details, be sure to visit the Love From Lizi blog to see my tutorial. ;)


Affiliate links are used in this post at no cost to you – I really appreciate your support!
Love From Lizi products used:
A Spot of Autumn 6×6 Paper Pack
Neutrals 6×6 Paper Pack
Matte Mirror Pastel Cardstock Bundle
Heartfelt Hello Stamp Set
Summer Botany Stamp Set
Vintage Escapes Ephemera
For Him Sequin Mix
Other products used:
CARDSTOCK/PAPER: Neenah Classic Crest 80# Solar White cardstock
INK: Versafine Onyx Black ink, Memento Peanut Brittle ink
ACCESSORIES: Fiskars 12″ ProCision Rotary Bypass Paper Trimmer, Bearly Art precision craft glue, My Sweet Petunia Precision Glue Press, MISTI stamp tool, Spellbinders Detail Scissors, Scrapbook Adhesives Thin 3D Foam Squares, Trinity Pick Up Stick
I hope you’ve enjoyed seeing this project and you’re inspired to get crafty! Be sure to join our Facebook Group and Follow us on Instagram and YouTube for lots of crafty inspiration! Thanks so much for stopping by today – we’ll see you next time!
Scrappy hugs,