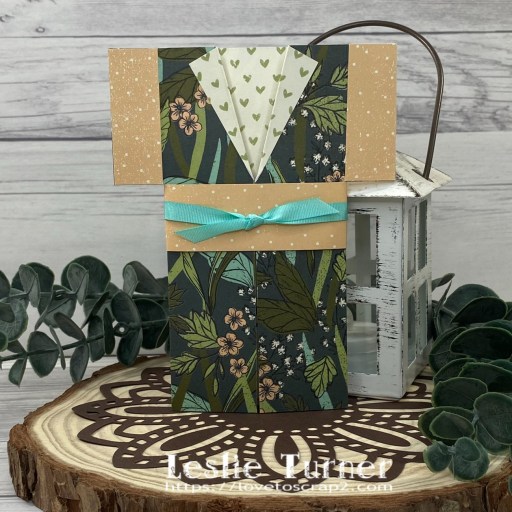
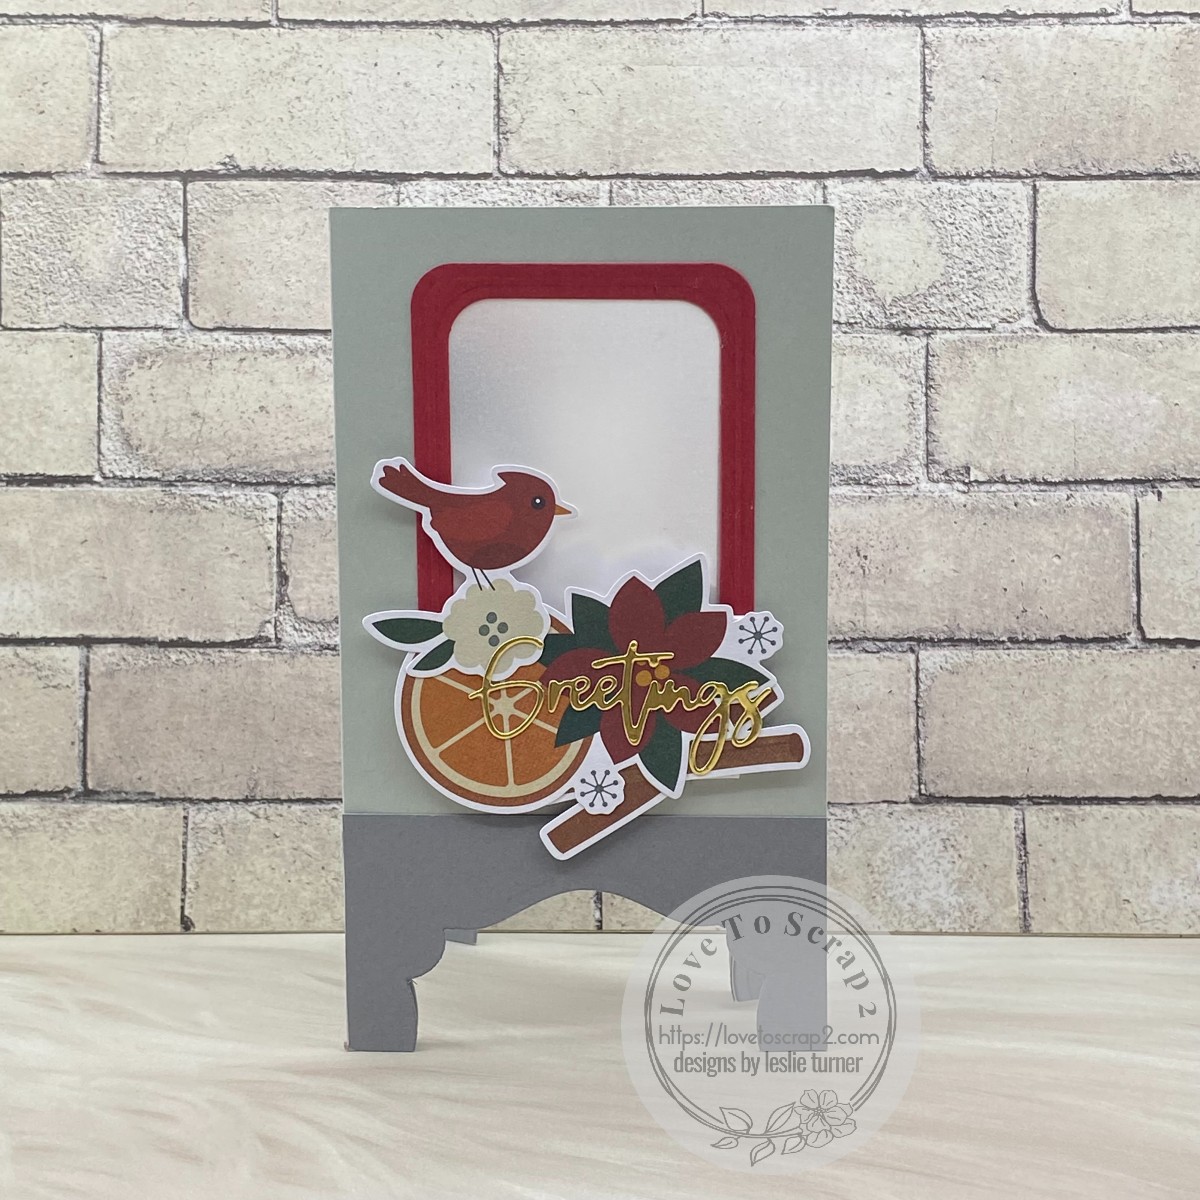
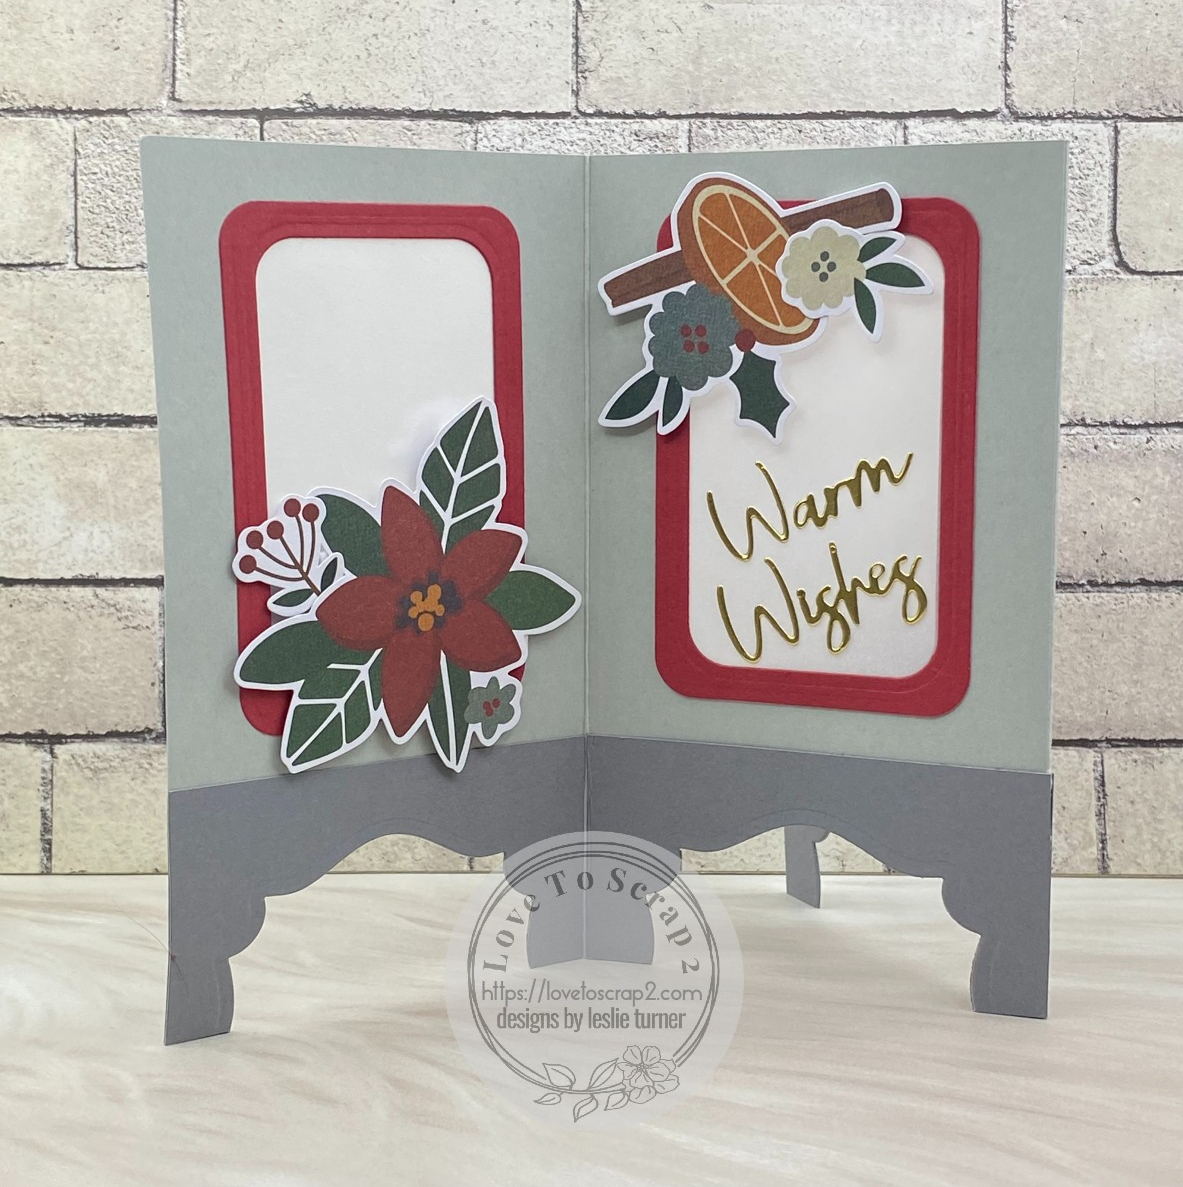
Hey everybody! A very Happy Friday to all! Our new challenge is live this morning over at Merry Little Christmas Challenge Blog and I’m delighted to share my DT inspiration project for MLCCB #59 – Anything Christmas Goes! I created a pretty screen fold card for this challenge featuring framed vellum panels and lots of festive Simple Stories ephemera bits. It has been a long while since I created a screen fold card and I really like how this one turned out!

I cut the card base from CutCardStock Lessebo Cement Gray and Lessebo Granite Gray, using a Spellbinders Labels Twenty Five die to cut the legs of the screen panels. I cut a rectangular aperture into each section with a Spellbinders Curved Matting Basics B die. Next, I cut a screen and frame for each panel from Glama Natural Translucent Clear Vellum and Lessebo Dawn Maroon using the same Spellbinders Curved Matting Basics B dies.
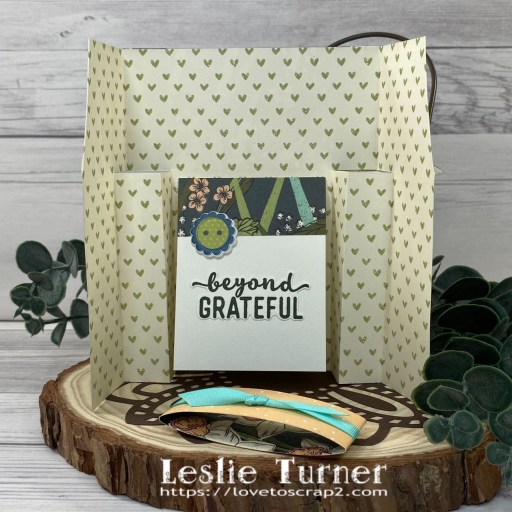
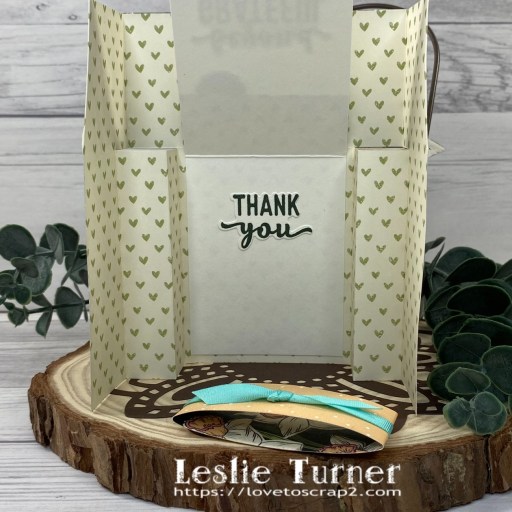
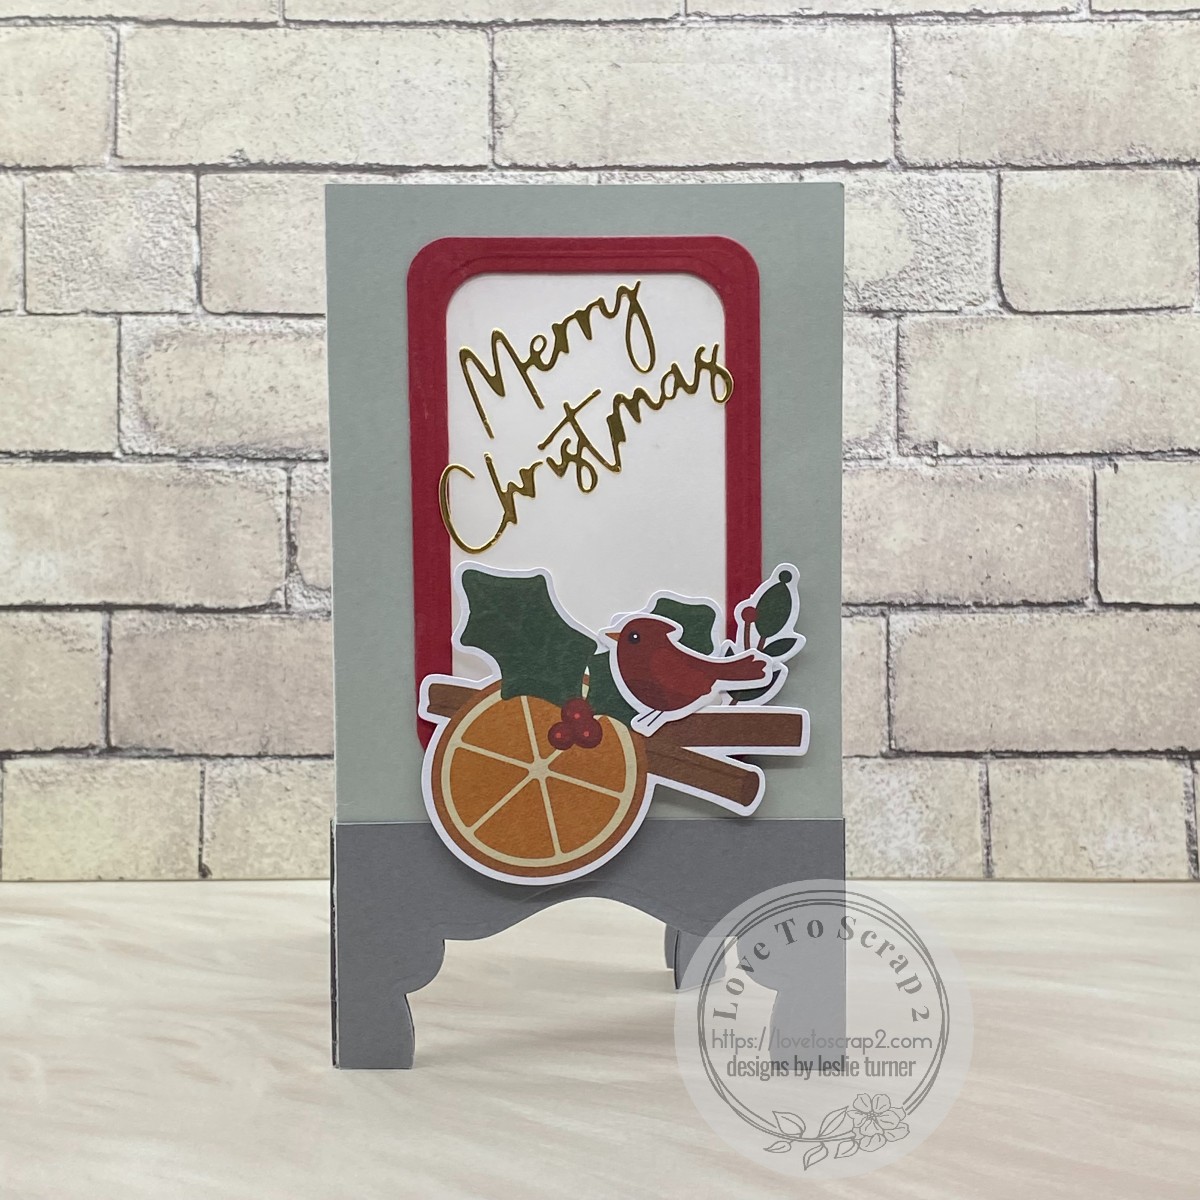
I die cut sentiments from Bright Gold Foil cardstock using Spellbinders Create A Christmas Sentiment die set. The final step was embellishing each of the screens with Simple Stories Hearth & Holiday Floral Bits and the die cut sentiments.
Affiliate links are used in this post at no cost to you – I really appreciate your support!
Products used:
CARDSTOCK/PAPER: CutCardStock Lessebo Cement Gray, Lessebo Granite Gray, Lessebo Dawn Maroon, Glama Natural Translucent Clear Vellum, and Bright Gold Foil cardstock
DIES/PUNCHES: Spellbinders Labels Twenty Five dies, Spellbinders Curved Matting Basics B dies, and Spellbinders Create a Christmas Sentiment die set
ACCESSORIES: Fiskars 12″ ProCision Rotary Bypass Paper Trimmer, Elmer’s Craft Bond Tape Runner, Bearly Art precision craft glue, Big Shot, Simple Stories Hearth & Holiday Floral Bits, 1/2″ double-sided foam strips
I hope you’ve enjoyed seeing this project and will link up with us this time! Thanks so much for stopping by today – we’ll see you next time! ;)
Scrappy hugs,