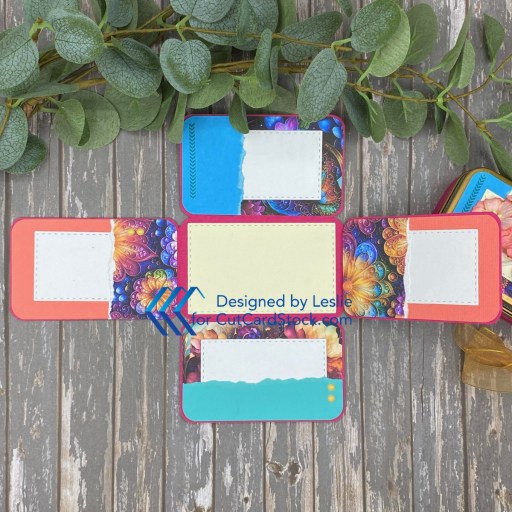
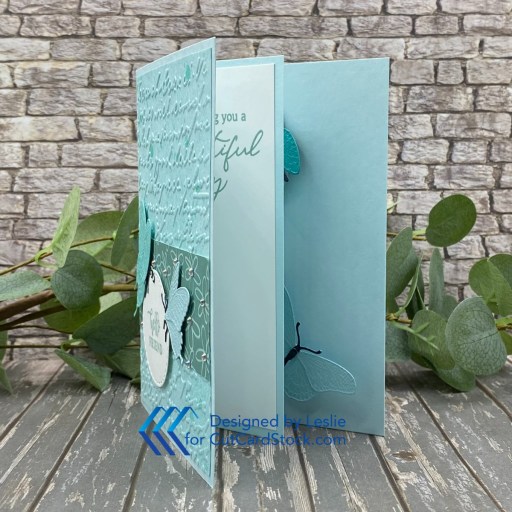
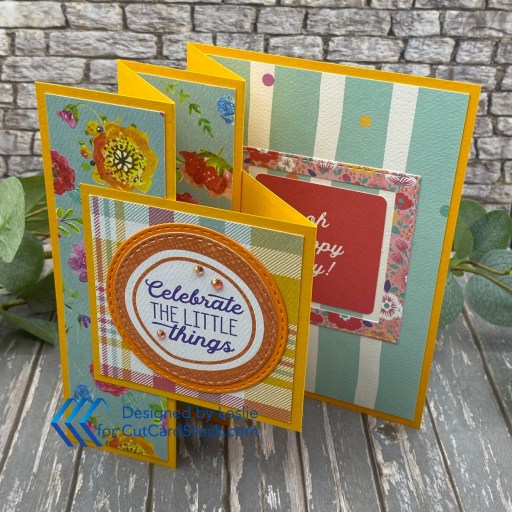
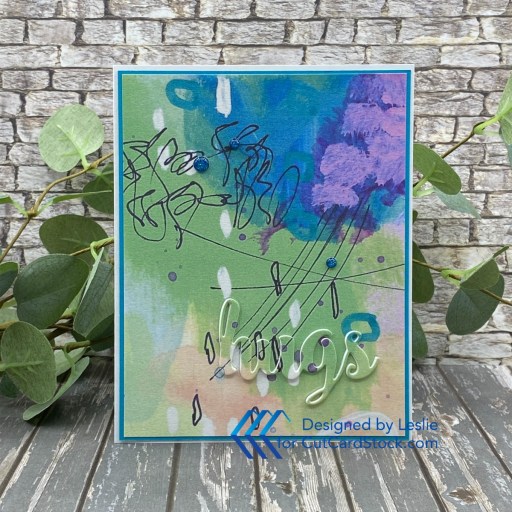
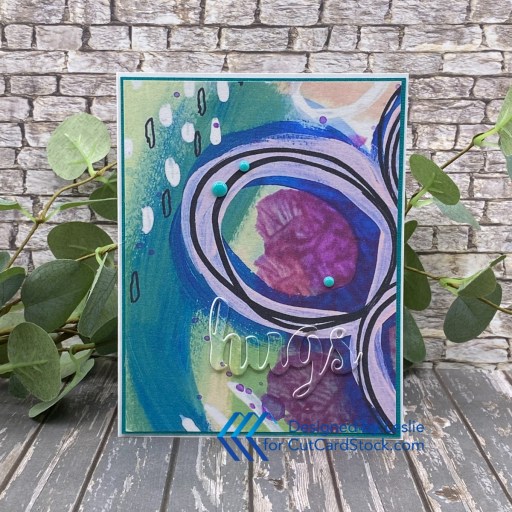
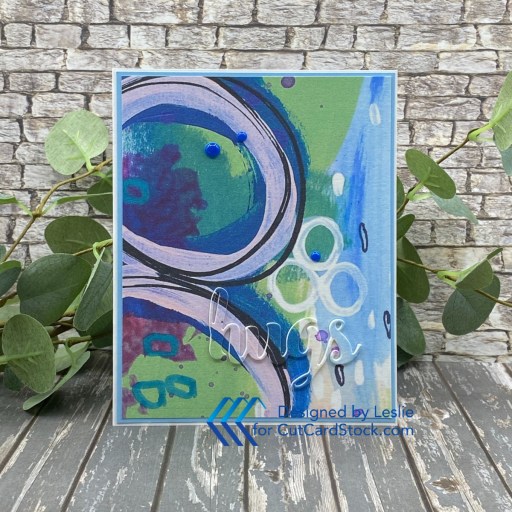
Hi friends – happy Friday! Hopefully you’re finally seeing a hint of Spring where you are and perhaps have something fun planned this weekend! I’m up on the CutCardStock blog today with a tutorial for making a set of four get well cards featuring the old technique of phantom die cutting. You may have more recently heard this technique referred to as the eclipse technique. It’s super simple and yields an awesome 3D effect to the sentiment on your card front. I used a variety of our cardstock (which I will list below) that I paired with a digital paper in my stash. I have so many digital papers and hardly ever tap into them.
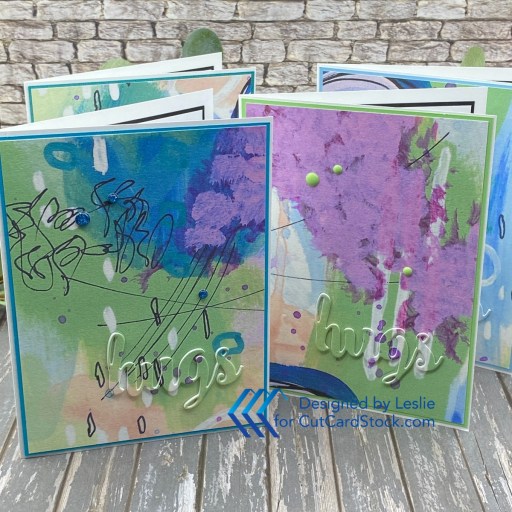
I won’t go into a huge amount of detail here, so be sure to see my tutorial on the CutCardStock blog. I printed one of the papers from the Art For Cards Lime Showers pack (from My Scrap Chick) on 80# Solar White and cut it into quarters. Yes, one sheet made four beautiful cards! Then I cut layering panels from Textured Pearl Hummingbird Teal, Lessebo Salt Water Blue, Aqua and Pop Tone Limeade cardstock.
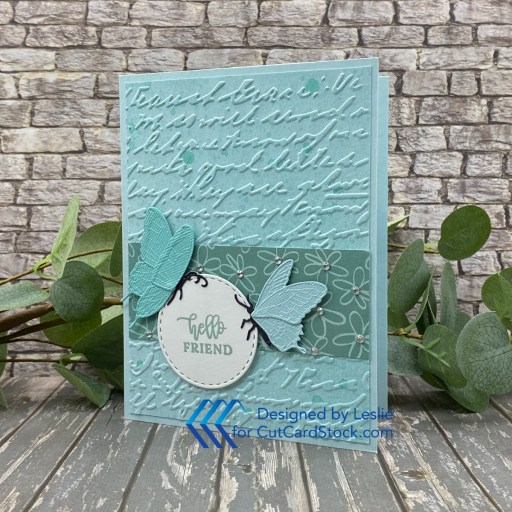
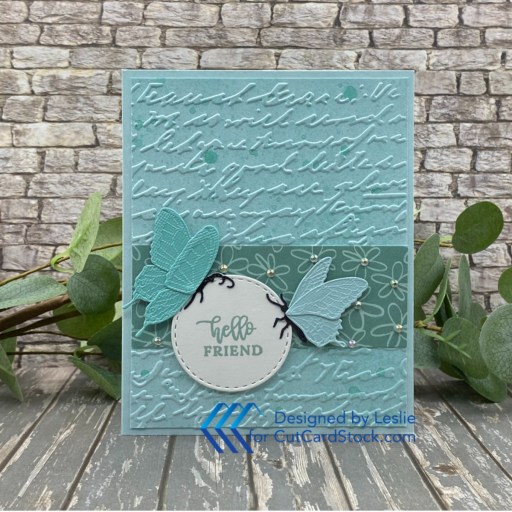
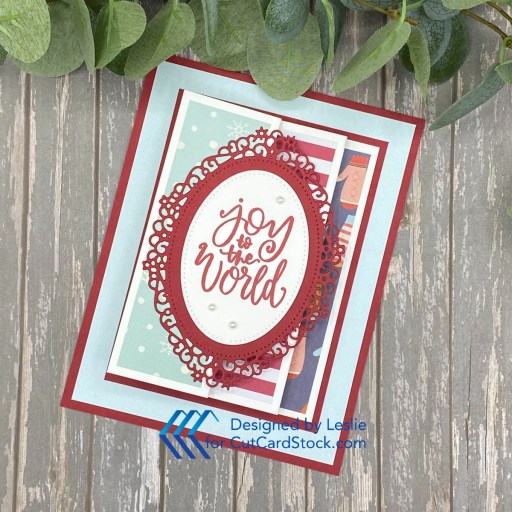
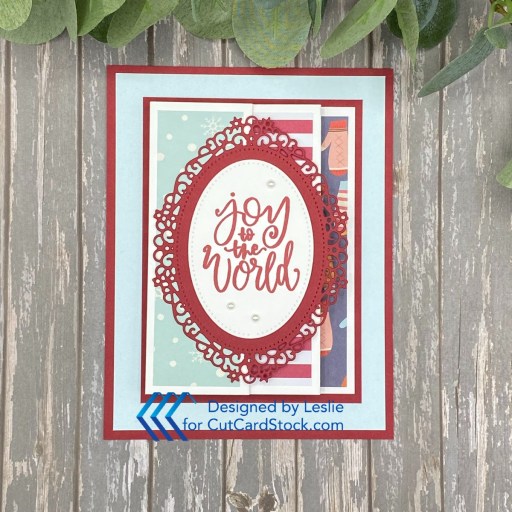
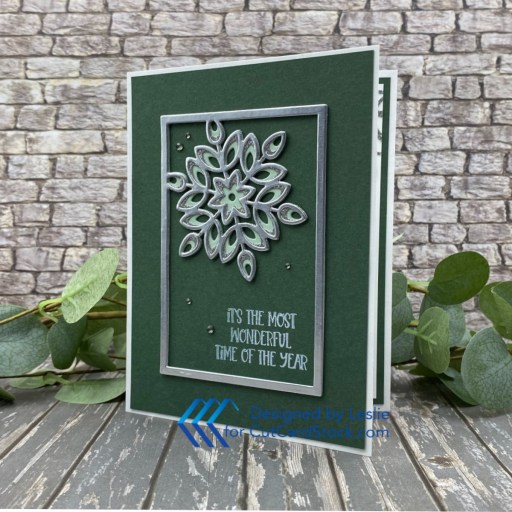
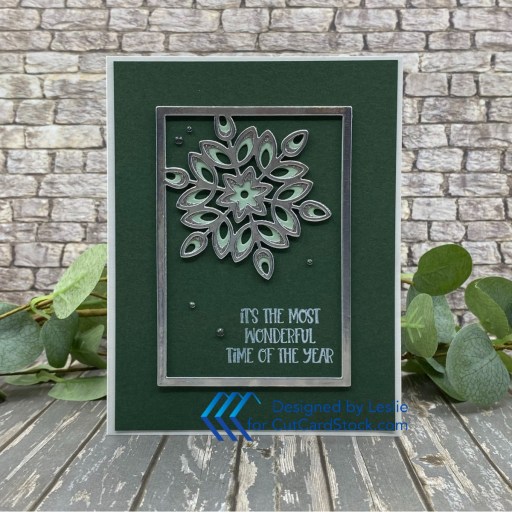
I used the CUTplorations hugs die (from STAMPlorations) and two layers of 165# Solar White cardstock to get the raised 3D effect. I used Scrapbook Adhesives adhesive sheet for several steps which was a huge time saver. I really dislike dabbing tiny spots of glue on the back of small die cuts, lol! The panels were put on 80# pre-folded Solar White card bases (another huge time saver) and I added Eyelet Outlet Teal, Aqua Glitter, Blue and Green Enamel Dots to finish off the card fronts.

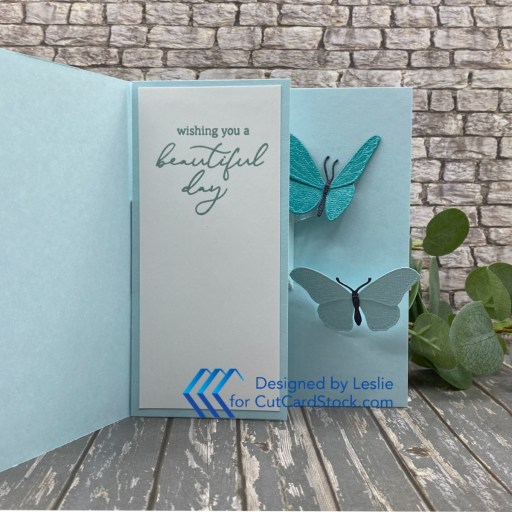
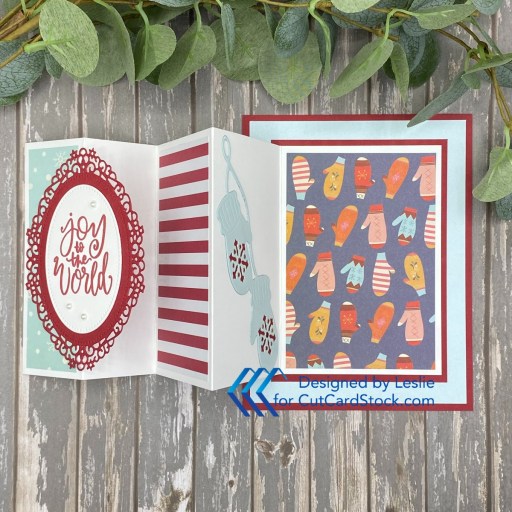
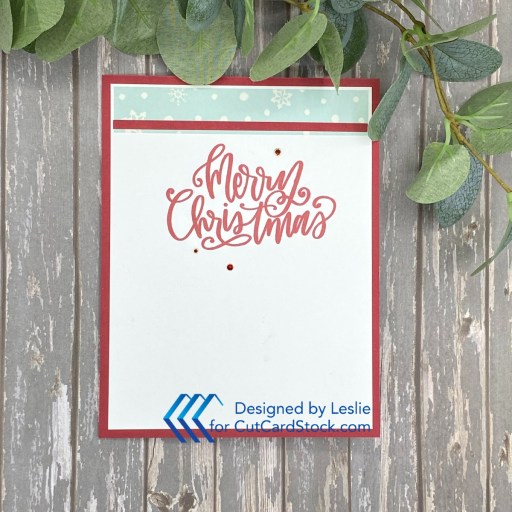
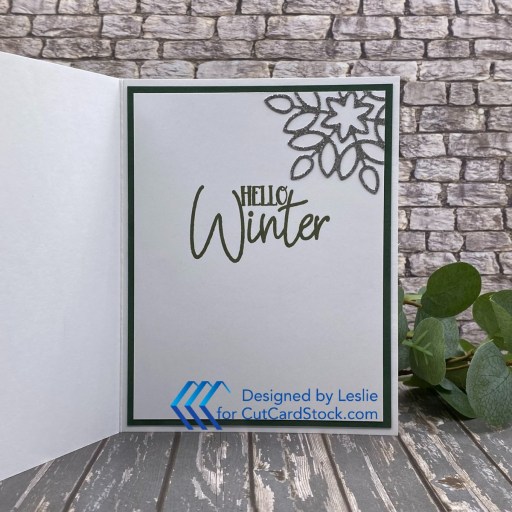
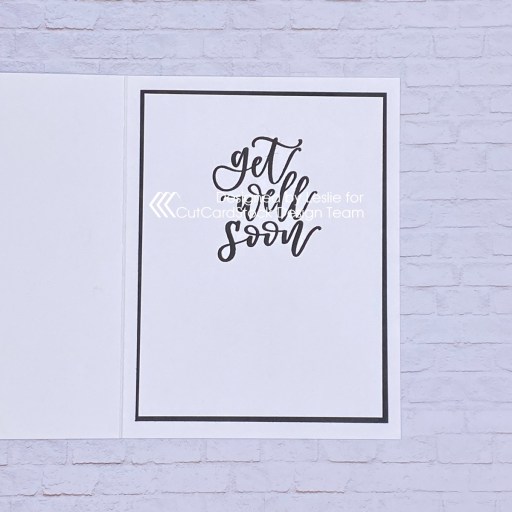
I used Pop Tone Black Licorice and 80# Solar White panels on the inside. The sentiment is from Ranger Letter It Occasions clear stamps, stamped in Versafine Onyx Black ink. I forgot to take a photo of the inside of one of the cards (they are all the same), so here is a shot from my tutorial.
Sharing in the following challenges:
1. https://cardsgalorechallenges.blogspot.com/2026/04/april-2026-challenge-146-crafts-galore.html
2. https://mixitupchallenge.blogspot.com/2026/03/miucb-82-anything-goes-optional-die.html
3. https://paper-rocks-scissors.blogspot.com/2026/04/april-15-challenge.html (paper and cardstock + scissors to cut adhesive sheet)
4. https://wordartwednesday.blogspot.com/2026/04/anything-goes-weeks-746-747.html
Affiliate links are used in this post at no cost to you – I really appreciate your support!
CutCardStock products used:
Classic Crest 80# Folded Cardstock Bases
Neenah Classic Crest 80# Solar White cardstock
Classic Crest Double Thick 165# Solar White cardstock
Textured Pearl Hummingbird Teal cardstock
Lessebo Salt Water Blue cardstock
Aqua cardstock
Pop Tone Limeade cardstock
Pop Tone Black Licorice cardstock
Other products used:
PAPER: Art For Cards Lime Showers digital paper from My Scrap Chick printed on Neenah Classic Crest 80# Solar White cardstock
STAMPS: Ranger Letter It Occasions clear stamps
INK: Versafine Onyx Black ink
DIES/PUNCHES: CUTplorations hugs die (from STAMPlorations)
ACCESSORIES: Fiskars 12″ ProCision Rotary Bypass Paper Trimmer, Spellbinders 12×12 Scoring Board, Scrapbook Adhesives Adhesive Sheets, Tape Runner Retractable Double-Sided Adhesive Tape, Bearly Art precision craft glue, Mini MISTI, Big Shot, Eyelet Outlet Teal, Aqua Glitter, Blue and Green Enamel Dots
I hope you’ve enjoyed today’s project and you’re inspired to get crafty! Be sure to check out all the awesome cardstock and other goodies at CutCardStock (adhesives, labels, stickers, pens, watercolors and ribbon to name a few). And head on over to the CutCardStock Pinterest Page and CutCardStock Facebook Page and for more inspiration! Also, be sure to join our Creating with CutCardStock Facebook Group for even more crafty inspiration! Thanks so much for stopping by today – we’ll see you next time!
Scrappy hugs,