
06/30/26 Rising Star honor at A Place To Start!
07/04/26 Weekly Favorite (by two crafters) at Splitcoast Stampers!
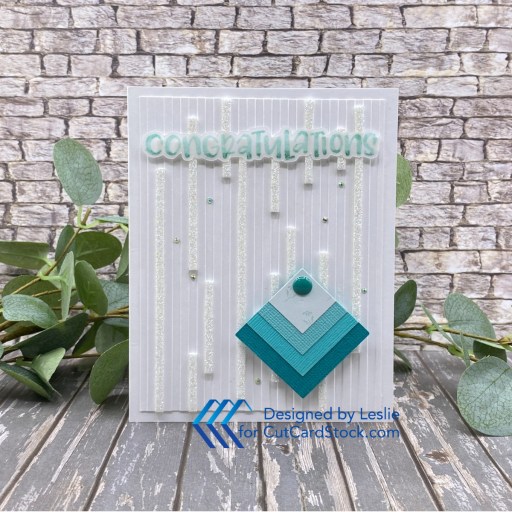
Hey everybody, a big ol’ happy Friday to you! I hope you’ve had a great week! I’m up on the CutCardStock blog today with a tutorial for making a pretty congratulations card with a geometric vibe. Super simple design that could easily be mass-produced to make multiples for your stash. I used Surf, Caribbean Blue and Hummingbird cardstock for the diamond embellishment, along with a pre-folded 110# Solar White card base, Glama Natural Translucent vellum for the front sentiment, and 80# Solar White cardstock for the inside sentiment panel. This card showcases that wonderful Wear Your Adhesive on the Outside technique made famous by Scrapbook Adhesives – one of my new favorites!
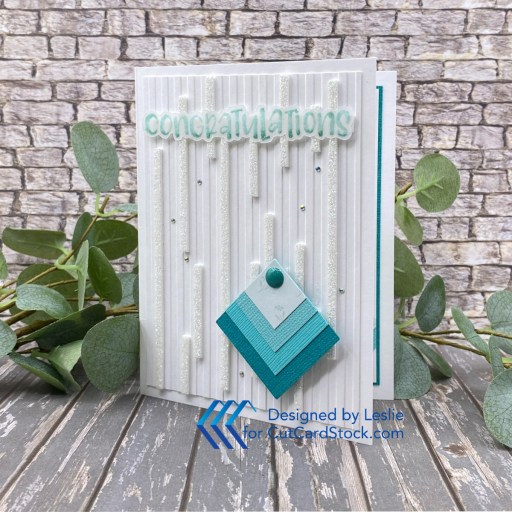
I used a pre-folded 110# Solar White card base – they are such a time-saver. I dry embossed the front panel with the Darice Stripe embossing folder. Seems embossing folders are making a come-back and I’ve decided I’m going to start using more of them (and I have a bunch). I randomly placed Scrapbook Adhesives 3D Foam Strips that I covered in Stampin’ Up Dazzling Diamonds Glitter. I cut them in various lengths and placed them in the recessed grooves.
I punched squares from Surf, Caribbean Blue and Hummingbird cardstock using 3/4″, 1″, 1-1/4″ and 1-1/2″ square punches to create an embellishment which I added to the bottom right corner. I stamped a sentiment from the Ranger Letter It Wedding stamp set on Glama Natural Translucent Clear vellum in Catherine Pooler Cummerbund and Sea Glass inks using the rock-and-roll technique. I fussy cut it and affixed it with tiny pieces of the 3D Foam Strips. I added a Keep It Simple Teal enamel dot to the embellishment along with several tiny ScraPerfect iridescent gemstones.
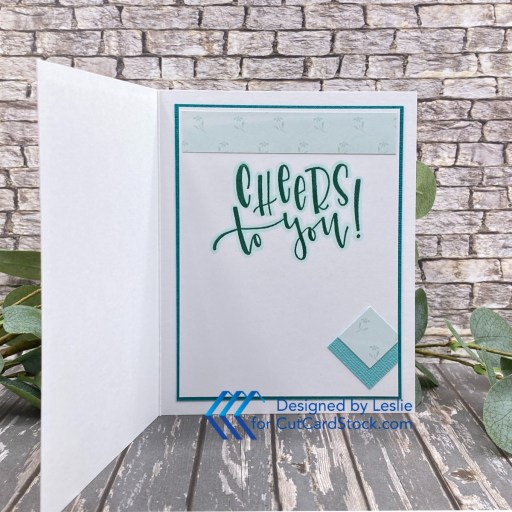
I cut the inside panel from 80# Solar White cardstock and embellished it with a piece of the patterned paper used on the front embellishment. I stamped a sentiment from the Ranger Letter It Hello Sunshine stamp set in Sea Glass ink and outlined the letters with a Copic Ciao G000 alcohol marker. I added a couple punched squares (diamonds) to the bottom corner which finished the card.
Sharing in the following challenges:
1. https://hereisaplacetostart.blogspot.com/2026/06/challenge-202606-june-2026-anything.html
2. https://alphabetchallengeblog.blogspot.com/2026/06/e-is-for-embossing-wet-or-dry.html (used both dry and heat embossing)
3. https://creativeartistemixedmedia.blogspot.com/2026/07/welcome-to-creative-artiste-challenge.html (paper, ink, marker, glitter, dry/heat embossing)
4. https://lovetocraftchallengeblog.blogspot.com/2026/07/ltccb-93-and-ltccb-92-winner-and-top.html
5. https://timeoutchallenges.blogspot.com/2026/06/challenge-316.html (inspired by geometric vibe, teal color, stripes and sparkle)![]()
Affiliate links are used in this post at no cost to you – I really appreciate your support!
CutCardStock products used:
Premium Classic Crest 110# Folded Cardstock
Surf Textured Pearl cardstock
Caribbean Blue Canvas Textured cardstock
Hummingbird Teal Textured Pearl cardstock
Glama Natural Translucent Clear vellum
Neenah Classic Crest 80# Solar White cardstock
Other products used:
PAPER: Carta Bella Flora No. 3 6×6 paper pad
STAMPS: Ranger Letter It Wedding and Hello Sunshine stamp sets
INK: Catherine Pooler Cummerbund and Sea Glass inks; Copic Ciao G000 alcohol marker
DIES/PUNCHES: EK Success 3/4″, 1″ and 1-1/4″ square punches, 1-1/2″ square punch (from Amazon)
ACCESSORIES: Fiskars 12″ ProCision Rotary Bypass Paper Trimmer, Spellbinders 12×12 Scoring Board, Darice Stripe embossing folder, TapeRunner Retractable double-sided adhesive tape, My Sweet Petunia Precision Glue Press, Bearly Art Precision Craft Glue, Mini MISTI, Big Shot, Scrapbook Adhesives 3D Foam Strips, Stampin’ Up Dazzling Diamonds glitter, Hero Arts clear embossing powder, Keep It Simple Back To Basics teal enamel dots, ScraPerfect tiny iridescent gemstones
I hope you’ve enjoyed today’s project and you’re inspired to get crafty! Be sure to check out all the awesome cardstock and other goodies at CutCardStock (adhesives, labels, stickers, pens, watercolors and ribbon to name a few). And head on over to the CutCardStock Pinterest Page and CutCardStock Facebook Page and for more inspiration! Also, be sure to join our Creating with CutCardStock Facebook Group for even more crafty inspiration! Thanks so much for stopping by today – we’ll see you next time!
Scrappy hugs,

