I Love Fall

Hey everybody! Happy Weekend… it’s almost over! Just like that! I’m stoked to be back with another Keep It Simple DT inspiration project to share created with the new Autumn Charm Collection! Oh.My.Goodness. Just when I think they can’t come up with anything cuter than what they’ve already released… BOOM, there it is! There are so many adorable papers, stamps and dies, and die cuts in this collection, I can’t stand it! Pumpkins, mushrooms, foxes, hedgehogs and all kinds of critters! And you know how I love me some fun folds, so I created a triple cube card showcasing lots of papers and die cuts!

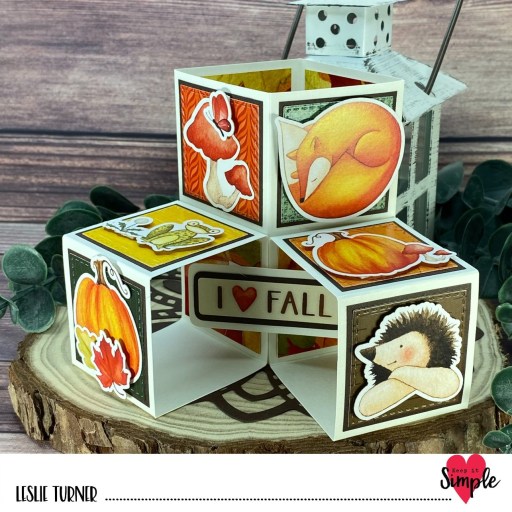
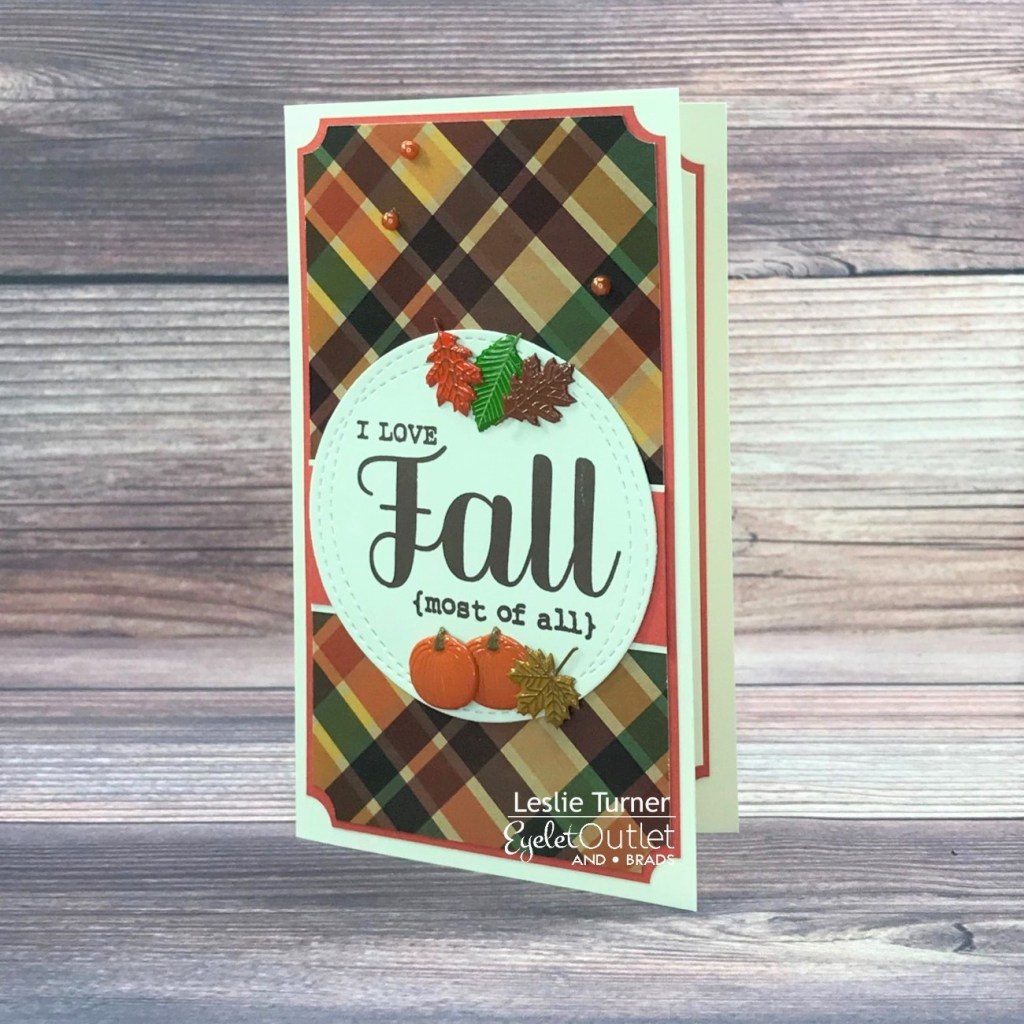
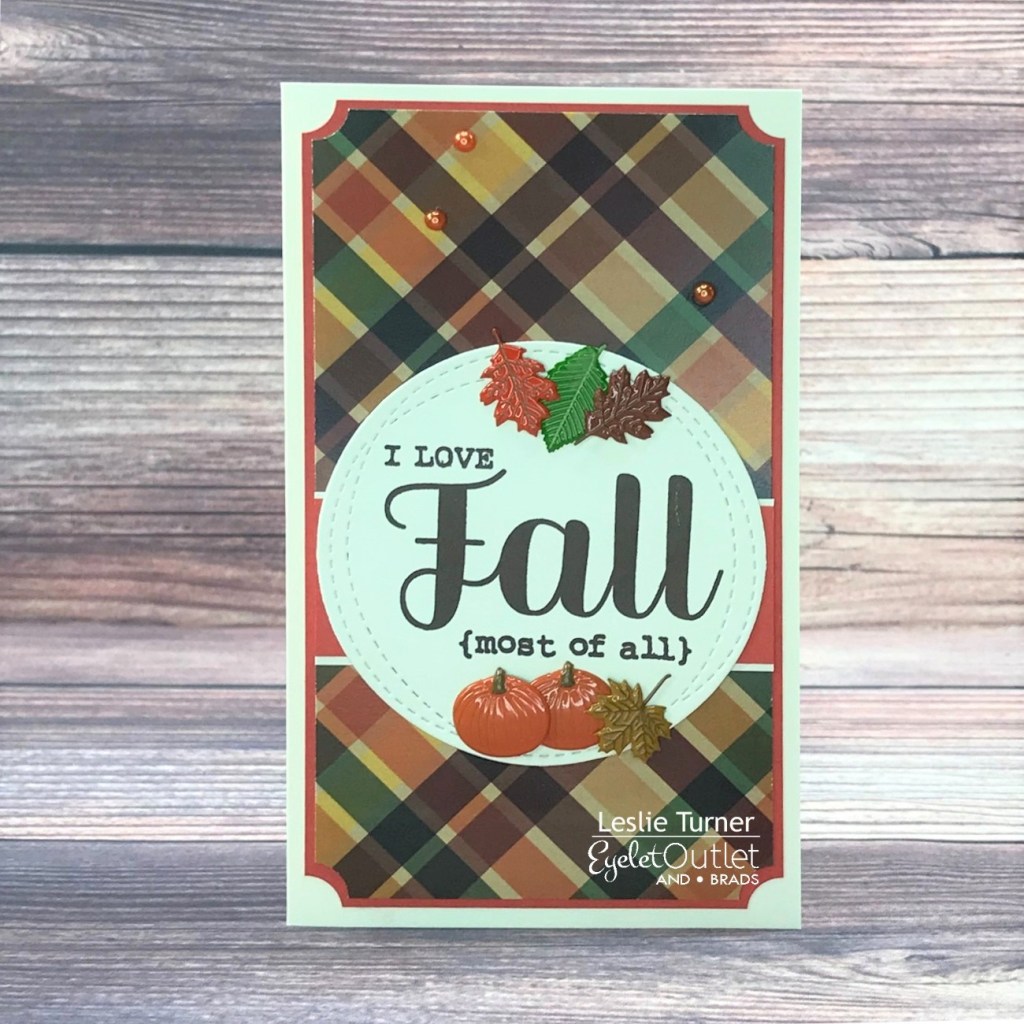
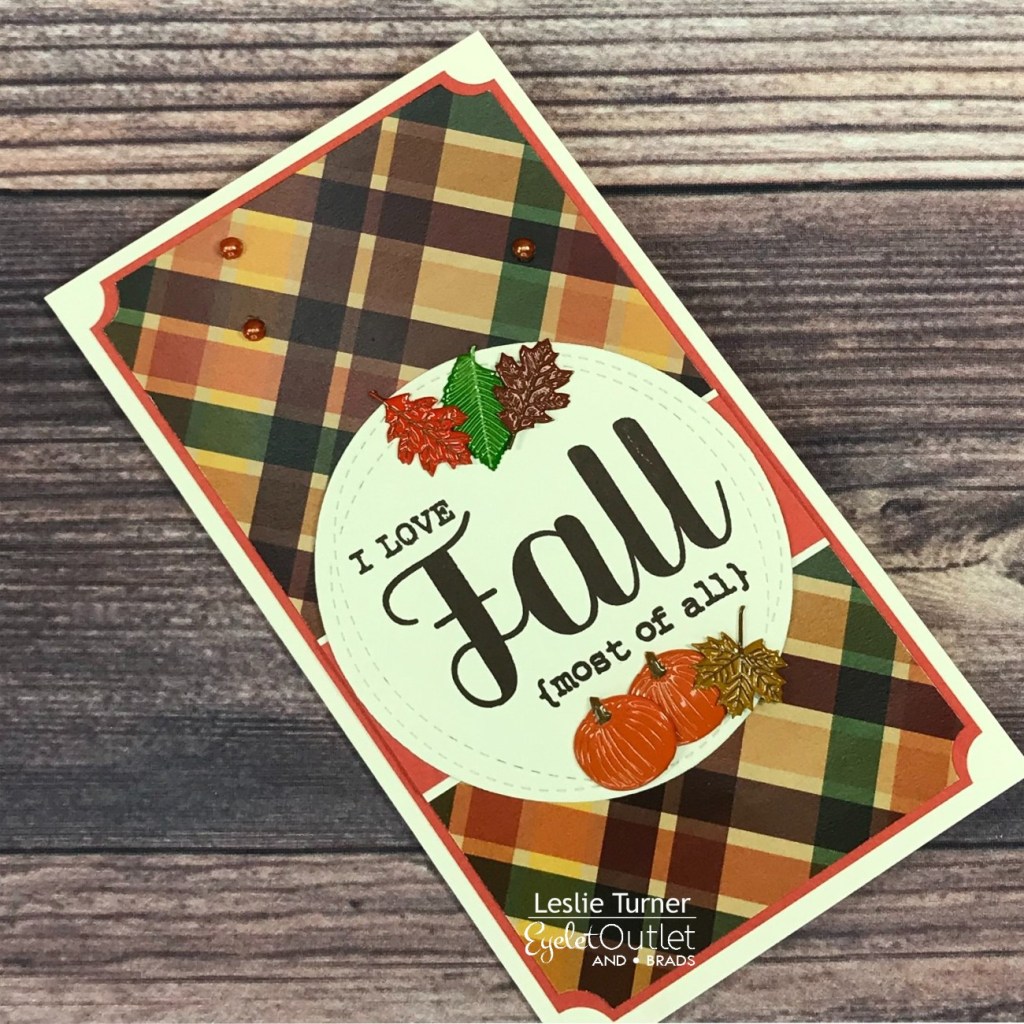
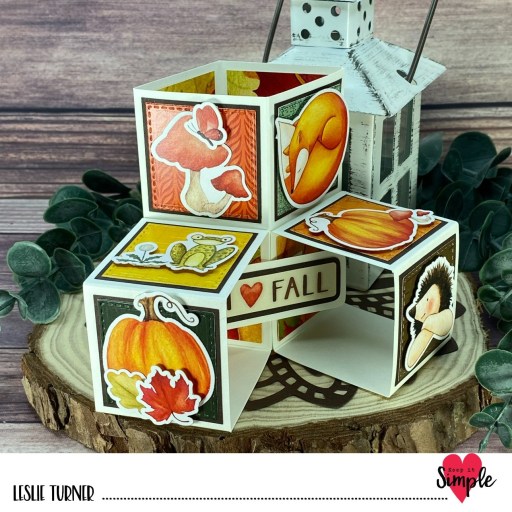
I cut the card base from CutCardStock Basis 80# Natural cardstock and assembled it. Using the Stitched Squares Nested Dies, I cut six stitched squares from papers in the 6×9 Collection Pack which I layered onto slightly larger square panels cut from CutCardStock Pop Tone Hot Fudge cardstock. I embellished each of the squares and created a sentiment panel with die cuts from the Autumn Foxes and Autumn Hedgehogs Die Cut Pieces.

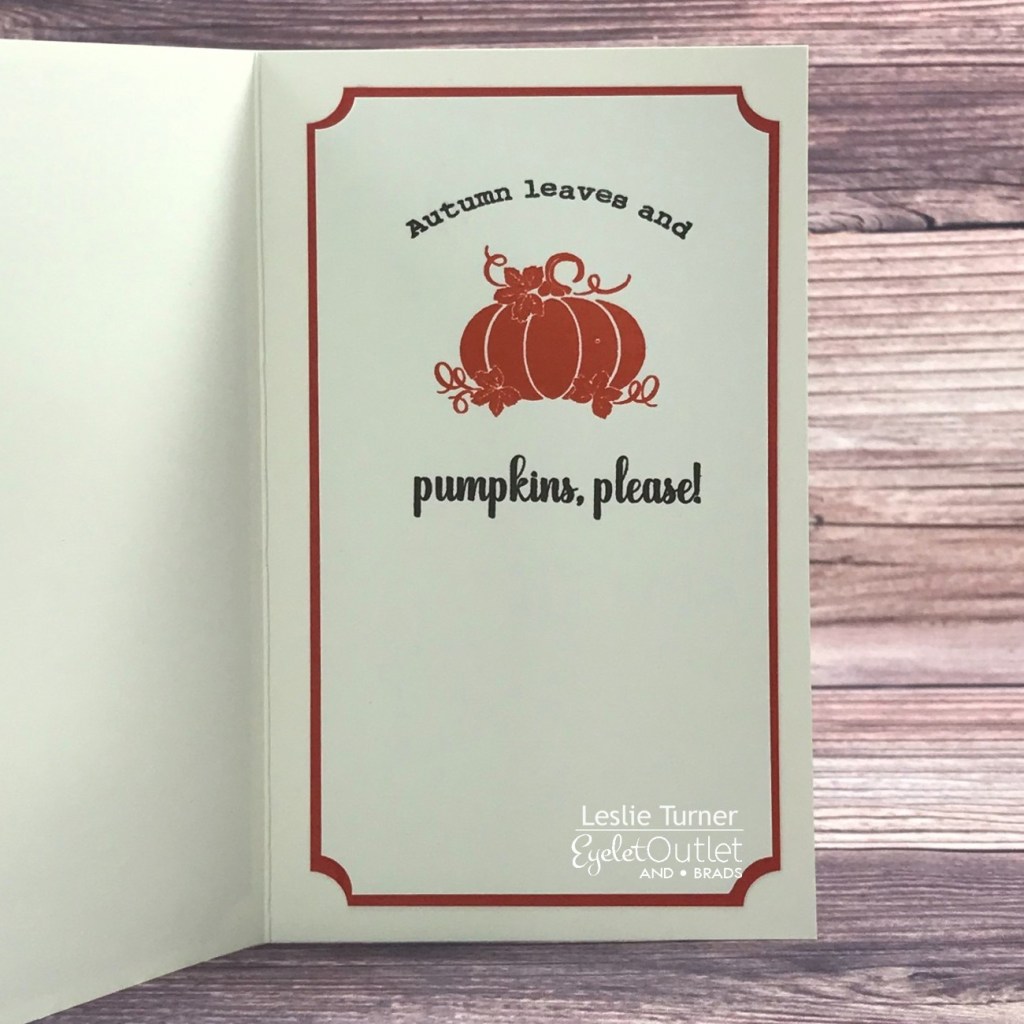
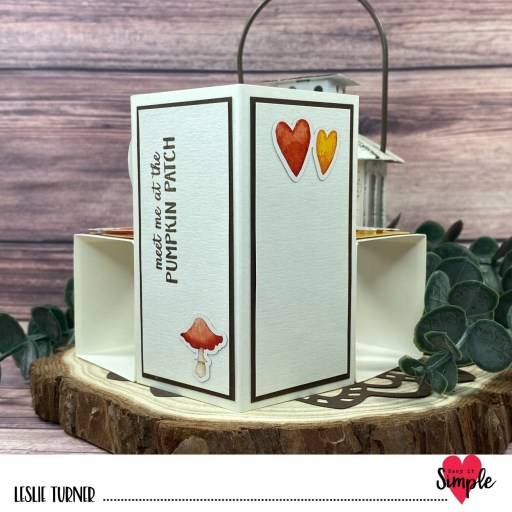
I cut the back panels from Basis Natural cardstock and embellished them with die cuts from the Autumn Foxes and Autumn Hedgehogs Die Cut Pieces. I stamped a sentiment from the Autumn Sentiments stamp set in Memento Rich Cocoa ink and layered the panels on Hot Fudge cardstock.

Sharing in the following challenges:
1. 613 Avenue Create: August 2023 – Anything Goes w/ optional CAS (no twist)
2. A Perfect Time To Craft Open Challenge: August #8-2023 – Anything Goes
3. Classic Design Challenge: August #8 – Anything Goes
4. Crafty Calendar Challenge: August Anything Goes
5. Outlawz Festive Friday Challenge: Fall Colors

Keep It Simple products used:
Autumn Charm 6×9 Collection Pack
Autumn Charm Autumn Foxes Die Cut Pieces
Autumn Charm Autumn Hedgehog Die Cut Pieces
Autumn Charm Autumn Sentiments
Stitched Squares Nested Dies

Affiliate links are used in this post at no cost to you – I really appreciate your support!

Other products used:
CARDSTOCK/PAPER: CutCardStock Basis 80# Natural and Pop Tone Hot Fudge cardstock
INK: Memento Rich Cocoa ink
DIES/PUNCHES: Kadomaru Pro corner rounder
ACCESSORIES: Tonic Studios 12″ Guillotine Paper Trimmer, Art Glitter Dries Clear adhesive, MISTI stamping tool, Big Shot, 1/2″ double-sided foam strips

I hope you’ve loved seeing this project as much as I loved creating it, and you’re inspired to get crafty! Be sure to check out ALL the fun goodies in the Keep It Simple store such as paper, stamps, die cuts, ephemera, washi tape and enamel dots to name just a few! You’ll go cray-cray! Be sure to Follow us on Facebook, Instagram, and Pinterest for lots of crafty inspiration! Thanks so much for stopping by today – we’ll see you next time!

Scrappy hugs,

I Love Fall

Hi everyone! A very Happy Saturday to you – I hope you’ve had a great week! Affiliate links are used in this post at no cost to you – I really appreciate your support! I’m stoked to be back on the Eyelet Outlet blog today with another awesome DT inspiration project! Mini slimlines (in 3-1/2″ x 6″ size that are legal to mail) are my new favorite kind of card to make these days, and I created a gorgeous Fall card featuring our Pumpkin Brads, Leaf Brads and Orange Pearl Bling! I got some new double-sided patterned paper packs that I’ve been itching to use! Plus, if you know me very well, then you know that I typically don’t stick to seasonal crafting… I’m all over the place and create whatever pops into my head! It’s Winter, so what’s wrong with a Fall card, I ask?! ;)

I cut a side-folding mini slim card base from Neenah Classic Crest Baronial Ivory cardstock along with layering panels from CutCardStock Pop-Tone Tangy Orange cardstock and Stamp Anniething Autumn Life 6×6 double-sided papers. I used a corner punch on the two layering panels and adhered them together. I cut wide embellishing strips from Neenah Classic Crest Baronial Ivory cardstock and CutCardStock Pop-Tone Tangy Orange cardstock, layered them together and adhered them horizontally across the front of the card, and adhered the panel to the card front. Using the My Favorite Things Wonky Stitched Circle STAX Die-namics, I die cut an element for the front on which I stamped the sentiment from The Project Bin New Leaf stamp set in brown ink, added Pumpkin Brads and Leaf Brads, and adhered it to the card front. To finish it off, I added some Orange Pearl Bling.

I cut the inside panel from Neenah Classic Crest Baronial Ivory cardstock and punched the corners with the corner punch. I stamped the sentiment (from the same TPB stamp set) in brown and orange inks, and layered it on CutCardStock Pop-Tone Tangy Orange cardstock.

And one more look… these pumpkin and leaf brads sure do make a gorgeous Fall card and are some of my favorites in the store!

Sharing in the following challenges:
1. 613 Avenue Create: #202201 – January Anything Goes
2. A Place to Start: #012022 – January Anything Goes
3. Ally’s Angels: #54 – Anything Goes
4. Aud Sentiments Challenge Blog: #290 – Anything Goes + A Sentiment
5. Crafting Happiness Challenges: #119 – January Anything Goes
6. Di’s Digi Challenge: Try/Use Something New (new patterned paper)
7. Jan’s Digi Challenge: January Anything Goes
8. Let’s Craft and Create: #179 – Anything Goes + Something New (new patterned paper)
9. Lil Red Wagon: #636 – Pick Patterned Paper
10. Paperbabe Stamps: #159 – Anything Goes
11. Stamping Sensations: January challenge: Anything Goes with Stamping w/ option Add a Die (playing twist)
12. Wednesday’s Creative Inspirations Challenge Blog: January Anything Goes

Eyelet Outlet products used:
Pumpkin Brads
Leaf Brads
Pearl Bling Multi Size Orange

Other products used:
Cardstock/Paper: Neenah Classic Crest Baronial Ivory cardstock, CutCardStock Pop-Tone Tangy Orange cardstock, Stamp Anniething Autumn Life 6×6 double-sided papers
Stamps: The Project Bin New Leaf stamp set
Ink: Catherine Poole Icing On The Cake and Mandarin Spice inks
Dies/Punches: Tonic Corner Punch, My Favorite Things Wonky Stitched Circle STAX Die-namics
Accessories: Tonic Studios 12″ Guillotine Paper Trimmer, MISTI stamp tool, Big Shot, Bearly Art precision craft glue

I hope you’ve enjoyed today’s project! Be sure to check out all the fun goodies at Eyelet Outlet! I can already see you drooling, lol! Be sure to ‘like’ and ‘follow’ Eyelet Outlet Facebook Page to keep up with news and sales, and while you’re at it, join the Eyelet Outlet Fans Facebook group for lots of creative inspiration! Thanks so much for stopping by today – we’ll see you next time! ;)

Scrappy hugs,