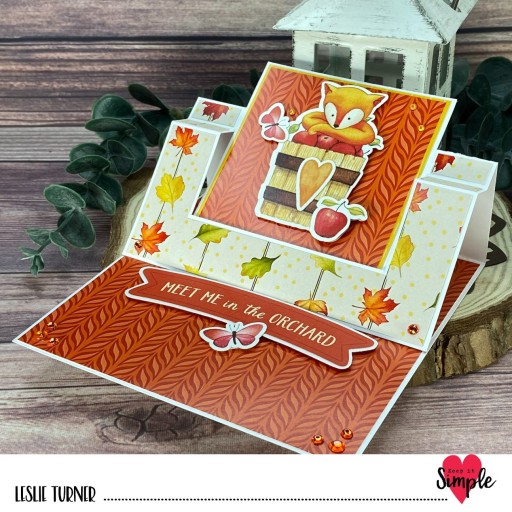
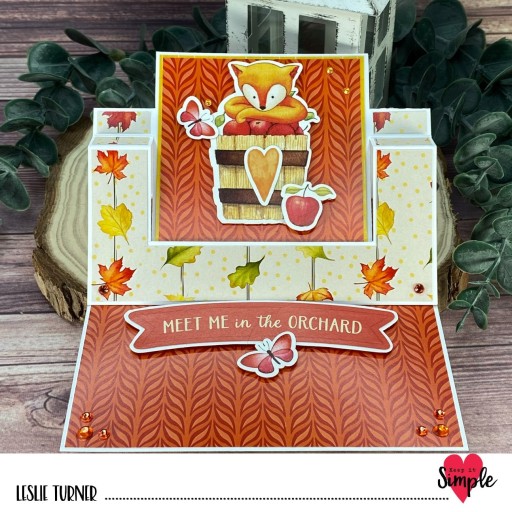
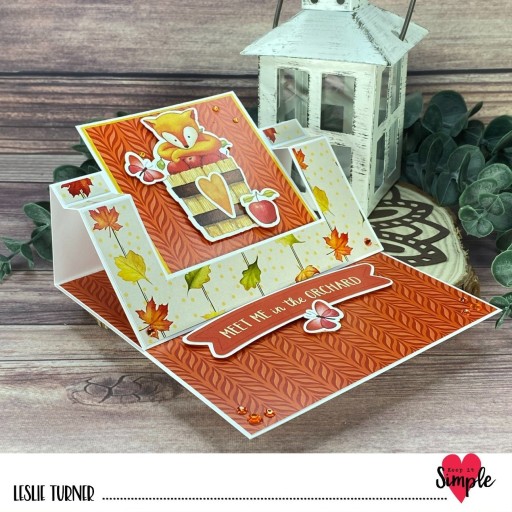
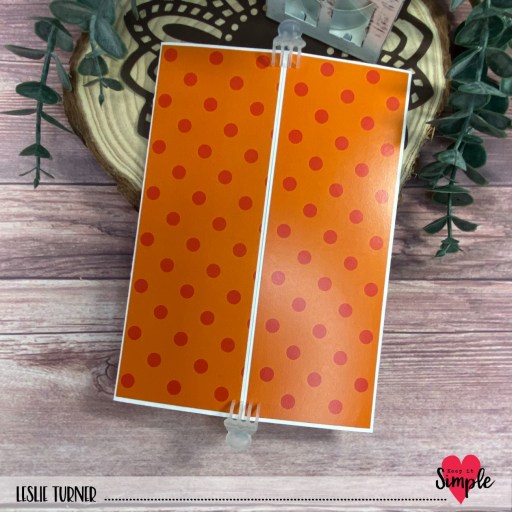
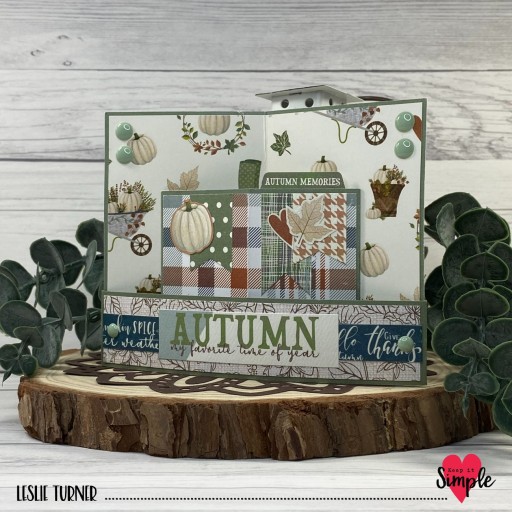
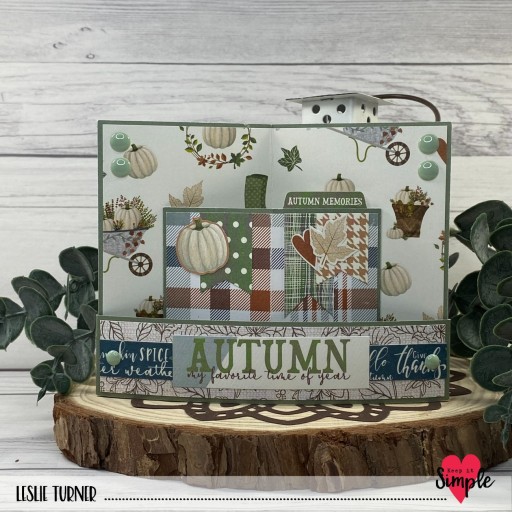
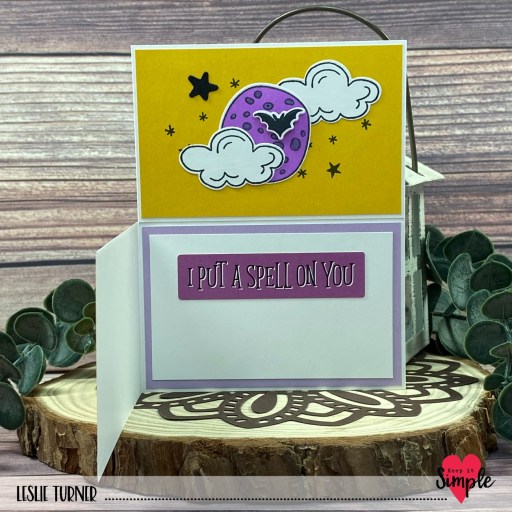
Hey everybody! I hope you’re having a great Monday! I’m back this afternoon with another Keep It Simple DT inspiration project created with the amazing Autumn Charm Collection! This is honestly one of the best Autumn/Fall collections out there as far as I’m concerned and I’ve had a large time creating with it! I created an impossible card – and I don’t remember where I saw it originally so I can’t give anyone credit – but it was many years ago and I’ve made quite a few of them over the years. Just search the web for it and you’ll get tons of results. It’s an easy one and I’ve seen it made with both one and two horizontal bands. I prefer making it with two because they balance it out and give it a tad more stability.
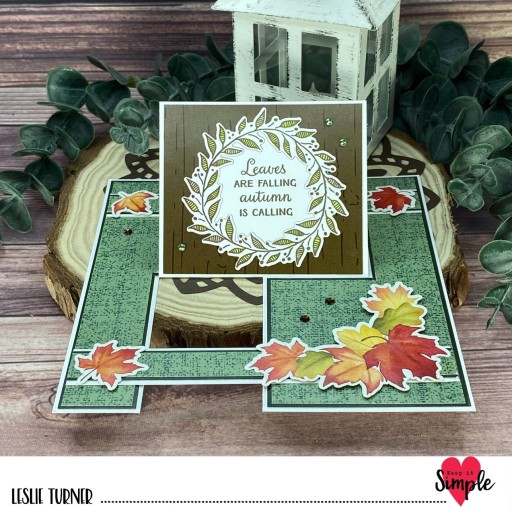
I cut the card base from CutCardStock Cougar Smooth 100# White cardstock along with layering panels from coordinating papers in the 12×12 Collection Pack. This is a fun one to assemble!
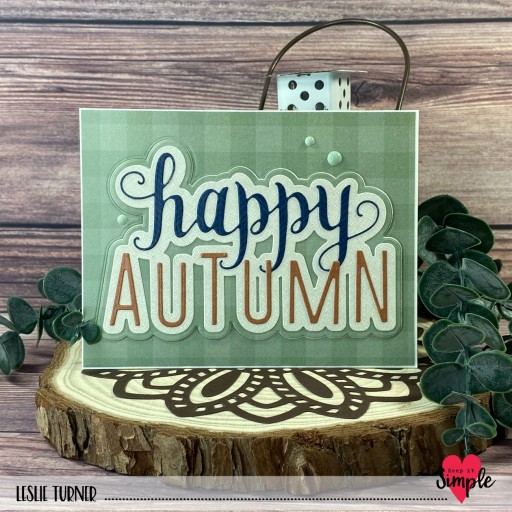
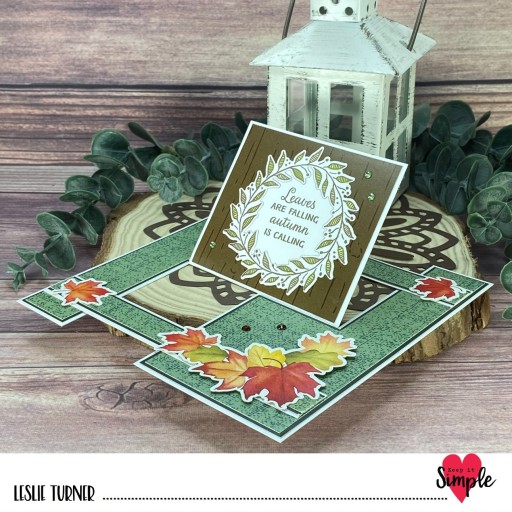
I stamped the focal image using stamps in the Autumn Sentiments Stamps and cut the image with the coordinating Autumn Sentiments Outline Dies. I used a variety of die cuts from the Autumn Foxes Die Cut Pieces to embellish the card. The finishing touch was adding some small light green gemstones to the focal image panel and a few scattered brown gemstones on the base.
Sharing in the following challenges:
1. A Perfect Time To Craft Open Challenge: #11-2023 – Anything Goes
2. A Place To Start: November 2023 – Anything Goes w/ optional Something for a Child
3. Classic Design Challenge: November #11 – Anything Goes
4. Crafty Catz: #659 – Anything Goes w/ optional 3 Favorite Colors (colors of FALL!)
5. Inkspirational: #303 – Seasonal (FALL!)
Keep It Simple products used:
Autumn Charm 12×12 Collection Pack
Autumn Charm Autumn Foxes Die Cut Pieces
Autumn Charm Autumn Sentiments Stamps
Autumn Charm Autumn Sentiments Outline Dies
Affiliate links are used in this post at no cost to you – I really appreciate your support!
Other products used:
CARDSTOCK/PAPER: Cougar Smooth 100# White cardstock
INK: Memento Rich Cocoa ink; Arteza alcohol markers- YG07/08/09, Y16, YR17/37
ACCESSORIES: Tonic Studios 12″ Guillotine Paper Trimmer, Fiskars 12″ SureCut Paper Trimmer, Art Glitter Dries Clear adhesive, MISTI stamp tool, Big Shot, 1/2″ double-sided foam strips, light green and brown gemstones
I hope you’ve loved seeing this project as much as I loved creating it, and you’re inspired to get crafty! Be sure to check out ALL the fun goodies in the Keep It Simple store such as paper, stamps, die cuts, ephemera, washi tape and enamel dots to name just a few! You’ll go cRaZy! Be sure to Follow us on Facebook, Instagram, and Pinterest for lots of crafty inspiration! Thanks so much for stopping by today – we’ll see you next time!
Scrappy hugs,