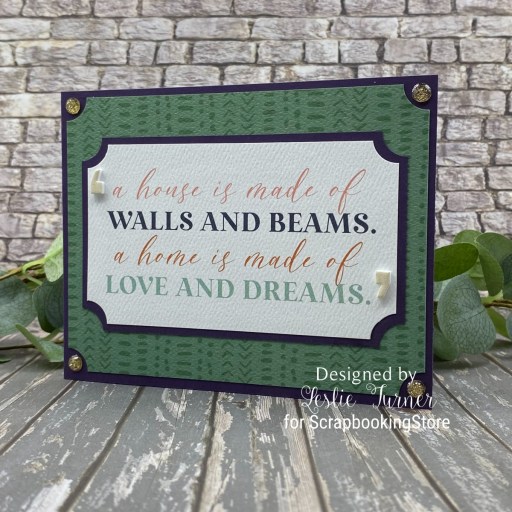
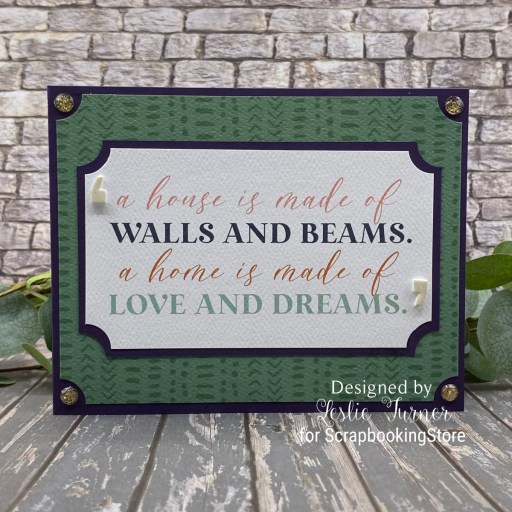
Hey everybody! It’s Saturday and what are you up to this weekend? Any crafting… or anything fun at all? I have an awesome ScrapbookingStore DT inspiration project to share with you today created with the September 2025 Scrapbook Kit with Upgrades. This floating image card is one of the newest fun folds I’ve made and I absolutely love how it turned out! I used papers and stickers from the collection in addition to gemstones and foam alphas from the upgrades. My inspiration (once again) came from Lisa Curcio’s blog, and despite it’s complex look, it’s pretty simple. The video is HERE if you want to learn how to make it. I sincerely hope there are no trackers on YouTube videos because I’d probably be known as a stalker on several of my sub channels, lol!
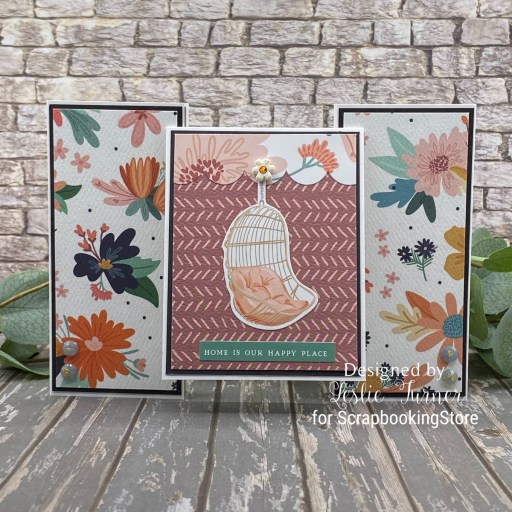
I cut the card base pieces from Neenah Classic Crest 80# Solar White cardstock along with layering panels from CutCardStock Pop Tone Black Licorice and several coordinating patterned papers from the collection. I used some image and sentiment stickers from the sticker sheet and an asterisk (used as a flower) from the foam alphas in the upgrades to embellish the floating element.
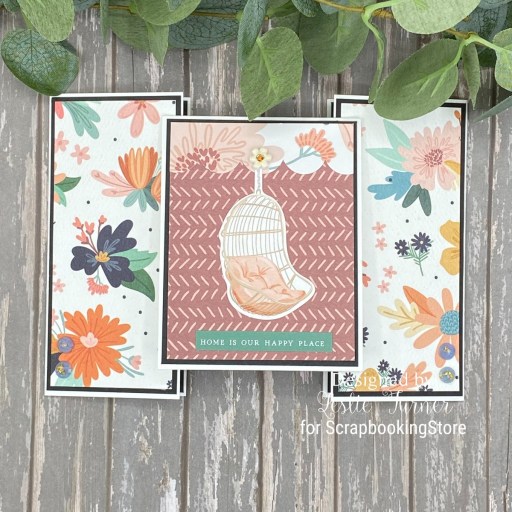
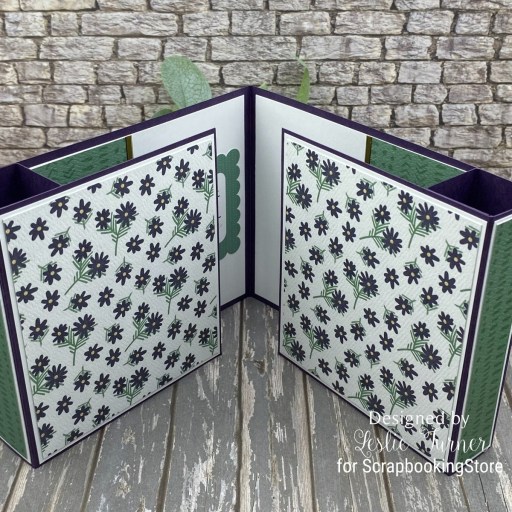
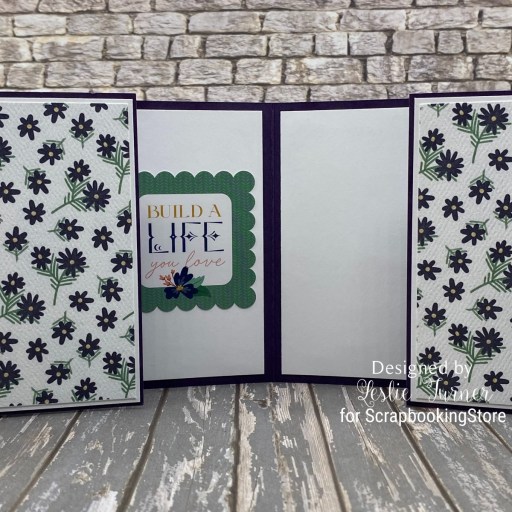
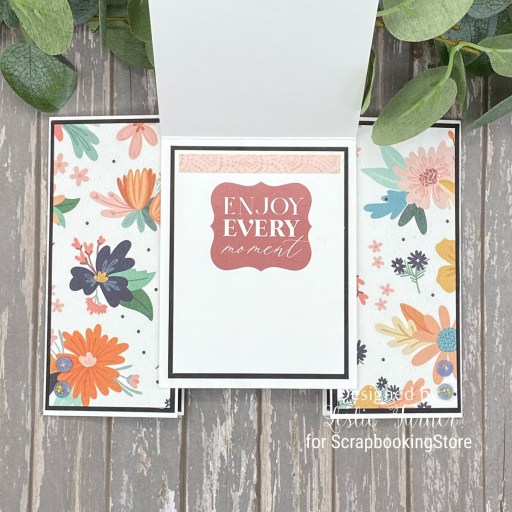
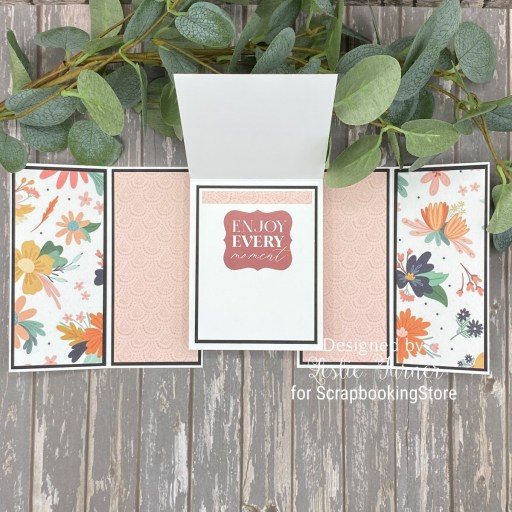
I used an additional sentiment sticker for the inside as well as a leftover strip of one of the patterned papers used. The last photo below shows the side panels and the floating element opened. This is such a cool fold!
Affiliate links are used in this post at no cost to you – I really appreciate your support!
ScrapbookingStore products:
September 2025 Scrapbook Kit with Upgrades:
Carta Bella At Home Collection Kit
Upgrades: Carta Bella At Home Frames & Tags
Rosie’s Studio Fanciful Gemstones
Simple Stories Vintage Cream Foam Alphas
Other products used:
CARDSTOCK/PAPER: Neenah Classic Crest 80# Solar White cardstock, CutCardStock Pop Tone Black Licorice cardstock
ACCESSORIES: Fiskars 12″ ProCision Rotary Bypass Paper Trimmer, Spellbinders 12×12 Scoring Board, My Sweet Petunia Precision Glue Press, Bearly Art precision craft glue, Scrapbook Adhesives E-Z Runner Permanent Strips, Stampendous Pink Dot Sparklers
I hope you’ve enjoyed today’s project and you’re thinking about all the fun you could have with this month’s kit… you really ought to think about joining the Subscription Club! Be sure to Follow us on Facebook, Instagram, Pinterest and YouTube for lots of crafty inspiration! And if you do decide to join the Subscription Club, join our ScrapbookingStore Club Member Group on Facebook for more inspiration and to share your projects! Thanks so much for stopping by today – we’ll see you next time!
Scrappy hugs,