
Hi friends! Sorry I’ve been rather MIA over the past couple weeks – we’ve been moving back into a house from our fifth wheel. Hubby and I have been full-time RVers since March 2016 when we sold our house in Florida. We’ve lived in some cool places and have met some awesome people, and even bought a house a few years ago thinking maybe it was time to settle down. But nope, we weren’t ready for that so we sold the house and moved back into the fifth wheel to continue our adventure. We really love the little town we moved to last year so we decided to make it permanent. We’re selling the fifth wheel and hope this will be our last move. We’ve made some wonderful memories over the last 4-1/2 years!
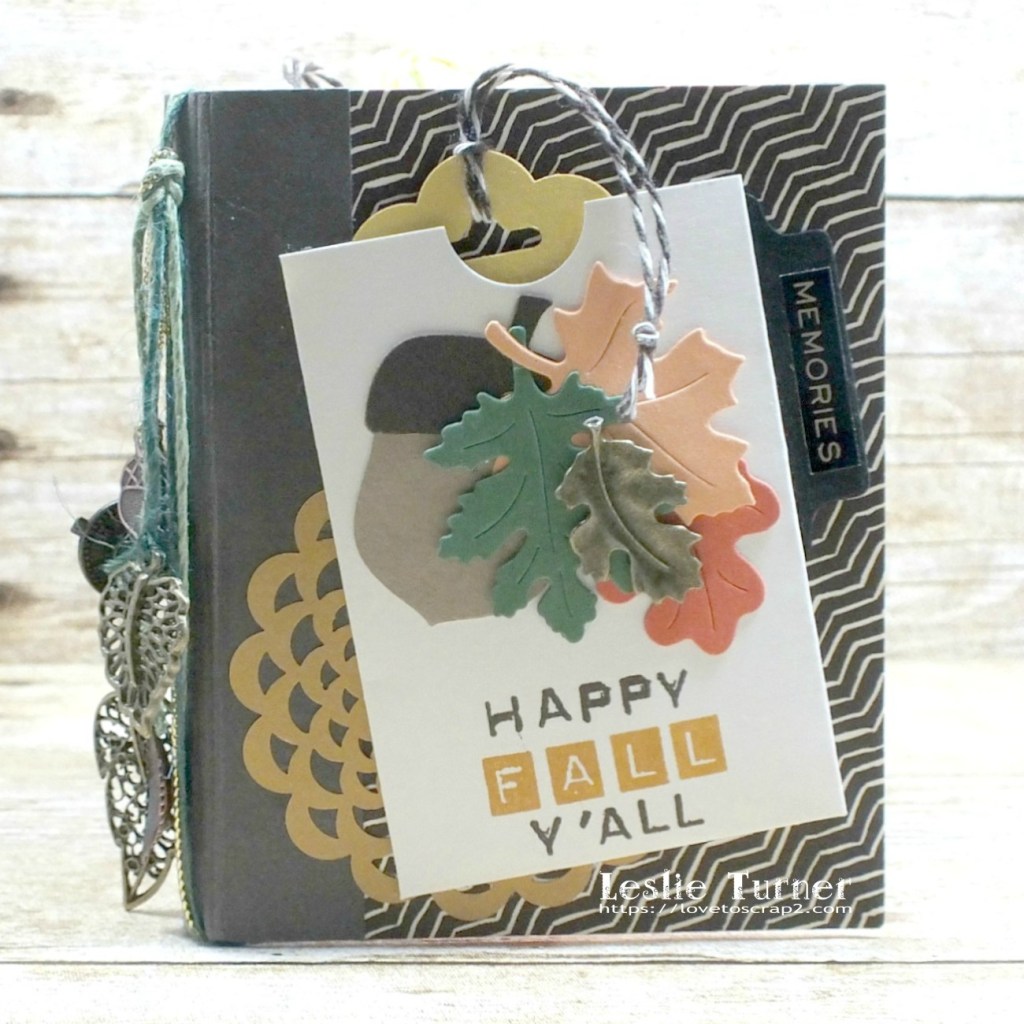
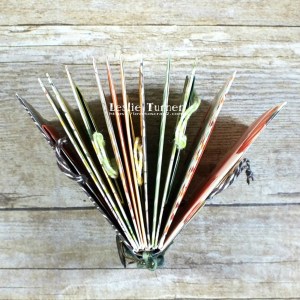
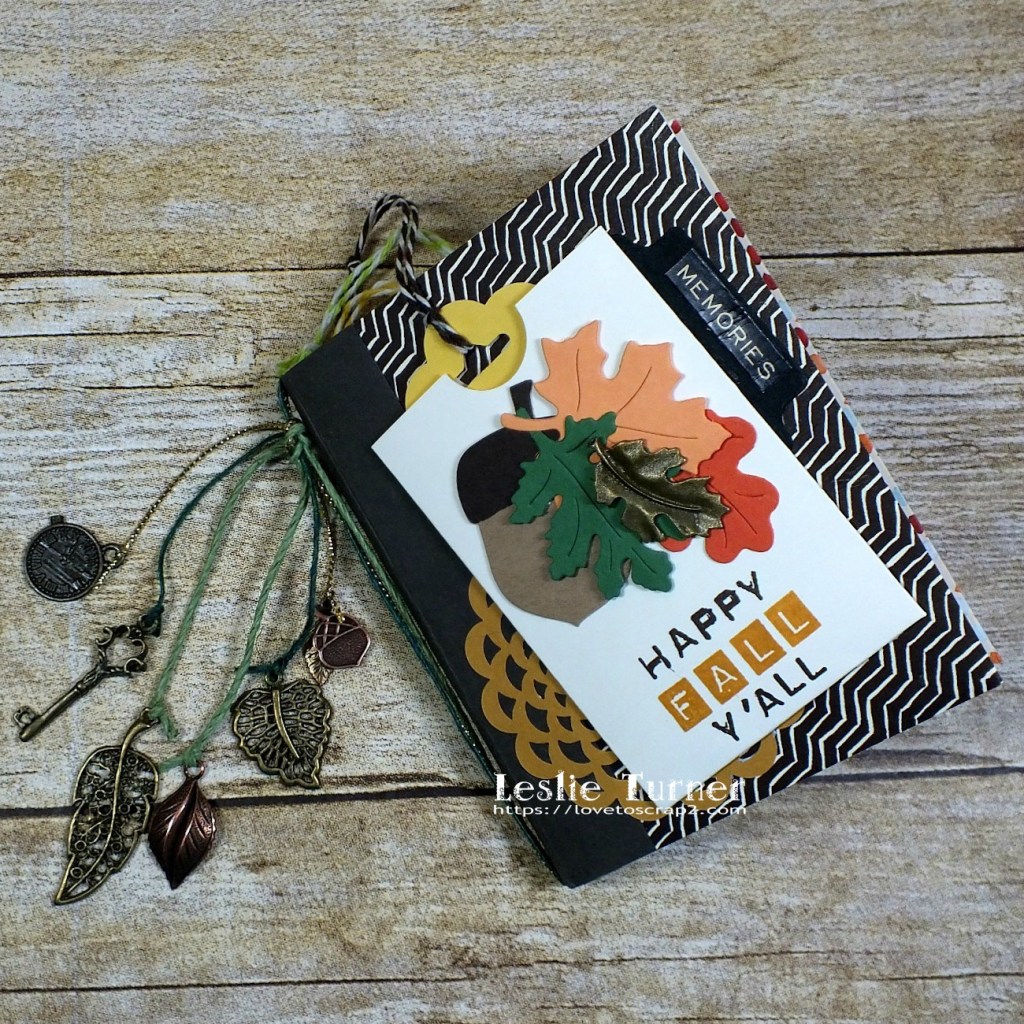
Now on to some awesome news I have to share… one of my mini album projects is being featured today on the Scrapbook & Cards Today blog! Needless to say, I’m super stoked to be a guest designer for SCT! But yep, this adorable Fall mini album was created with 12 envelopes I made with my WRMK Envelope Punch Board. You could also use pre-made envelopes if you want, but I thought handmade envelopes using double-sided papers would be fun! I made my envelopes 3″ x 4″ but there again, you could use any size you want and any number of envelopes you want depending upon the desired thickness.
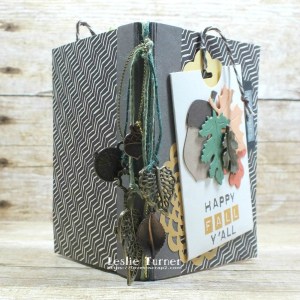
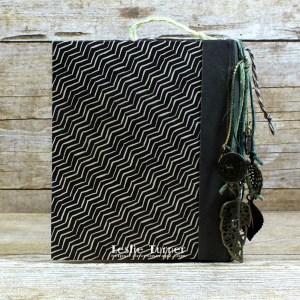
There is so much to look at – we’ll start with a look around the outside and then go into a little more detail.
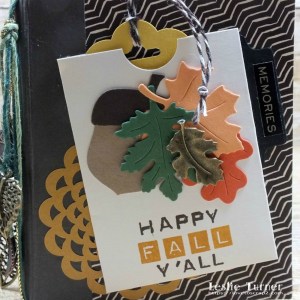
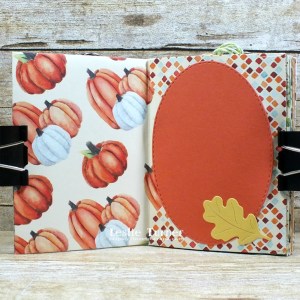
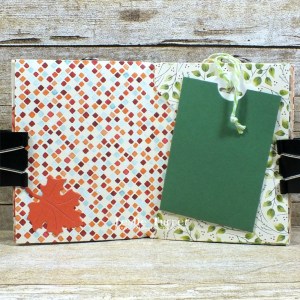
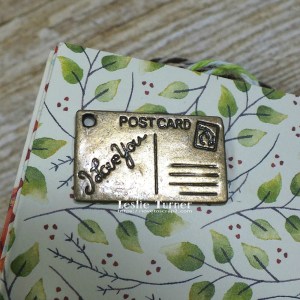
Besides the envelopes, I created notched pockets to use on the front and on various pages throughout the album, along with stitched oval and rectangle die cuts, punched acorns and die cut leaves to embellish the front and inside pages. The notched pockets hold little tags to use for journaling or photos. I tied small lengths of Baker’s Twine to the top of the tags.
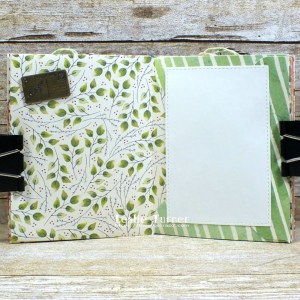
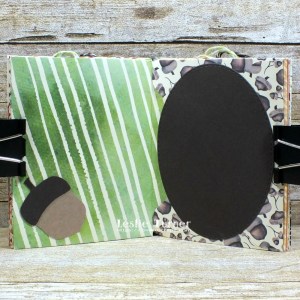
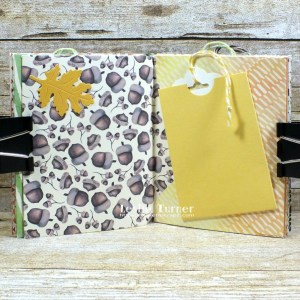
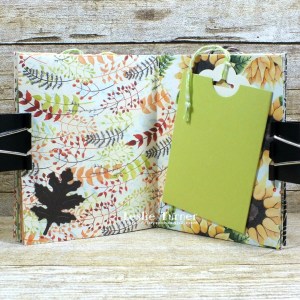
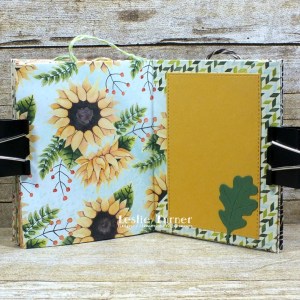
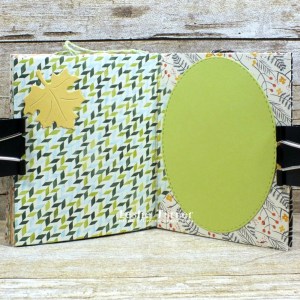
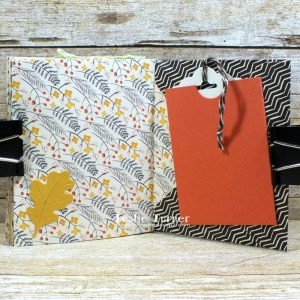
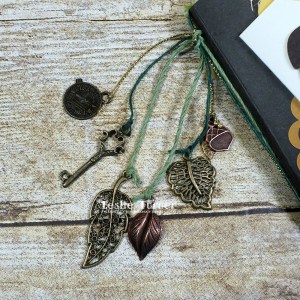
I affixed charms to a couple of the pages, and adhered bamboo cord, twine and gold cord in the spine, and added charms for a little interest.

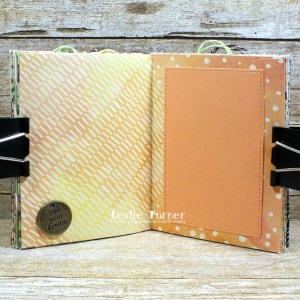
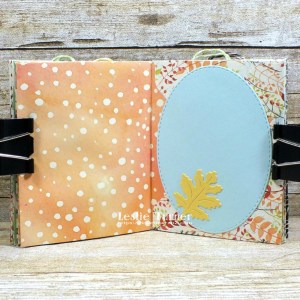
And one more peek… I just LOVE how this turned out! There’s plenty of room for journaling and adding photos. I can’t think of a better way to record those fun Fall memories!
Sharing in the following challenges:
1. Alphabet Challenge Blog: Anything Beginning with M (mini album)
2. International Art & Soul: #93 – Autumn Colors
3. Lemon Shortbread Challenge Blog: #129 – Anything Goes
4. Pammie’s Inky Pinkies Challenges: #2039 – Anything Goes
5. Try It On Tuesday: Autumn Colors
6. Word Art Wednesday: Weeks #458/459 – Anything Goes
Products used:
Cardstock/Paper: Stampin’ Up Crushed Curry, Daffodil Delight, Early Espresso, Garden Green, Lemon Lime Twist, Peekaboo Peach, Soft Sky, Tangerine Tango and Very Vanilla cardstock; CutCardStock Twine cardstock, Stampin’ Up Painted Autumn DSP
Stamps: Stampin’ Up Labeler Alphabet stamp set
Ink: Stampin’ Up Delightful Dijon and Early Espresso ink
Dies/Punches: Memory Box Stitched Oval Layers die, My Favorite Things Stitched Rectangle STAX die; Cottage Cutz Leaf Mini, Maple Leaf Mini and Oak Leaf Mini dies; Stampin’ Up Scallop Tag Topper punch, Stampin’ Up Acorn Builder punch
Accessories: Bearly Art precision craft glue, We R Memory Keepers Envelope Punch Board and Pocket Punch Board; American Crafts File Tab, Tim Holtz idea-ology Metallic Qutotations, Stampin’ Up Delightful Dijon doily, Hemptique bamboo cord, Studios Blackbird twine, GKD gold cord; Baker’s Twine- brown, yellow and lime green; Ranger Distress Collage Medium, The Funkie Junkie Boutique metal charms, Wild Orchid Crafts leaf charms
I hope you’ve enjoyed seeing this envelope mini album! Thanks so much for stopping by today – we’ll see you next time! ;)
Scrappy hugs,


I saw this over at SCT blog, this is just the cutest mini album. I would love to make one but nit sure how to assemble it. Do you have the instructions? Thank you.
LikeLiked by 1 person
Hi Claire – Thanks so much for the compliment and for coming over to visit me at my blog! I have had these instructions in my tutorial folder for quite a while and honestly don’t remember exactly where I got them. I just Googled ‘envelope mini album’ and here is a tutorial that explains how to assemble pre-made envelopes to make the little album. The construction is the same for handmade pointed envelopes like I used – just fold the flaps backwards and glue one inside the next. Have fun! http://blog.consumercrafts.com/paper-crafts/scrapbooking-paper-crafts/quick-scrapbook-ideas/
LikeLike
Oh, my, Leslie, this is fabulous! Love the paper choices, the charms and your design and construction are superb! I have to Pin this one for sure! XXO
LikeLiked by 1 person
This is gorgeous. I must get going on a mini album myself, but love all those little added extras.
LikeLiked by 1 person
Your album is incredible Leslie! What a beautiful design with the Fall theme!
LikeLiked by 1 person
Beautiful Autumn mini!!! LOVE all the pages and details! Thanks for sharing with us at Try it on Tuesday! Helen
LikeLiked by 1 person
Very lovely. All your pages are so pretty and well thought out. Congrats on the feature in SC&T. Hope you love your new place. Thanks for joining us at International Art & Soul. Good luck. Maggie, DT
LikeLiked by 1 person