Hi friends! Well, I’m back on this fine Thursday morning posting another card for The Outlawz Challenges! I just couldn’t stay away, lol! Affiliate links are used in this post at no cost to you – I really appreciate your support! I’m entering this Christmas card into the Festive Fridays Challenge where SheepSki Designs is our sponsor this fortnight, so come on over and play! I CASE’d my own card from several months ago – used the same dies and papers but created a totally different design. These dies and papers really work well together!
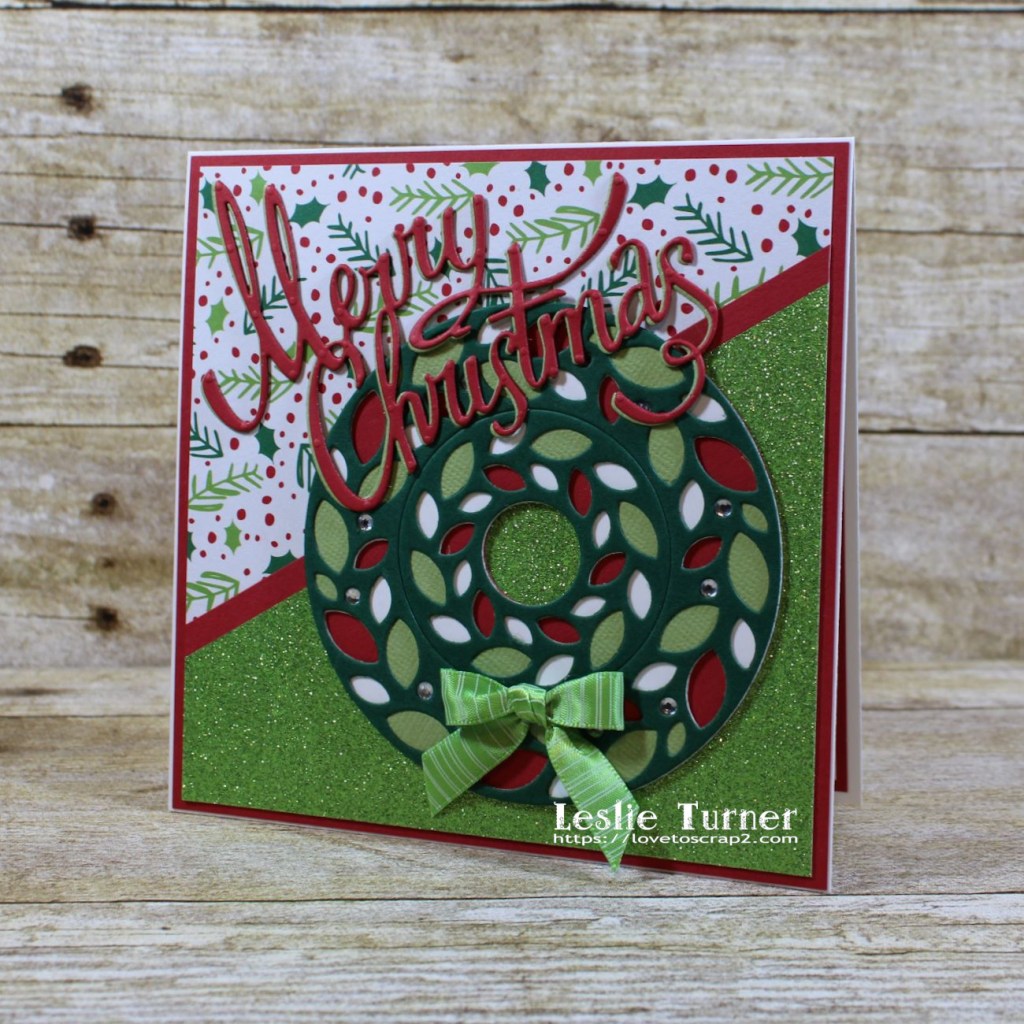
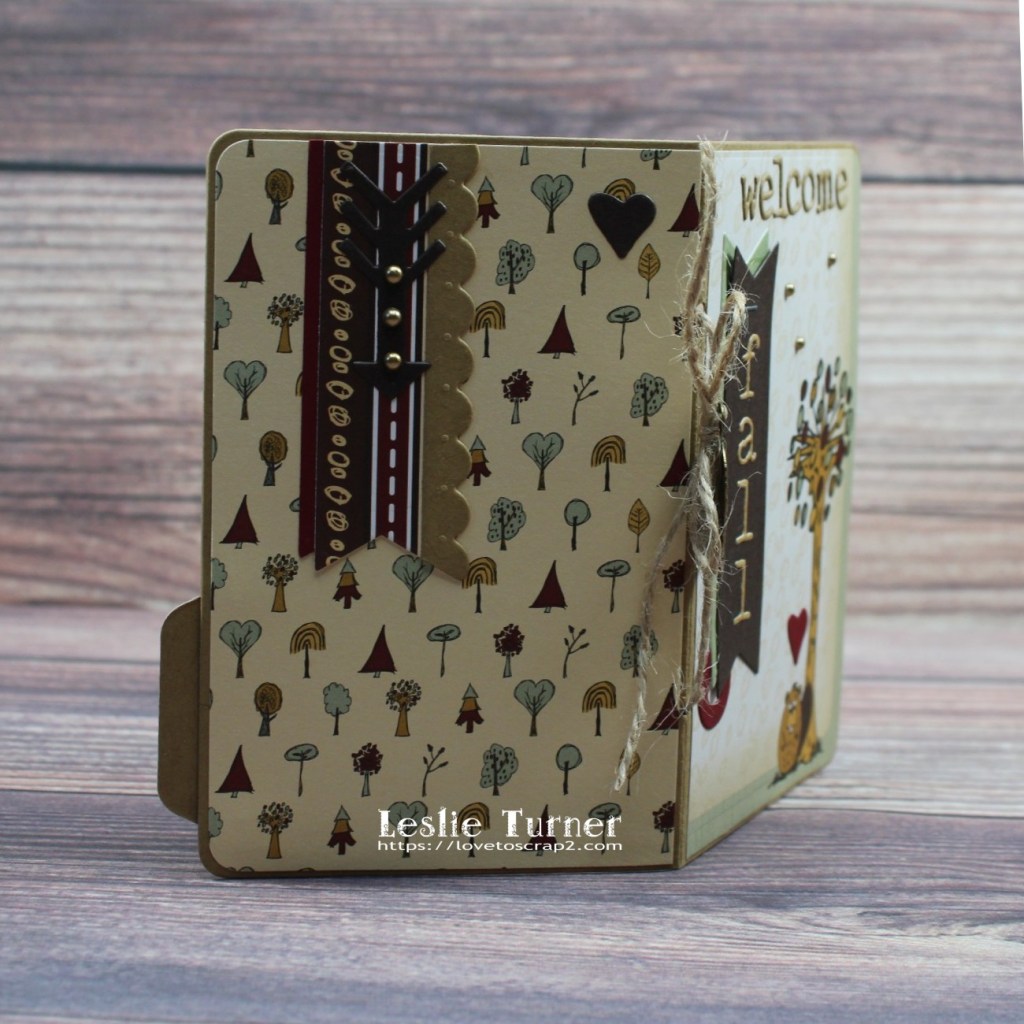
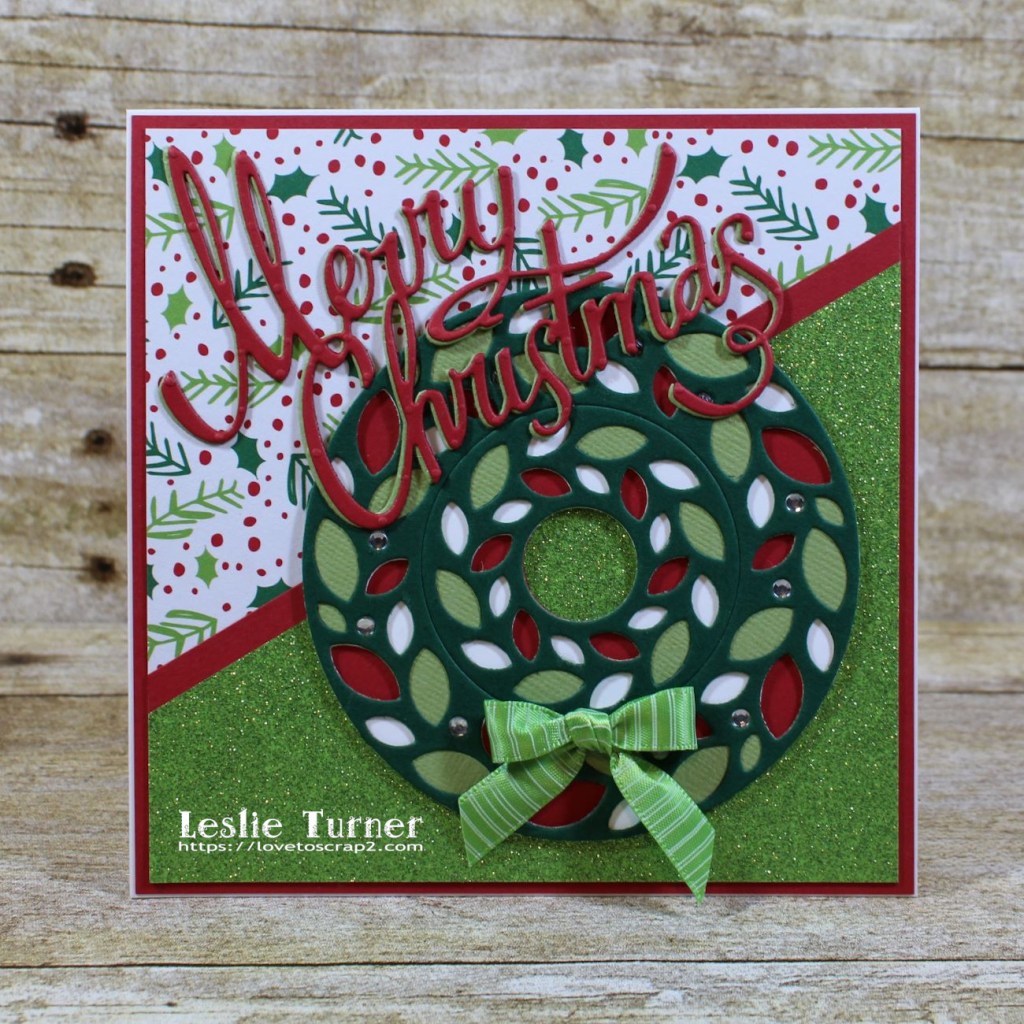
I cut a square top-folding card base from Neenah Classic Crest Solar White cardstock along with a layering panel from CutCardStock Basis Red cardstock and diagonally-cut patterned paper and glitter paper pieces from the Christmas Print 6×6 paper pad which I adhered to the red cardstock panel with a narrow strip of red cardstock adhered at the seam. Using the Birch Press Design Wreath Layer Set, I cut the pieces from Neenah Classic Crest Solar White cardstock, CutCardStock Basis Red cardstock, CutCardStock Basis Green cardstock and CutCardStock Canvas Texture Galax 4×6 cardstock, and assembled the wreath. Using the Sizzix Christmas Ribbon Thinlits, I die cut one sentiment from CutCardStock Basis Red cardstock and one from CutCardStock Canvas Texture Galax 4×6 cardstock, and adhered them together with just a peek of the green showing underneath the red. I adhered the wreath to the card front and then the sentiment. I added clear rhinestones to the wreath along with a ribbon bow to complete the card front.
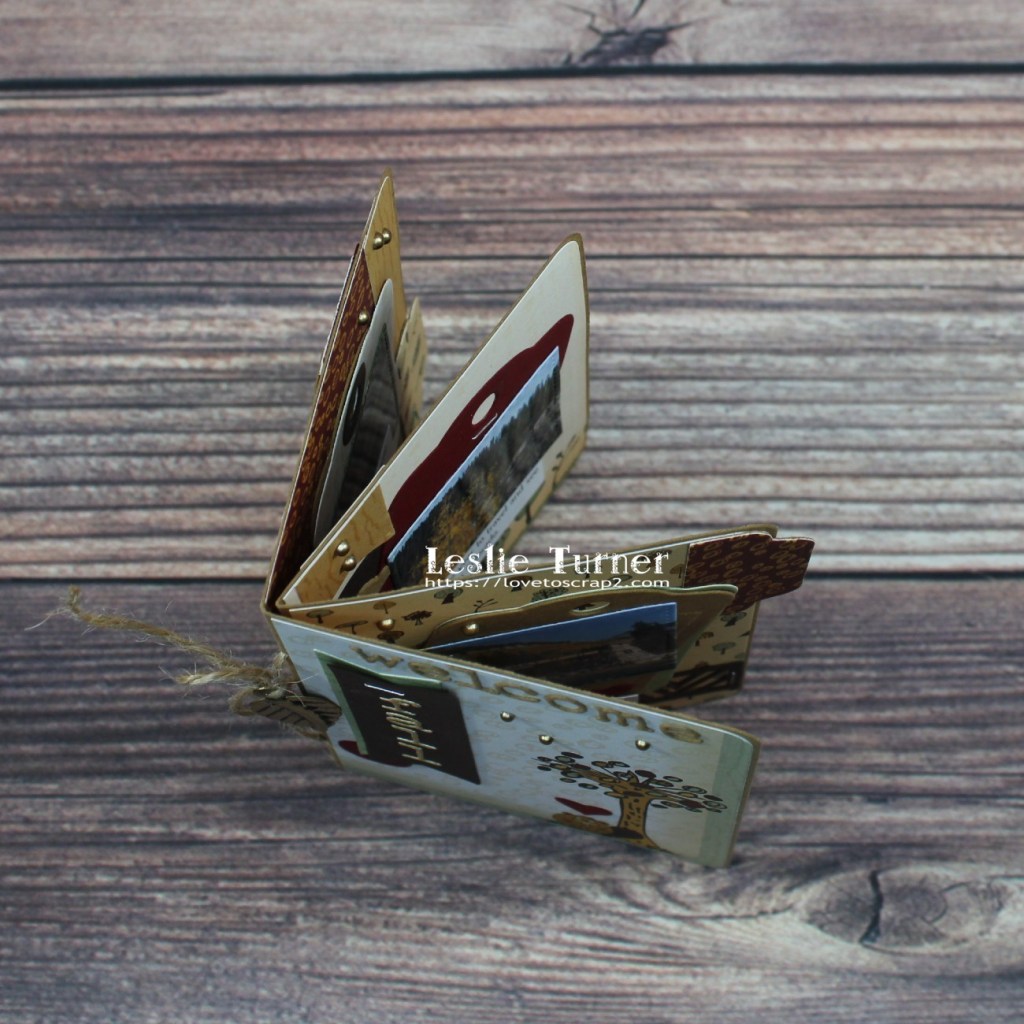
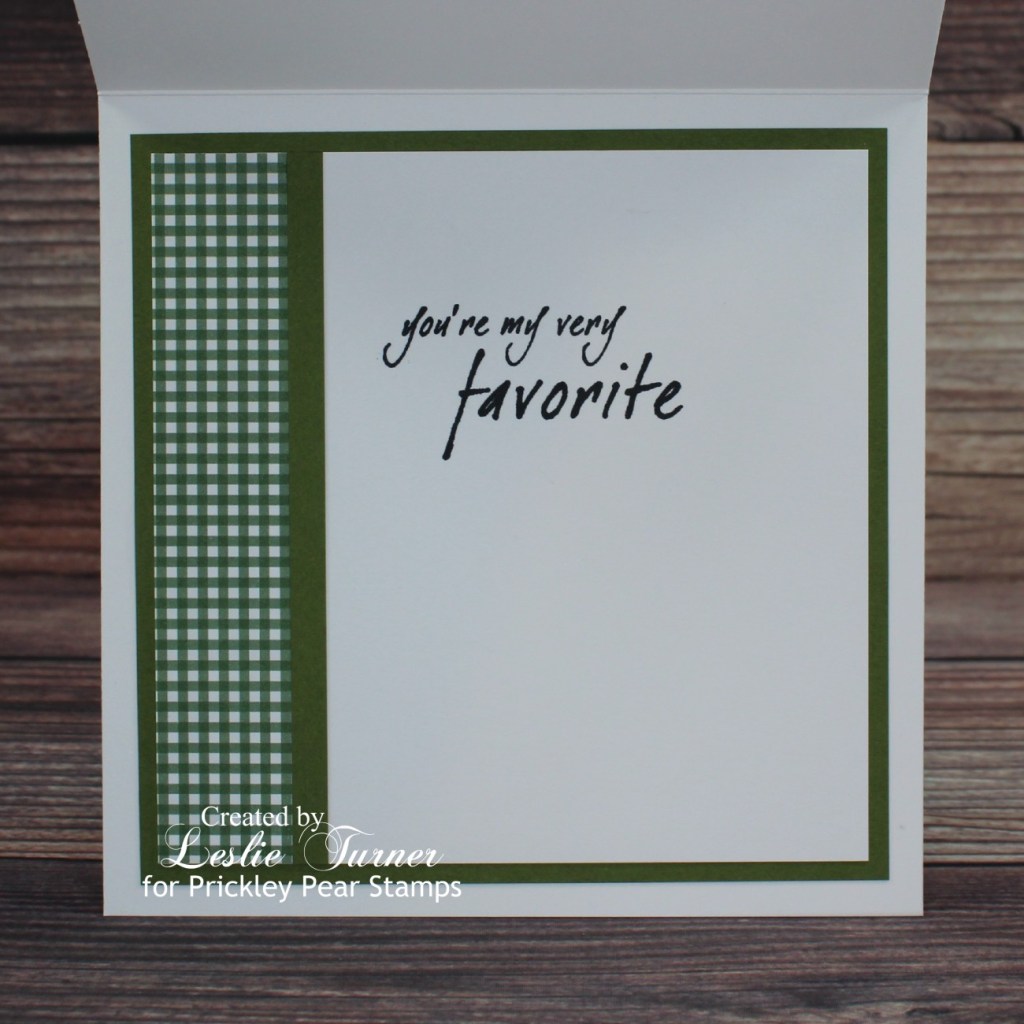
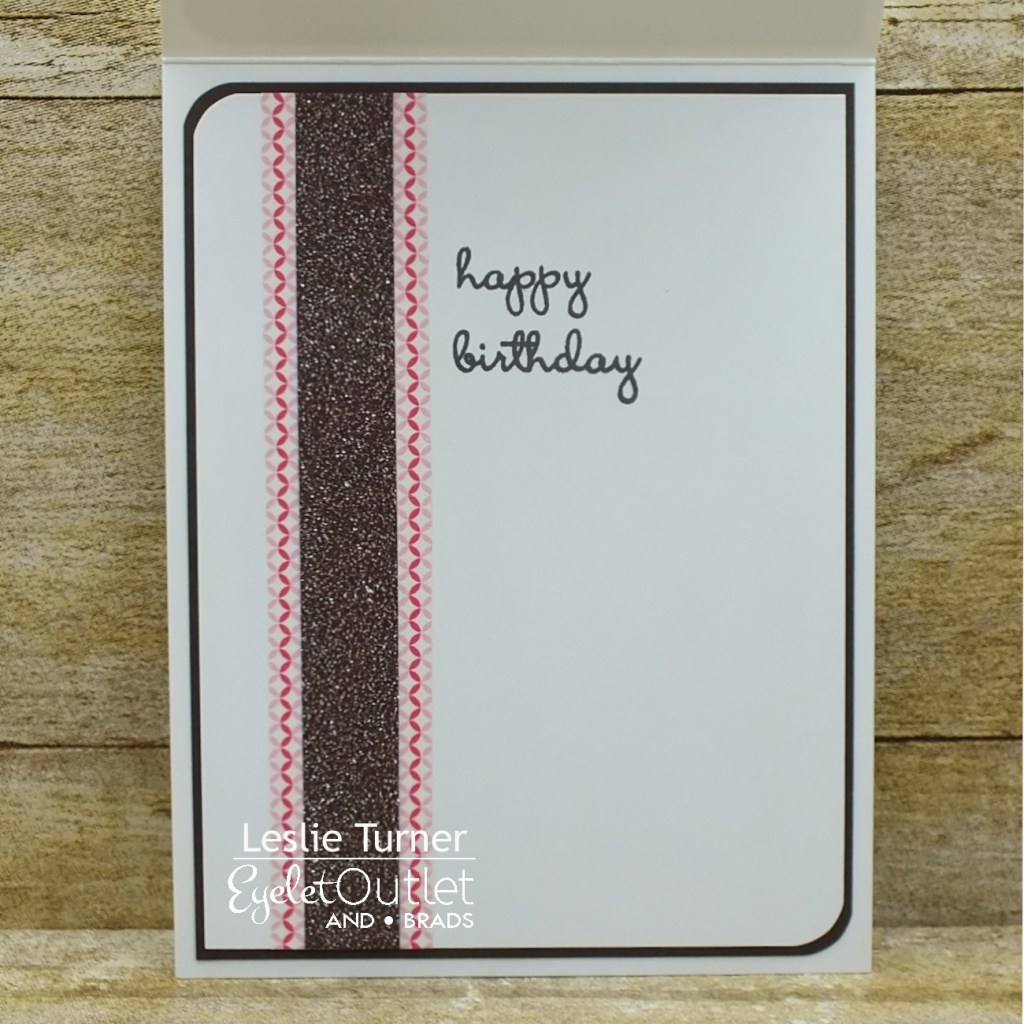
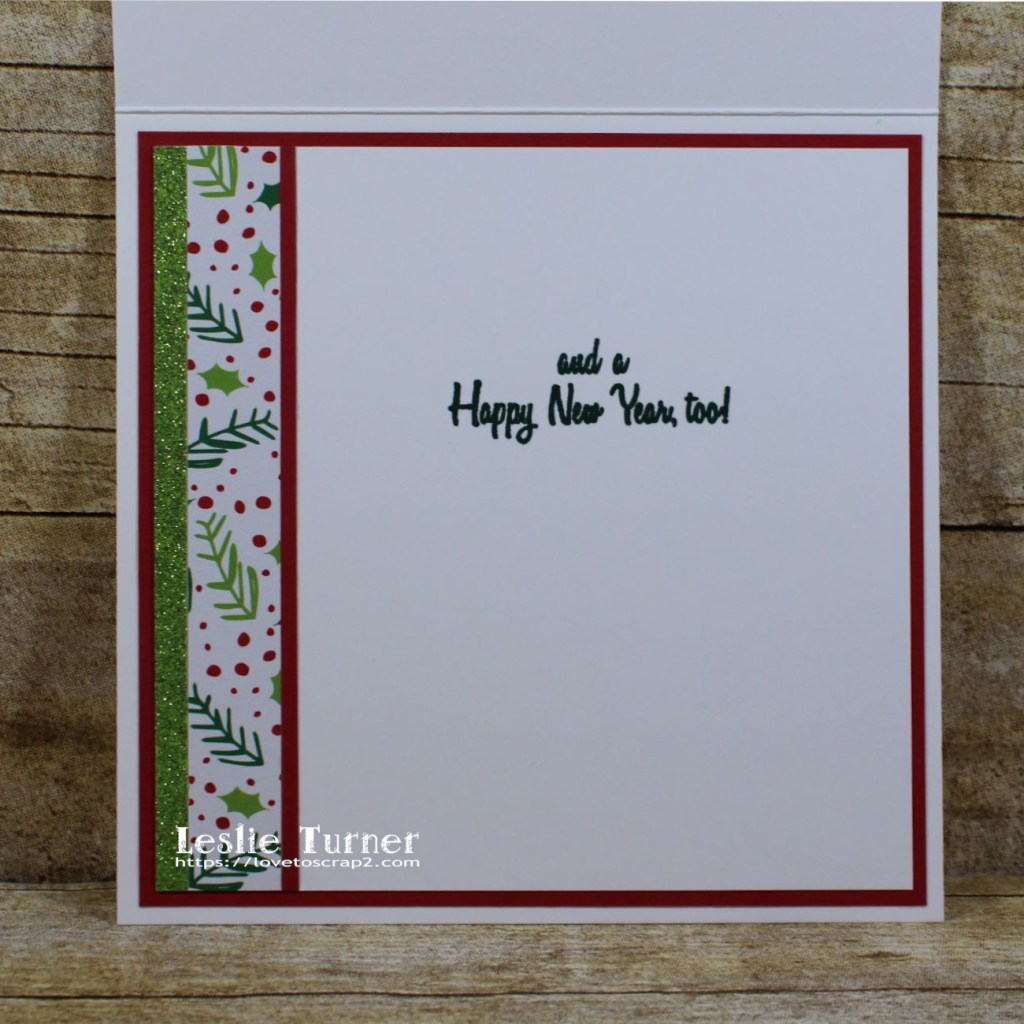
I cut the inside panel from Neenah Classic Crest Solar White cardstock and embellished it with strips of CutCardStock Basis Red cardstock and the patterned paper and glitter paper from the Christmas Print 6×6 paper pad. I stamped the sentiment in dark green ink and layered the panel on red cardstock.
And one more look… I really love both of these die sets and see lots of use out of them in the coming years!

Sharing in these additional challenges:
1. 613 Avenue Create: #11 – Anything Goes with optional twist of Thanks/Thankfulness
2. A Perfect Time To Craft: #11 – Anything Goes
3. Christmas Crafts All Year ‘Round: November – Something that starts with U, V and/or W (wreath)
4. Classic Design Challenge: #11 – Anything Goes
5. Creative Inspirations Challenge Blog: November – Wonderful Winter/Feeling Festive
6. Sweet Stampers Challenge Blog: #62 – Christmas
7. Aud Sentiments Challenge Blog: #288 – Anything Goes + A Sentiment
8. My Time To Craft: #470 – Texture
Products used:
Cardstock/Paper: Neenah Classic Crest Solar White cardstock, CutCardStock Basis Green cardstock, CutCardStock Canvas Texture Galax 4×6 cardstock, CutCardStock Basis Red cardstock, Christmas Print 6×6 paper pad
Stamps: The Project Bin Mid Century Christmas stamp set
Ink: Catherine Pooler Deck The Halls ink
Dies/Punches: Birch Press Design Wreath Layer Set, Sizzix Christmas Ribbon Thinlits
Accessories: Tonic Studios 12″ Guillotine Paper Trimmer, Big Shot, MISTI stamp tool, Flourish With a Bling Clear Rhinestones, Crystal Katana Pick-Up Tool, Bearly Art precision craft glue, Ranger Distress Collage Medium, Elmer’s Craft Bond Spray Adhesive, American Crafts satin green and white stripe ribbon, Zutter Bow-It-All v2.0
I hope you’ve enjoyed this project and will come over and join in all the fun at The Outlawz Challenges! Lots of fun going on! Thanks so much for stopping by today – we’ll see you next time! ;)
Scrappy hugs,