Howdy, everybody! I’m having the hardest time wrapping my head around the fact that we’re three-quarters of the way through 2021 already! Affiliate links are used in this post at no cost to you. I really appreciate your support! Our newest challenge is live over at Merry Little Christmas Challenge Blog and I’m stoked to share my DT inspiration project for MLCCB #38 – September Anything Christmas Goes! I used the Prickley Pear Stamps Build A Cat 2 clear stamp set and coordinating Build A Cat die set to create an adorable CAS Christmas card featuring a festive kitty and several flat-back Christmas bulbs on gold cord.
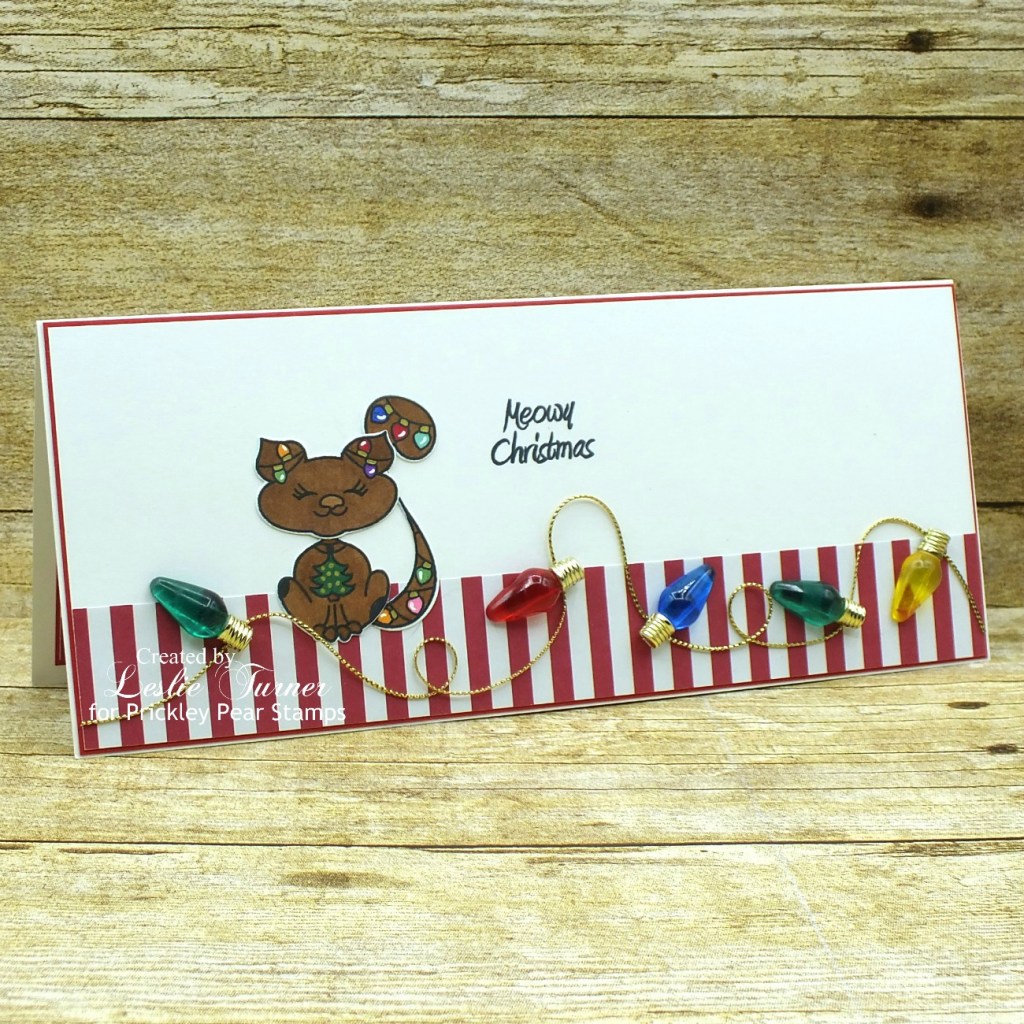
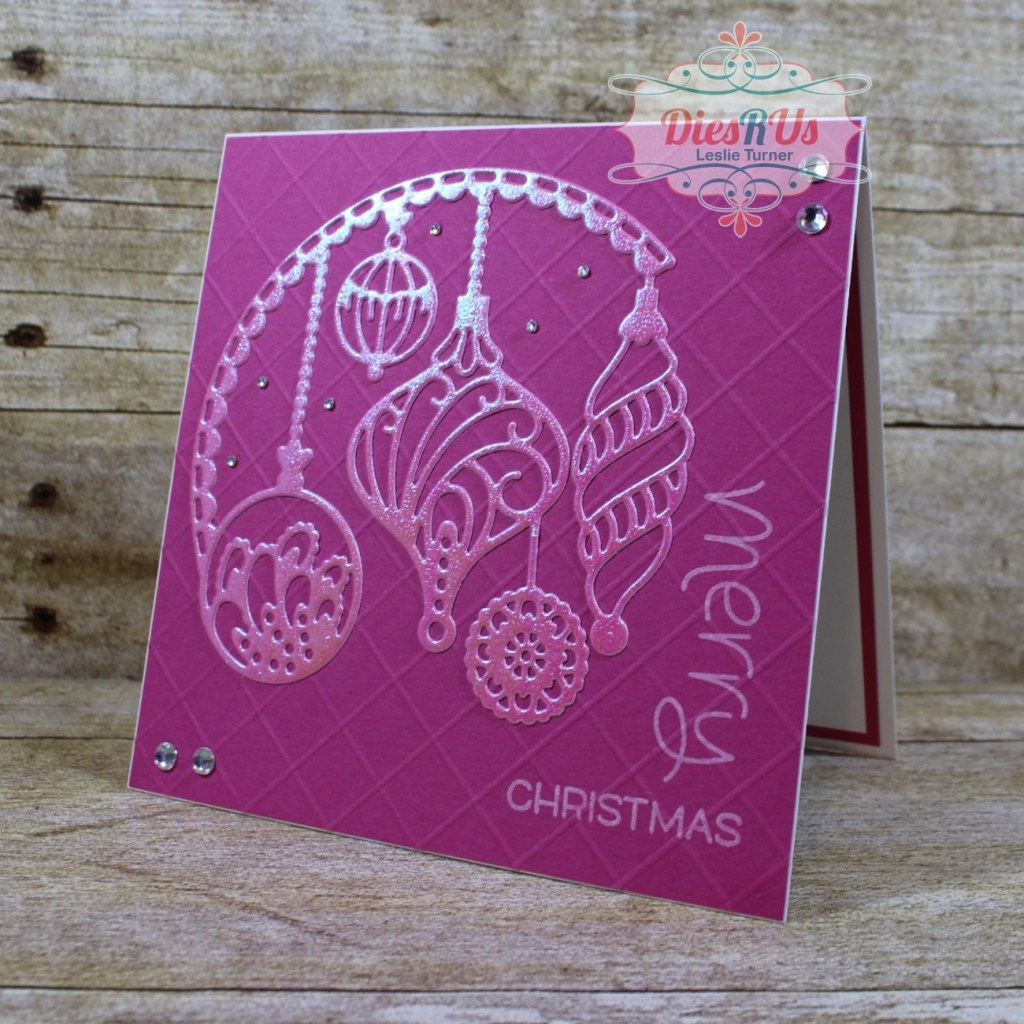
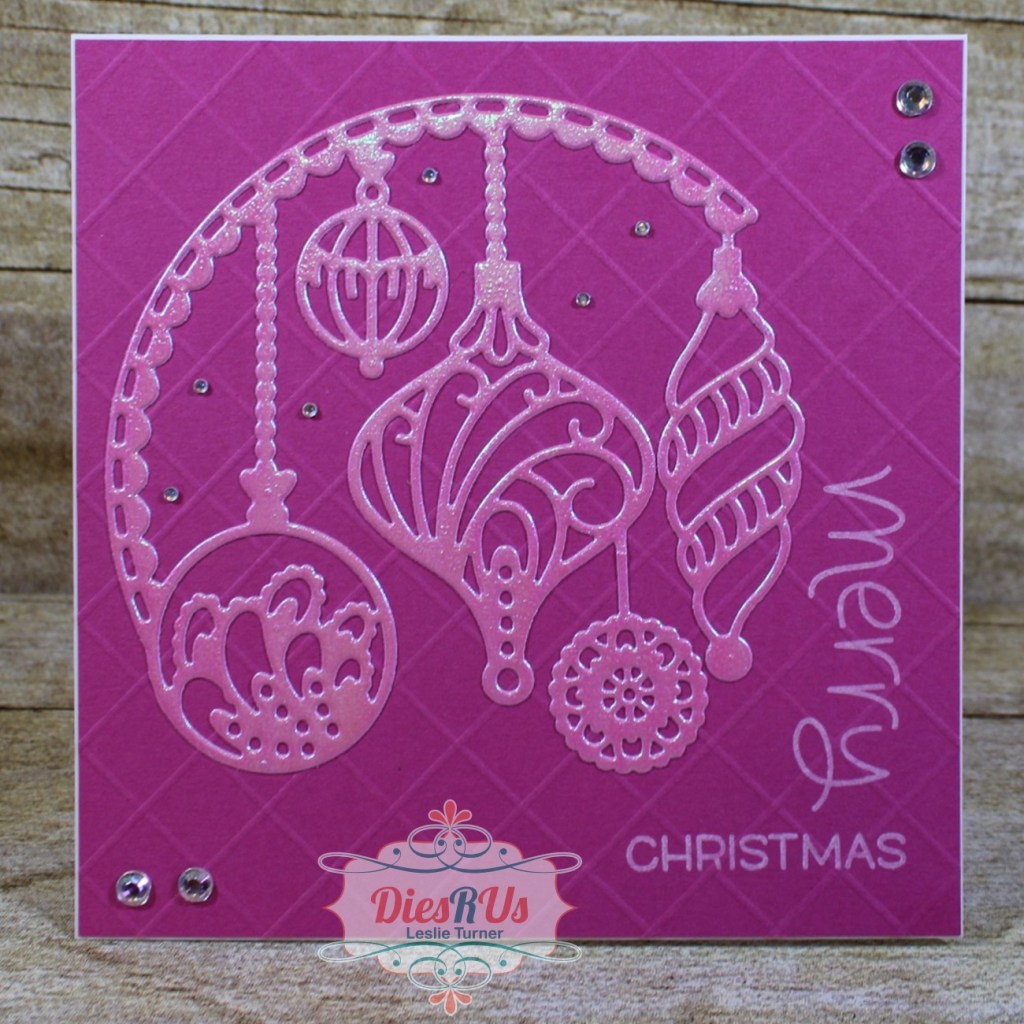
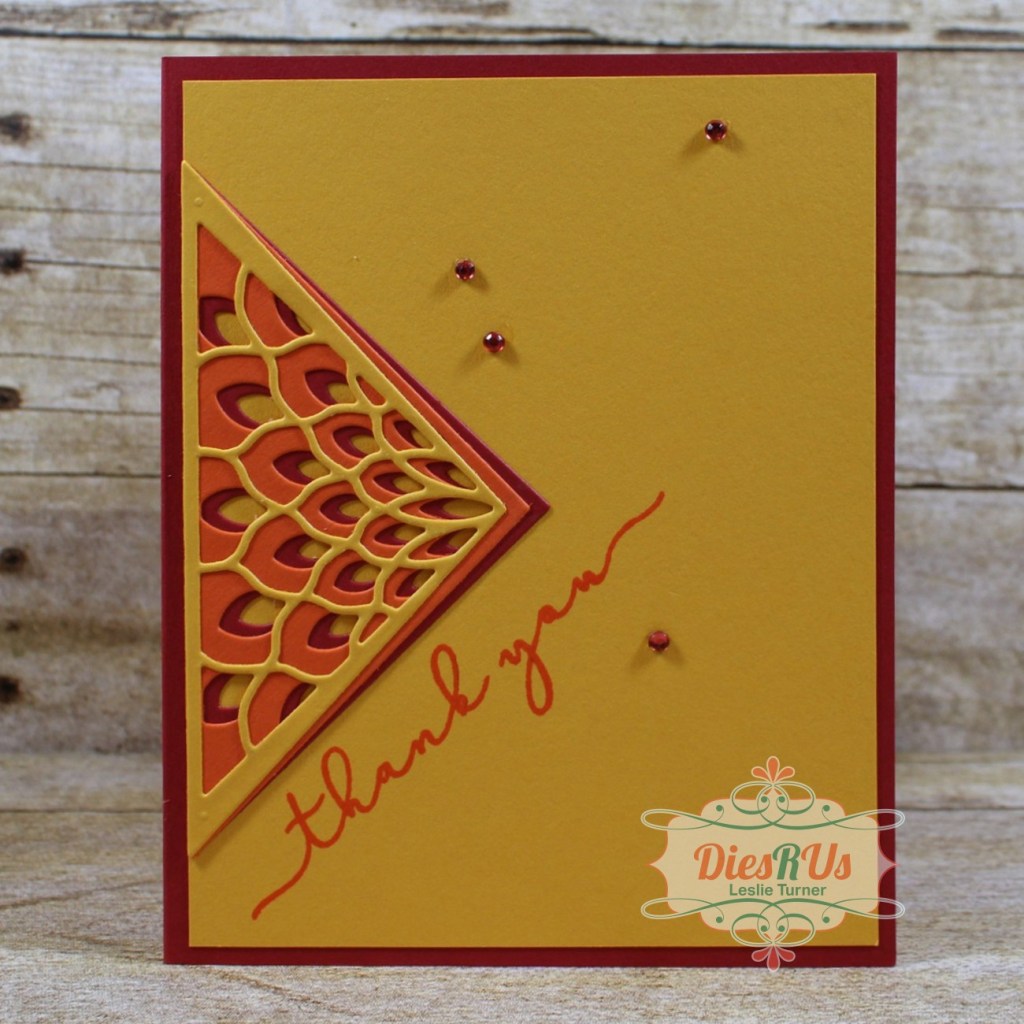
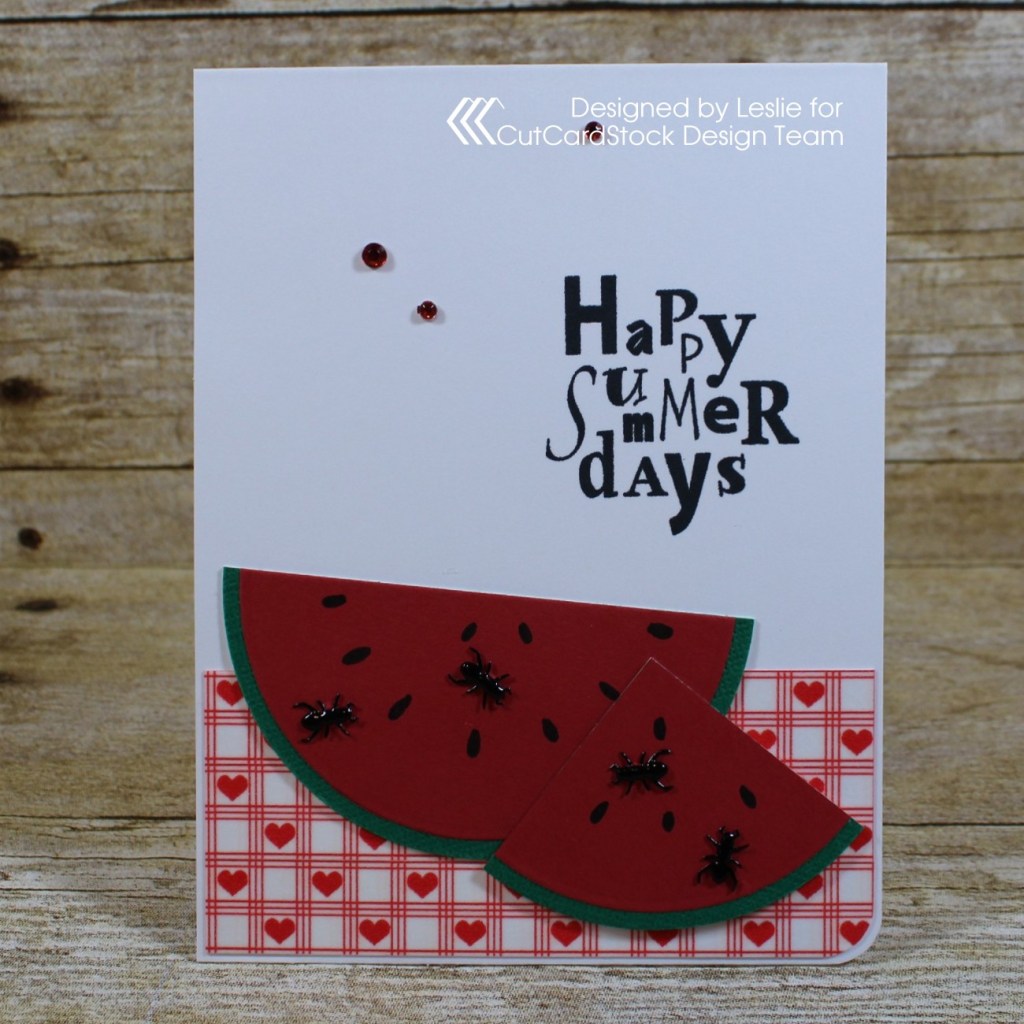
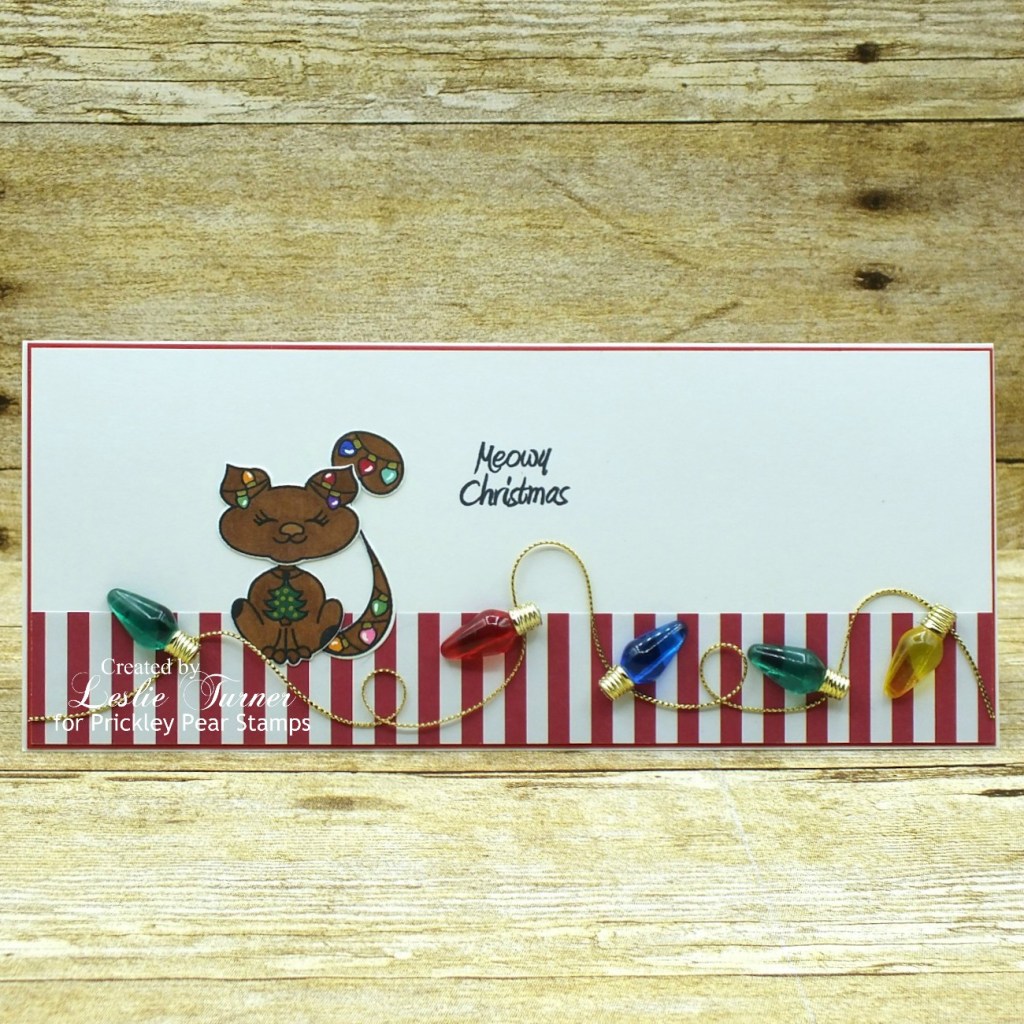
I’ve had these bulbs in my Christmas craft stash for years and when I came across them while digging, I decided I needed to use them! NBUS (never before used schtuff) for sure, lol! I created a 9″ x 3-3/4″ slimline card base along with a white panel for the front from Neenah Classic Crest 110# Solar White cardstock which I embellished with a strip of Canvas Corp red and white striped paper and layered on American Crafts Crimson cardstock. I stamped the sentiment on the panel and the cat on a scrap of Neenah Classic Crest 80# Solar White cardstock. I colored the cat and tail with alcohol markers, cut them with the coordinating dies and adhered them together. I adhered the cat to the panel, then the bulbs and gold cord to complete the card front.
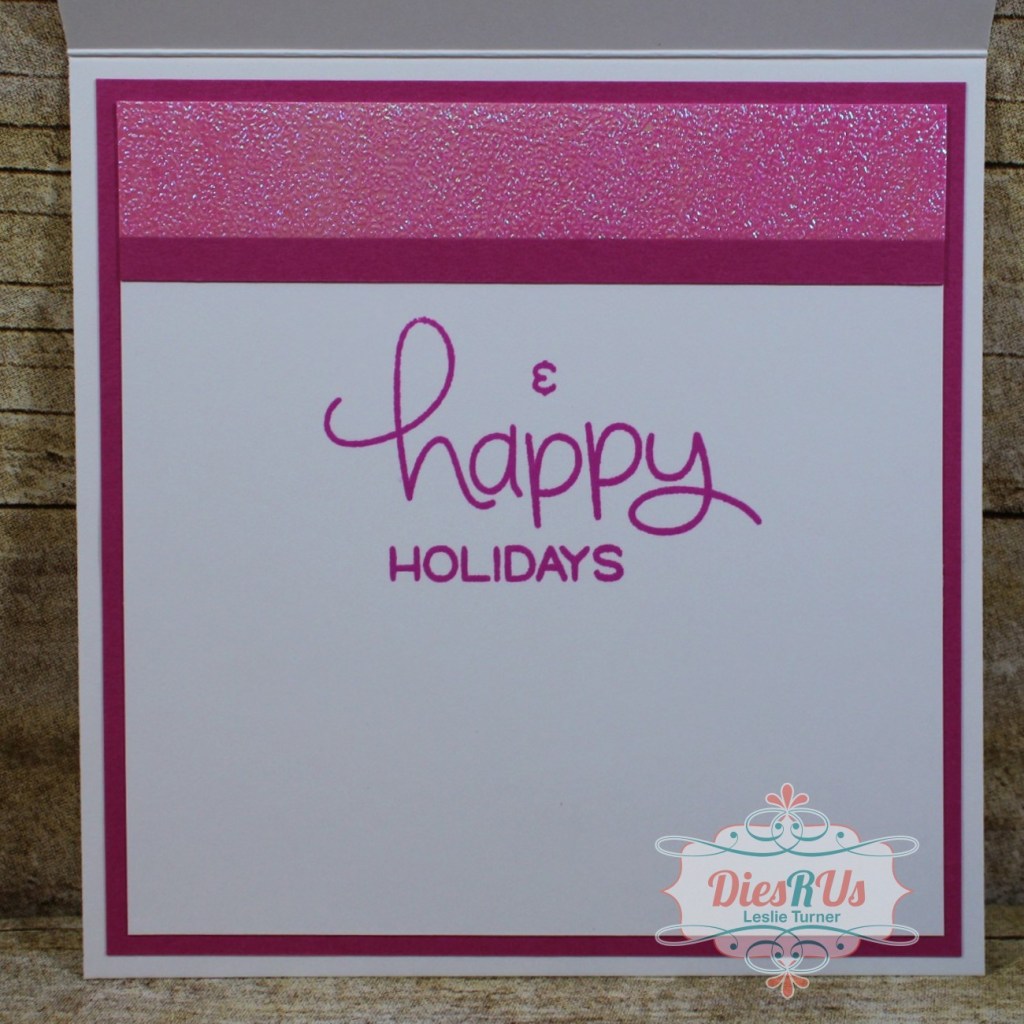
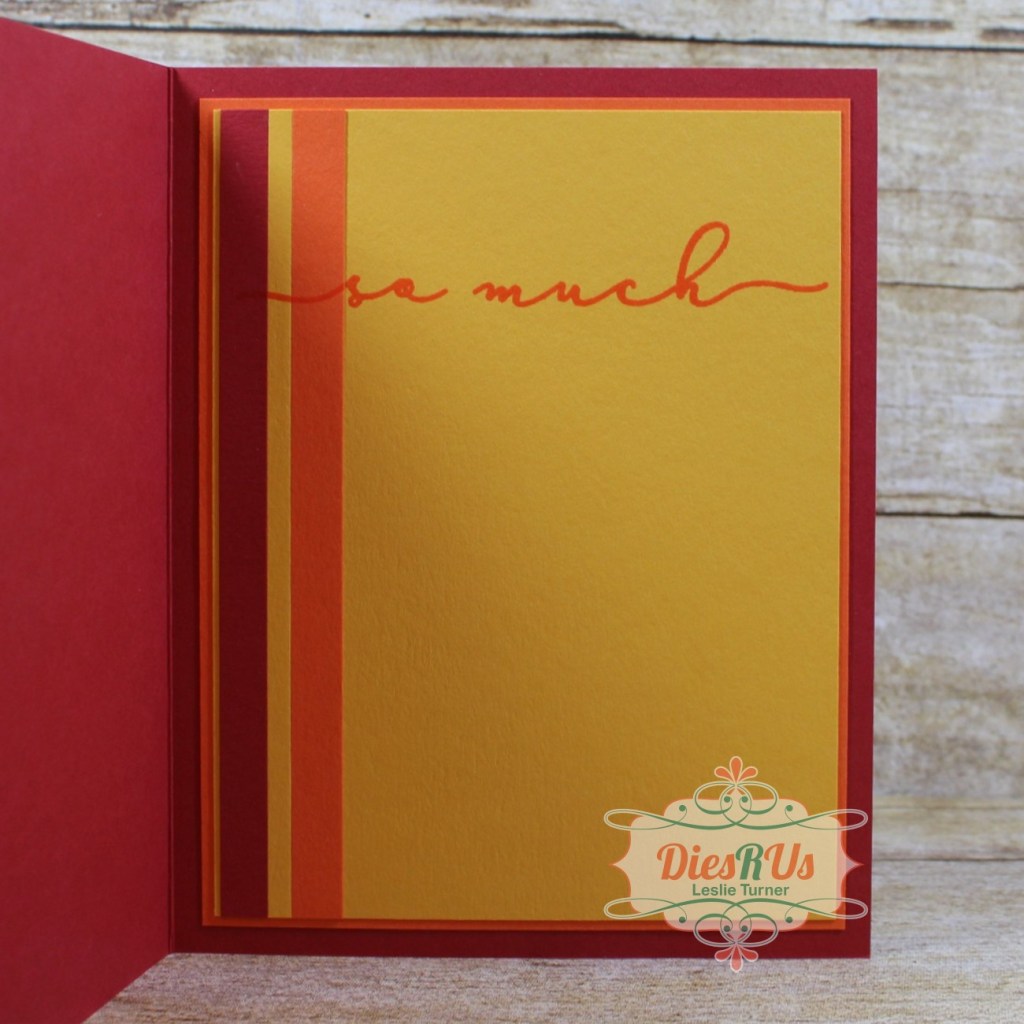
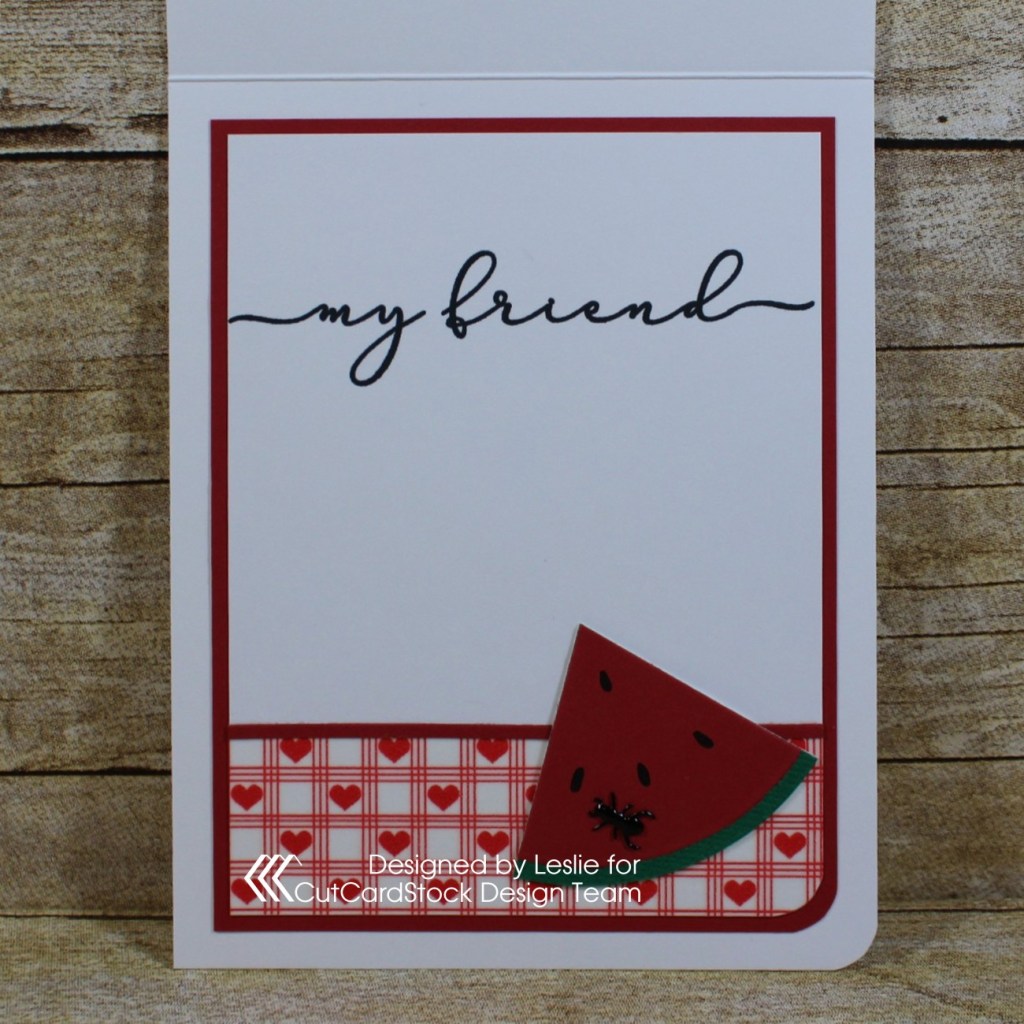
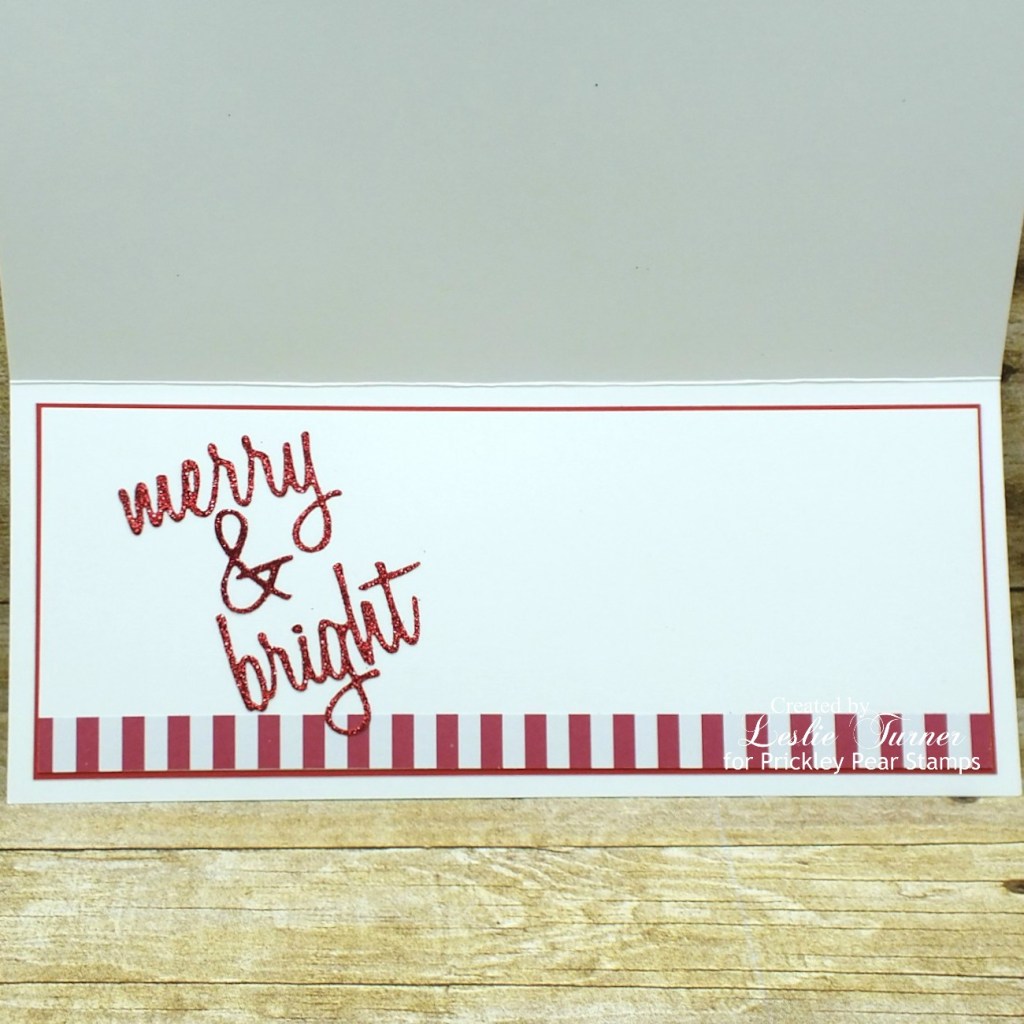
I cut the inside panel from Neenah Classic Crest 80# Solar White cardstock, embellished it with a strip of the red and white paper and a red glitter die cut sentiment, and layered the panel on red cardstock.
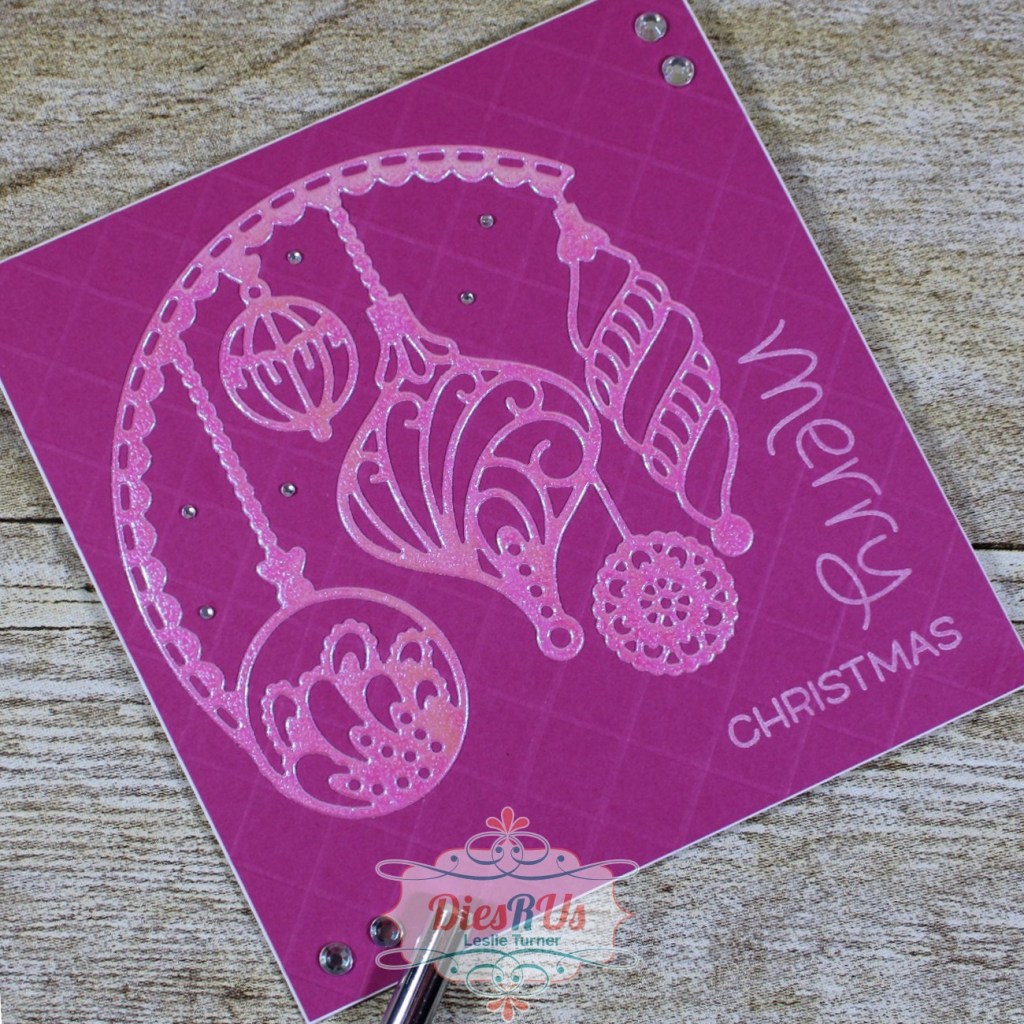
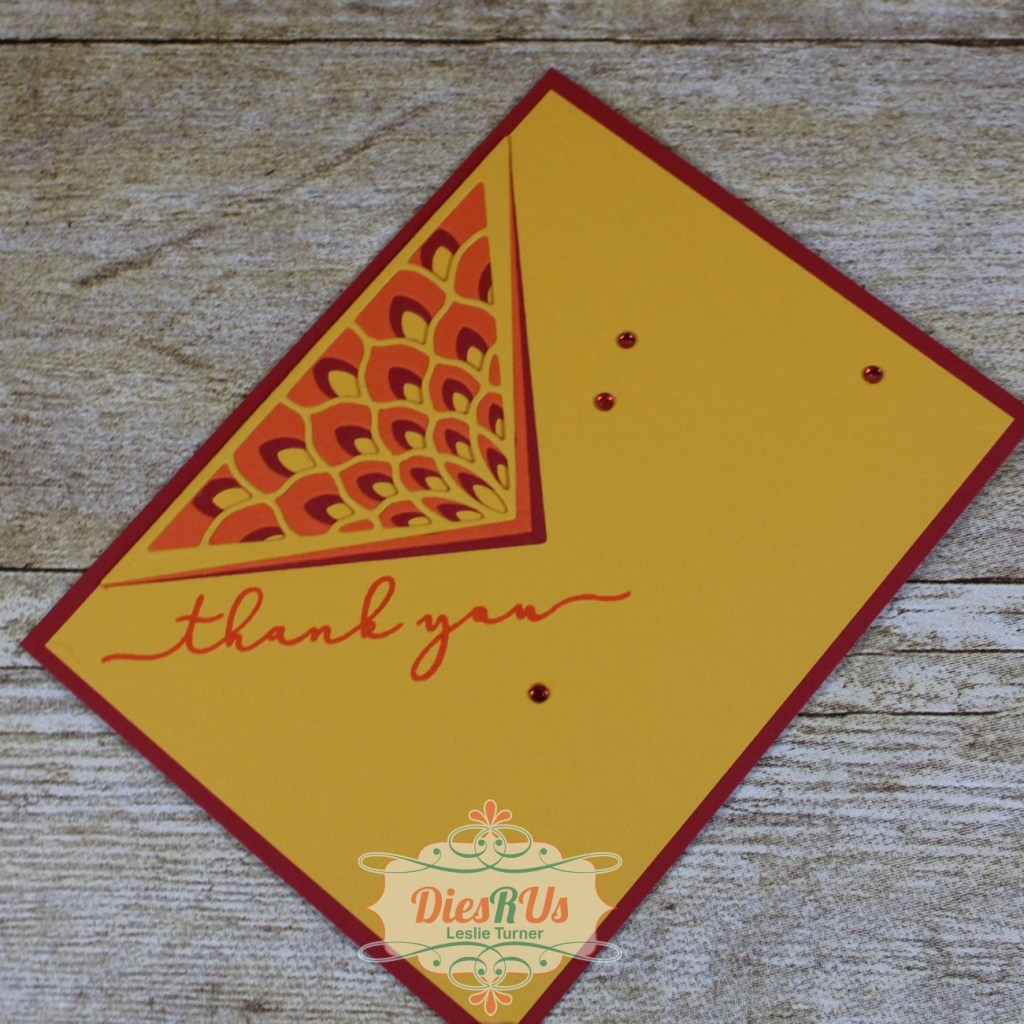
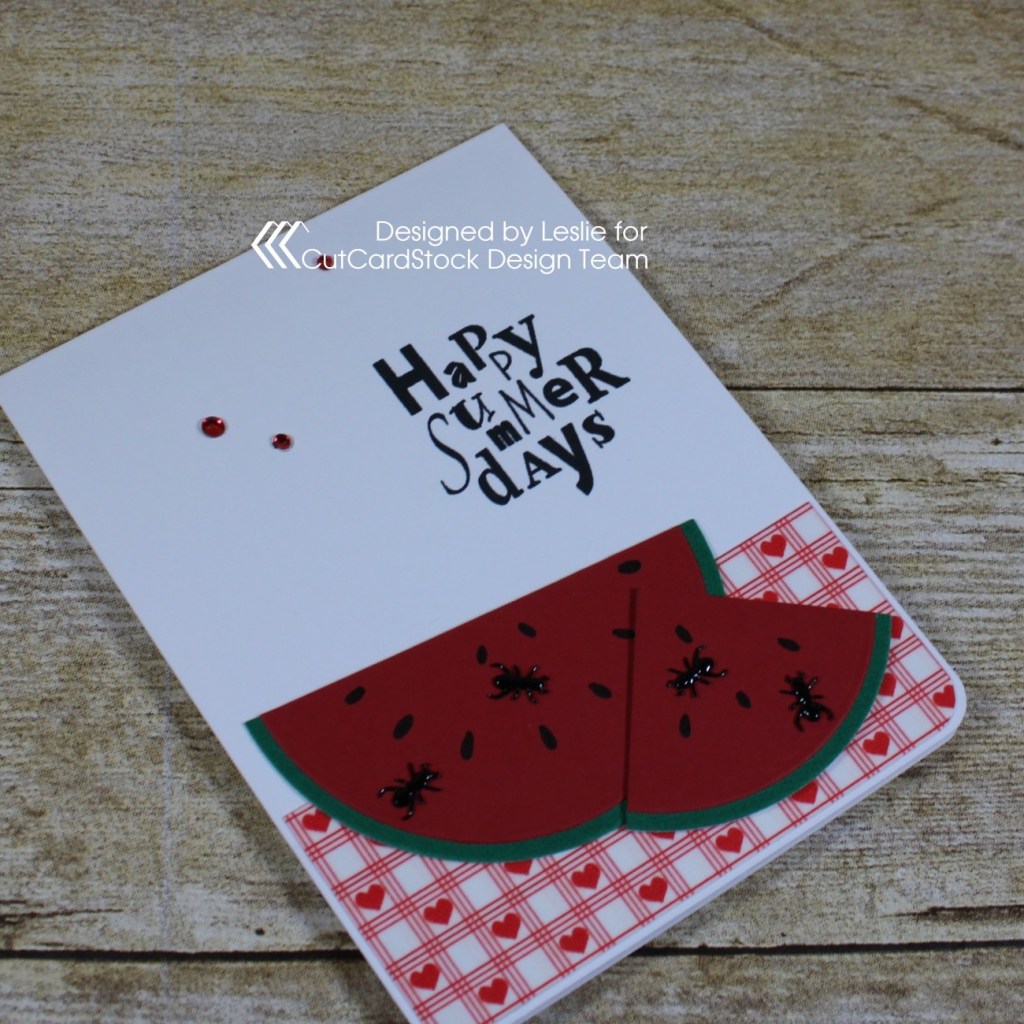
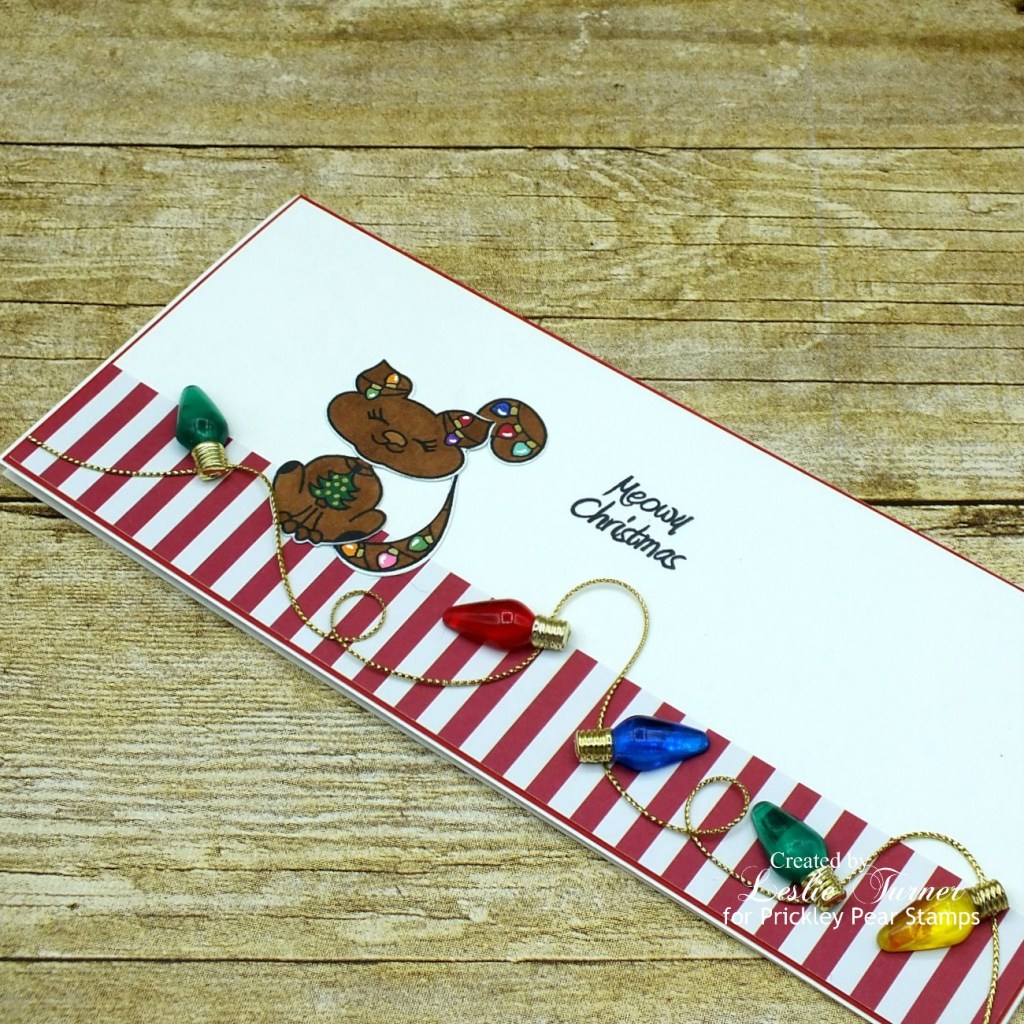
And one more peek… this was such a fun card to create! So happy I ‘found’ the Christmas bulbs in the Christmas craft stash!
Products used:
Cardstock/Paper: Neenah Classic Crest 110# and 80# Solar White cardstock, American Crafts Crimson cardstock, The Paper Studio Four Seasons and Everything In Between -2- paper pad, Stampin’ Up Red Glimmer paper
Stamps: Prickley Pear Stamps Build A Cat 2 clear stamp set
Ink: Memento Tuxedo Black ink; Nuvo alcohol markers- Aquamarine Collection, Rich Reds Collection, Fragrant Oranges Collection, Woodland Greens Collection, Indigo Ink Collection, Royal Purples Collection, Flamingo Pinks Collection, Natural Browns Collection; Pentel Slicci Gold pen, POSCA white paint marker
Dies/Punches: Prickley Pear Stamps Build A Cat die set, Tim Holtz Holiday Words: Script die
Accessories: Tonic Studios 12″ Guillotine Paper Trimmer, Tombow Mono permanent adhesive, Bearly Art precision craft glue, Darice mini flat-back Christmas bulbs
I hope you’ve enjoyed seeing this slimline card and will link up a Christmas project with us this month! We can’t wait to see what you create! Thanks so much for stopping by today – we’ll see you again soon! ;)
Scrappy hugs,