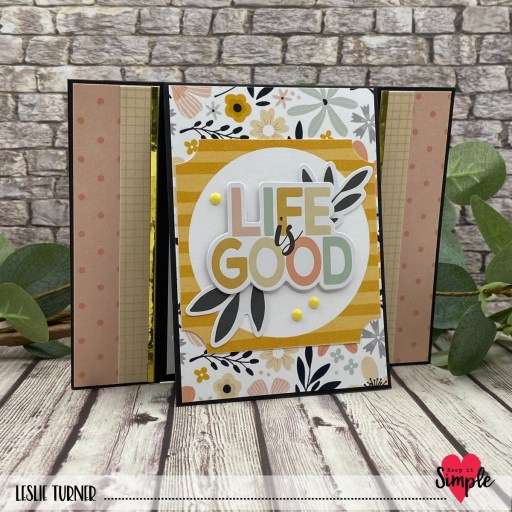
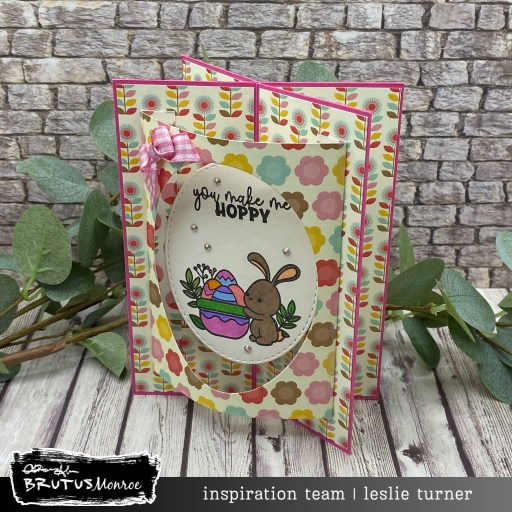
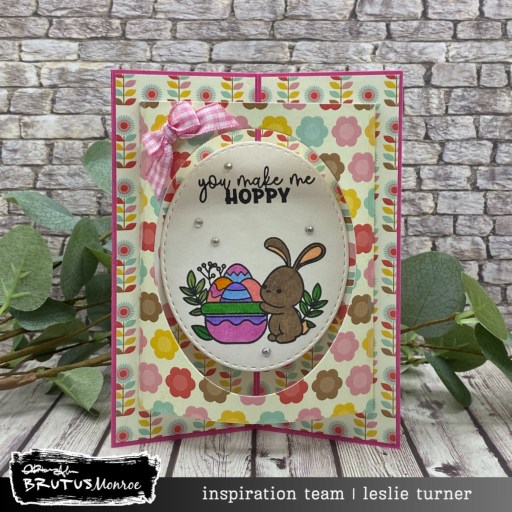
Hey everybody, happy Wednesday! The weeks sure seem to be rolling around pretty quickly these days. I’m up on the Love From Lizi blog today with a tutorial for making a masculine ‘love you just because’ card with a slanted flap. I sure do love me some fun folds and next in line come the fancy cuts which really make a statement! I used paper, stamps, ephemera, pin stripe peel-offs and sequins – all from our ‘For Him’ May release – and I love how it turned out. This release is packed full of wonderful products to get your masculine project mojo going! And our team is having an IG Hop to celebrate this awesome release, so be sure to visit the Love From Lizi Instagram page to hop with us and get in on the chance to win a $30CAD gift card to shop on the site!
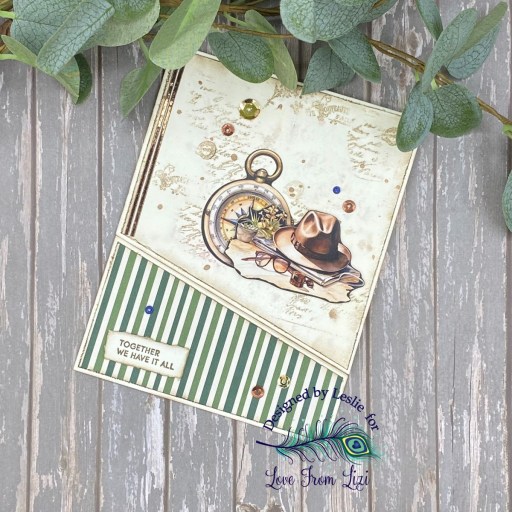
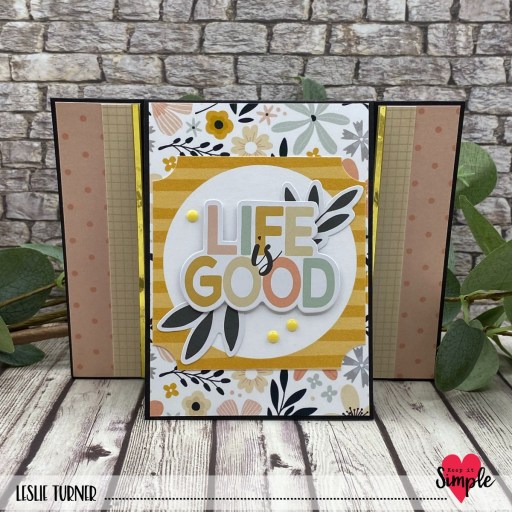
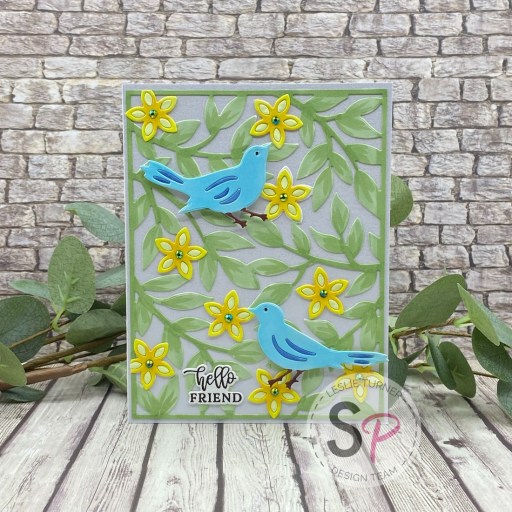
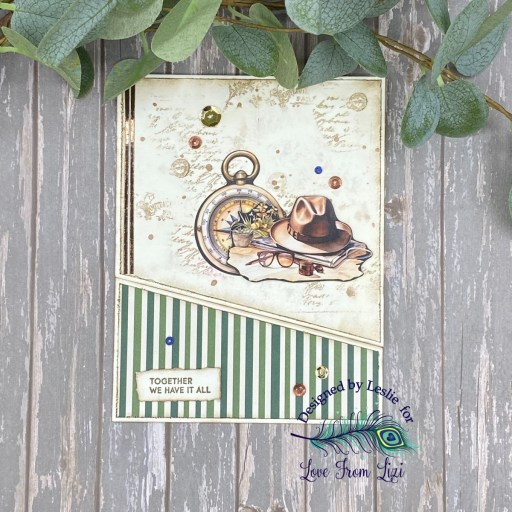
I used CutCardStock Basis 110# Natural cardstock for the card base and cut off the front flap at an angle, saving the piece that was cut off. Next, I cut the front layering panel from Basis 80# Natural cardstock, angled the bottom edge, and did a little mixed media work on it. I used Memento Rich Cocoa and Espresso Truffle dye inks, Ranger Antique Linen and Vintage Photo Distress Spritz (sprayed and splattered) along with hand stamping using stamps from the Summer Botany Stamp Set. I used Ranger Walnut Stain Distress Ink around the edges which I had also distressed with the Tim Holtz Distress Tool.
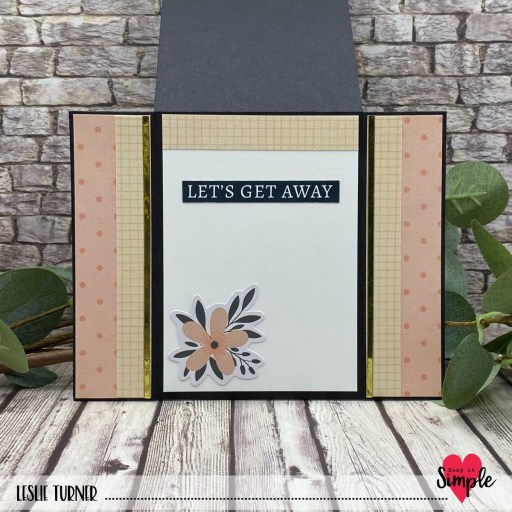
I lightly distressed the inside of the card base also (using the same products sans the stamping) and inked the outside edges with Walnut Stain distress ink. I adhered the leftover piece cut off the front flap along with a patterned paper layer cut from a striped paper in the A Spot of Autumn 6×6 Paper Pack. I adhered a couple pieces of Vintage Escapes Ephemera, then added a couple Brown Mirror Pinstripe Peel-Off Stickers and several sequins from the For Him Sequin Mix to the card front. I stamped a sentiment from the same Summer Botany Stamp Set in Memento Rich Cocoa ink and tore it on all four sides. I lightly inked the edges and popped it up on thin 3D foam squares.
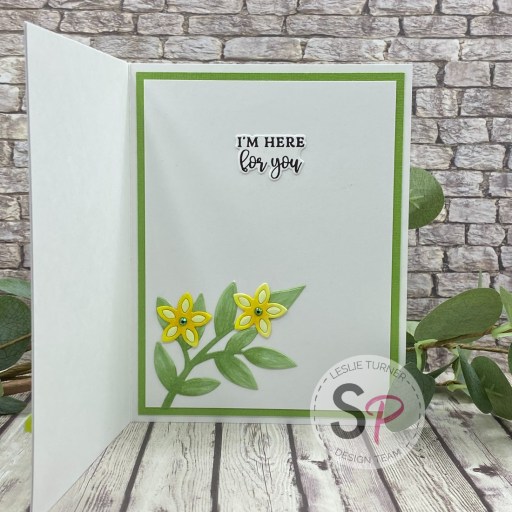
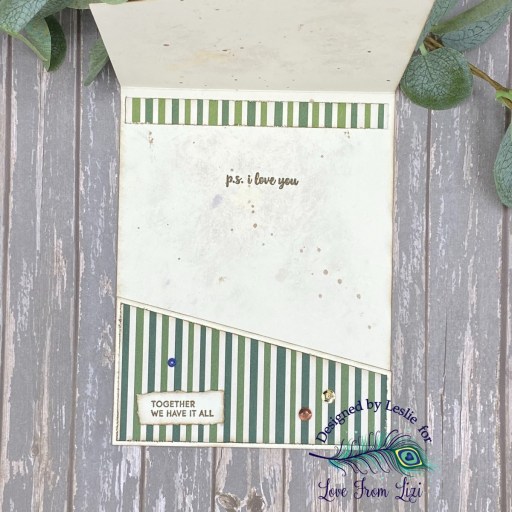
I embellished the inside with a 1/2″ x 4-1/8″ strip of the patterned paper which I distressed with the Walnut Stain distress ink, and then stamped a sentiment from the same stamp set in Rich Cocoa ink. For more details, be sure to visit the Love From Lizi blog to see my tutorial. ;)
Affiliate links are used in this post at no cost to you – I really appreciate your support!
A Spot of Autumn 6×6 Paper Pack
Summer Botany Stamp Set
Vintage Escapes Ephemera
Brown Mirror Pinstripe Peel-Off Stickers
For Him Sequin Mix
Other products used:
CARDSTOCK/PAPER: CutCardStock Basis 110# Natural and Basis 80# Natural cardstock
INK: Memento Rich Cocoa and Espresso Truffle inks; Ranger Antique Linen and Vintage Photo Distress Spritz; Ranger Walnut Stain distress ink
ACCESSORIES: Fiskars 12″ ProCision Rotary Bypass Paper Trimmer, Bearly Art precision craft glue, My Sweet Petunia Precision Glue Press, MISTI stamp tool, Tim Holtz Distress Tool, Ranger Tiny Blending Tool and Tiny Blending Foam, Scrapbook Adhesives Thin 3D Foam Squares, Trinity Pick Up Stick
I hope you’ve enjoyed seeing this project and you’re inspired to get crafty! Be sure to join our Facebook Group and Follow us on Instagram and YouTube for lots of crafty inspiration! Thanks so much for stopping by today – we’ll see you next time!
Scrappy hugs,