1/11/25 Weekly Favorite at Splitcoast Stampers!
1/2/26 Best of 2025 at Splitcoast Stampers!
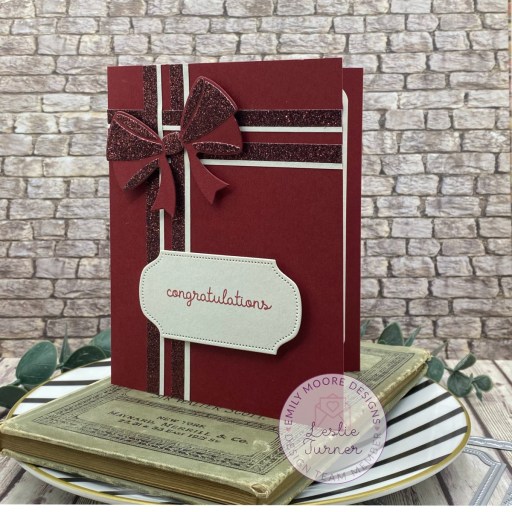
Hey everybody, happy Saturday! Dang, not that I’m complaining, but the weekends seem to roll around faster and faster, don’t they?! I’m stoked to share a Keep It Simple DT inspiration project with you today created with our NEW Little Dreamer Collection! OMGosh, this collection was just released yesterday and I love it so much! I don’t have a whole lot of baby-themed papers, stamps and ephemera in my stash and when I saw this, I was totally in love! And of course, I HAD to use our KIS Cuts Baby Romper dies with it because I love shaped cards! Seriously, how cute is this?!

Using the KIS Cuts Baby Romper Card die set, I cut the card base from Neenah Classic Crest Solar White cardstock along with layering panels for the romper from prints in the Little Dreamer 6×9 Collection Pack and our Back To Basics Rose 12×12 Collection Pack. I embellished the romper with Back To Basics Pastel Glitter Enamel Dots on the bottom flap and several little flowers in assorted colors from the Little Dreamer Die Cut Pieces popped up on adhesive foam pads. I stamped the sentiment from the Little Dreamer Collection Stamps in Catherine Pooler Rose Petals ink and cut it with the coordinating Outline Die. The finishing touch was adding a tiny iridescent gemstone to the center of each flower.
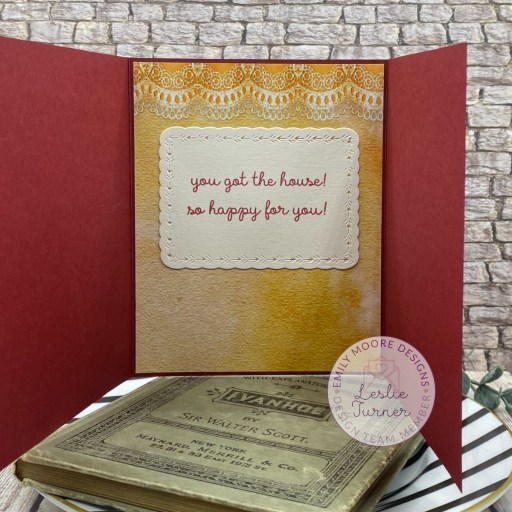
For the inside, I cut a circle using a Back To Basics Stitched Circles Nested Die and stamped a sentiment from the Collection Stamps in the Rose Petals ink. I added a little shimmer to the hearts with a Sakura Clear Star Gelly Roll pen.

Keep It Simple products used:
KIS Cuts Baby Romper Card die set
Little Dreamer 6×9 Collection Pack
Back To Basics Rose 12×12 Collection Pack
Little Dreamer Collection Stamps
Little Dreamer Outline Dies
Little Dreamer Die Cut Pieces
Back To Basics Stitched Circles Nested Dies
Back To Basics Pastel Glitter Enamel Dots (coming soon)
Affiliate links are used in this post at no cost to you – I really appreciate your support!
Other products used:
CARDSTOCK/PAPER: Neenah Classic Crest 80# Solar White cardstock
INK: Catherine Pooler Rose Petals ink, Sakura Clear Star Gelly Roll pen
ACCESSORIES: Fiskars 12″ ProCision Rotary Bypass Paper Trimmer, Bearly Art precision craft glue, My Sweet Petunia Precision Glue Press, Mini MISTI, Big Shot, Stampin’ Up Mini Dimensionals, tiny iridescent gemstones
I hope you’ve loved seeing this project as much as I loved creating it and you’re inspired to get crafty! Be sure to check out ALL the fun goodies in the Keep It Simple online store! Save 10% on your entire order when you shop online using code LoveToScrap2 at checkout! There is no minimum purchase requirement and no usage limits, AND it combines with product, order, and shipping discounts! Is that cool, or what?! Be sure to Follow us on Facebook, Instagram, and Pinterest for lots of crafty inspiration! Thanks so much for stopping by today – we’ll see you next time!
Scrappy hugs,