12/7/24 Weekly Favorite at Splitcoast Stampers!
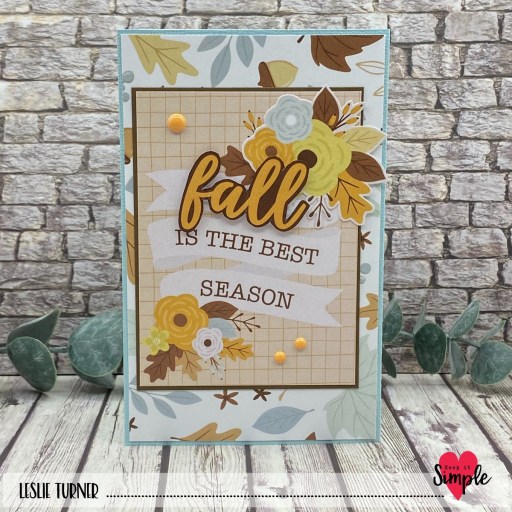
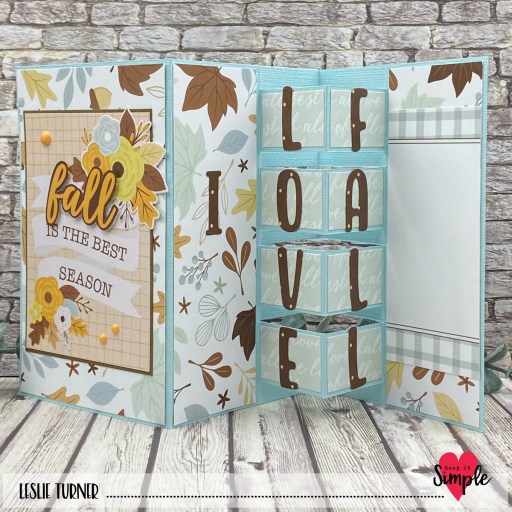
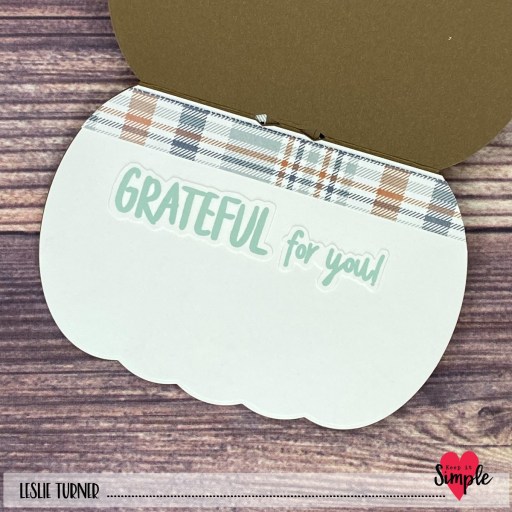
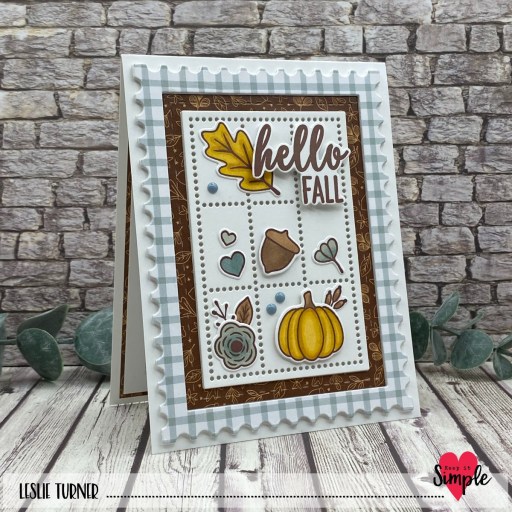
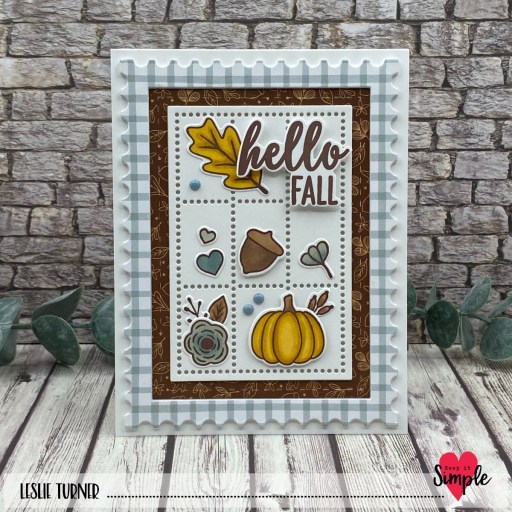
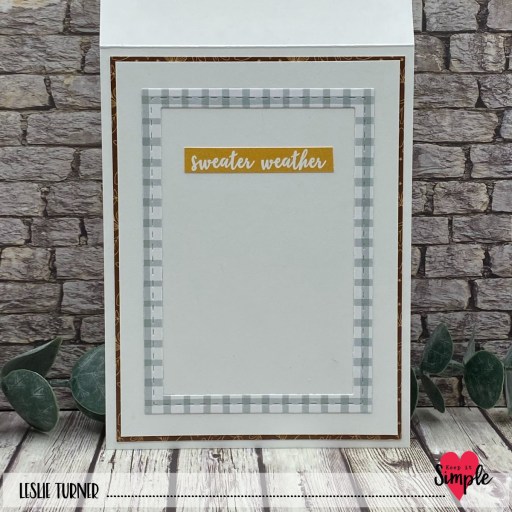
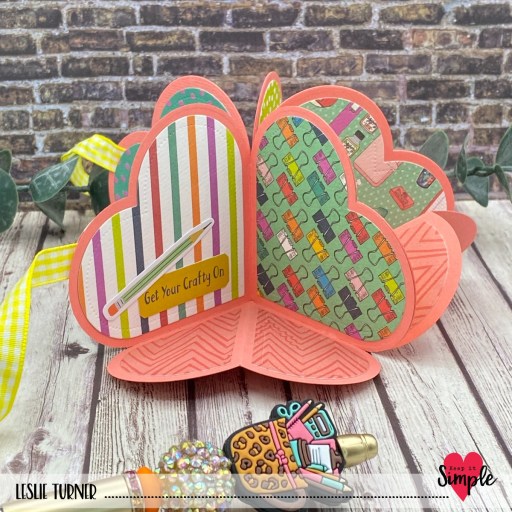
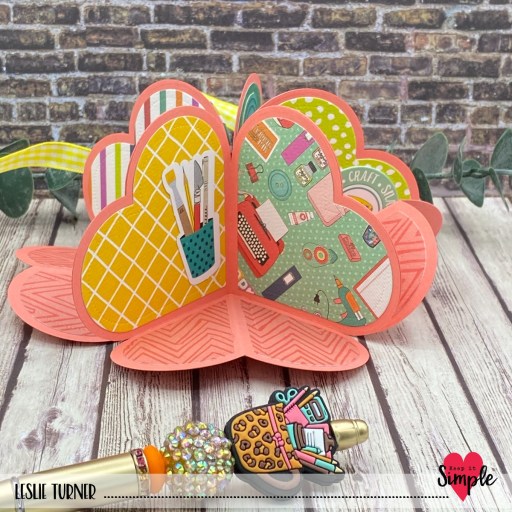
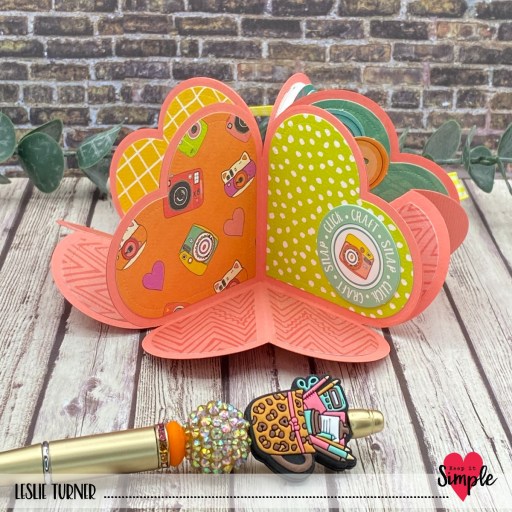
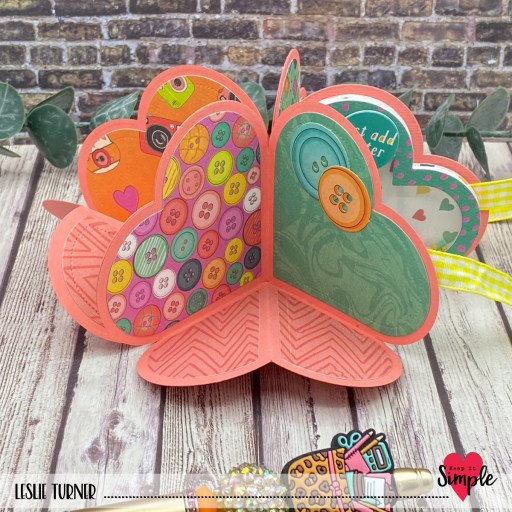
Hey everybody! Happy Tuesday – I hope you’re having a great week so far. I’m delighted to share a heart-shaped mini album for Keep It Simple which I made to commemorate Make A Gift Day. Yep, this unofficial holiday is celebrated on December 3rd every year to encourage folks to give handmade gifts rather than store bought. I totally love this concept and am happy to join a few of our teammates in sharing our handmade gifts! My little mini album features our new KIS Cuts Circular Pop-Up: Heart dies along with papers, chipboard, die cut ephemera, puffy stickers and collection stickers, all from our Crafty Girls Collection. And I’ve included a fun pen that I made with beadable pen items from Bailey’s Beads! This fun collection is retiring and some of the items have sold out, so this will be a great keepsake for an awesome crafty girl!
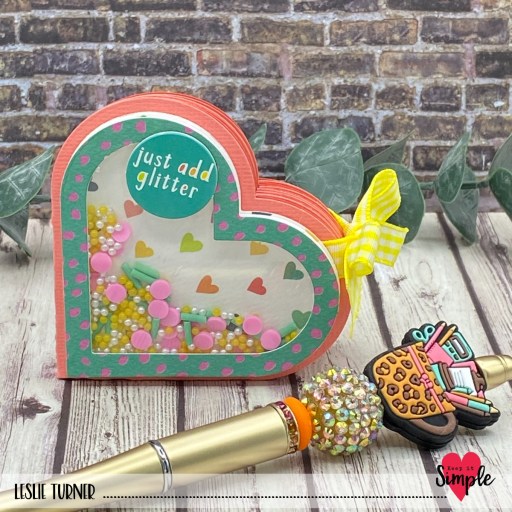
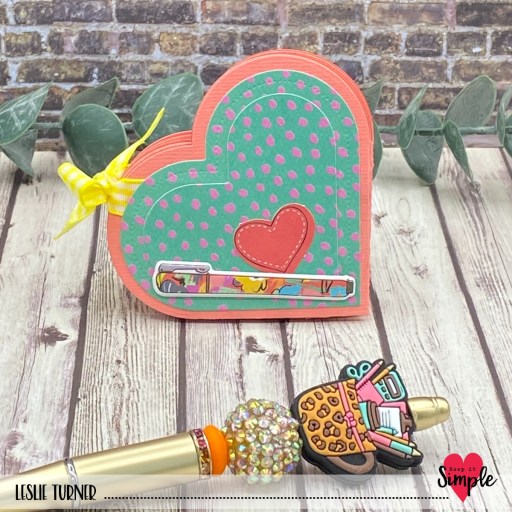
I used our new KIS Cuts Heart Circular Pop-Up dies to cut the base from CutCardStock Wild Salmon cardstock. Then I dug into my Crafty Girls stash and grabbed paper, chipboard, die cut ephemera, puffy stickers and collection stickers, and went to town embellishing each section. I used our Back To Basics Lemon Ribbon for the closure. I created a shaker for the front which features five varieties of our Sprinkles in colors matching the papers and embellishments. To say this was “fun” is definitely an understatement… I had a blast! :D
Keep It Simple products used:
KIS Cuts Circular Pop-Up: Heart
Crafty Girls Flip Sides and Collection Pack
Crafty Girls Puffy Stickers (sold out)
Crafty Girls Collection Sticker Sheet
Back To Basics Shaker Basics – Foam & Acetate Sheets
Back To Basics Lemon Ribbon
Sprinkles – Polymer Clay-Bright Pink Dots
Sprinkles – Polymer Clay-Grass Green Sprinkles
Sprinkles – Beads-2mm Pearls
Sprinkles – Beads-2mm Matte Sunshine Yellow
Affiliate links are used in this post at no cost to you – I really appreciate your support!
Other products used:
CARDSTOCK/PAPER: CutCardStock Wild Salmon cardstock
ACCESSORIES: Fiskars 12″ ProCision Rotary Bypass Paper Trimmer, Bearly Art precision craft glue, My Sweet Petunia Precision Glue Press, Big Shot, 1/8″ Scor-Tape, GKD Shaker Strips, Scrapbook Adhesives Thin 3D Foam Squares
I hope you’ve loved seeing this project as much as I loved creating it and you’re inspired to get crafty! Be sure to check out ALL the fun goodies in the Keep It Simple online store! Save 10% on your entire order when you shop online using code LoveToScrap2 at checkout! There is no minimum purchase requirement and no usage limits, AND it combines with product, order, and shipping discounts! Is that cool, or what?! Be sure to Follow us on Facebook, Instagram, and Pinterest for lots of crafty inspiration! Thanks so much for stopping by today – we’ll see you next time!
Scrappy hugs,