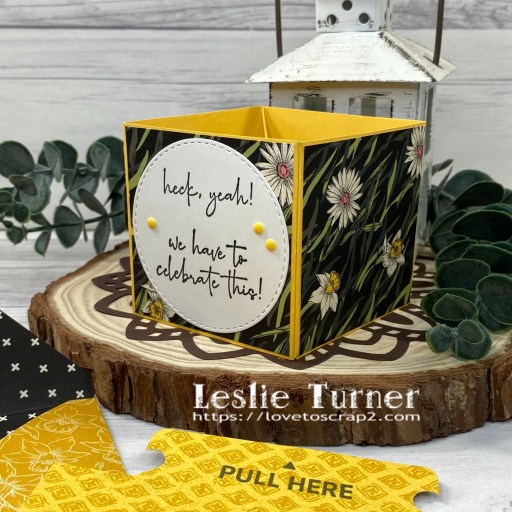
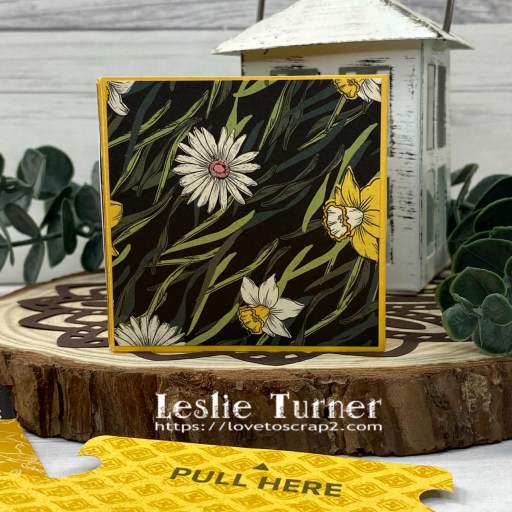
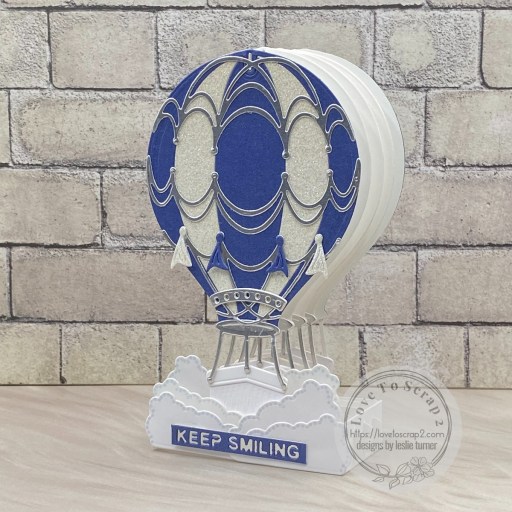
Hey everybody! Happy Thursday – we’re on the downslide to the weekend! I’m up on the CutCardStock blog today with a tutorial for making a gorgeous Fall-themed floral box card. I used the Flowers In Bloom Box Card SVG cut file from My Scrap Chick along with my Cricut Explore Air 2 and a variety of our cardstock, mostly from the Lessebo line. I’m in full-on Fall mode so with the colors of cardstock I chose, it definitely has some Fall vibes going on! ;)

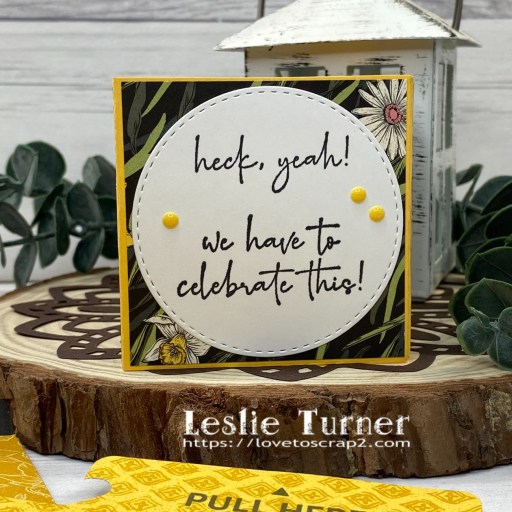
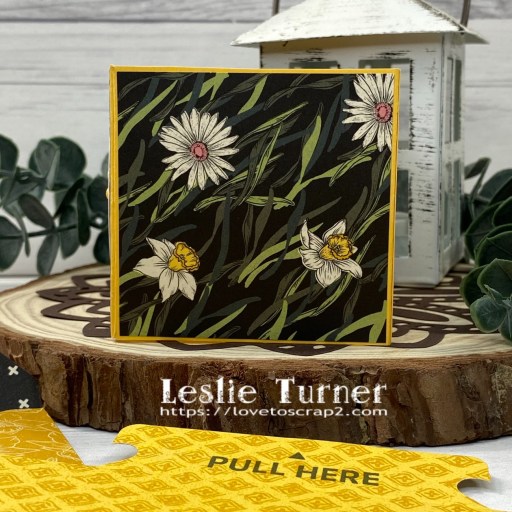
I cut the card base from Lessebo Sunflower Yellow and the layering panels from Lessebo Coffee Bean and Basis Light Yellow. Next, I cut the baby’s breath from Lessebo White, and the flowers from Lessebo Sunset Orange, Lessebo Flame Orange, Lessebo Brick Orange, Lessebo Cherry Red, and Lessebo Dawn Maroon. And finally, I cut the flower centers from Lessebo Coffee Bean and the greenery from Lessebo Moss Green and Mantis Green. I printed the sentiment on Lessebo White (from a PDF included in the cut file) and trimmed it.

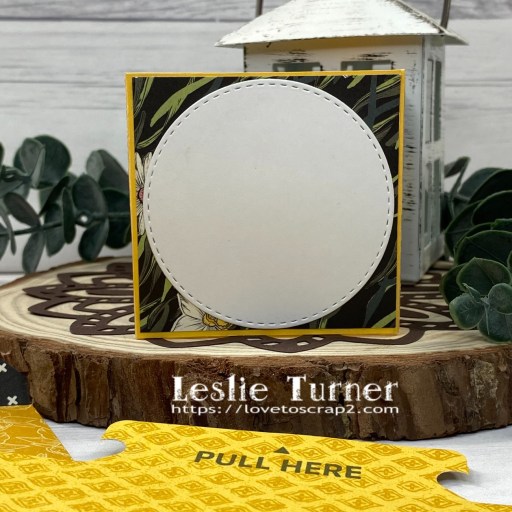
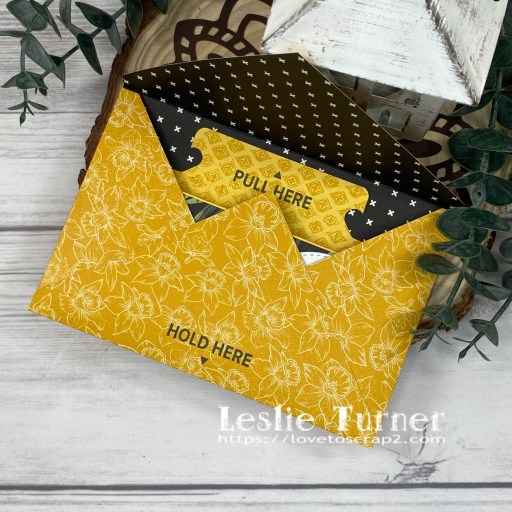
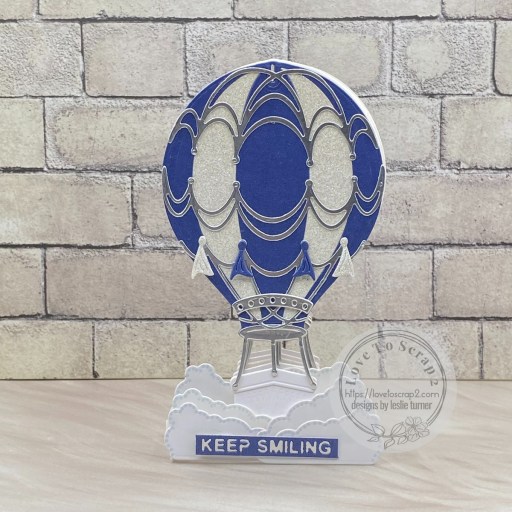
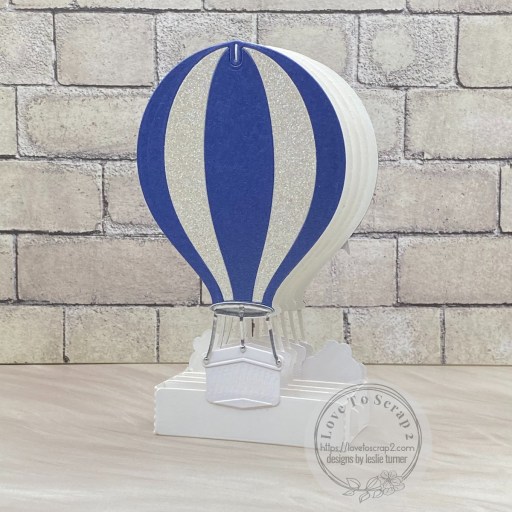
This was an absolutely beautiful assembly process, especially with these colors. Here is an angled view and a view of the back (with plenty of room to write a message and signature) and the matching A7 envelope cut from patterned paper.


Affiliate links are used in this post at no cost to you – I really appreciate your support!
CutCardStock products used:
Lessebo White cardstock
Lessebo Coffee Bean cardstock
Lessebo Sunflower Yellow cardstock
Lessebo Sunset Orange cardstock
Lessebo Flame Orange cardstock
Lessebo Brick Orange cardstock
Lessebo Moss Green cardstock
Lessebo Cherry Red cardstock
Lessebo Dawn Maroon cardstock
Basis Light Yellow cardstock
Mantis Green cardstock
Other products used:
PAPER: Simple Stories Wood & Gingham Basics 12×12 paper pad
DIES/PUNCHES: My Scrap Chick Flowers In Bloom Box Card SVG cut file
ACCESSORIES: Cricut Explore Air 2, Fiskars 12″ ProCision Rotary Bypass Paper Trimmer, My Sweet Petunia Precision Glue Press, Nuvo Deluxe Adhesive
I hope you’ve enjoyed today’s project and you’re inspired to get crafty! Be sure to check out all the awesome cardstock and other goodies at CutCardStock (adhesives, labels, stickers, pens, watercolors and ribbon to name a few). And head on over to the CutCardStock Facebook Page and for more inspiration! Also, be sure to join our Creating with CutCardStock Facebook Group for even more crafty inspiration! Thanks so much for stopping by today – we’ll see you next time!
Scrappy hugs,