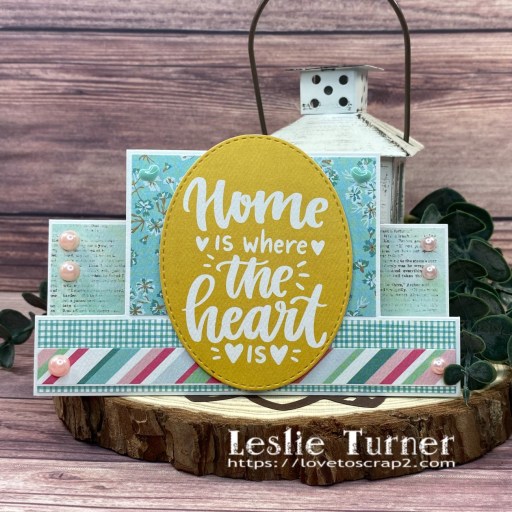
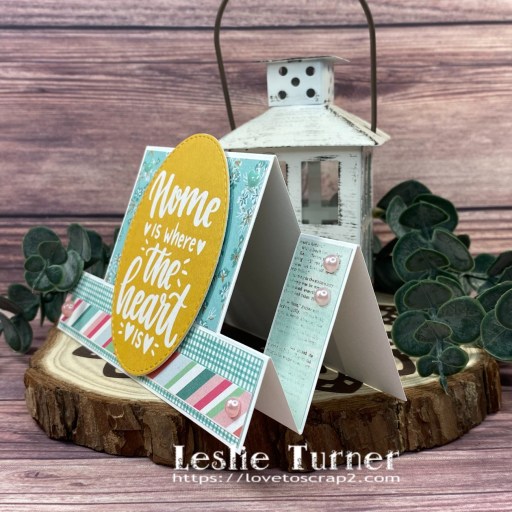
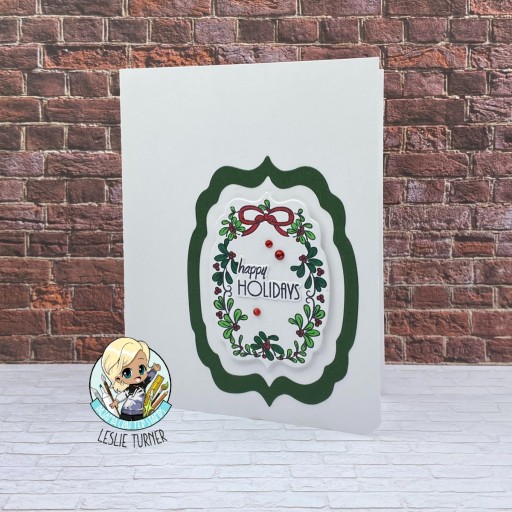
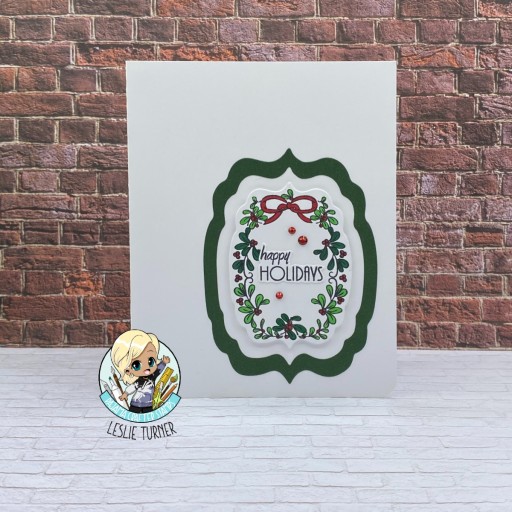
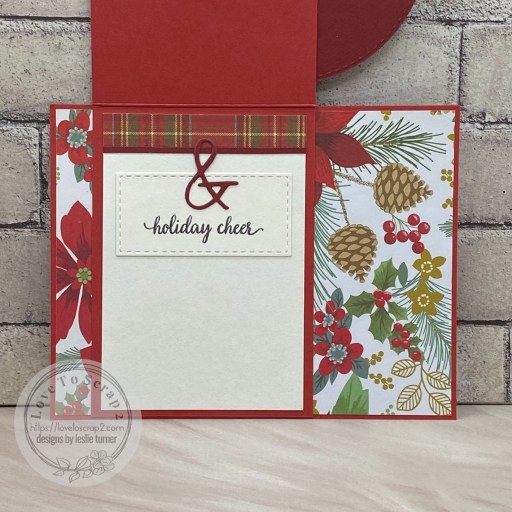
Hi friends! Happy Monday – I hope you had a great weekend! Our new challenge is live this morning over at Merry Little Christmas Challenge Blog and I’m thrilled to share my DT inspiration project for MLCCB #57 – Anything Christmas Goes! I created a sweet front flap card featuring a feline (one of my favorite critters) from some older Paper Smooches stamps and dies. They are sadly out of business but their stamps and dies live on (and I have quite a few)!

I cut the card base from CutCardStock Basis Red cardstock along with layering panels from coordinating prints in The Paper Studio Four Seasons and Everything In Between -2- paper pad and CutCardStock Basis Dark Red and Basis Natural cardstock. I used the Keep It Simple Stitched Circles Nested Dies for the circles on the front.
I stamped the kitty from the Paper Smooches Feline Friends stamps in Memento Tuxedo Black ink and cut him with the coordinating Feline Friends die. I cut the front sentiment from Basis Natural cardstock using a Sizzix Script Holiday Words Thinlit. The finishing touch was adding red gemstones.

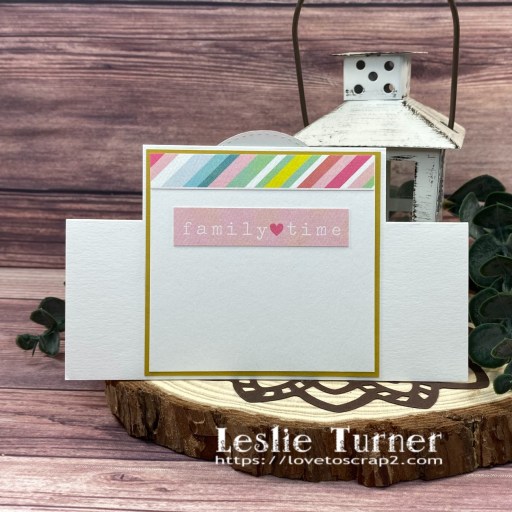
I cut the inside panel from Basis Natural and embellished it with a leftover plaid print and Basis Dark Red used on the front. I added a rectangle cut with the Keep It Simple Stitched Rectangles Nested Dies on which I stamped a sentiment from the Hero Arts Holiday Messages & Frames stamps in Memento Espresso Truffle ink. To finish the card, I added an ampersand die cut from Basis Dark Red using another die from the Sizzix Script Holiday Words Thinlits.
Affiliate links are used in this post at no cost to you – I really appreciate your support!
Products used:
CARDSTOCK/PAPER: CutCardStock Basis Red, Basis Dark Red and Basis 110# Natural cardstock, The Paper Studio Four Seasons and Everything In Between -2- paper pad
STAMPS: Paper Smooches Feline Friends stamps, Hero Arts Holiday Messages & Frames stamps
INK: Catherine Pooler Black Jack ink, Memento Espresso Truffle ink
DIES/PUNCHES: Paper Smooches Feline Friends dies, Keep It Simple Stitched Circles Nested Dies and Stitched Rectangles Nested Dies, Sizzix Script Holiday Words Thinlits
ACCESSORIES: Tonic Studios 12″ Guillotine Paper Trimmer, Gina K Designs Adhesive Dot Runner, Bearly Art precision craft glue, MISTI stamp tool, Big Shot, red gemstones
I hope you’ve enjoyed seeing this project and will link up with us this time! Thanks so much for stopping by today – we’ll see you next time! ;)
Scrappy hugs,