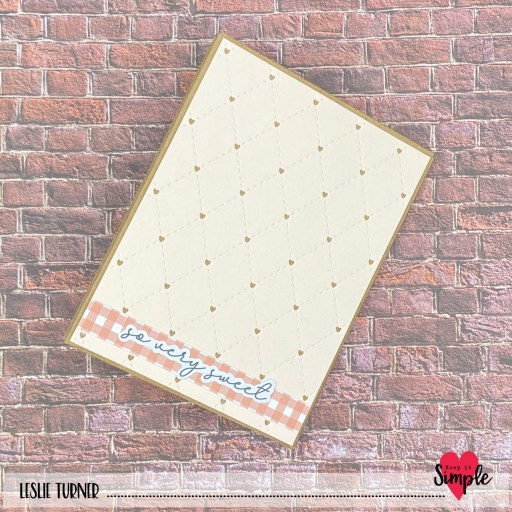
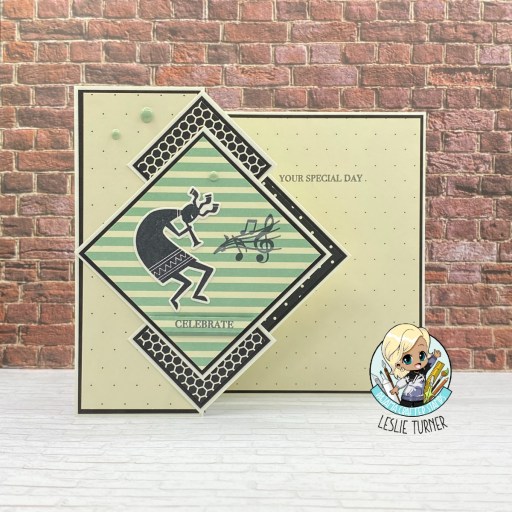
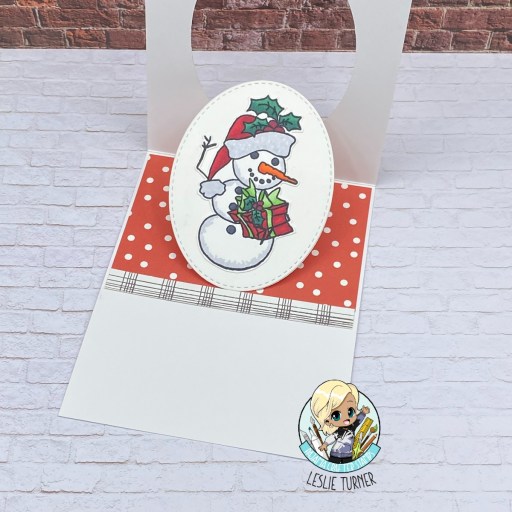
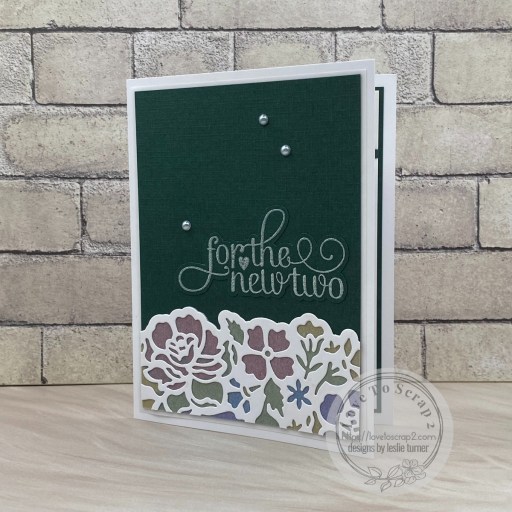
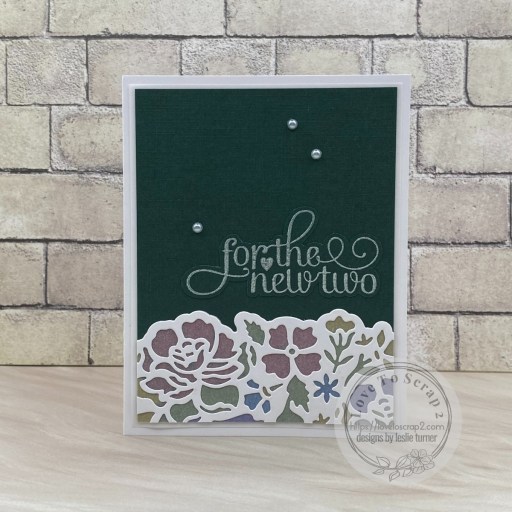
Hey everybody! Happy Fri-YAY! I’m doing the happy dance because I’m once again guesting for Creative Creases Challenge! One of my fun folds was a winner back in December and I was invited by the lovely Debbie to guest for an upcoming challenge, so here I am, just in time for Challenge #82! The Creative Creases Challenges are always ‘anything goes with a fun fold’ (preferably with stamping), so come on over and play! I created a fun hidden pocket pop up card using some favorite items in my stash! My inspiration came from Lisa Curcio’s blog – she loves fun folds as much as I do and shares quite a few of them! This one looks like a regular A2 card from the front but the magic is on the inside! ;)

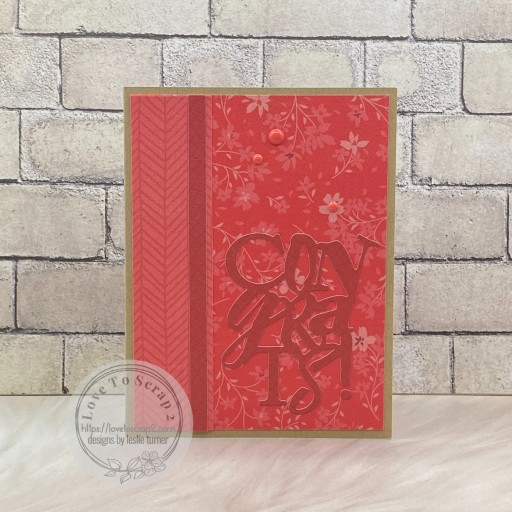
I cut the fun fold card base from CutCardStock Twine 80# 12×12 cardstock and layering panels from several prints in the Keep it Simple Ruby 12×12 Collection Pack. The die cut on the front is from STAMPlorations and is one of my favorites. I finished the front with a few Keep It Simple Ruby enamel dots.
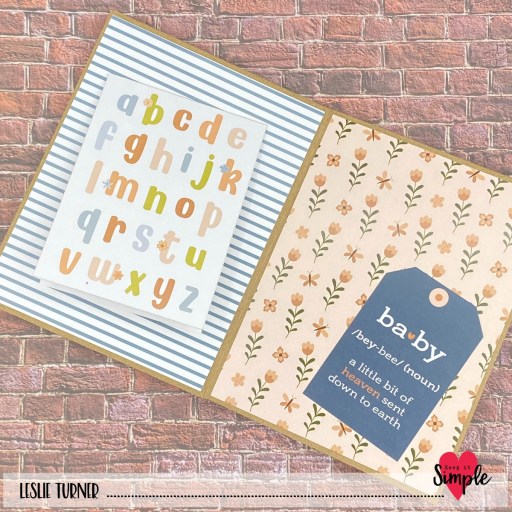
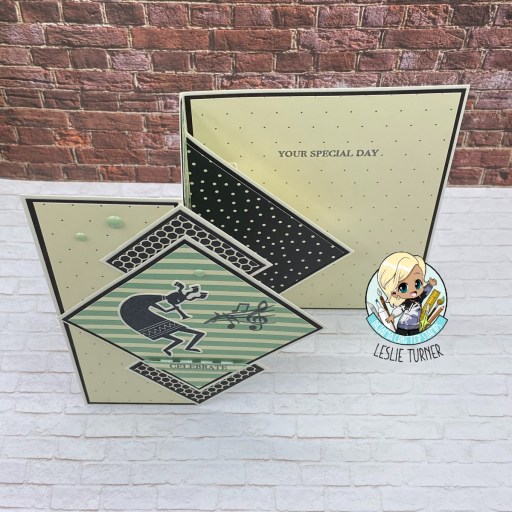
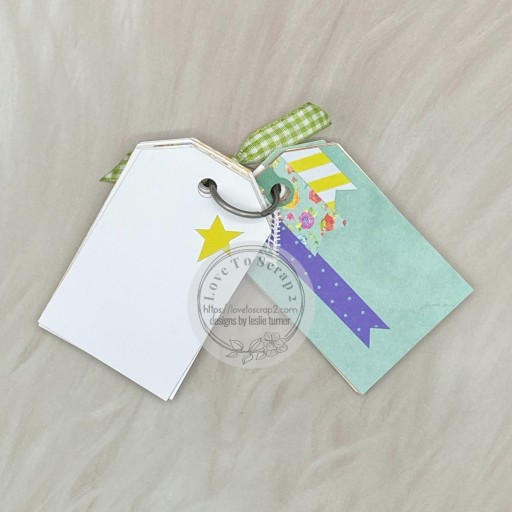
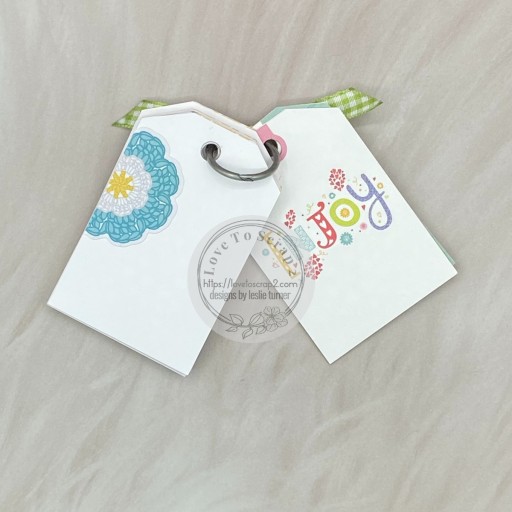
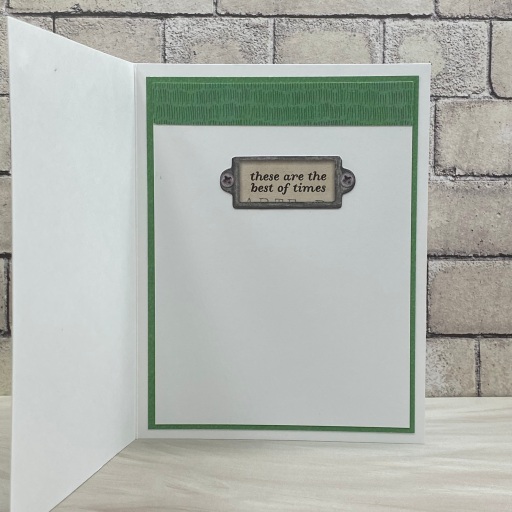
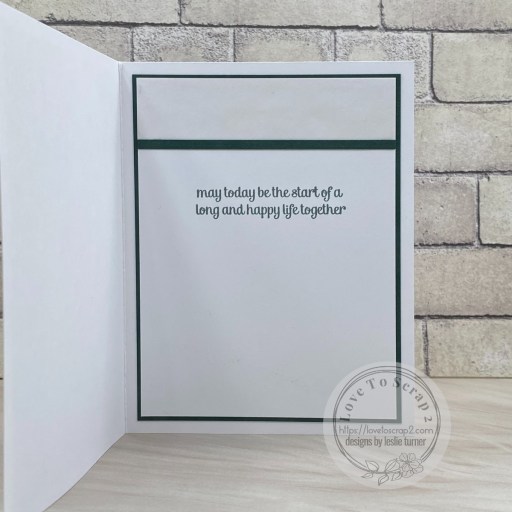
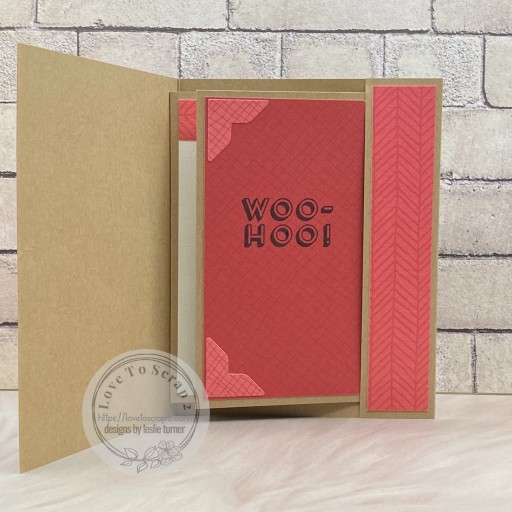
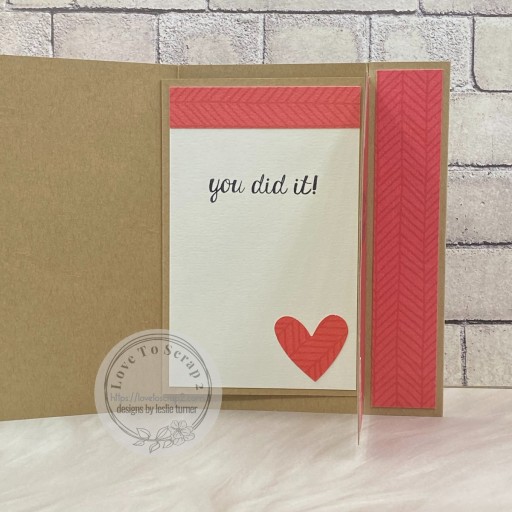
As I said above, the magic is on the inside! There is a hidden pocket with two panels, which means room for two stamped sentiments, and both of them are from the Stampin’ Up Bravo stamp set. I added ephemera from the same Ruby Collection Pack to both panels, which completed the card.
Affiliate links are used in this post at no cost to you – I really appreciate your support!
Products used:
CARDSTOCK/PAPER: CutCardStock Twine 80# 12×12 cardstock and Basis 80# Natural cardstock, Keep It Simple Ruby 12×12 Collection Pack (paper and ephemera)
STAMPS: Stampin’ Up Bravo stamp set
INK: Memento Tuxedo Black ink
DIES/PUNCHES: STAMPlorations Congrats Word Die
ACCESSORIES: Fiskars 12″ ProCision Rotary Bypass Paper Trimmer, Elmer’s Craft Bond Tape Runner, Bearly Art precision craft glue, MISTI stamp tool, Big Shot, Keep It Simple Ruby Enamel Dots
I hope you’ve enjoyed seeing this project and will link up with us this time! Thanks so much for stopping by today – we’ll see you next time! ;)
Scrappy hugs,