1/20/24 Rising Star at A Place To Start!
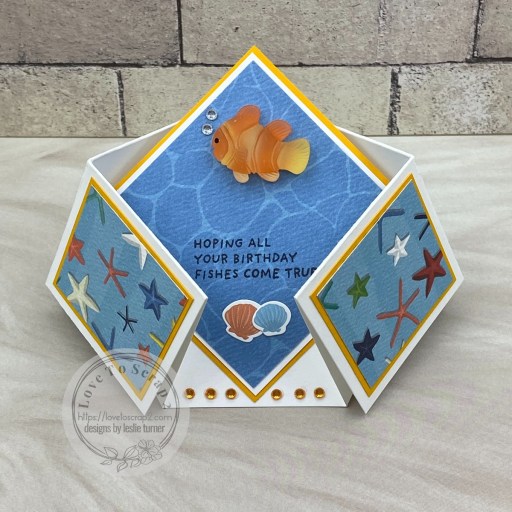
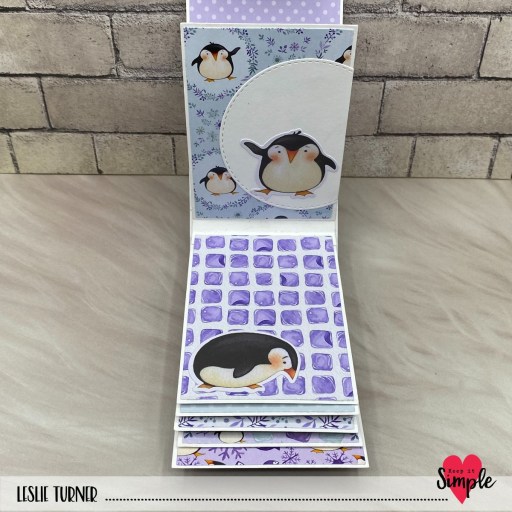
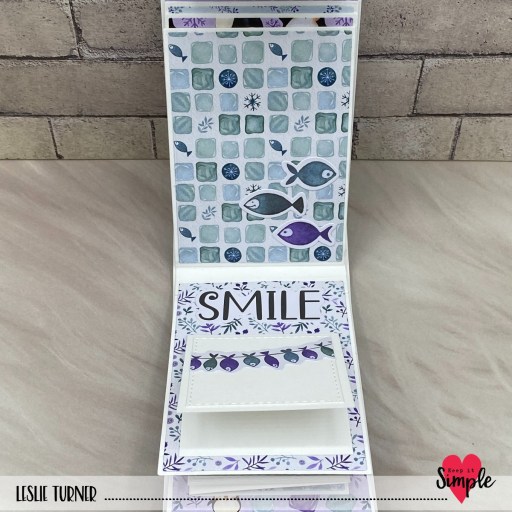
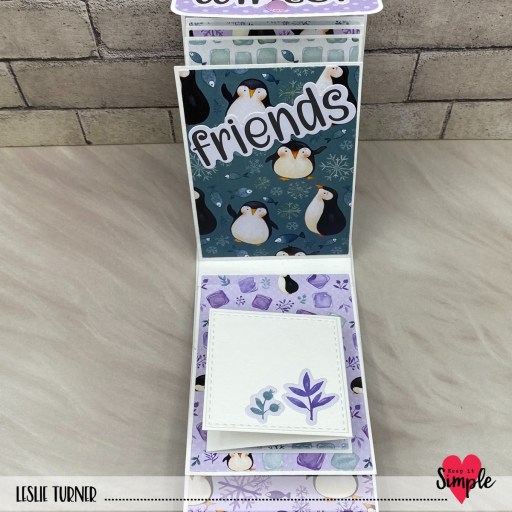
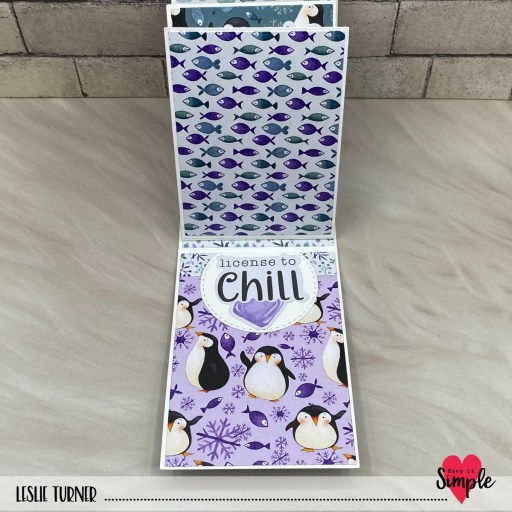
Hey everybody! Can you believe we’re into the middle of January already?! Dang, where is the time going?! You know how much I love the Art Impressions Matchbook line, and I’ve been playing with the Office Matchbook stamps and dies and created this adorable little scene to enter in the Art Impressions current Clean Slate: #366 – Anything Goes challenge! I’m so excited to be sharing another one of these amazing little masterpieces!

Using the Art Impressions Matchbook Template die, I cut the base from a Polly’s Paper Studio double-sided paper. I’ve created quite a few Matchbooks and I’ve used Polly’s Paper Studios papers for all but one. I don’t know why, but I always reach for her papers for the bases. I stamped all the elements in the Art Impressions Office Matchbook stamp set in Memento Tuxedo Black ink on Neenah Classic Crest 80# Solar White cardstock and cut them with the coordinating Art Impressions Office Matchbook dies. I colored them with alcohol markers and then assembled the Matchbook. So stinkin’ cute!

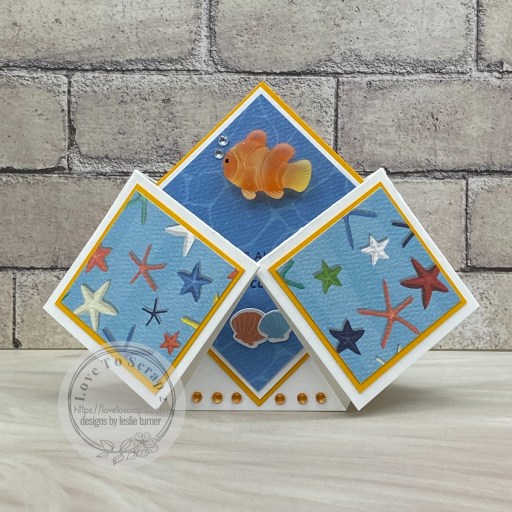
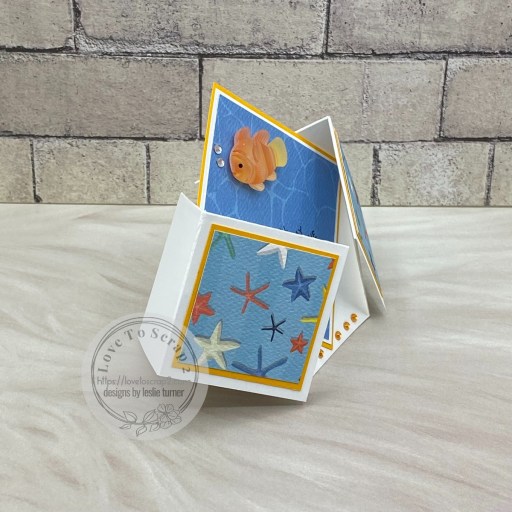
Here are several more angled shots and one with the teeny tiny envelope. ;)


Sharing in these additional challenges:
1. 613 Avenue Create: Anything Goes w/ optional New Beginnings (no twist)
2. A Perfect Time To Craft Open Challenge: January #1-2024 – Anything Goes
3. A Place To Start: January 2024 – Anything Goes w/ optional Gatefold Card (no twist)
4. Classic Design Challenge: #01-2024 – Anything Goes w/ optional Blue & White
5. Cut It Up Challenge Blog: #295 – A New Year/new tool, product, idea, design (new Matchbook!)
Affiliate links are used in this post at no cost to you – I really appreciate your support!
Products used:
CARDSTOCK/PAPER: Neenah Classic Crest 80# Solar White cardstock, Polly’s Paper Studio double-sided papers
STAMPS: Art Impressions Office Matchbook stamps
INK: Memento Tuxedo Black ink; Arteza alcohol markers- BR52/66, NG04, GB04/06/08, GS09, B07/17/18/20, YR15, YG46/48, R12, P25
DIES/PUNCHES: Art Impressions Office Matchbook dies, Matchbook Template die and Matchbook Envelope Template dies
ACCESSORIES: Tonic Studios 12″ Guillotine Paper Trimmer, Bearly Art precision craft glue, MISTI stamp tool, Big Shot
I hope you’ve enjoyed seeing this fun little Office-themed Matchbook! I sure had fun making it! Thanks so much for stopping by today – we’ll see you next time! ;)
Scrappy hugs,