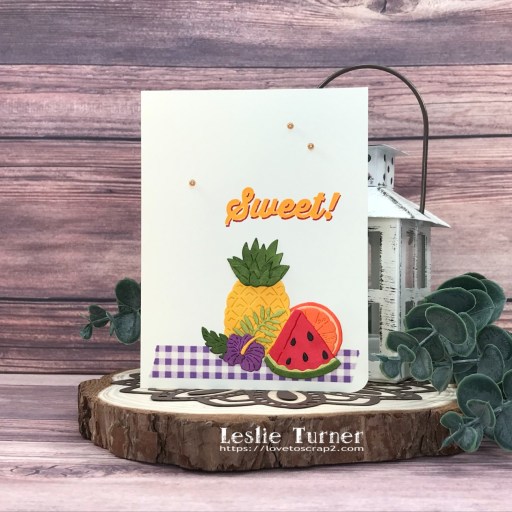
Hey everybody! Wishing you all a lovely week coming up! Our new challenge is live this morning over at Ally’s Angels and I’m excited to share my DT inspiration project for Challenge #72! I created a clean and simple congrats card for this challenge using the Tropical Fruit Dies from CottageCutz! I’ve had these dies in my stash for several years and have never used them, so they came out for a play! I’m still on my quest to use ‘barely used’ or ‘never used’ stamps and dies in my stash this year, and I’ve done pretty well!
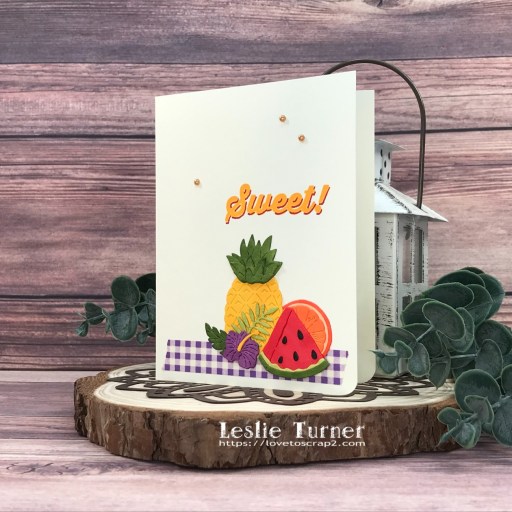
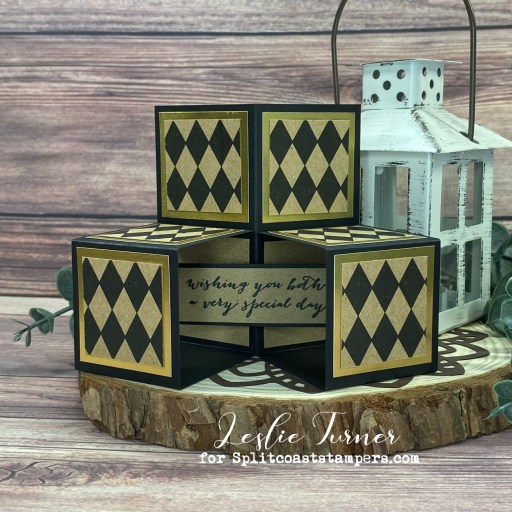
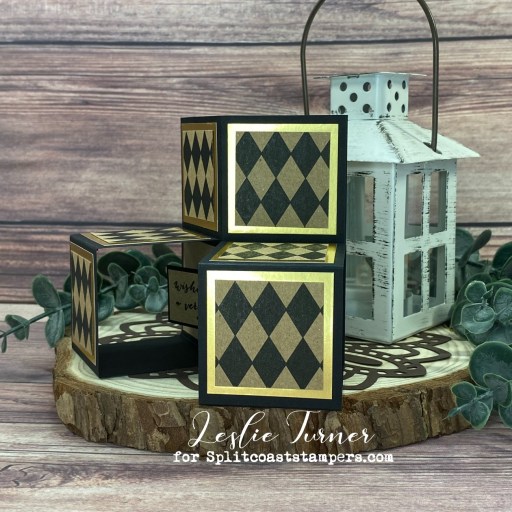
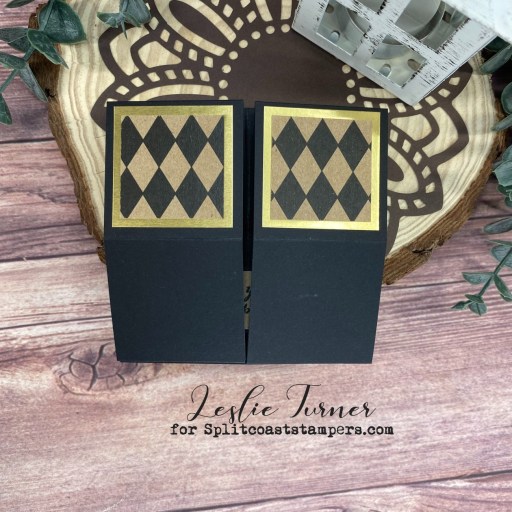
I cut a standard A2 size side-folding card base from CutCardStock Basis 110# Natural cardstock and rounded the bottom right corner. I die cut the CottageCutz Tropical Fruit pieces from Basis Natural cardstock as well and colored them with alcohol markers. I added a strip of Eyelet Outlet purple check washi tape across the bottom of the card base and arranged the fruit die cuts on it to ground them on a faux table cloth. I stamped the sentiment from the Stampin’ Up Bravo stamp set in Catherine Pooler Catching Rays ink and outlined the right side of each letter with a Sharpie Dark Pink Ultra Fine Point marker.
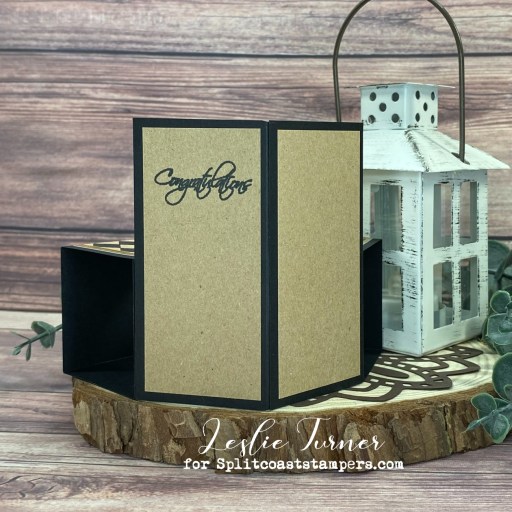
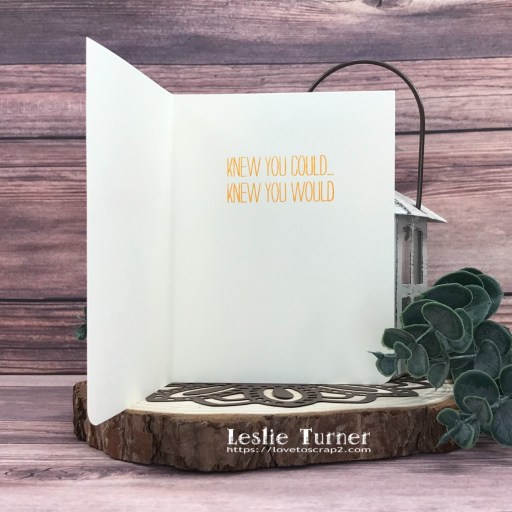
I kept the inside clean and simple as well, and stamped the sentiment (also from the Stampin’ Up Bravo stamp set) in Catherine Pooler Catching Rays ink.
Sharing in the following challenges:
1. A Perfect Time To Craft Open Challenge: July #7-2023 – Anything Goes
2. A Place To Start: July 2023 – Anything Goes w/ optional Life is a Beach (no twist)
3. Classic Design Challenge: July #7 – Anything Goes
4. Jan’s Digi Stamps Challenges: July Anything Goes
5. Use Your Stuff: #488 – Summer Moodboard (watermelon, colors, texture)
Affiliate links are used in this post at no cost to you – I really appreciate your support!
Products used:
Cardstock/Paper: CutCardStock Basis 110# Natural cardstock
Stamps: Stampin’ Up Bravo stamp set
Ink: Arteza alcohol markers- YR32/33/37, P23, Y22, YG17/22, R13, BK00; Catherine Pooler Catching Rays ink, Sharpie Dark Pink Ultra Fine Point marker
Dies/Punches: Kadomaru Pro Corner Rounder, CottageCutz Tropical Fruit dies
Accessories: Tonic Studios 12″ Guillotine Paper Trimmer, Bearly Art precision craft glue, MISTI stamp tool, Big Shot, Eyelet Outlet purple check washi tape and brown pearl bling, Trinity Pick Up Stick
I hope you’ve enjoyed seeing this project and will link up with us this month! We can’t wait to see what you create! Thanks so much for stopping by today – we’ll see you next time! ;)
Scrappy hugs,