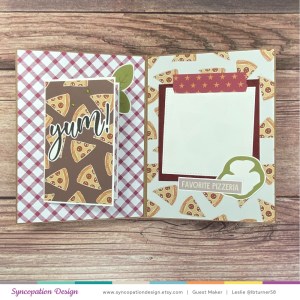
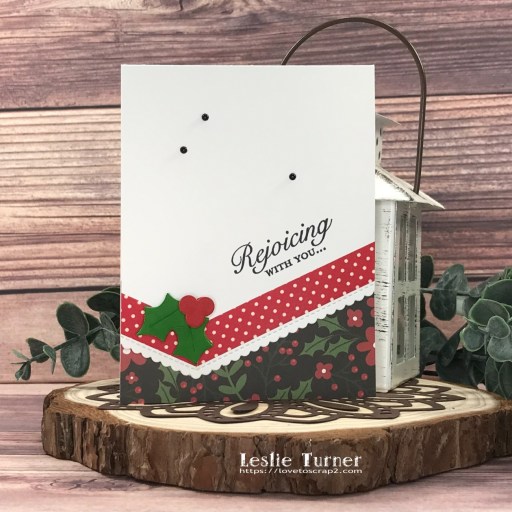
Hey everybody! Well, how’s the weather where you are? Is it warming up any at all? It’s still chilly here but the bitter cold is definitely behind us. Our new challenge is live this morning over at Merry Little Christmas Challenge Blog and I’m thrilled to share my DT inspiration project for MLCCB #49 – Anything Christmas Goes! I created a pretty bi-level card using two My Favorite Things dies sets and some Echo Park paper.
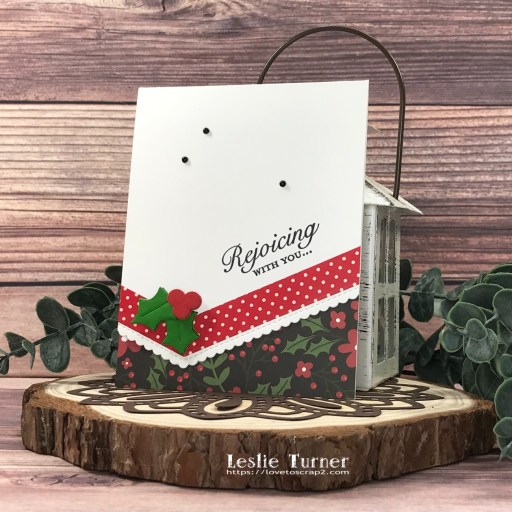
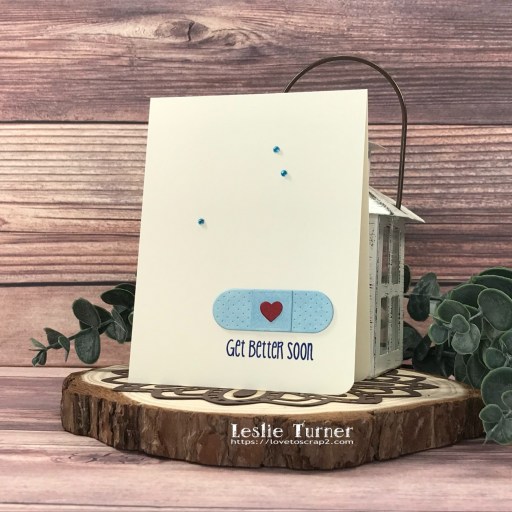
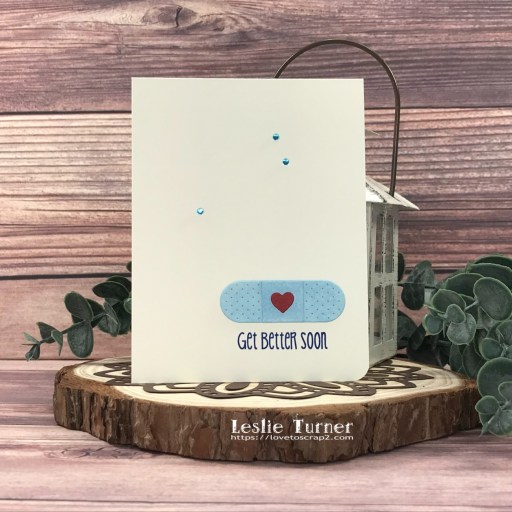
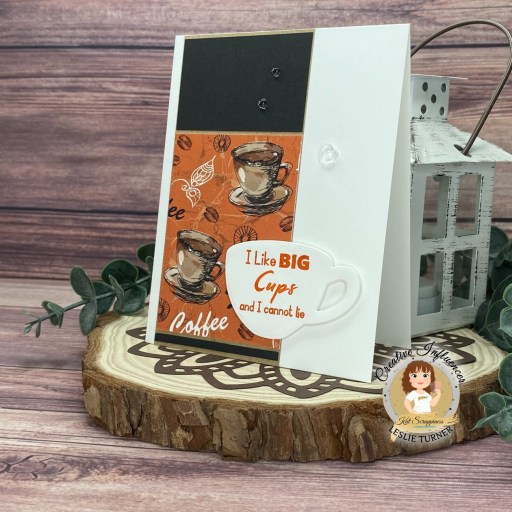
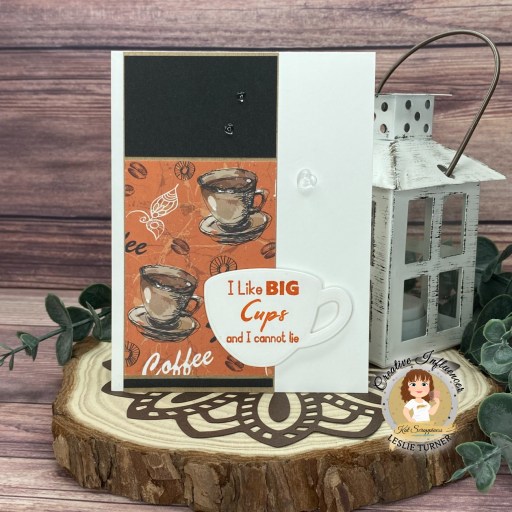
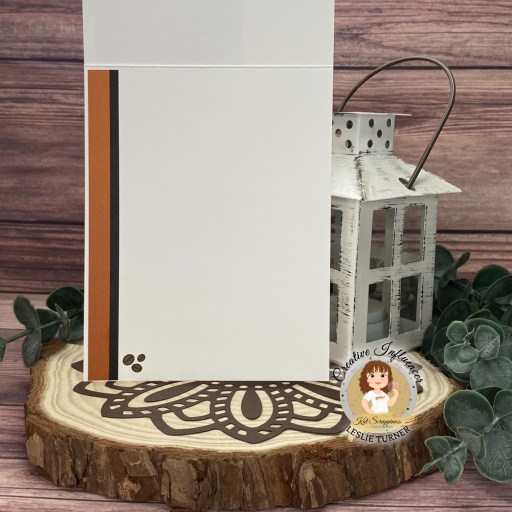
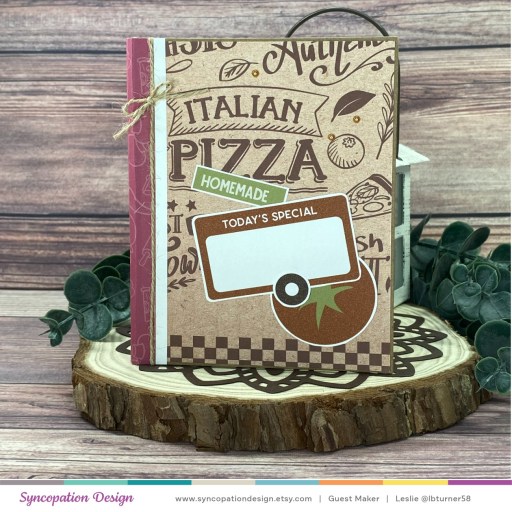
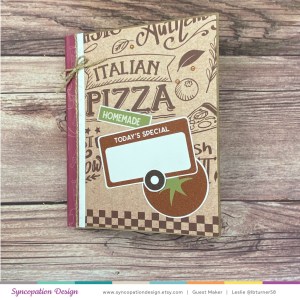
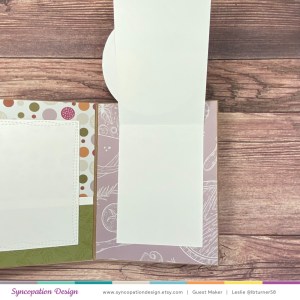
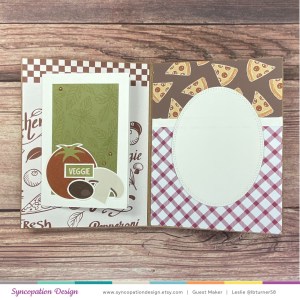
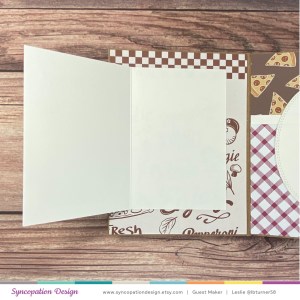
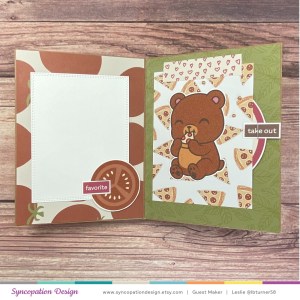
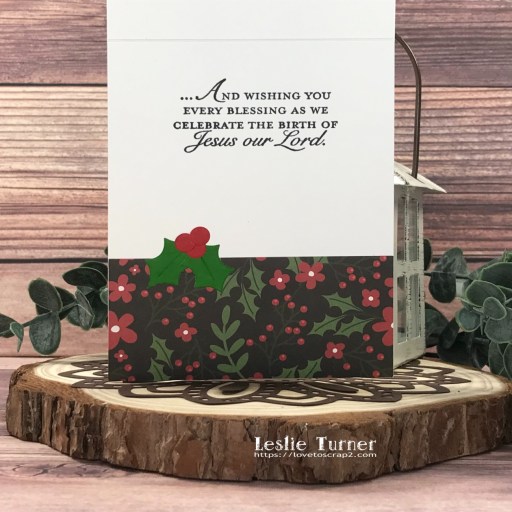
I cut a standard A2 size top-folding card base from Neenah Classic Crest 110# Solar White cardstock and cut the bottom portion off the front flap with a My Favorite Things Stitched Scallop Basic Edges die. I applied two strips of Eyelet Outlet red and white dotted washi tape along the angled flap and stamped the sentiment from the Stampin’ Up Versatile Christmas stamp set in Memento Tuxedo Black ink. I created a 3-D holly embellishment using the My Favorite Things Holly Berries dies which is the first time I’ve used this set. I employed the swiped ink technique with Catherine Pooler Grass Skirt and Rockin’ Red inks on Solar White cardstock and die cut several sets of holly leaves and berries. The finishing touch was adding several Eyelet Outlet black pearls.
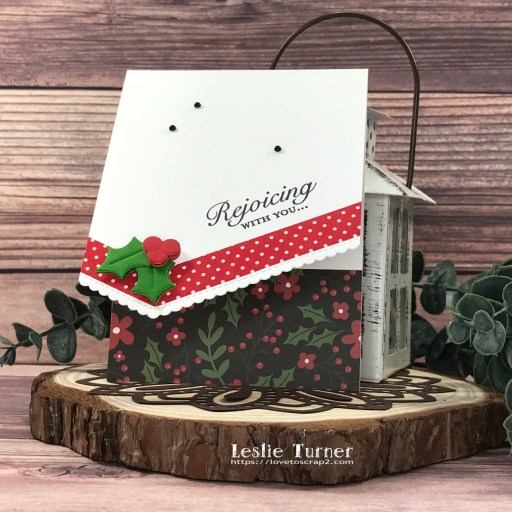
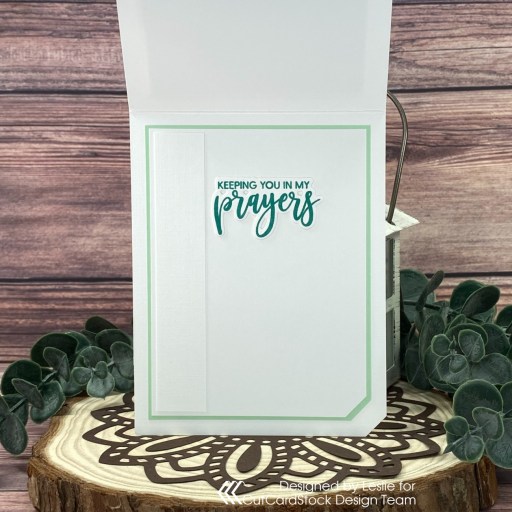
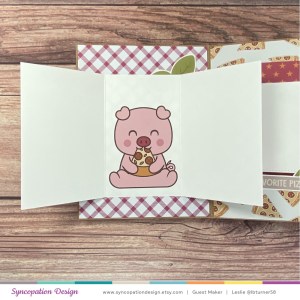
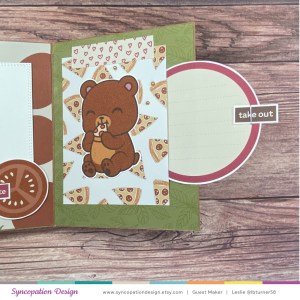
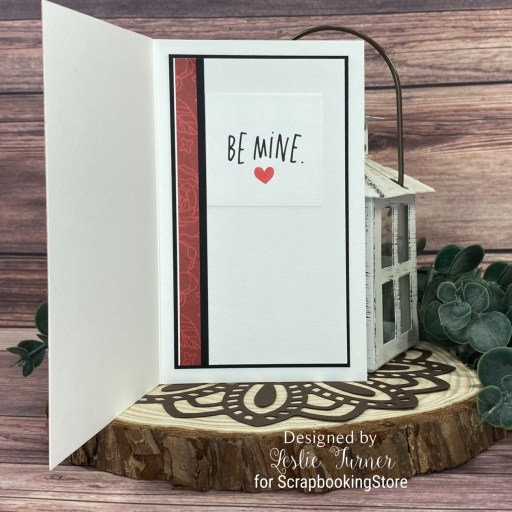
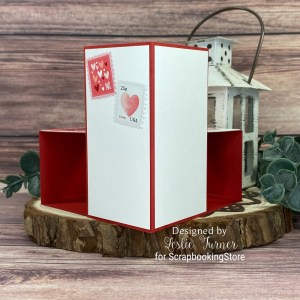
I stamped the inside sentiment, also from the Stampin’ Up Versatile Christmas stamp set, in Memento Tuxedo Black ink. I added a strip of Echo Park Christmas floral paper across the bottom so it’s visible beneath the front flap and adhered another holly die cut.
Sharing in the following challenges:
1. A Perfect Time To Craft Open Challenge Blog: March #3-2023 – Anything Goes
2. ABC Christmas Challenge: C is for Checks and D is for Die Cuts (used Die Cuts)
3. Classic Design Challenge: March 2023 #3 – Anything Goes
4. Inkspirational: #284 – Designer’s Choice – Stitching – Real or Faux
5. Penny’s Paper-Crafty Challenges: #541 – Anything Goes Using Paper
Affiliate links are used in this post at no cost to you – I really appreciate your support!
Products used:
Cardstock/Paper: Neenah Classic Crest 110# Solar White cardstock, Echo Park A Perfect Christmas double-sided paper
Stamps: Stampin’ Up Versatile Christmas stamp set
Ink: Catherine Pooler Grass Skirt and Rockin’ Red inks; Memento Tuxedo Black ink
Dies/Punches: My Favorite Things Stitched Scallop Basic Edges, My Favorite Things Holly Berries dies
Accessories: Tonic Studios 12″ Guillotine Paper Trimmer, Bearly Art precision craft glue, MISTI stamp tool, Big Shot, Eyelet Outlet red and white dotted washi tape and black pearls, Stampin’ Up Mini Dimensionals
I hope you’ve enjoyed seeing this project and will link up with us this time! Thanks so much for stopping by today – we’ll see you next time! ;)
Scrappy hugs,