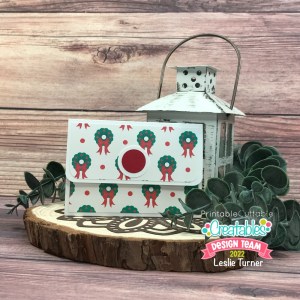
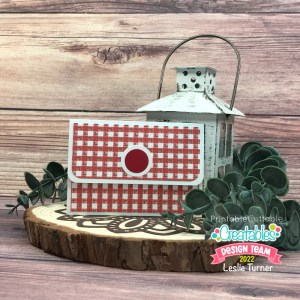
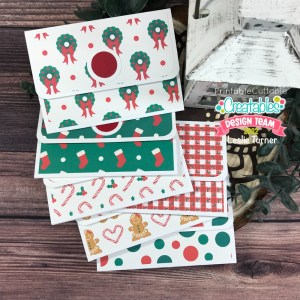
Hey everybody! Happy Tuesday! I’m back again this morning, this time sharing another Keep It Simple DT inspiration project! This adorable Christmas card features quite a few items from the Scandinavian Christmas collection which I’m totally loving! To create this fun scene, I used paper from the Scandinavian Christmas 6×9 Cardstock Pack, stamps and die cut pieces from Santa & Friends, and die cut pieces and stamps from Gnomes!
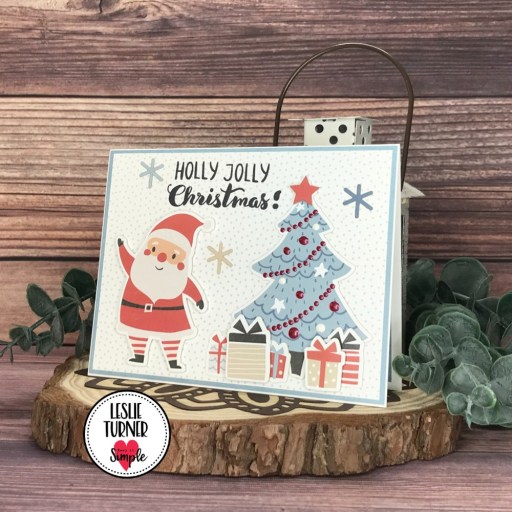
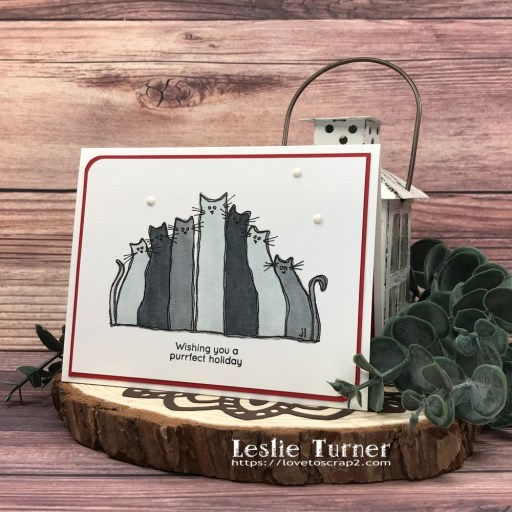
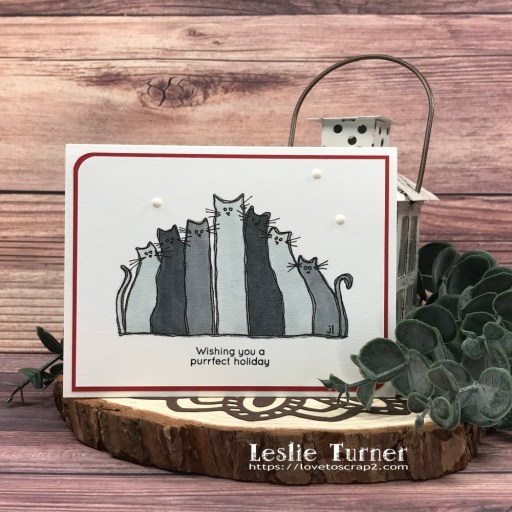
I cut a standard A2 size top-folding landscape card base from Neenah Classic Crest #110# Solar White cardstock along with layering panels from papers in the 6×9 Cardstock Pack. I used die cuts from both the Santa & Friends and Gnomes Die Cut Pieces to create the scene, popping some of the presents up on foam dimensionals and using Nuvo Autumn Red and Gloss White Crystal Drops to embellish the tree. I stamped the sentiment from the Santa & Friends Stamps in Memento Tuxedo Black ink which completed the card front.

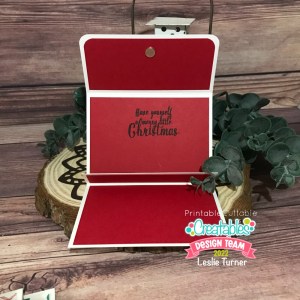
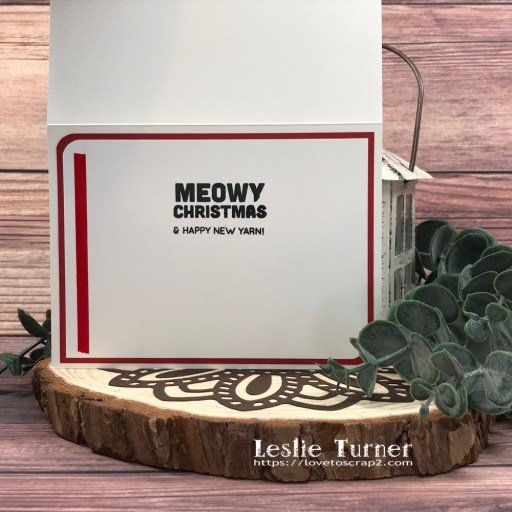
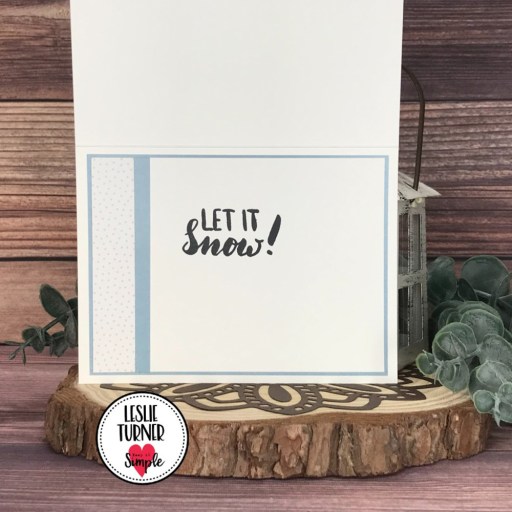
I cut the inside panel from 80# Solar White cardstock and embellished it with strips of the papers used on the front, and then stamped the sentiment from the Gnomes Stamps in black ink.
Keep It Simple products used:
Scandinavian Christmas 6×9 Cardstock Pack
Santa & Friends Stamps
Santa & Friends Die Cut Pieces
Gnomes Die Cut Pieces
Gnomes Stamps
Affiliate links are used in this post at no cost to you – I really appreciate your support!
Other products used:
Cardstock/Paper: Neenah Classic Crest 110# and 80# Solar White cardstock
Ink: Memento Tuxedo Black ink
Accessories: Tonic Studios 12″ Guillotine Paper Trimmer, Bearly Art precision craft glue, MISTI stamping tool, Nuvo Autumn Red and Gloss White Crystal Drops, Stampin’ Up Dimensionals and Mini Dimensionals
I hope you’ve loved seeing this project as much as I loved creating it, and you’re inspired to get crafty! Be sure to check out ALL the fun goodies in the Keep It Simple store such as paper, stamps, die cuts, ephemera, washi tape and enamel dots to name just a few! You’ll go cray-cray! Be sure to Follow us on Facebook, Instagram, and Pinterest for lots of crafty inspiration! Thanks so much for stopping by today – we’ll see you next time!
Scrappy hugs,