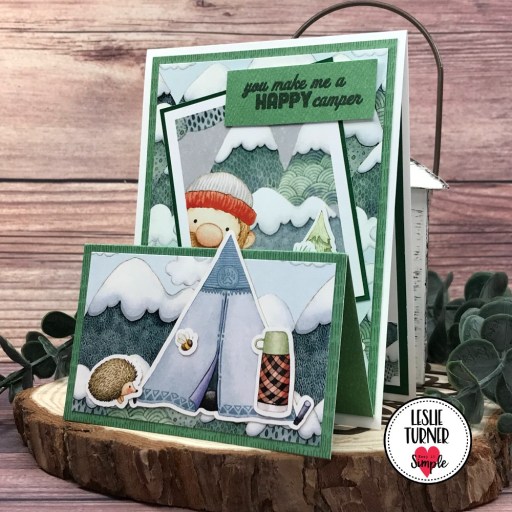
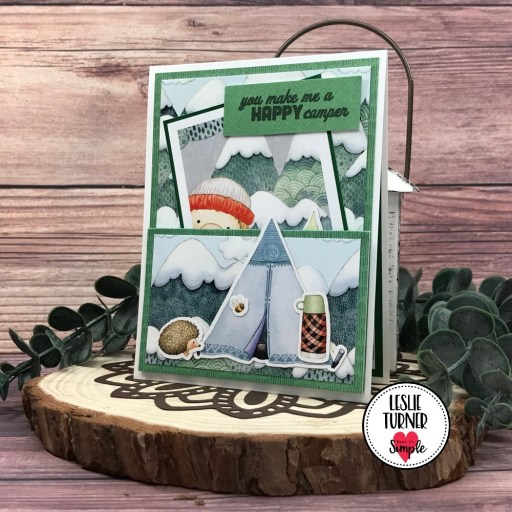
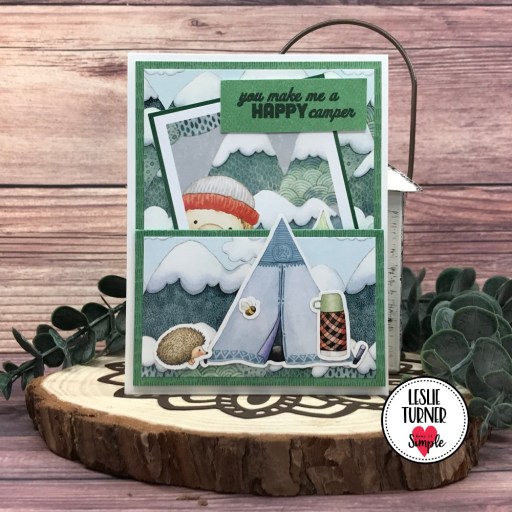
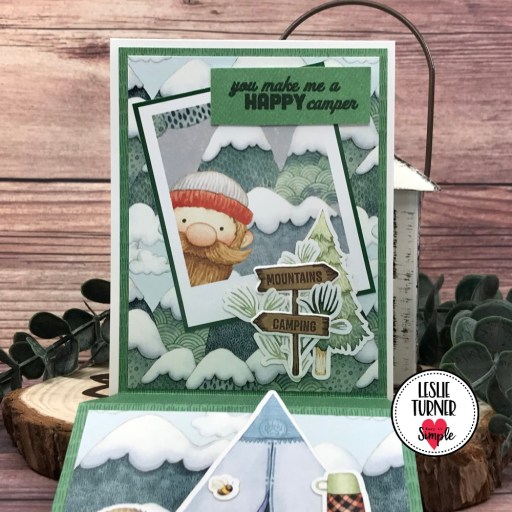
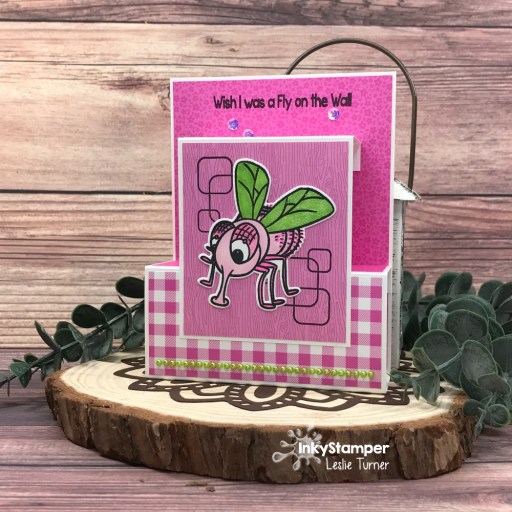
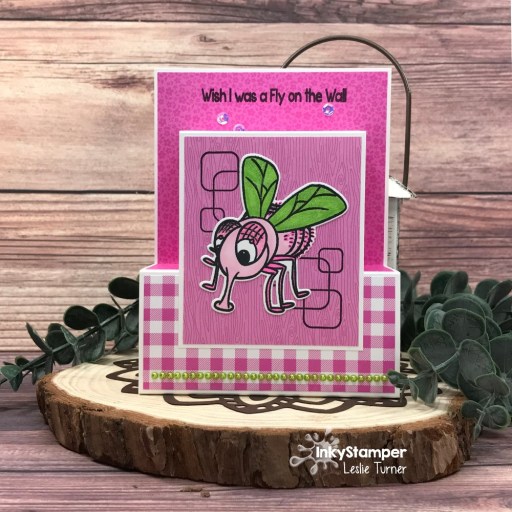
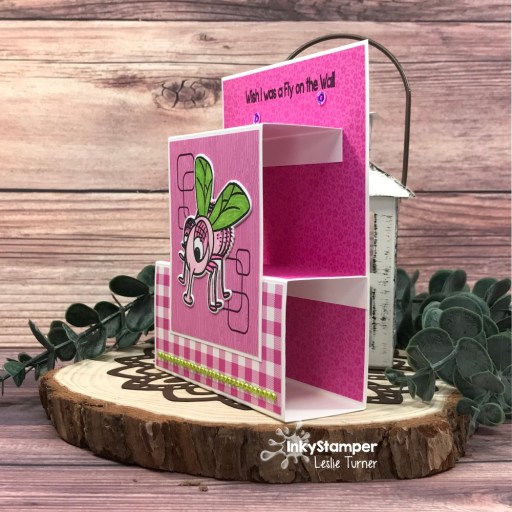
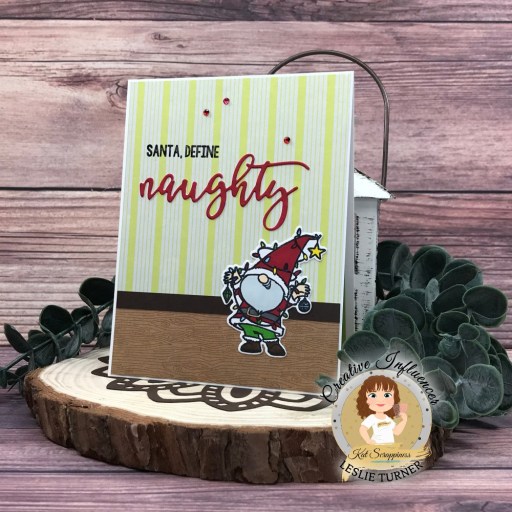
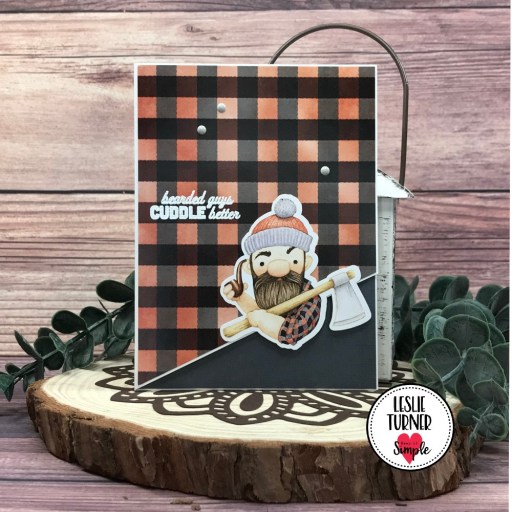
Howdy peeps! Happy Monday – I hope you had a great weekend! I’m thrilled to be back with another Keep It Simple DT inspiration project featuring items from the new Lumberjack release! Love, love, love everything in this release! These guys make the best cards! I used the Collection Pack 12×12 Cardstock and Collection Pack 6×6 Cardstock, Die Cut Pieces, Lumberjack Stamps and Camping Stamps for this card. Another card with an angled front flap that I just love! Wouldn’t this make a great Valentine?!
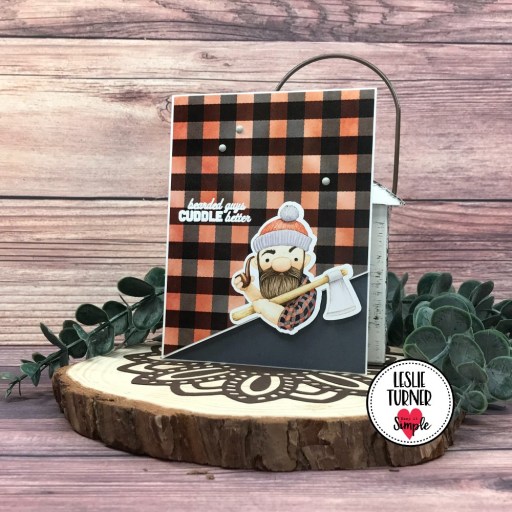
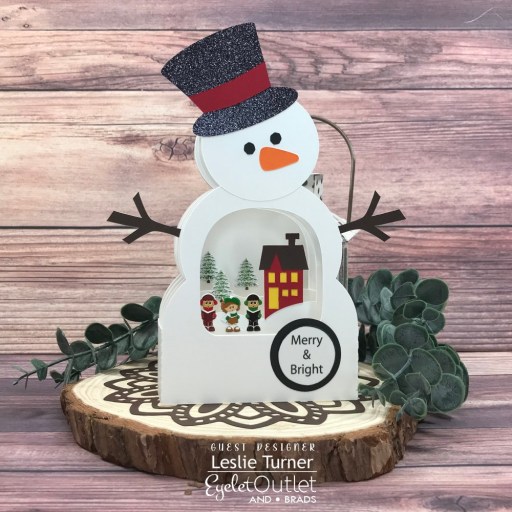
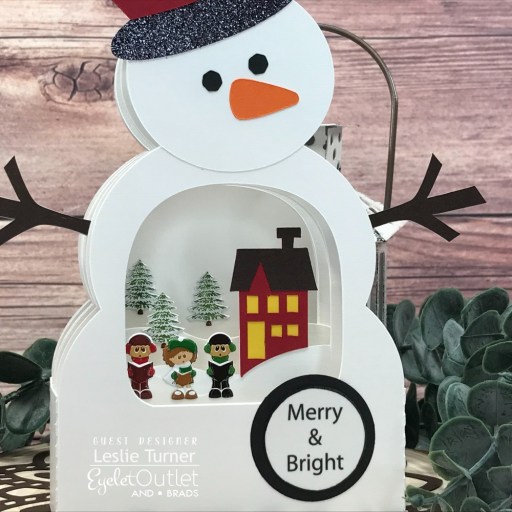
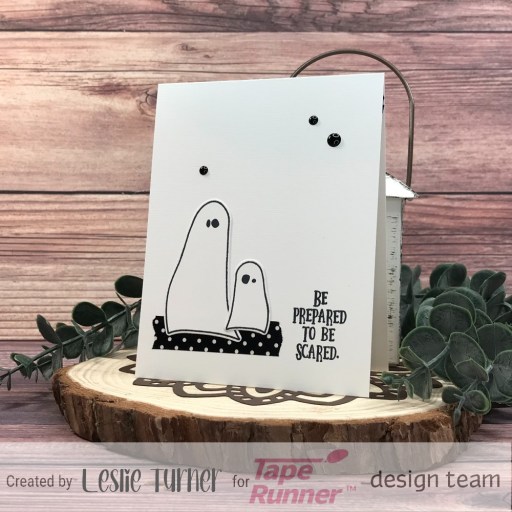
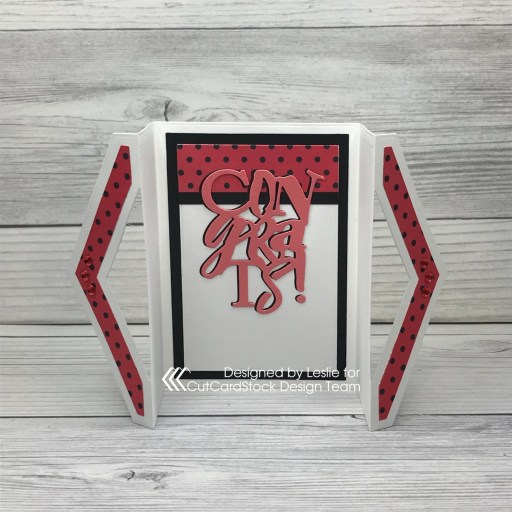
I cut a standard A2 size side-folding card base from Neenah Classic Crest 110# Solar White cardstock and cut the front flap off at an angle. I cut a layering panel from a buffalo check print in the Lumberjack Collection Pack 12×12 Cardstock, and adhered a large lumberjack die cut from the Die Cut Pieces. I stamped a sentiment from the Lumberjack Stamps in Versamark and embossed it in Hero Arts White Embossing Powder. The finishing touch was adding several Eyelet Outlet Gray Enamel Dots.
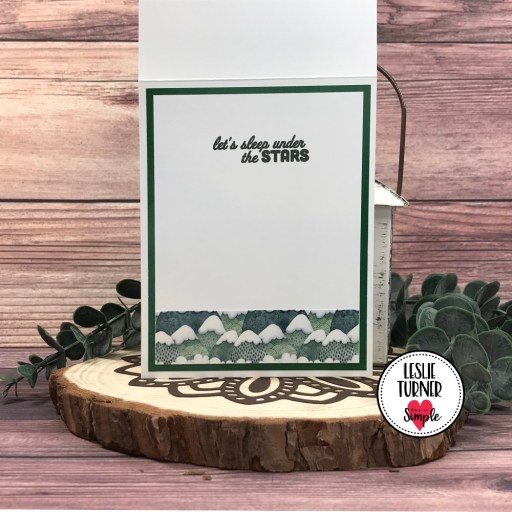
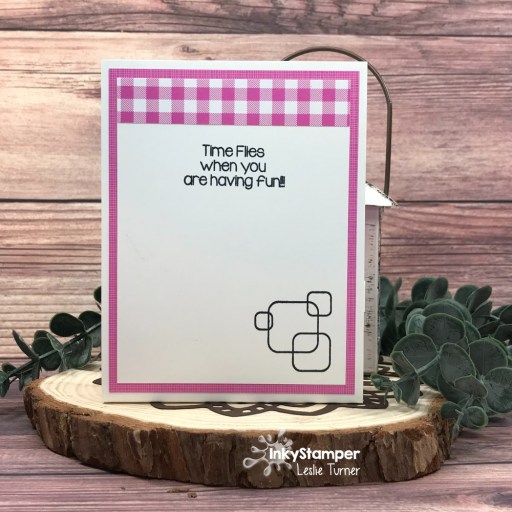
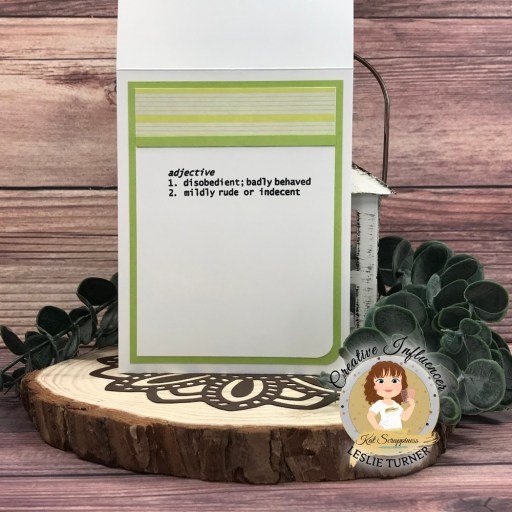
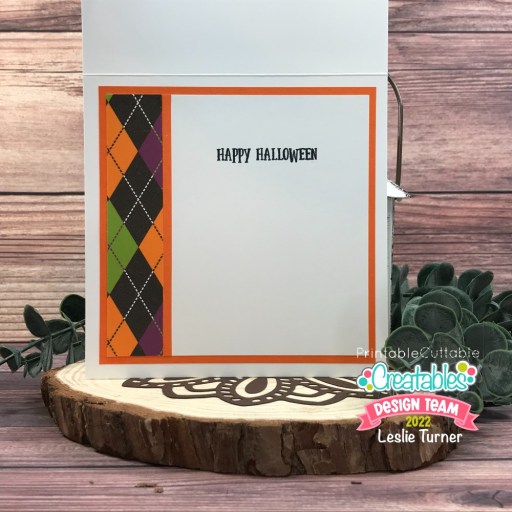
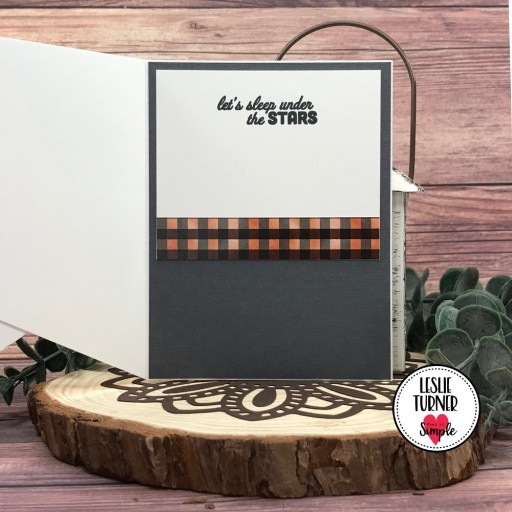
I cut a short inside panel from 80# Solar White cardstock along with a full size layering panel from CutCardStock Shadow Gray cardstock. I stamped a sentiment from the Lumberjack Camping Stamps in Memento Tuxedo Black ink and layered the panel on the gray cardstock along with a buffalo check strip from the Lumberjack Collection Pack 6×6 Cardstock.
Sharing in the following challenges:
1. A Perfect Time To Craft Open Challenge: #10-2022 – Anything Goes
2. A Place To Start – #102022 – Anything Goes w/ optional Circles and Squares (stretching the twist, lol… plaid squares/enamel dot circles)
3. Classic Design Challenge: October #10 – Anything Goes
4. Through The Craft Room Door: Anything Goes October 11th
5. Use Your Stuff: #469 – Die Cuts
Keep It Simple products used:
Lumberjack Collection Pack 12×12 Cardstock
Lumberjack Collection Pack 6×6 Cardstock
Lumberjack Die Cut Pieces
Lumberjack Stamps
Lumberjack Camping Stamps
Affiliate links are used in this post at no cost to you – I really appreciate your support!
Other products used:
Cardstock/Paper: Neenah Classic Crest 110# and 80# Solar White cardstock, CutCardStock Shadow Gray cardstock
Ink: Versamark, Memento Tuxedo Black ink
Accessories: Tonic Studios 12″ Guillotine Paper Trimmer, Bearly Art precision craft glue, MISTI stamping tool, ScraPerfect Perfect Crafting Pouch, Hero Arts White Embossing Powder, Eyelet Outlet Gray Enamel Dots
I hope you’ve loved seeing this project as much as I loved creating it, and you’re inspired to get crafty! Be sure to check out ALL the fun goodies in the Keep It Simple store such as paper, stamps, die cuts, ephemera, washi tape and enamel dots to name just a few! You’ll go cray-cray! Be sure to Follow us on Facebook, Instagram, and Pinterest for lots of crafty inspiration! Thanks so much for stopping by today – we’ll see you next time!
Scrappy hugs,