1/7/24 Rising Star at A Place To Start!
Hi friends! Happy New Year! I hope you have a wonderful and relaxing day! Our new challenge is live this morning over at Love To Scrap Challenge Blog and I’m super stoked to share my DT inspiration project for LTSCB #165 – Anything Goes! I created a pup-themed post-it note easel using items in the Keep It Simple Max and Daisy Collection. This project is both adorable AND practical! I love it when that happens! The Max and Daisy Collection is on clearance and has been deeply discounted. If you are inclined to go shopping, be sure to use my discount code LoveToScrap2 at checkout to save 10% on your entire order! There is no minimum purchase requirement and no usage limits, plus the code combines with product, order, and shipping discounts!

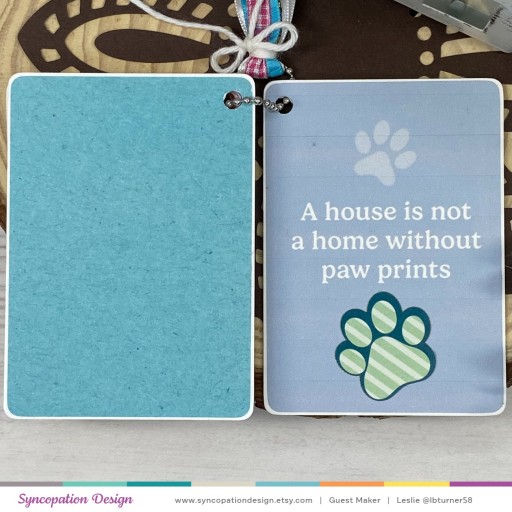
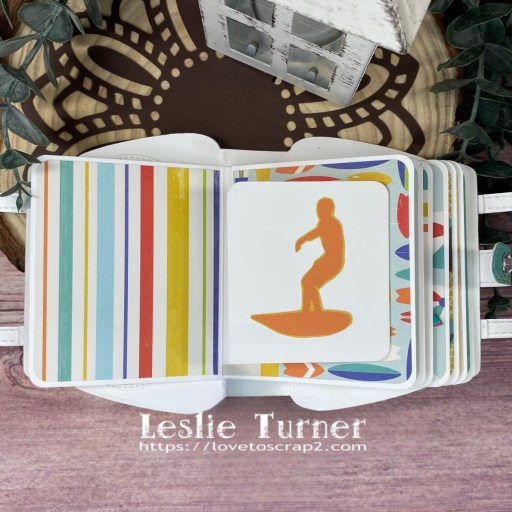
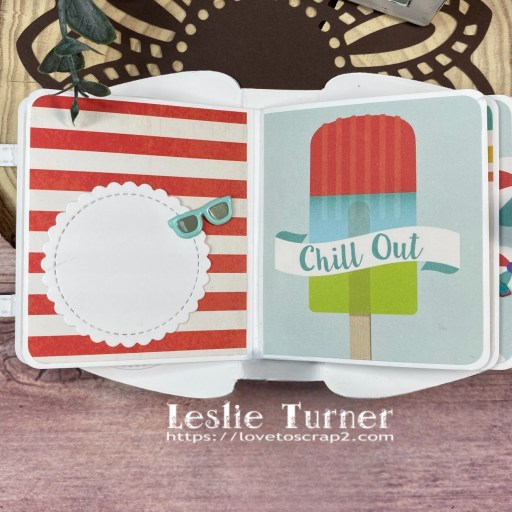
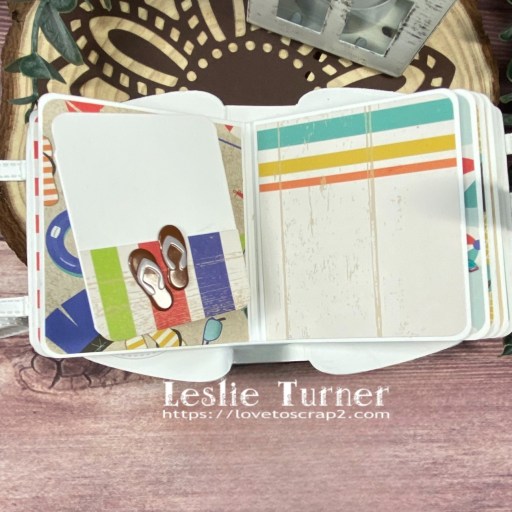
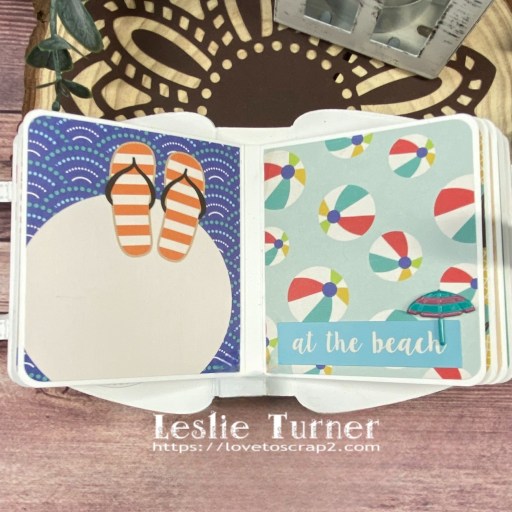
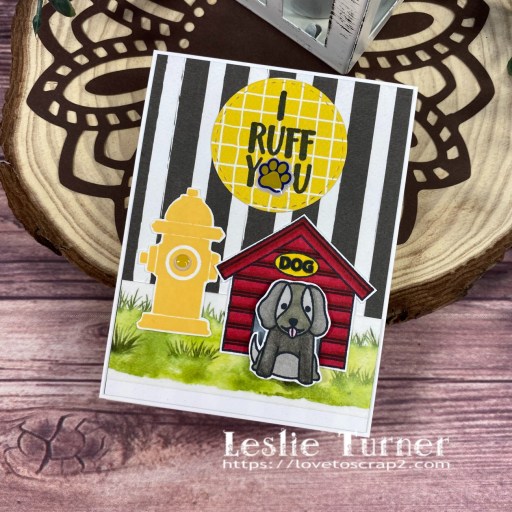
I cut the easel base from Neenah Classic Crest 110# Solar White cardstock along with layering panels from a striped print in the Keep It Simple Max and Daisy Flip Sides Pack. I added Eyelet Outlet grass washi tape to the bottom of the easel panel. I stamped the pup, house and hydrant from the Puppy Stamps in Memento Tuxedo Black ink on Solar White cardstock. I colored the pup and house with alcohol markers, and then fussy cut all three images. I stamped the sentiment on a coordinating print in the Flip Sides Pack, cut it with a Keep It Simple Stitched Circles Nested Die, and added a paw print enamel sticker.

Here’s a shot of the easel folded flat for mailing.
Sharing in the following challenges:
1. A Barrel of Monkeys Challenges: #11 – Winter Sled (color red)
2. A Perfect Time To Craft Open Challenge: January #1-2024 – Anything Goes
3. A Place To Start: January 2024 – Anything Goes w/ optional Gatefold Card (no twist)
4. Classic Design Challenge: December #12 – Anything Goes
5. Penny’s Paper-Crafty Challenge Blog: #561 – Anything Goes with Paper
Affiliate links are used in this post at no cost to you – I really appreciate your support!
Products used:
CARDSTOCK/PAPER: Neenah Classic Crest 110# Solar White cardstock, Keep It Simple Max and Daisy Flip Sides Pack
STAMPS: Keep It Simple Max and Daisy Puppy Stamps
INK: Memento Tuxedo Black ink; Arteza alcohol markers- NG06/08, R21/43, GS04/05/07, RP09, BR28/29; Sharpie Ultra Fine Point blue marker, Catherine Pooler Tiara ink
DIES/PUNCHES: Keep It Simple Stitched Circles Nested Dies
ACCESSORIES: Tonic Studios 12″ Guillotine Paper Trimmer, Tombow Mono Dots adhesive, Bearly Art precision craft glue, MISTI stamp tool, Big Shot, Eyelet Outlet Grass Washi Tape, Keep It Simple Max and Daisy Printed Enamel Stickers, 1″ double-sided foam strip
I hope you’ve enjoyed seeing this project and will link up with us this time! Thanks so much for stopping by today – we’ll see you next time! ;)
Scrappy hugs,