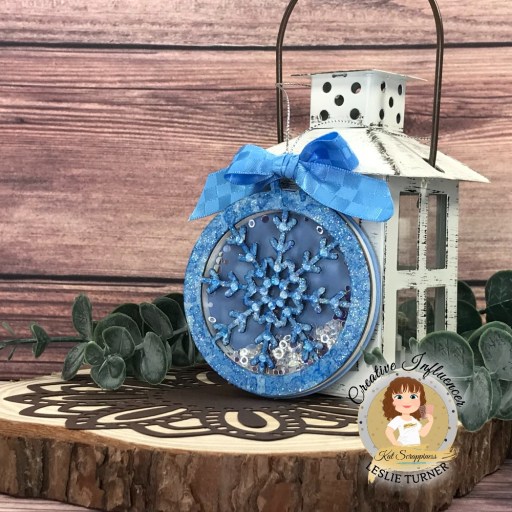
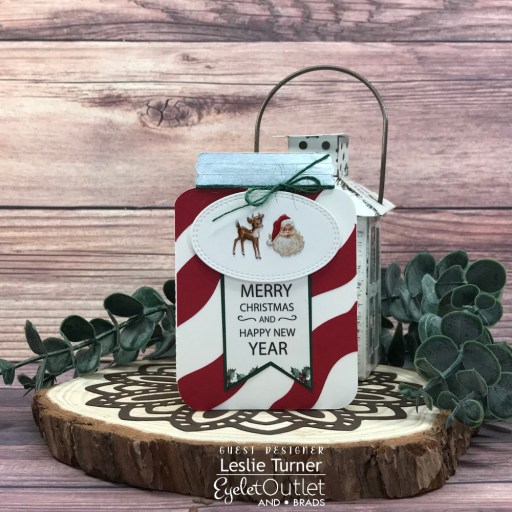
Hey everybody! Happy Monday! It’s so hard to believe that this is the last week before Christmas! I’m delighted to be back to share another ScrapbookingStore DT inspiration project with you today, created with the amazing December 2022 Scrapbook Kit with Upgrades! You know how I love creating 3-D projects, and when they make practical gifts, that’s a definite win-win! This type of sticky pad holder has been around for a while but was recently featured in a Splitcoast Stamper newsletter HERE and inspired me to make one! It’s a fast project that could easily be mass-produced to make stocking stuffers or co-worker gifts!

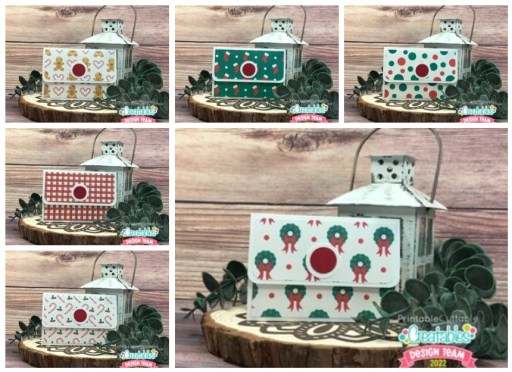
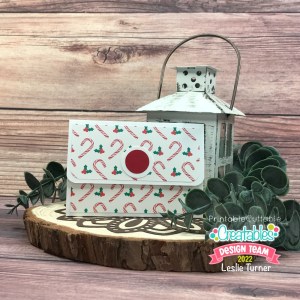
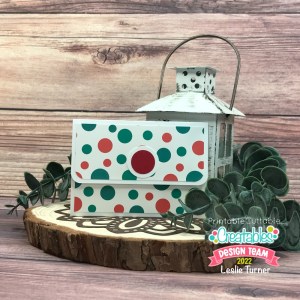
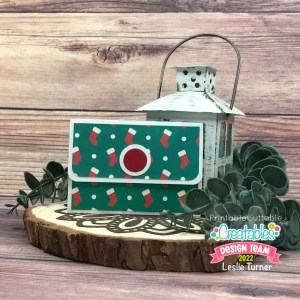
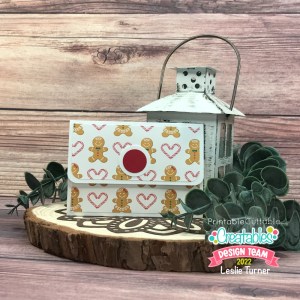
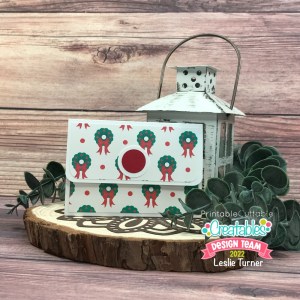
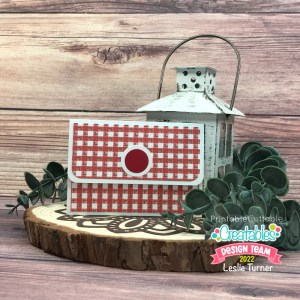
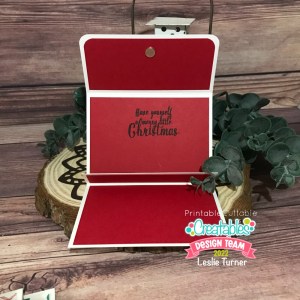
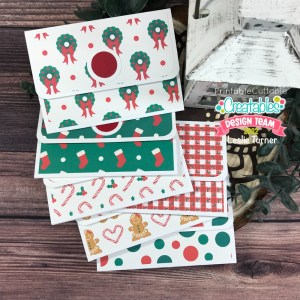
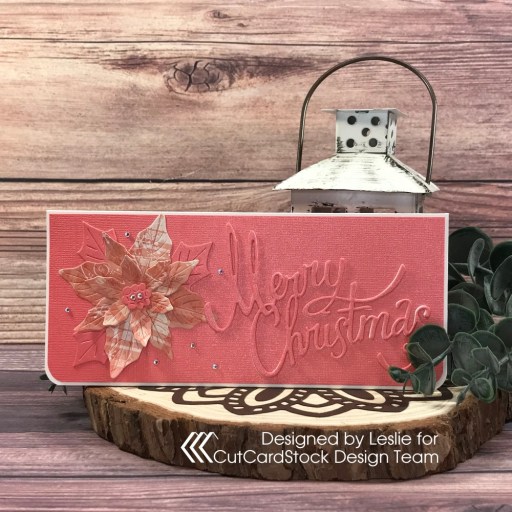
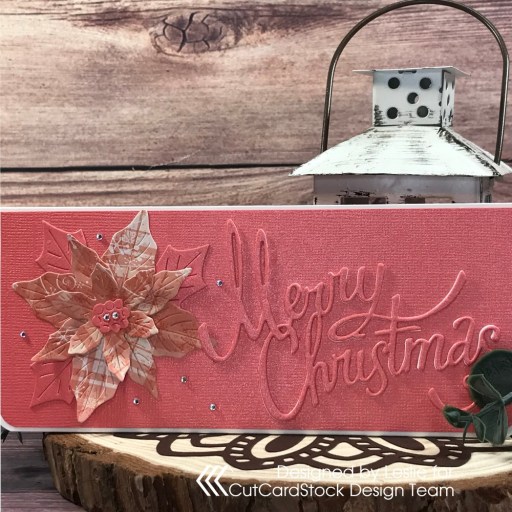
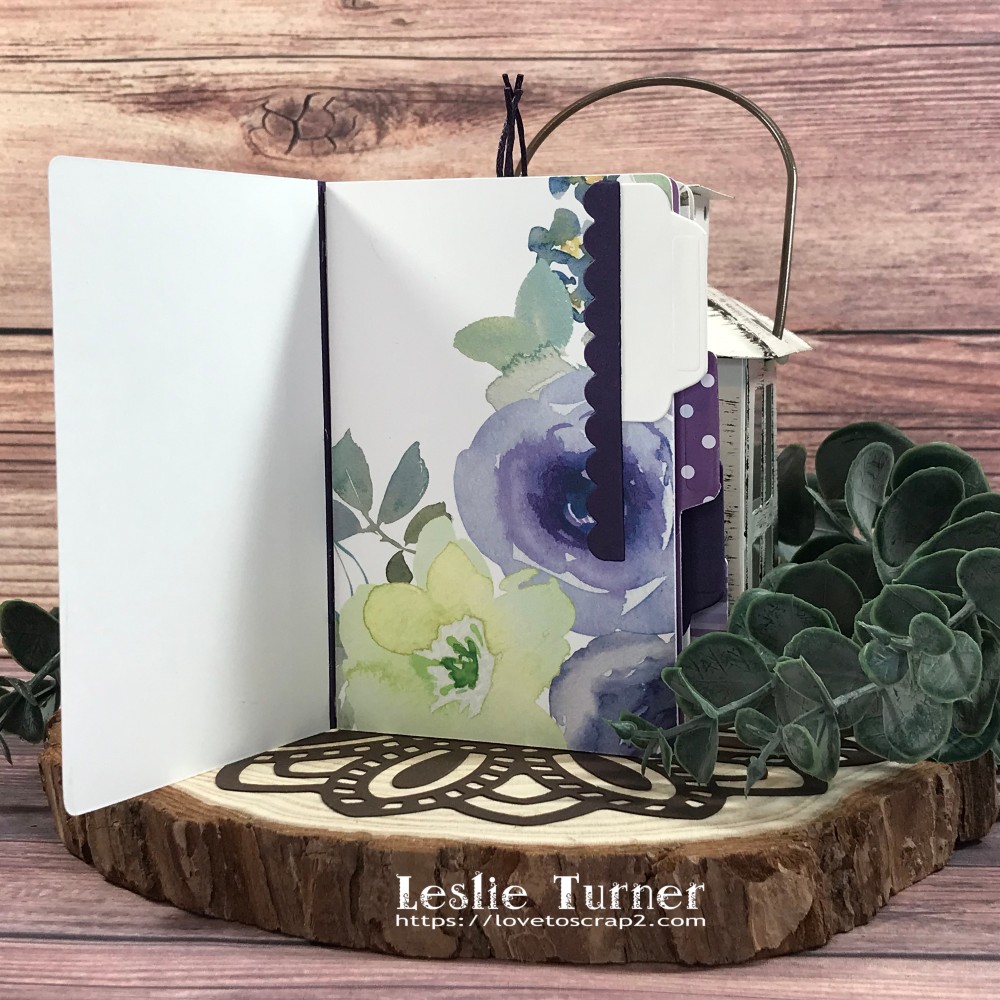
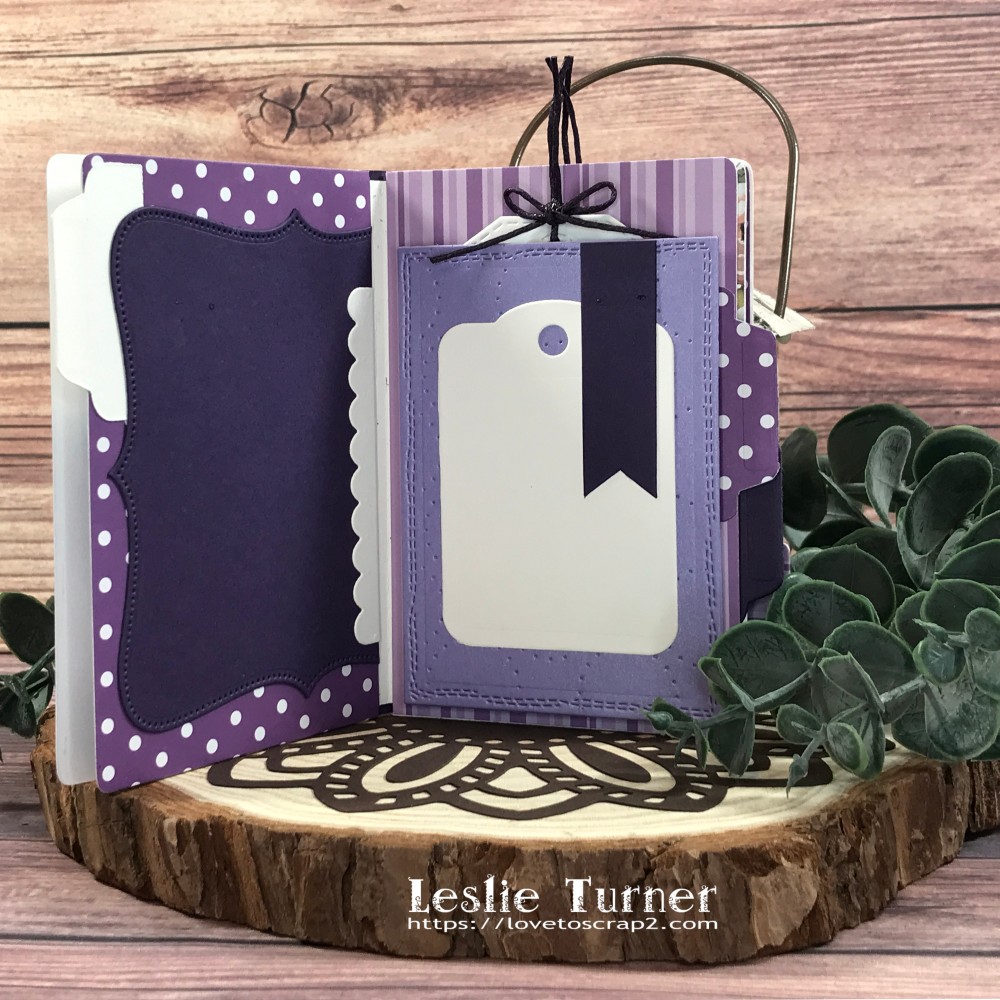
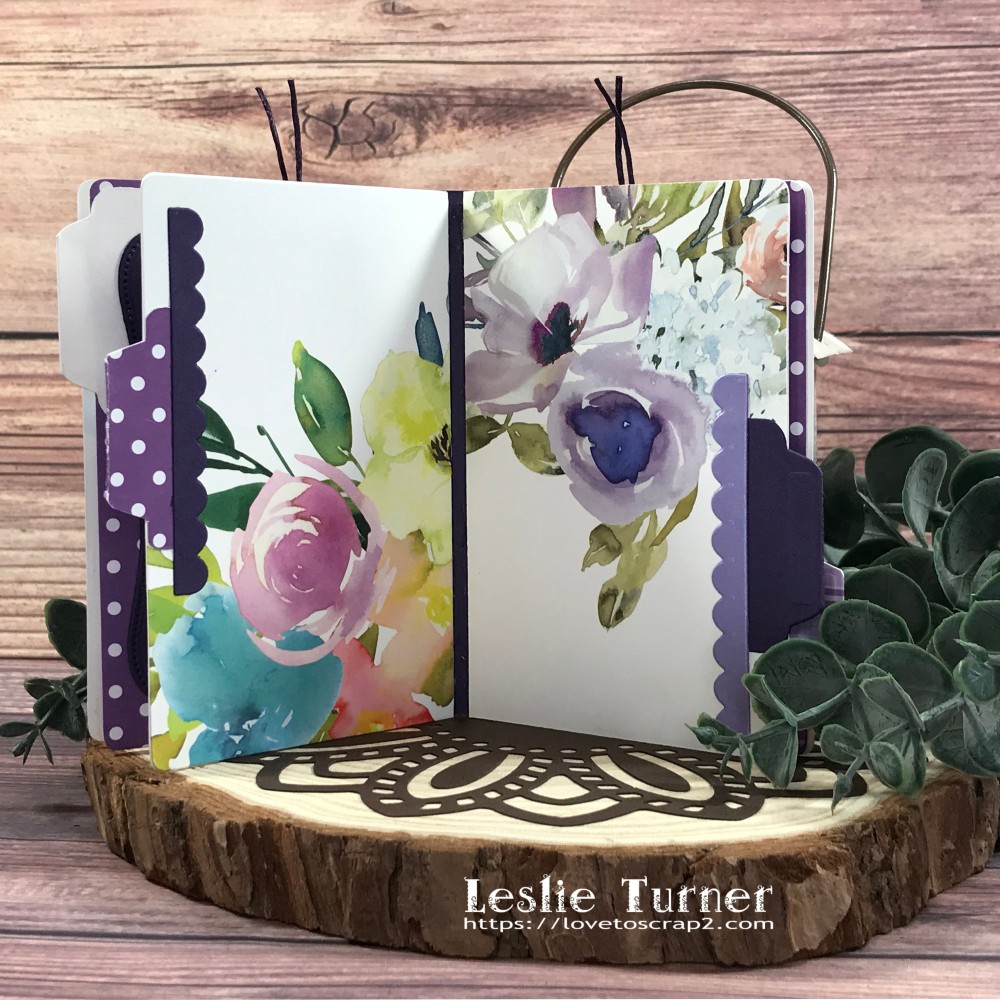
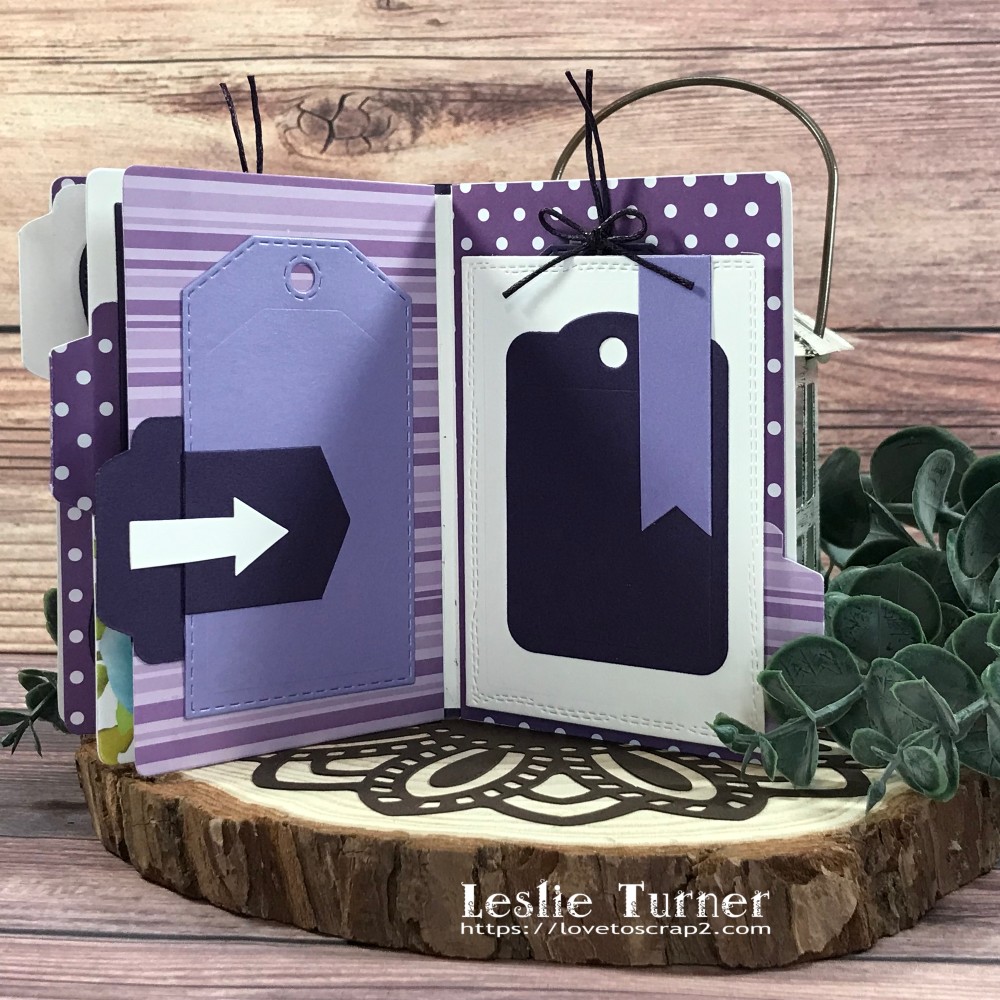
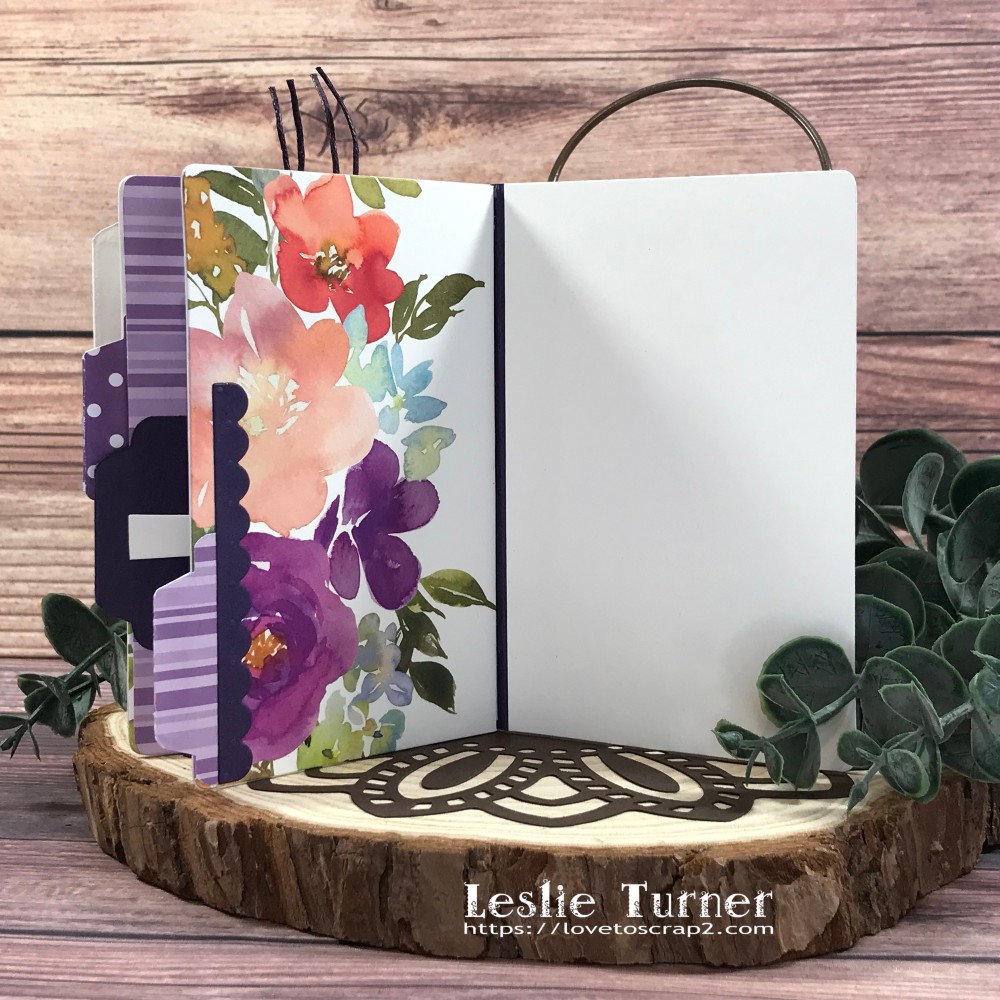
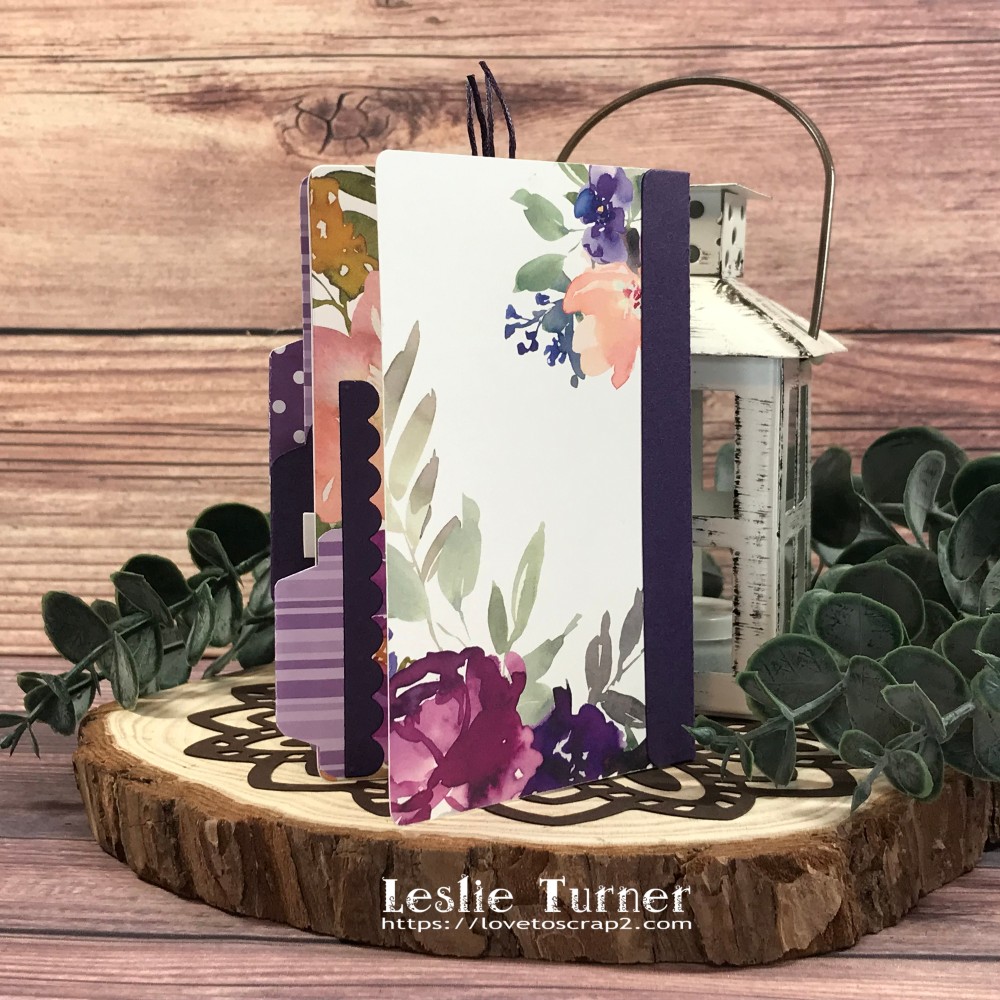
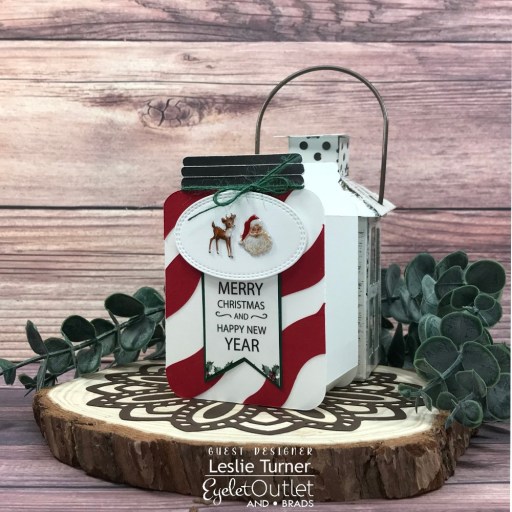
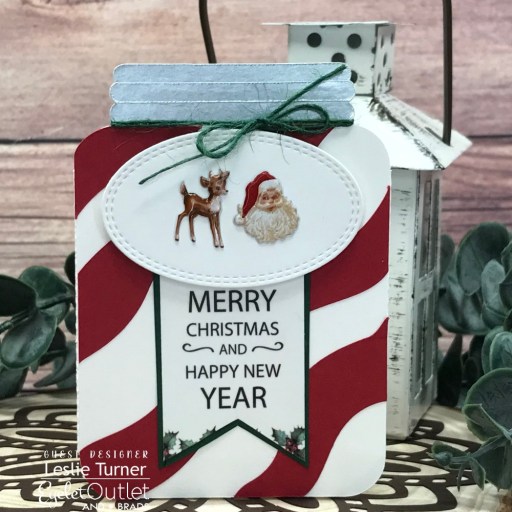
I cut the easel base and panel from CutCardStock Kraft chipboard. Then the fun began assembling and decorating. ;) I used a pretty Christmas floral patterned paper from the kit and layered it on a panel of CutCardStock Scottish Highlands Green cardstock. I embellished the panel with floral, cardinal and sentiment stickers from the sticker sheet along with some Eyelet Outlet bumpy red bling. You can’t tell in the photo, but I popped the cardinal up on mini dimensionals for a little interest.

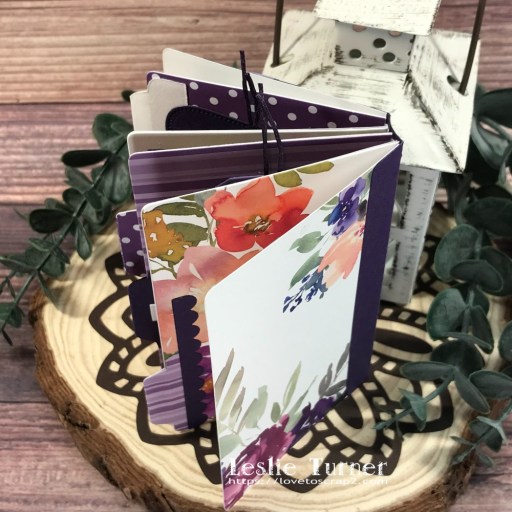
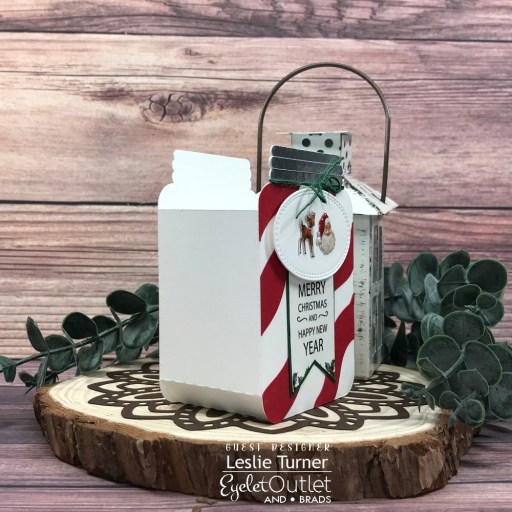
Like most easel-type projects, this sticky pad holder folds flat for gifting/mailing!

Affiliate links are used in this post at no cost to you – I really appreciate your support!
ScrapbookingStore products used:
December 2022 Scrapbook Kit with Upgrades
Other products used:
Cardstock/Paper: CutCardStock Kraft Chipboard and Scottish Highlands Green cardstock
Accessories: Tonic Studios 12″ Guillotine Paper Trimmer, Bearly Art precision craft glue, Stampin’ Up Mini Dimensionals, Eyelet Outlet bumpy red bling
I hope you’ve enjoyed today’s project and you’re thinking about all the fun you could have with this month’s kit… you really ought to think about joining the Subscription Club! Be sure to Follow us on Facebook, Instagram, Pinterest and YouTube for lots of crafty inspiration! And if you do decide to join the Subscription Club, join our ScrapbookingStore Club Member Group on Facebook for more inspiration and to share your projects! Thanks so much for stopping by today – we’ll see you next time!
Scrappy hugs,