7/20/23 Top 3 at Penny’s Paper-Crafting Challenge Blog!
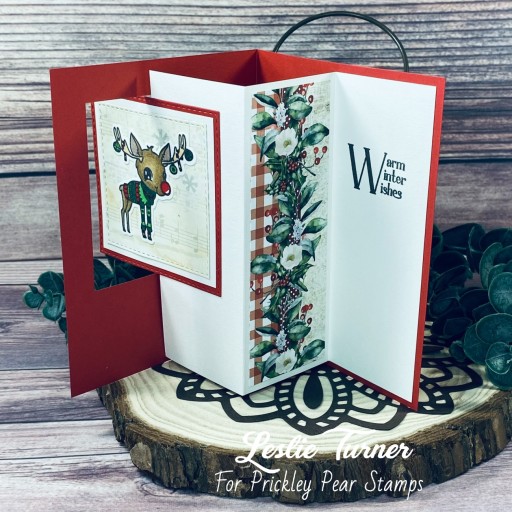
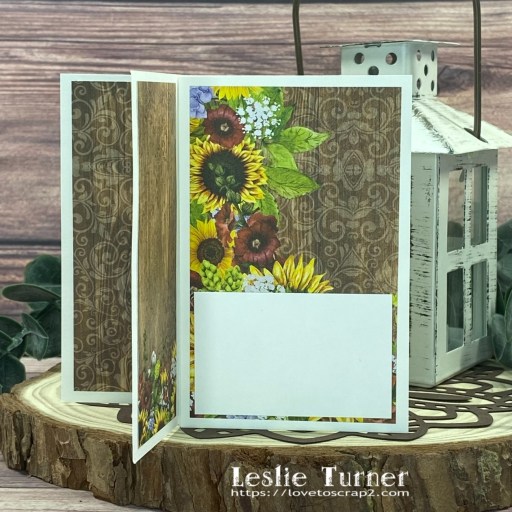
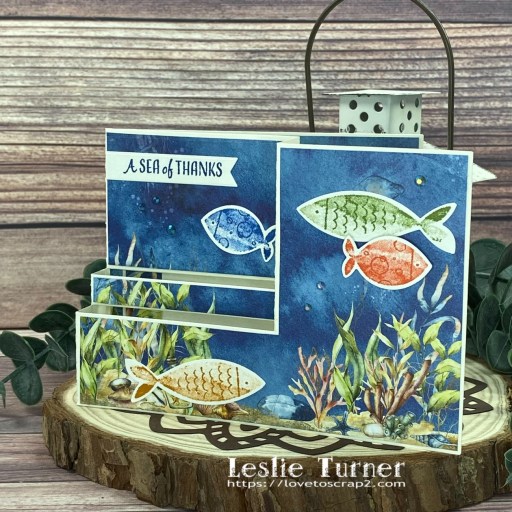
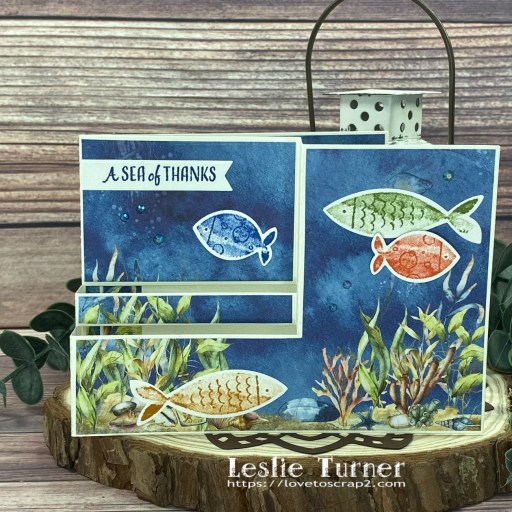
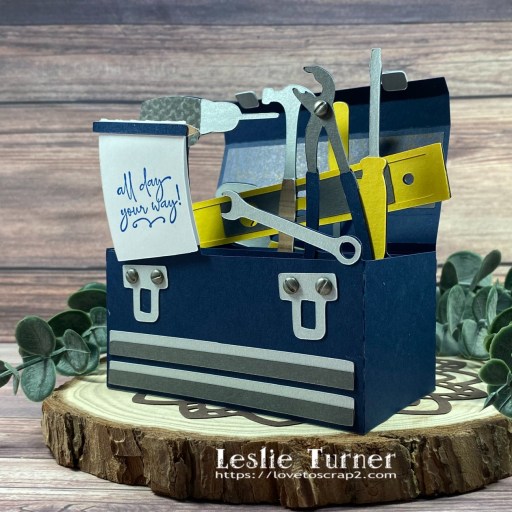
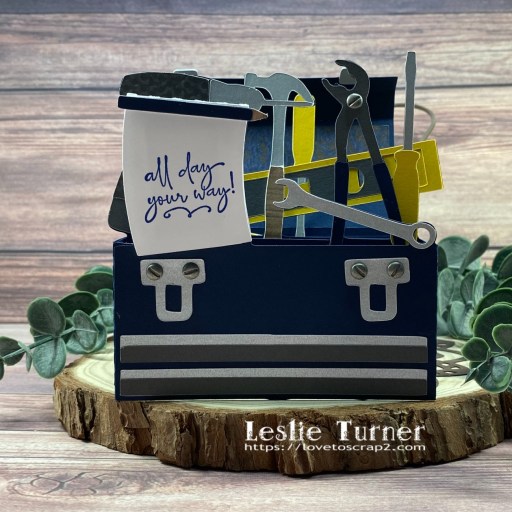
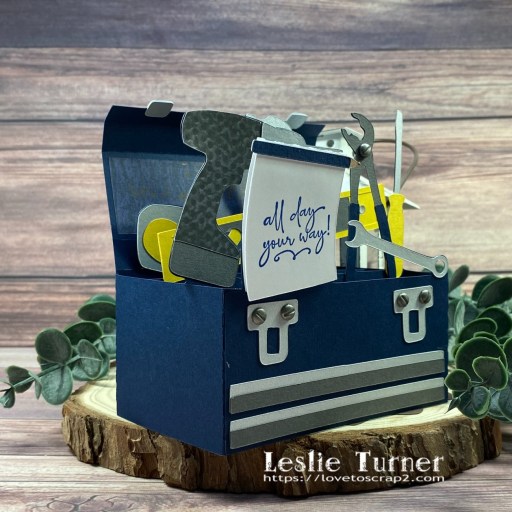
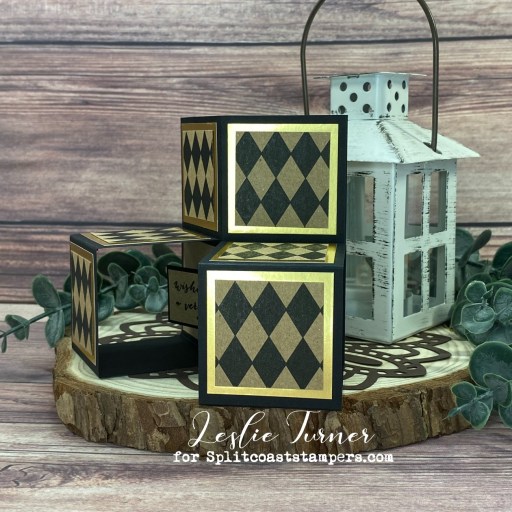
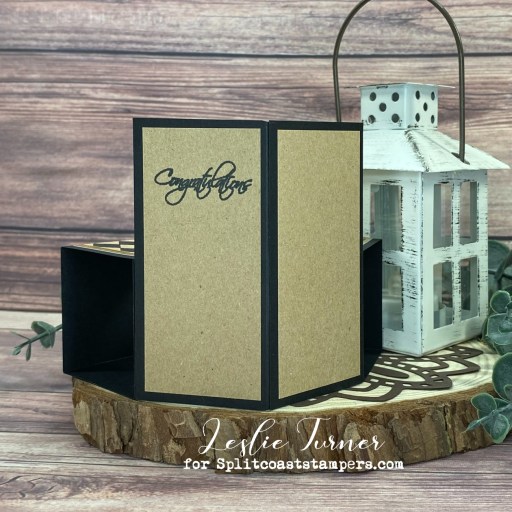
Hey everybody! I hope all my American friends had a nice long July 4th weekend! I’ve popped in this morning to share another inspiration project for Splitcoast Stampers Dirty Dozen DT! The triple cube has become one of my favorite fun folds to create, and this one in black and kraft with a pop of gold just knocks my socks off! Love how it turned out!
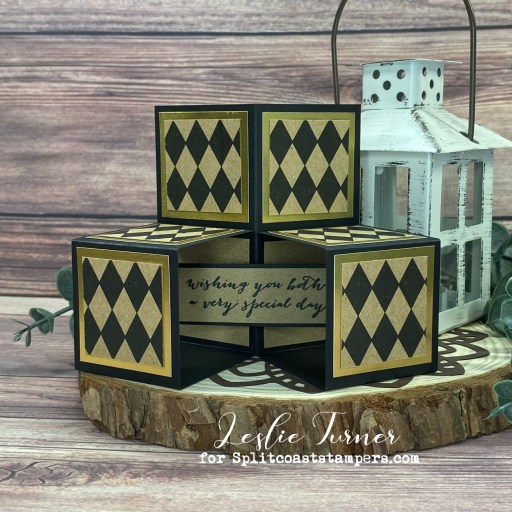
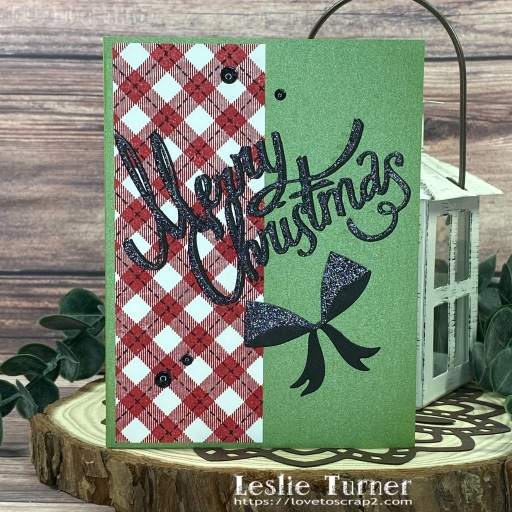
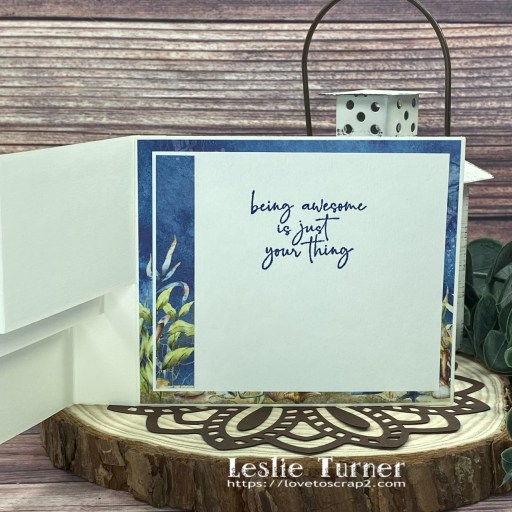
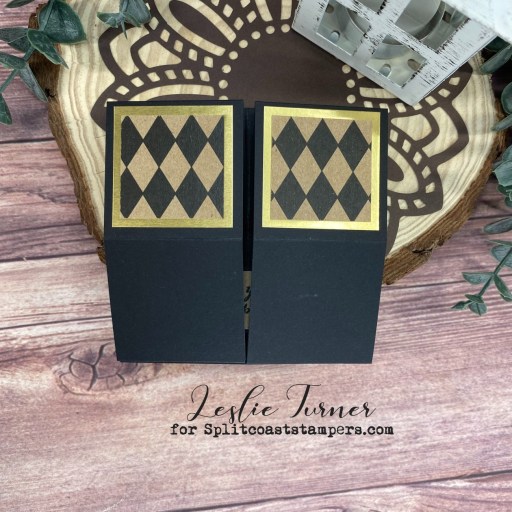
I cut the card base from CutCardStock Basis Black cardstock along with squares from CutCardStock Bright Gold Foil and Canvas Corp Black & Kraft Paper Collection. I cut the sentiment panel and back layering panels from CutCardStock Brown Bag Kraft paper. I stamped the front sentiment from the Stampin’ Up For The New Two stamp set in Memento Tuxedo Black ink.
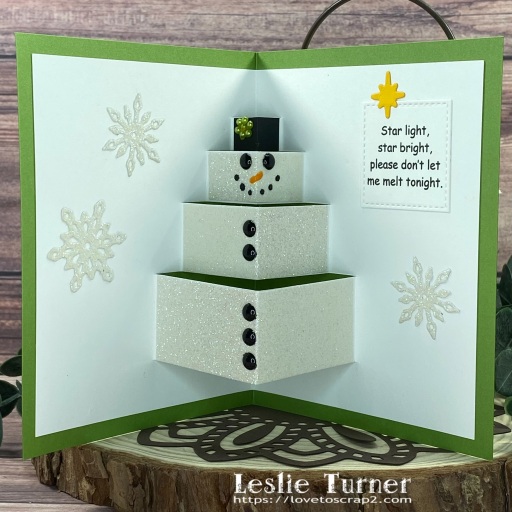
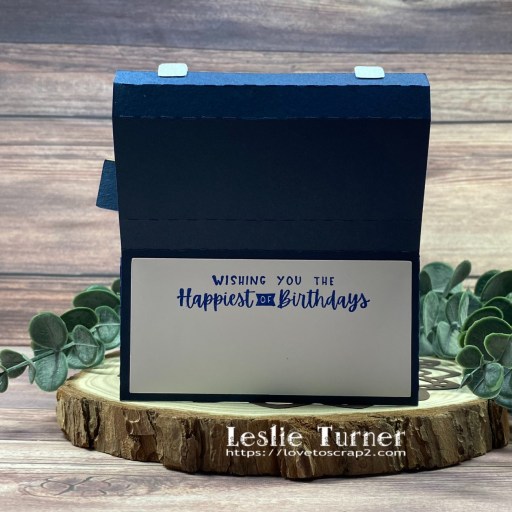
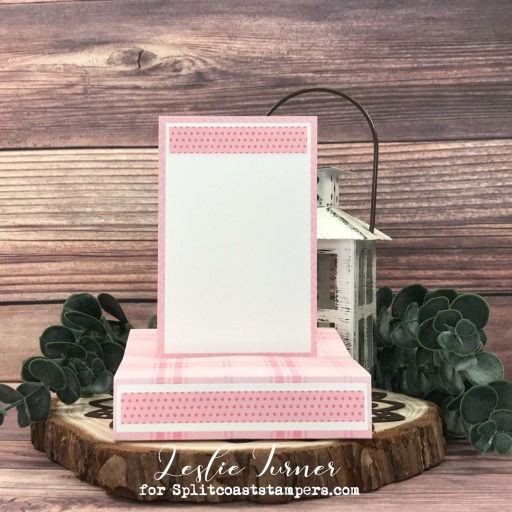
I stamped the back sentiment from the Prickley Pear Stamps Scalloped Oval 4-Floral stamp set in Memento Tuxedo Black ink. I’ve also included a shot of the card folded flat for mailing. This is definitely a fun one!
Sharing in the following challenges:
1. 613 Avenue Create: July 2023 – Anything Goes w/ optional Nautical (no twist)
2. A Perfect Time To Craft Open Challenge: July #7-2023 – Anything Goes
3. Classic Design Challenge: July #7 – Anything Goes
4. Penny’s Paper-Crafty Challenge Blog: #550 – Anything Goes with Paper
Affiliate links are used in this post at no cost to you – I really appreciate your support!
Products used:
CARDSTOCK/PAPER: CutCardStock Basis Black cardstock, Bright Gold Foil cardstock, and Brown Bag Kraft paper; Canvas Corp Black & Kraft Paper Collection
STAMPS: Stampin’ Up For The New Two stamp set, Prickley Pear Stamps Scalloped Oval 4-Floral stamp set
INK: Memento Tuxedo Black ink
ACCESSORIES: Tonic Studios 12″ Guillotine Paper Trimmer, Tombow Mono permanent adhesive, Art Glitter Dries Clear adhesive, MISTI stamp tool
I hope you’ve enjoyed seeing this project and will consider joining the Splitcoast Stampers Fan Club which costs less than $25 for an entire year! There are tons of member perks (like seeing all the Dirty Dozen DT’s inspiration projects each month) in addition to access to all the other free content on the Splitcoast Stampers website. Be sure to check it out! The subscription is seriously awesome! Thanks for stopping by today – we’ll see you again soon!
Scrappy hugs,