10/15/23 Rising Star at A Place To Start!
11/1/23 Top Cookie at If You Give a Crafter a Cookie!
11/3/23 Top Pick at Crafty Calendar Challenge!
11/6/23 A Top Sprout at A Place To Start!
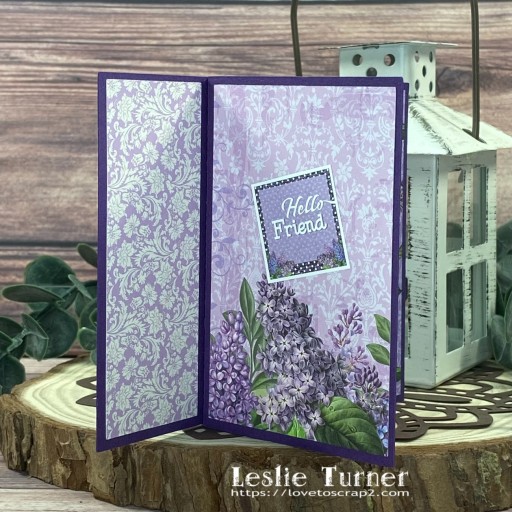
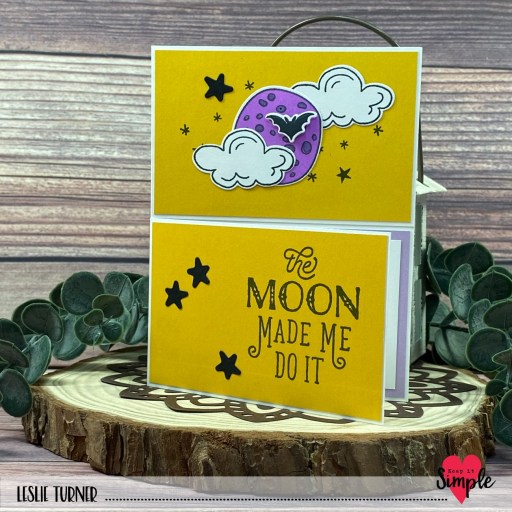
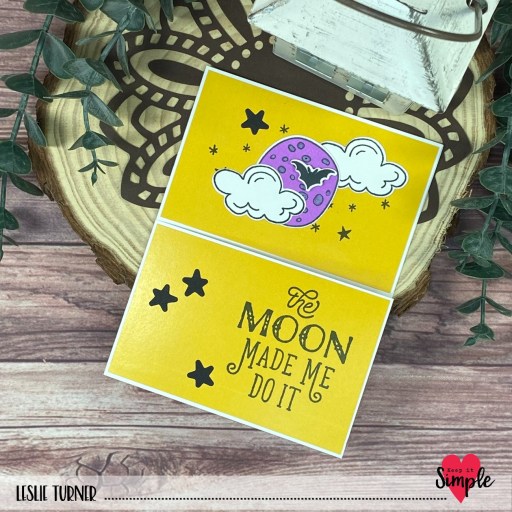
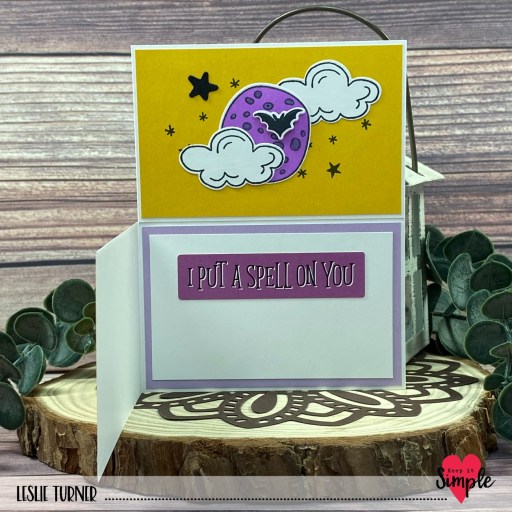
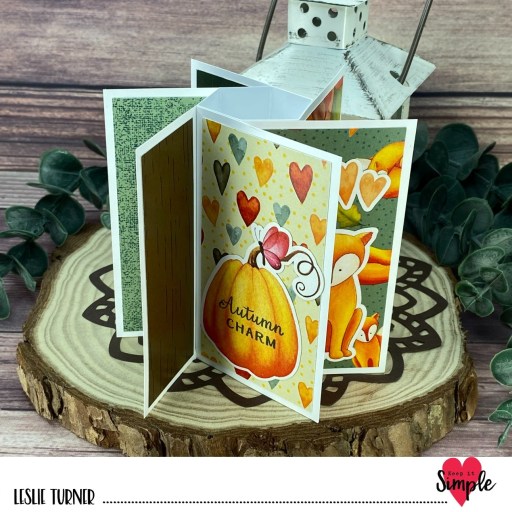
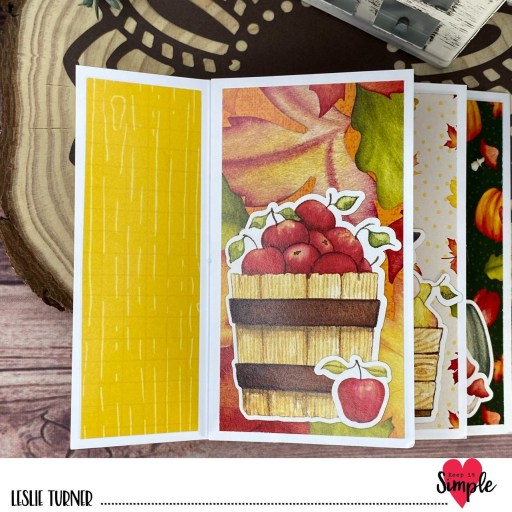
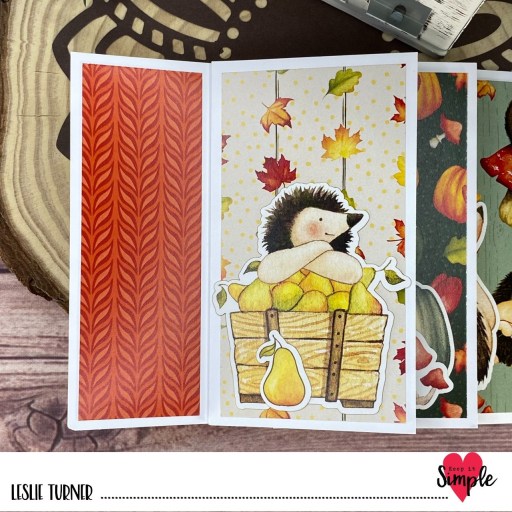
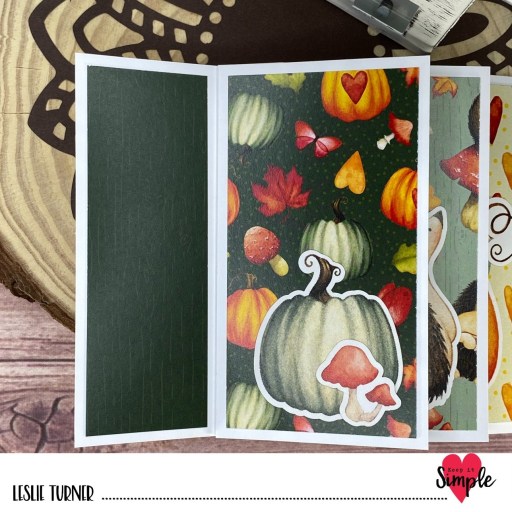
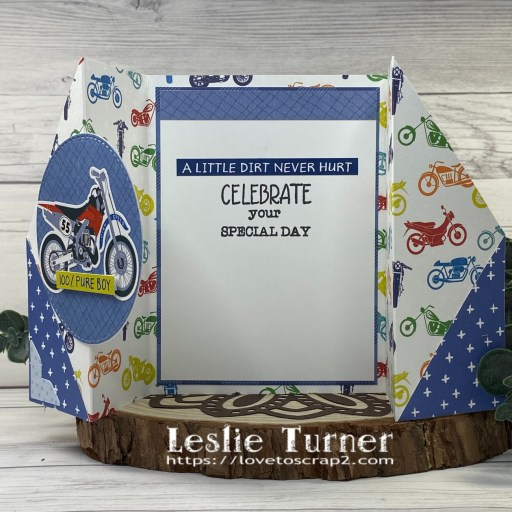
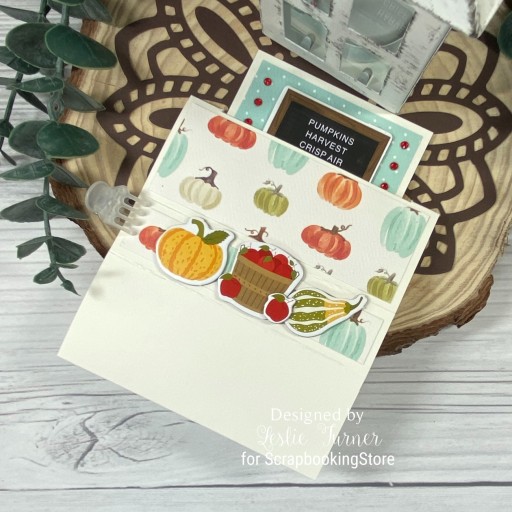
Hi everyone! Happy Wednesday! I hope you’re having a great week! I have an amazing ScrapbookingStore DT inspiration project to share with you today, created with the awesome October 2023 Scrapbook Kit with Upgrades! I’m totally in love with all the coordinating products in this collection and created a spooky pop up block card. My inspiration for this fun fold came from Lisa Curcio, a SU demonstrator who posted it on Instagram. You know I’m always on the look-out for new ones to make – this is my first attempt at this particular one and I love how it turned out! It features papers and stickers from this month’s collection along with a tag and enamel dots from the upgrades, and really is quite simple despite it’s complex look!

I cut the card base and blocks from CutCardStock Basis Dark Orange cardstock and embellished the pieces with coordinating papers from the kit which I layered on CutCardStock Basis Black cardstock. The focal element is a tag from the Frames & Tags in the upgrades which I layered on a scrap piece of Neenah Classic Crest Solar White cardstock and embellished with a Doodlebug Design Lily White Doodle Twine bow. I added a bat sticker from the sticker sheet and several enamel dots from the upgrades.

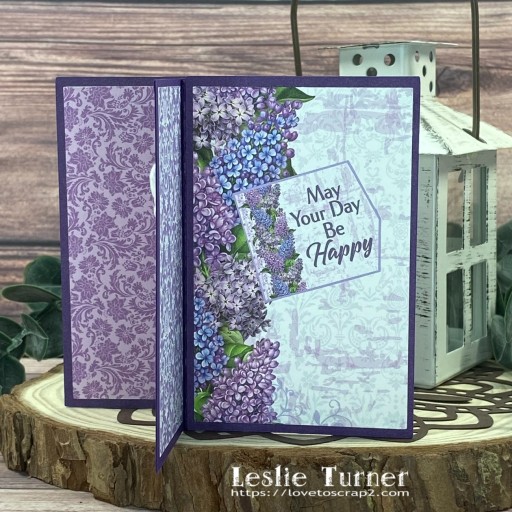
I cut the back panel from Solar White cardstock and embellished it with strips of coordinating paper from the kit and Basis Black cardstock. I added a sentiment sticker from the sticker sheet and layered the panel on black cardstock.

Sharing in the following challenges:
1. A Perfect Time To Craft Open Challenge: October #10 – Anything Goes
2. A Place To Start: October 2023 – Anything Goes
3. Crafty Calendar Challenge: Autumn Colors/Halloween
4. Halloween Crafts All Year ‘Round: #8 – Anything Halloween Goes
5. If You Give A Crafter A Cookie: #185 – October – Black
6. Jan’s Digi Stamps Challenge: October Anything Goes
7. Wednesday’s Creative Inspirations Challenge Blog: Autumn or Halloween
Affiliate links are used in this post at no cost to you – I really appreciate your support!
ScrapbookingStore products used:
October 2023 Scrapbook Kit with Upgrades
Other products used:
CARDSTOCK/PAPER: CutCardStock Basis Dark Orange and Basis Black cardstock, Neenah Classic Crest 110# and 80# Solar White cardstock
INK: Memento Tuxedo Black marker
ACCESSORIES: Tonic Studios 12″ Guillotine Paper Trimmer, Tombow Mono Dots adhesive, Bearly Art precision craft glue, Doodlebug Design Lily White Doodle Twine
I hope you’ve enjoyed today’s project and you’re thinking about all the fun you could have with this month’s kit… you really ought to think about joining the Subscription Club! Be sure to Follow us on Facebook, Instagram, Pinterest and YouTube for lots of crafty inspiration! And if you do decide to join the Subscription Club, join our ScrapbookingStore Club Member Group on Facebook for more inspiration and to share your projects! Thanks so much for stopping by today – we’ll see you next time!
Scrappy hugs,