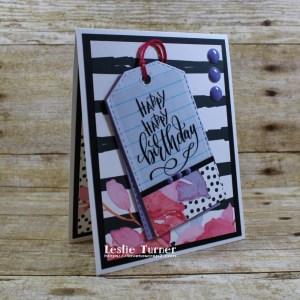
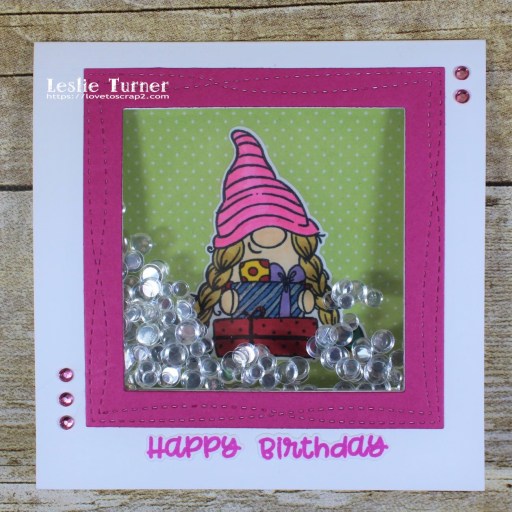
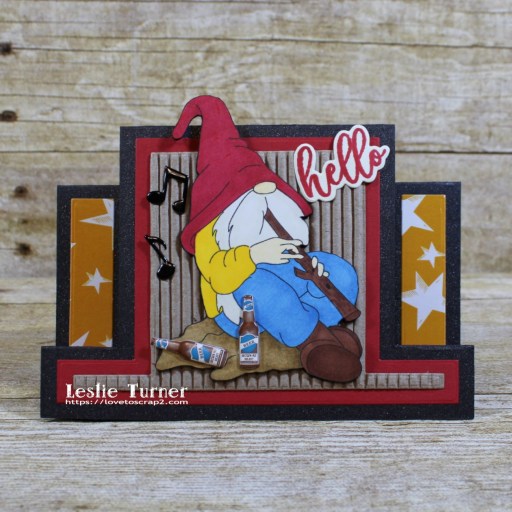
Hey everybody, I’m baaaaack! I have one more project to share this morning – my sister’s birthday card! I don’t believe she reads my blog, so I think we’re safe! Affiliate links are used in this post at no cost to you. I really appreciate your support! I got the new We R Memory Keepers Explosion Card Punch Board a couple months ago and used it to make my son’s Father’s Day card which he absolutely LOVED (and got his girls with it, lol), and decided to make another one for my sister’s birthday coming up. I intended to make a video of this one exploding but sealed it up without thinking. But… I’m going to make one for my daughter soon and will do a video on that one, so stay tuned! I am entering this explosion card into The Outlawz Monday Greetings Challenge where the theme is to Add Sparkle, which I’ve accomplished with the Brutus Monroe Glitterstock!
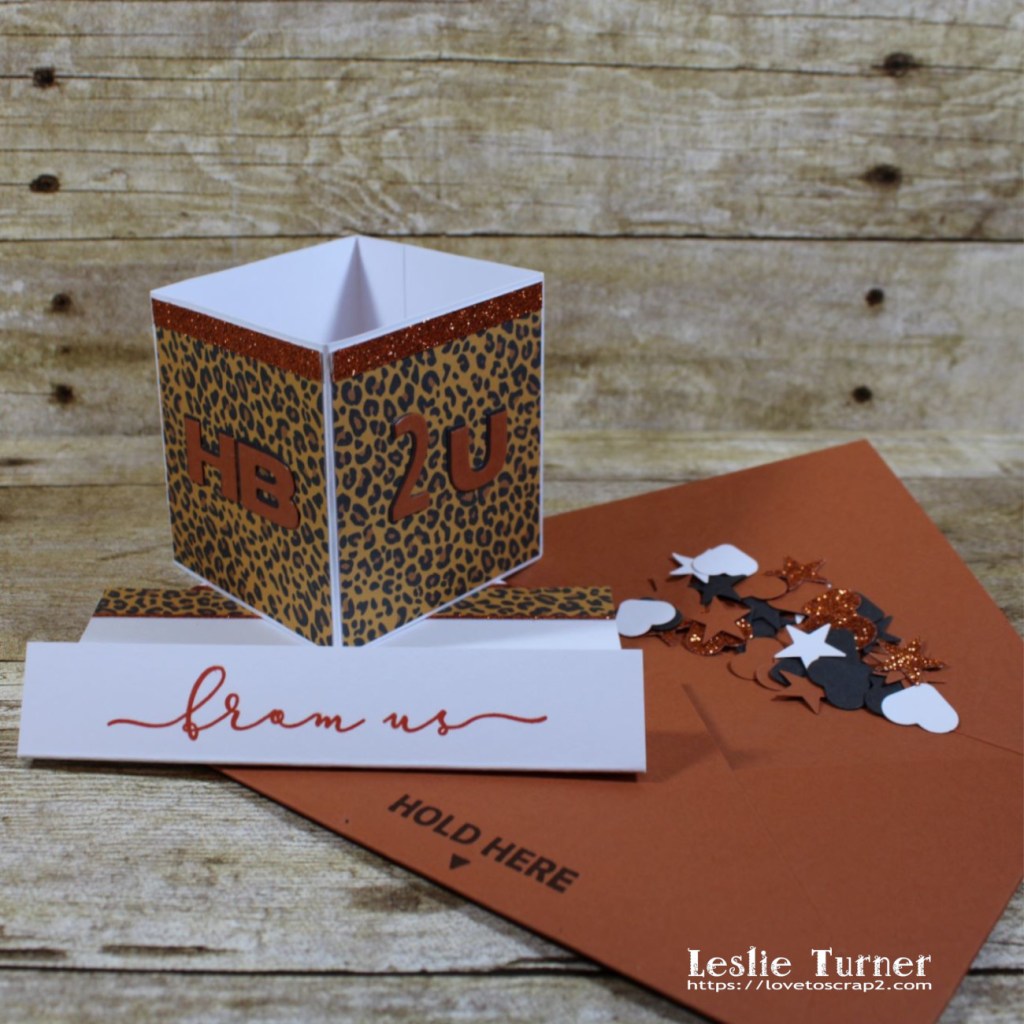
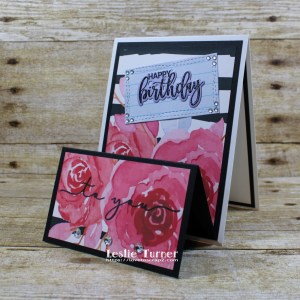
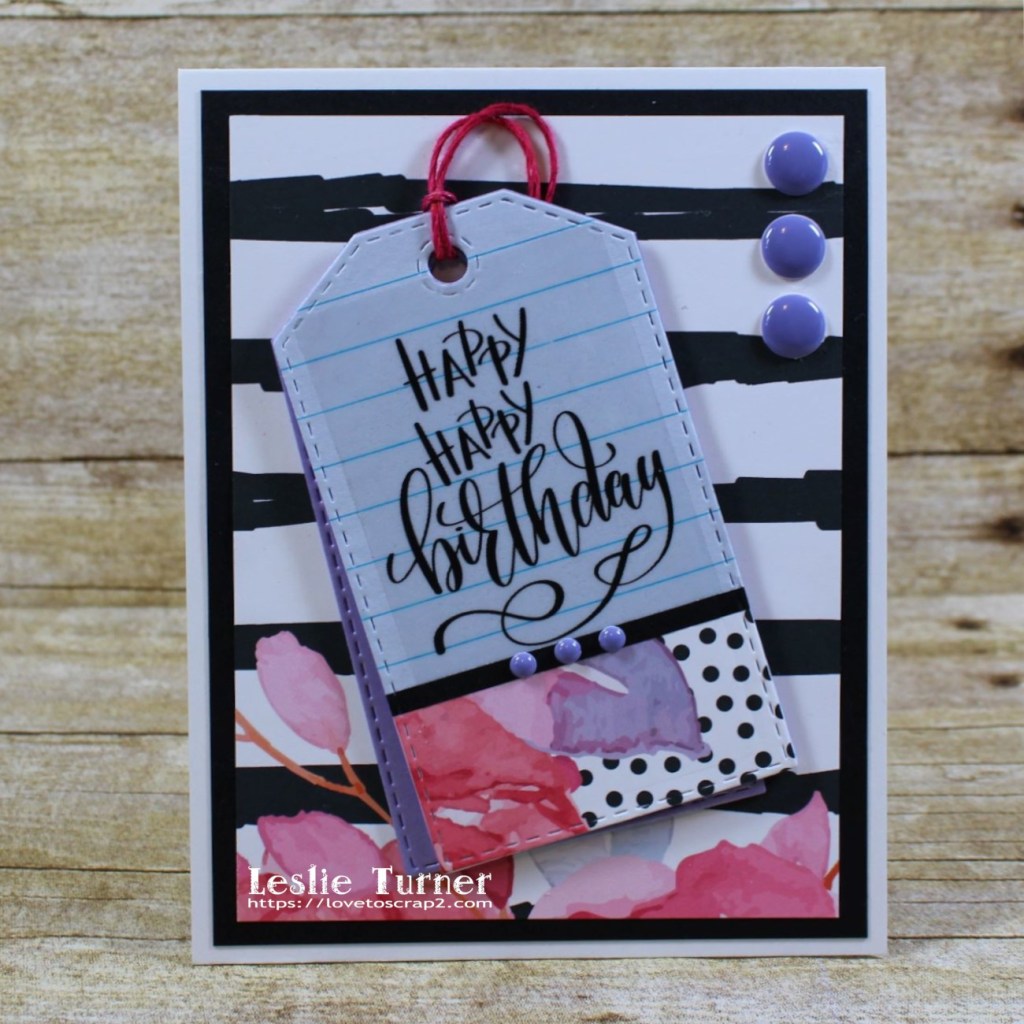
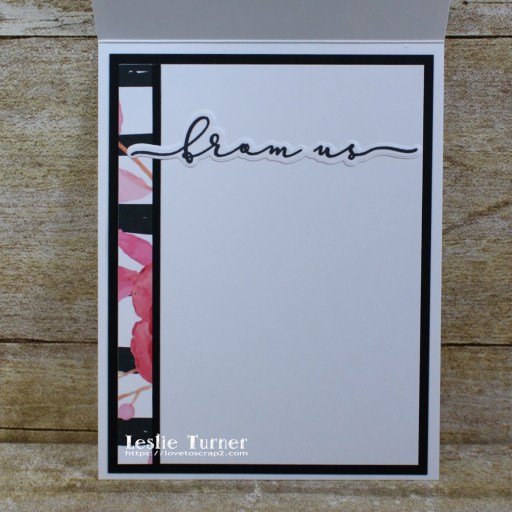
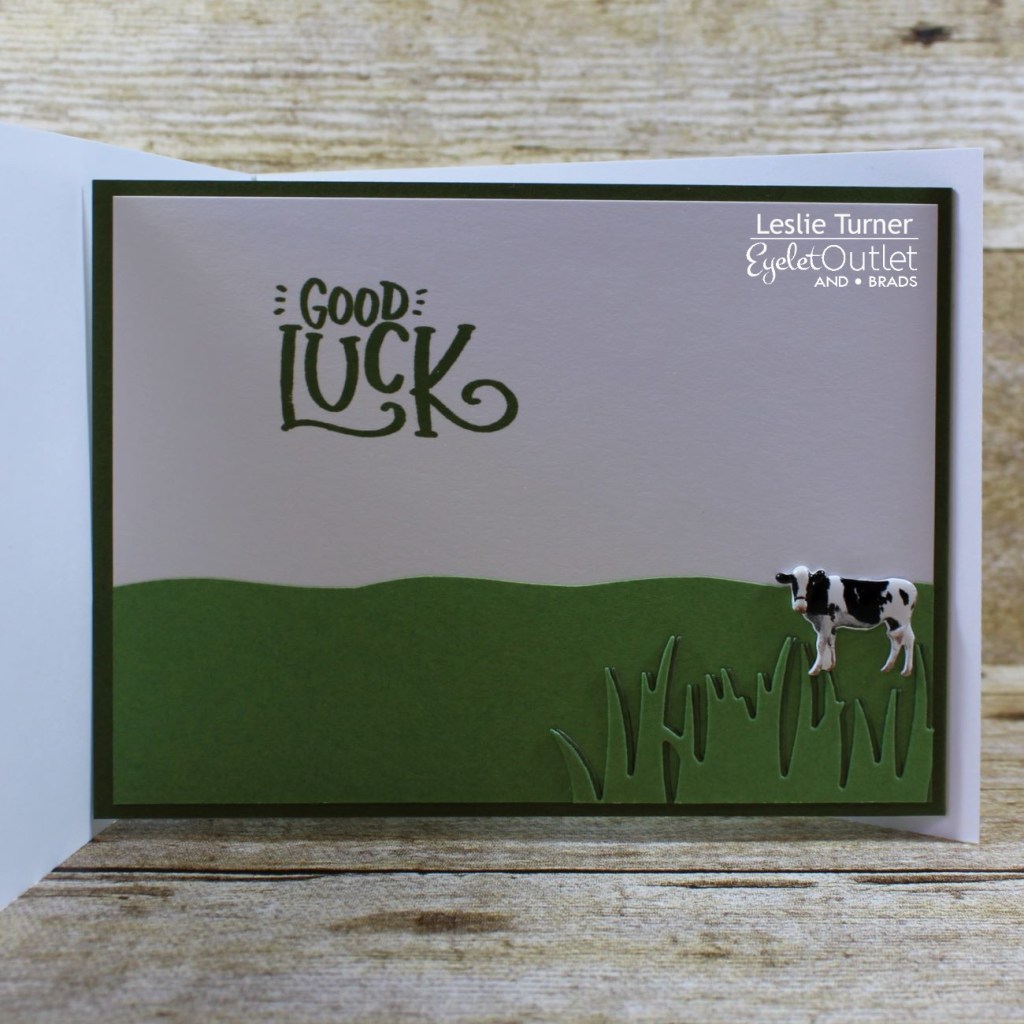
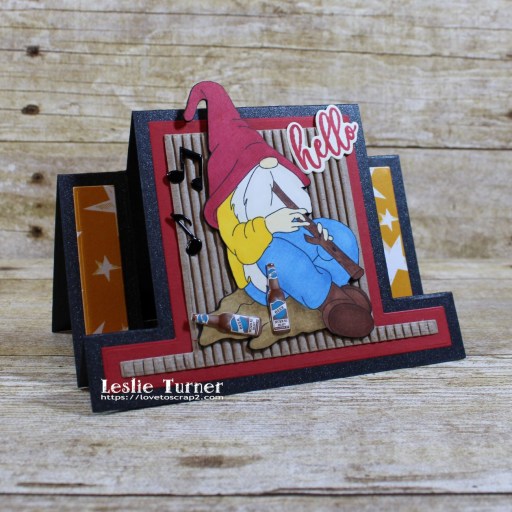
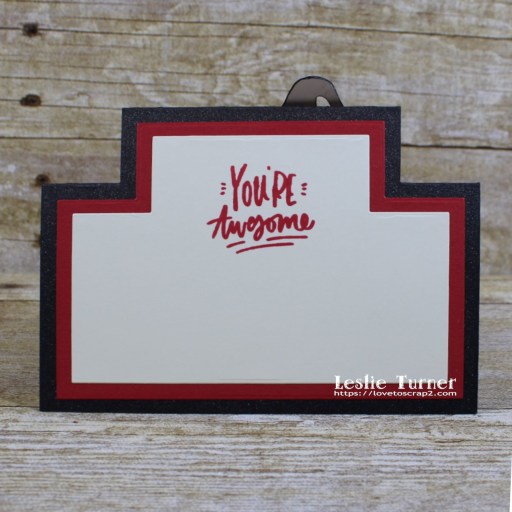
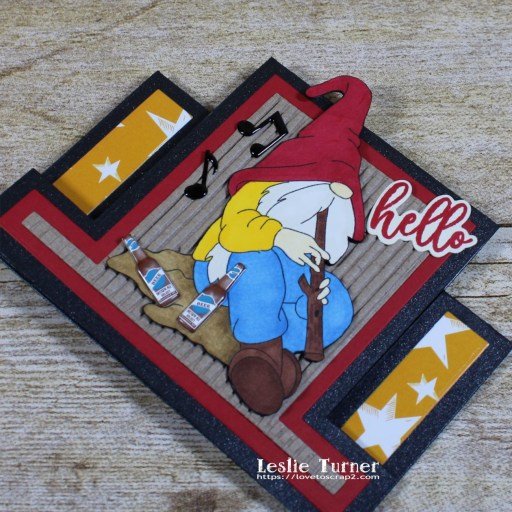
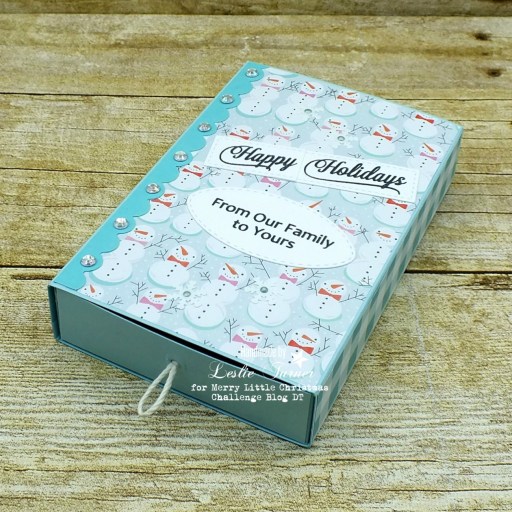
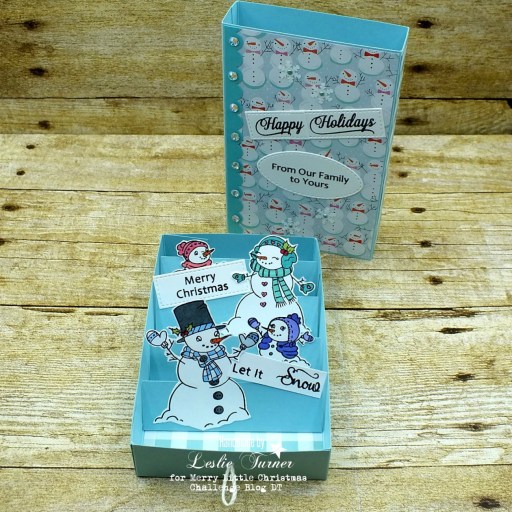
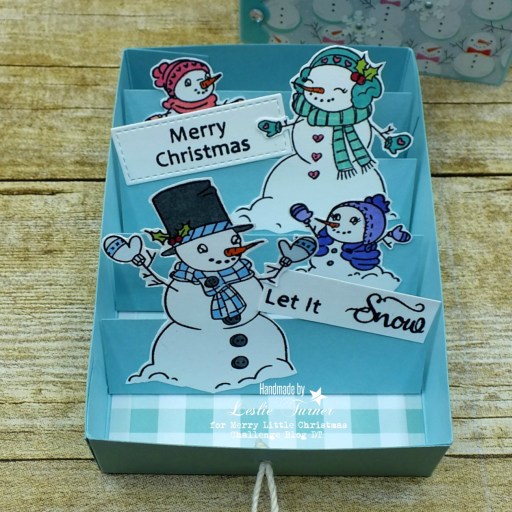
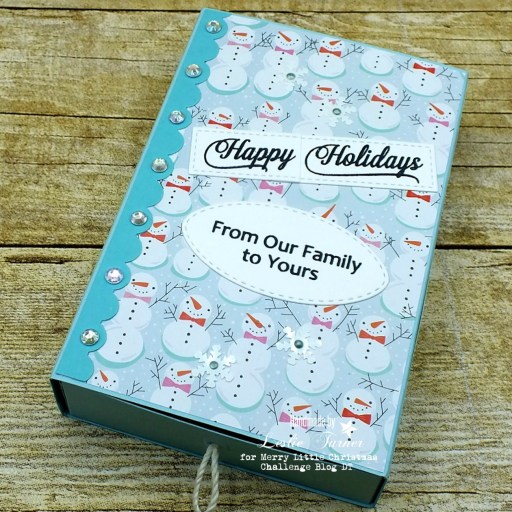
I created the box base from Neenah Classic Crest 80# Solar White cardstock and adhered panels cut from animal print cardstock as well as thin strips of orange Glitterstock. Using Waffle Flower Wide Alpha Dies and Waffle Flower Bold Alpha Dies, I cut the sentiment from CutCardStock Basis 80# Dark Orange cardstock and Papertrey Ink Dark Chocolate cardstock and layered them for a shadow effect. I created the card tray from Neenah Classic Crest 80# Solar White cardstock as well, and adhered strips of the animal print cardstock and a very thin strip of the orange Glitterstock across the top. I stamped ‘pull here’ (included with the punch board) at the top of the card tray, and the ‘from us’ sentiment from the Waffle Flower Sentiment Additions stamp set across the bottom in Catherine Pooler Mandarin Spice ink. The confetti consists of a variety of hearts and stars punched from the white, dark brown and orange Glitterstock. The punch board actually punches the hearts (WRMK thinks of everything, lol) and I used an itty bitty star punch from my stash.

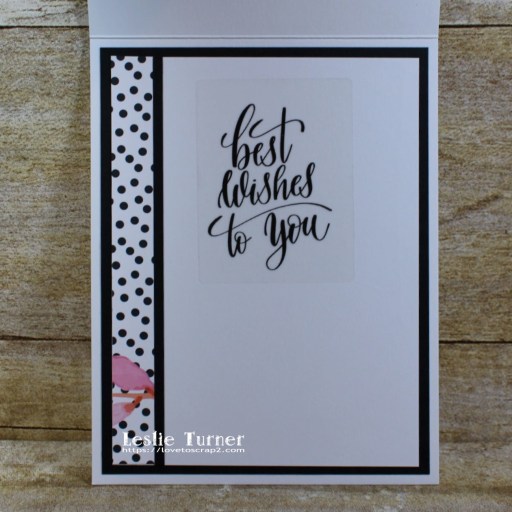
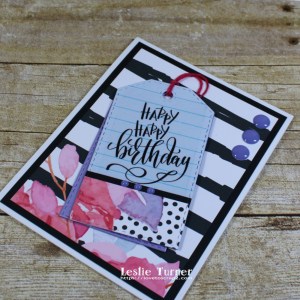
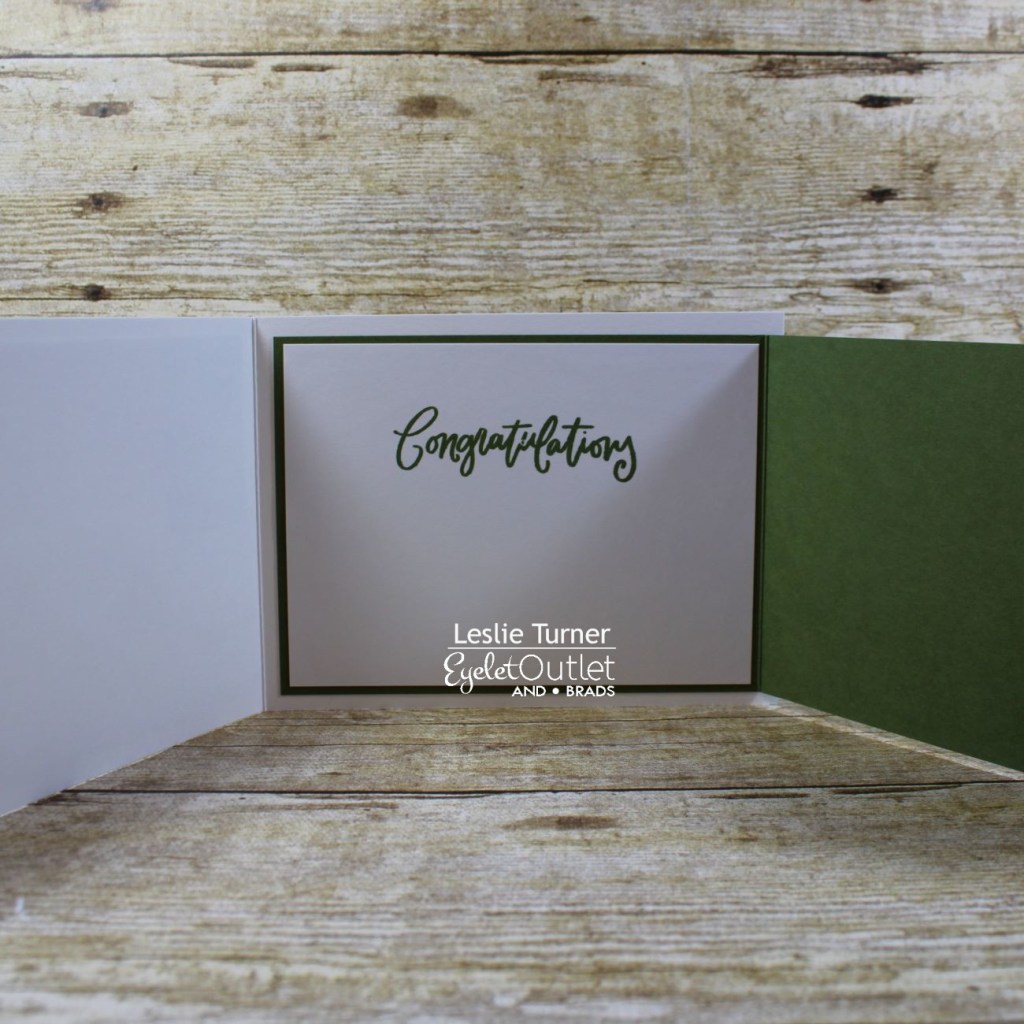
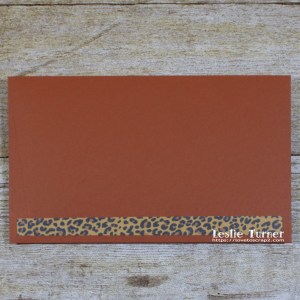
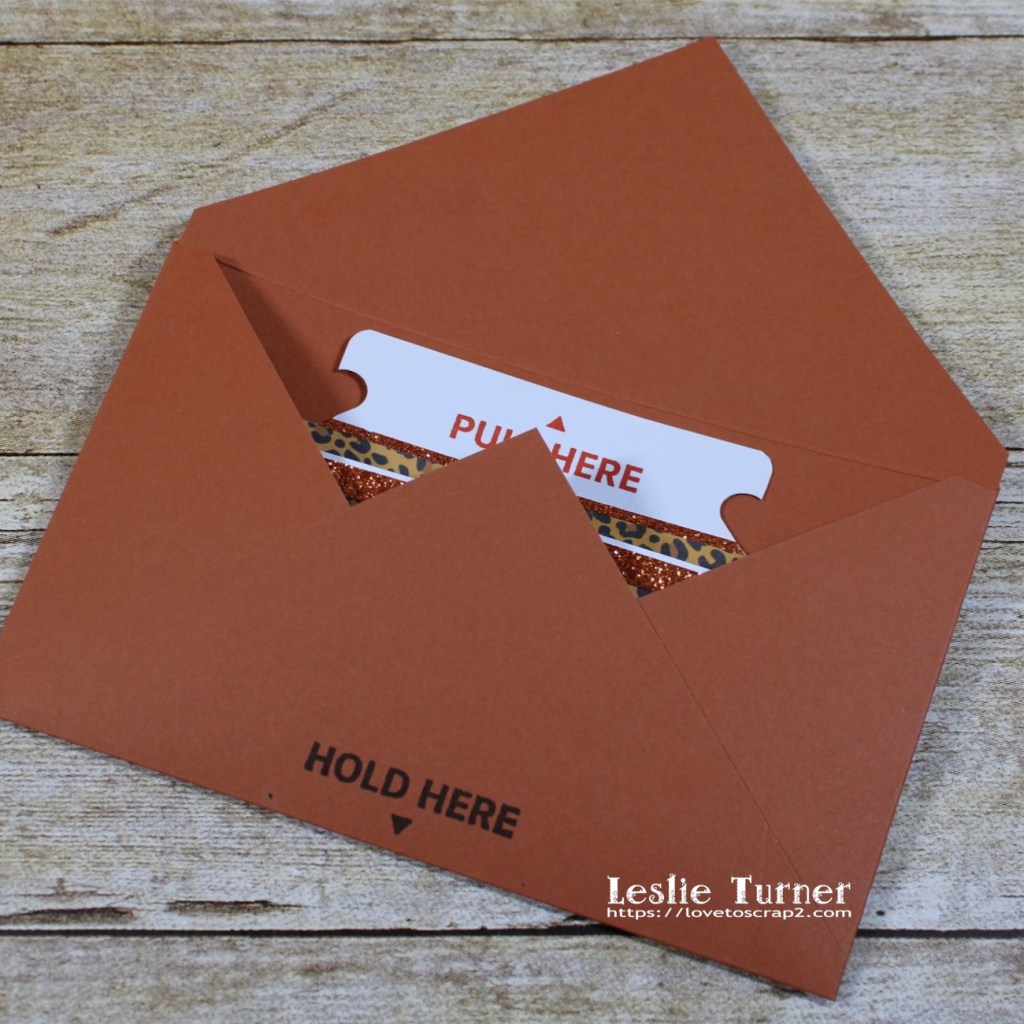
I created an envelope with the same punch board from CutCardStock Basis 80# Dark Orange cardstock, stamped ‘hold here’ at the bottom on the back side in Catherine Pooler Icing On The Cake ink, and added a strip of the animal print cardstock to the bottom front.

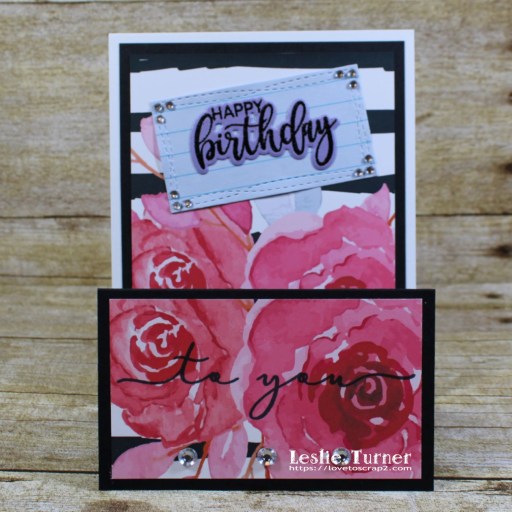
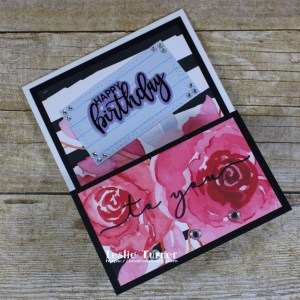
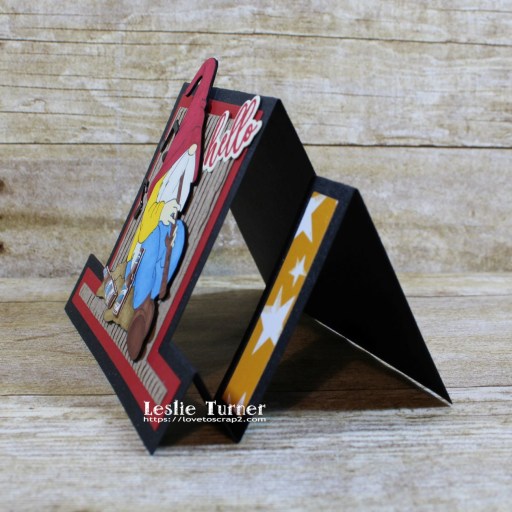
And one more peek… SQUEAL! So loving this punch board and I see many more of these fun cards in my future! You really do need to see a video to see the full effect of the explosion, lol!
Products used:
Cardstock/Paper: Neenah Classic Crest 80# Solar White cardstock, CutCardStock Basis 80# Dark Orange cardstock, Papertrey Ink Dark Chocolate cardstock, Brutus Monroe Color Companion Glitterstock, American Crafts Animal Print 6×6 cardstock pad
Stamps: Waffle Flower Sentiment Additions stamp set
Ink: Catherine Pooler Mandarin Spice and Icing On The Cake inks
Dies/Punches: Waffle Flower Wide Alpha Dies, Waffle Flower Bold Alpha Dies, Stampin’ Up Itty Bitty Star Punch
Accessories: Tonic Studios 12″ Guillotine Paper Trimmer, Bearly Art precision craft glue, We R Memory Keepers Explosion Card Punch Board, Gemini Junior, MISTI stamp tool
I hope you’ve enjoyed this project and will come over and join in all the fun at The Outlawz Challenges! Lots of fun going on! Thanks so much for stopping by today – we’ll see you next time! ;)
Scrappy hugs,