11/26/21 Top 3 at Crafty Catz!
12/1/21 Winner at Aud Sentiments Challenge Blog!
12/15/21 Honorable Mention at Christmas Craft Creations!
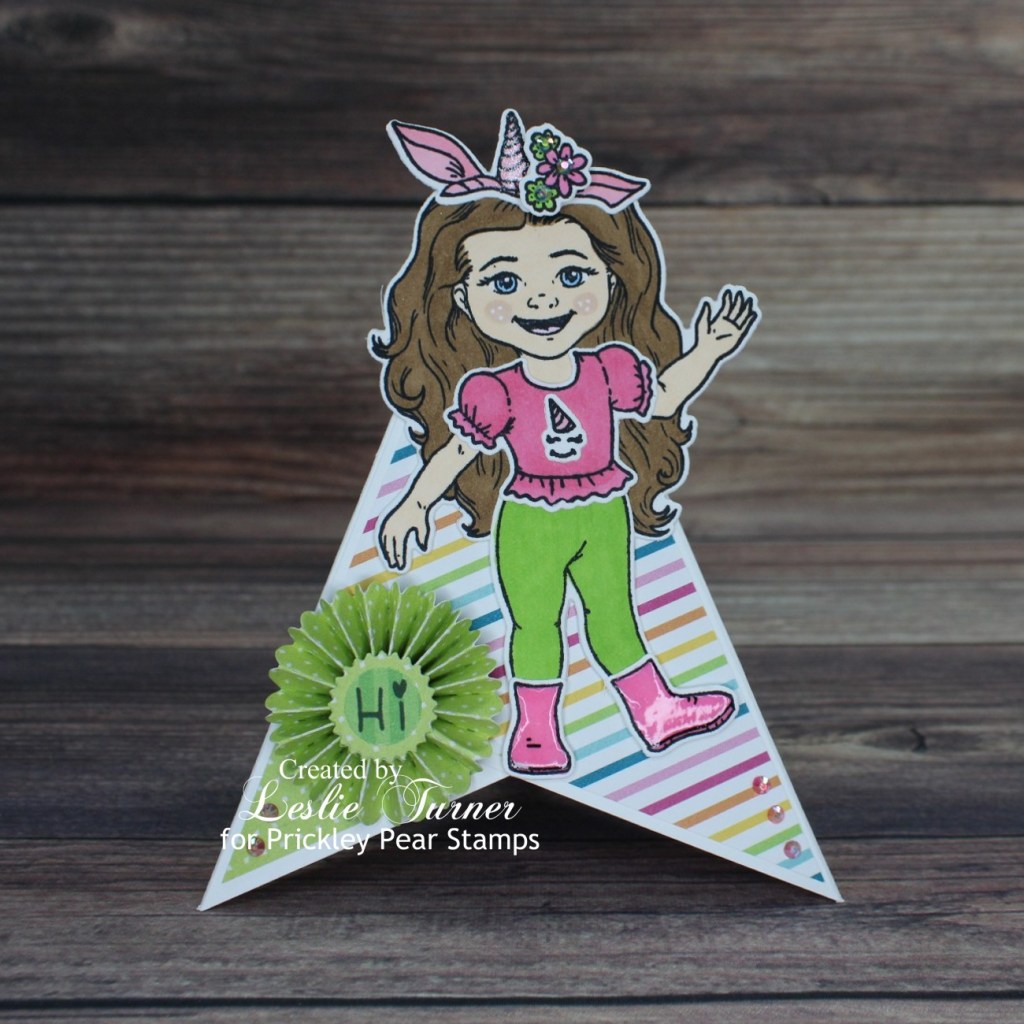
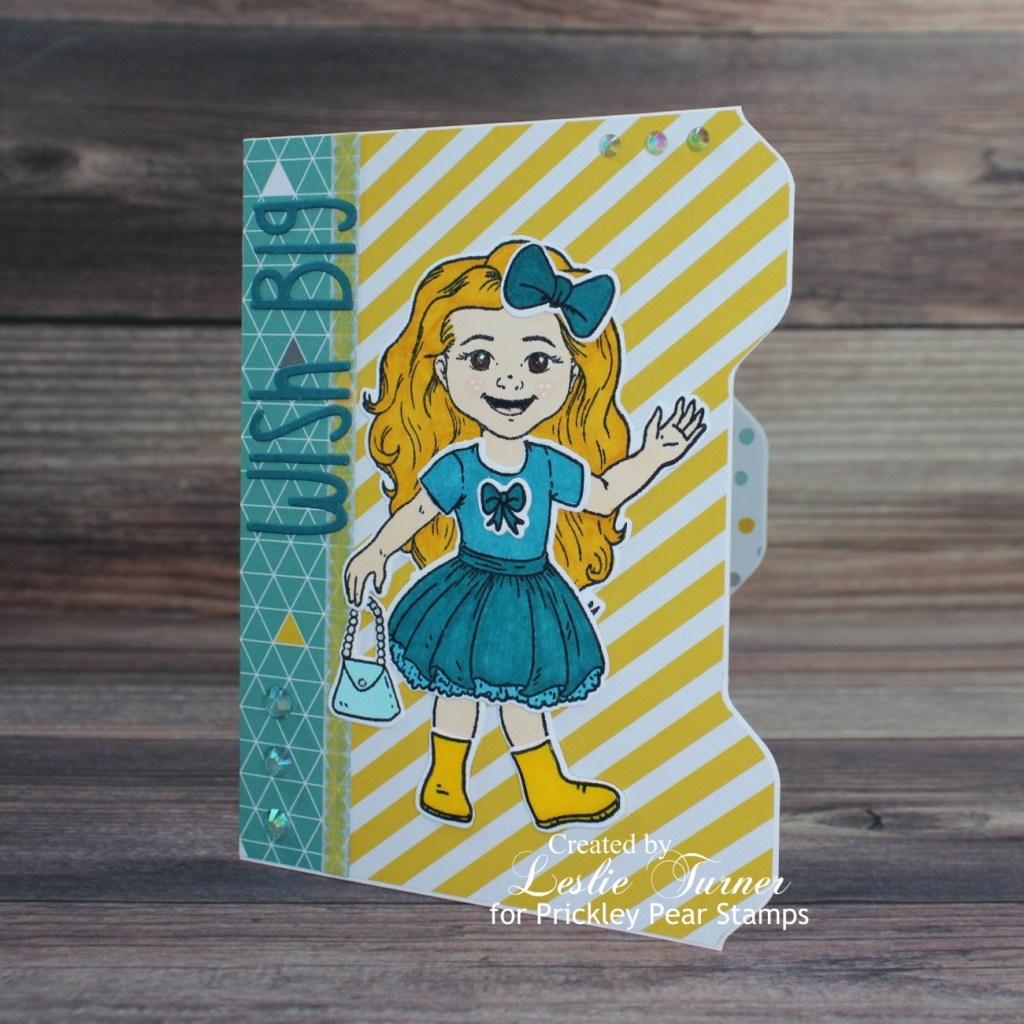
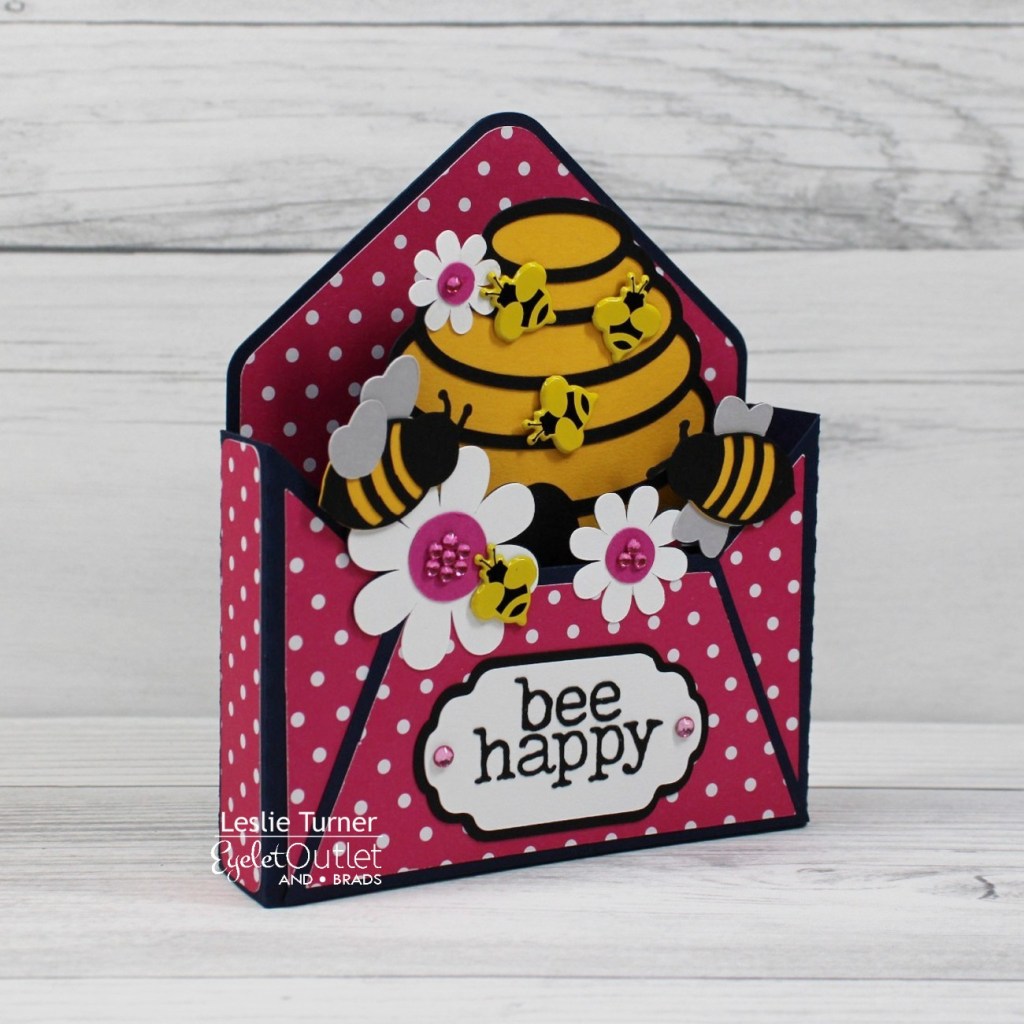
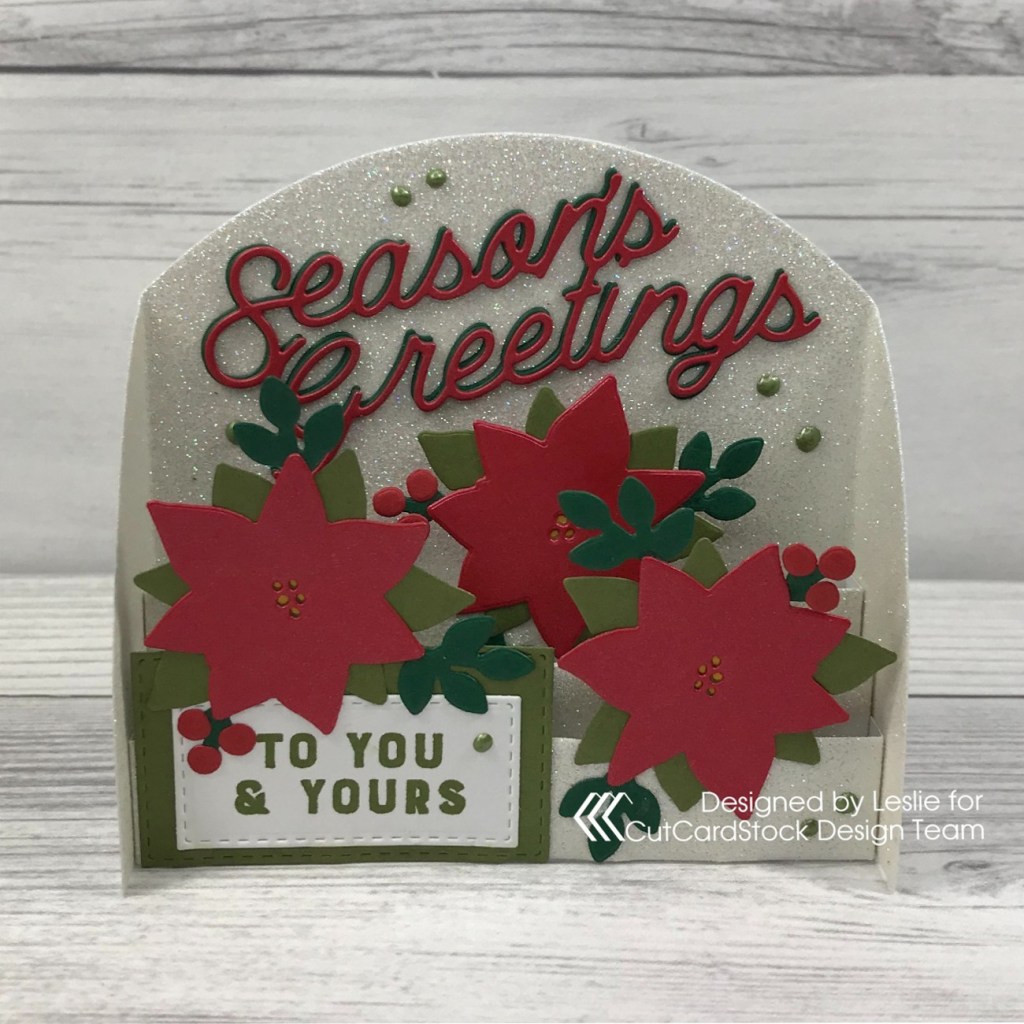
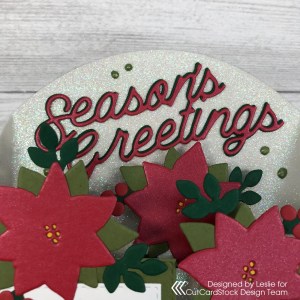
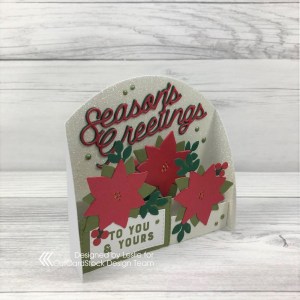
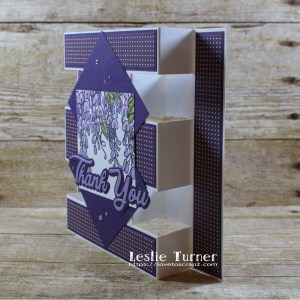
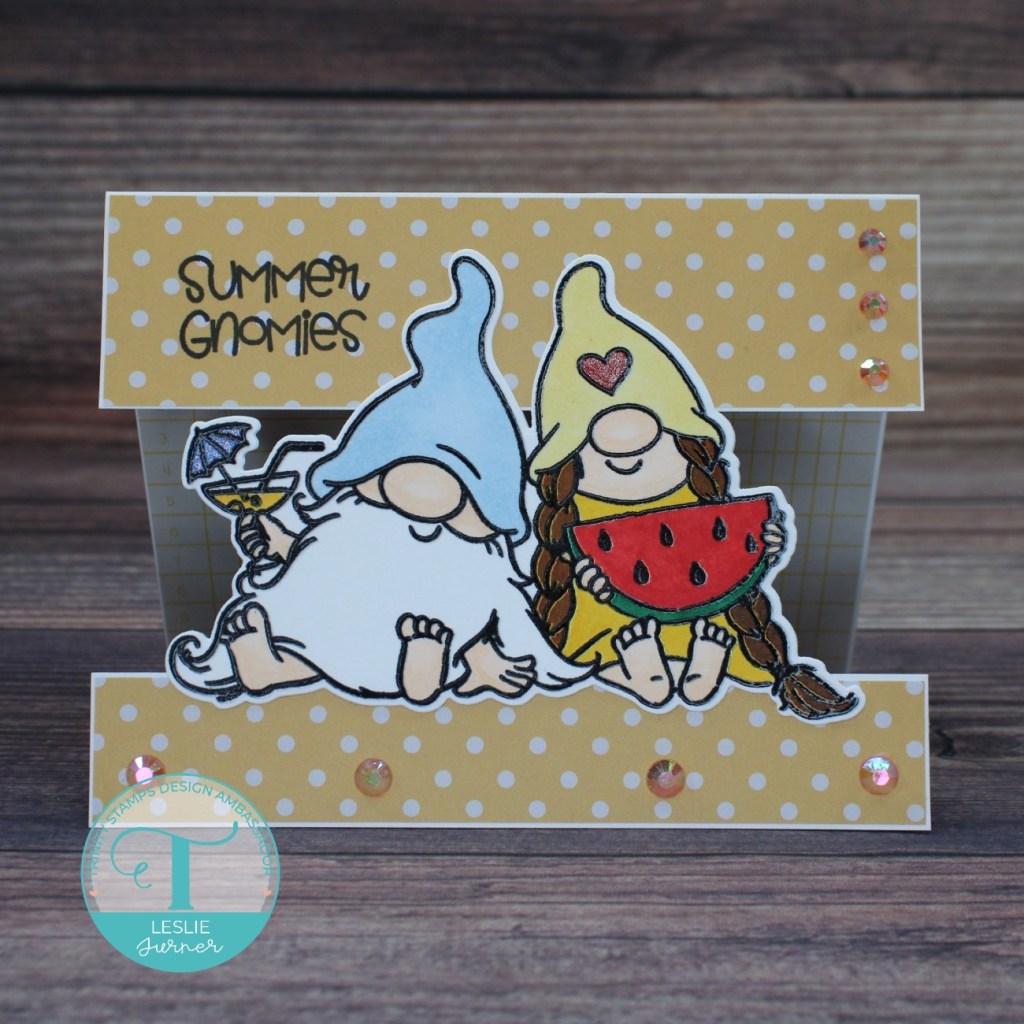
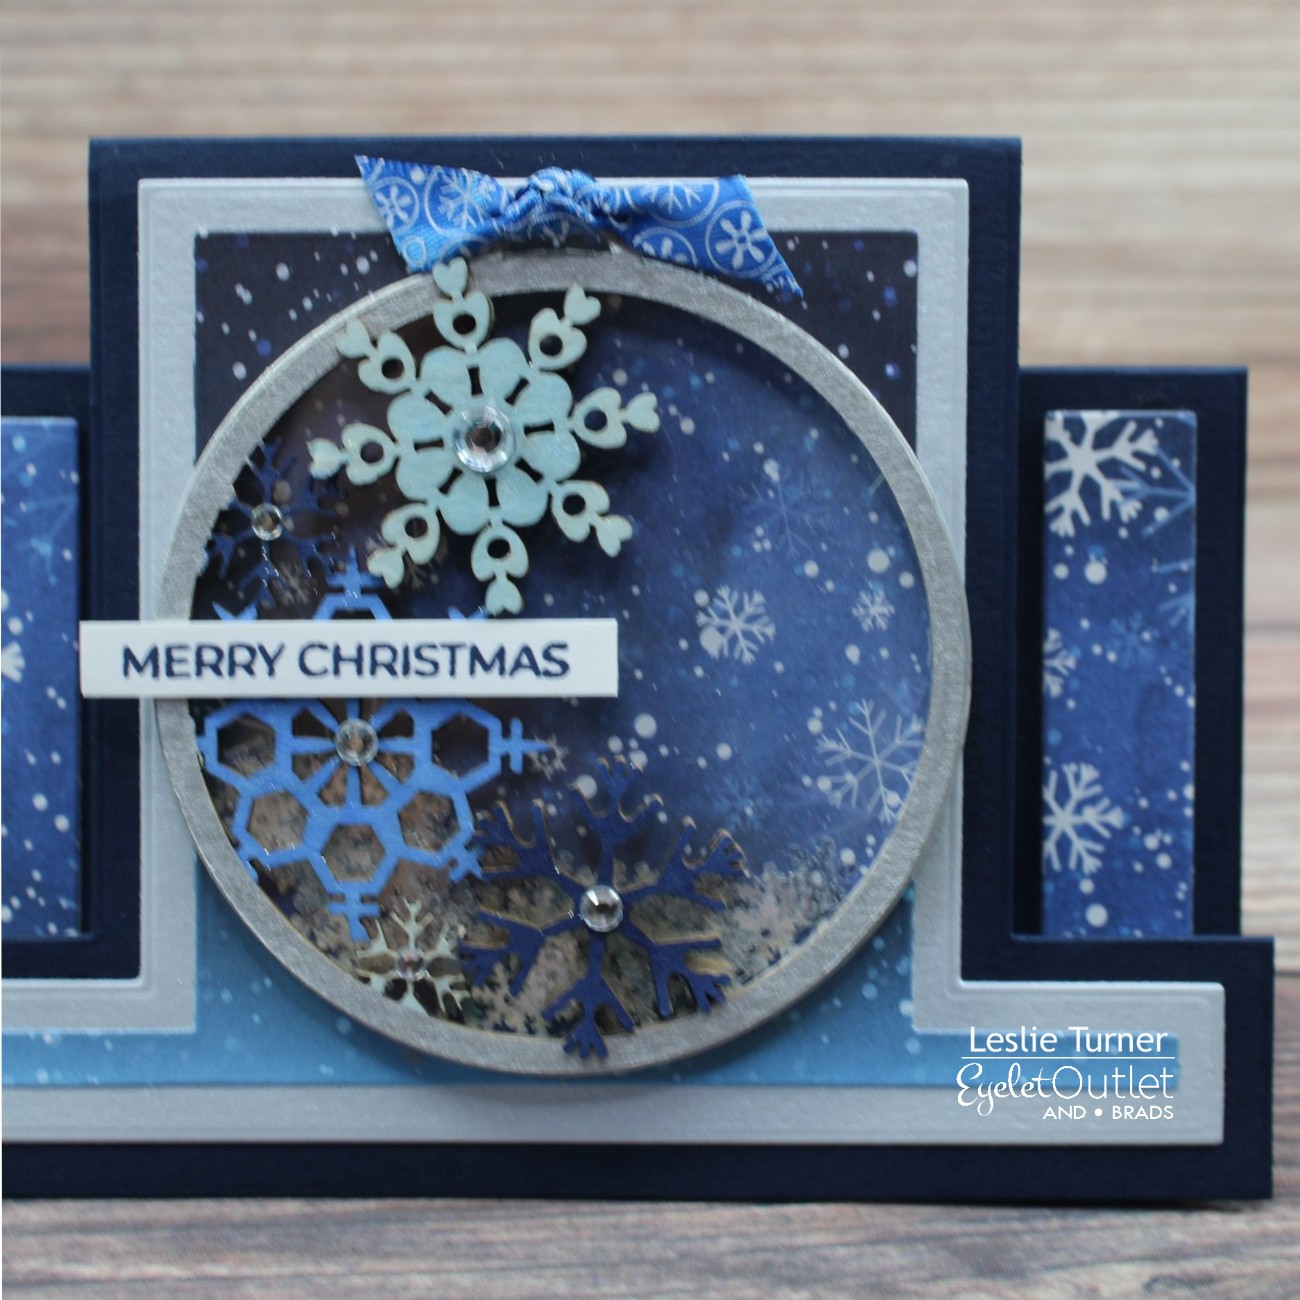
Hi everyone! A very Happy Saturday to you – I hope you’ve had a great week! Affiliate links are used in this post at no cost to you – I really appreciate your support! I’m stoked to be back on the Eyelet Outlet blog today with another awesome DT inspiration project! Seems I’m always in Christmas mode so I created a classic step card and added a snowflake shaker element which I filled with our Snowflake Sequins. I used clear gemstones from our Clear Jewel Bling and Clear Bling Strips to embellish the snowflakes on the front of the shaker.
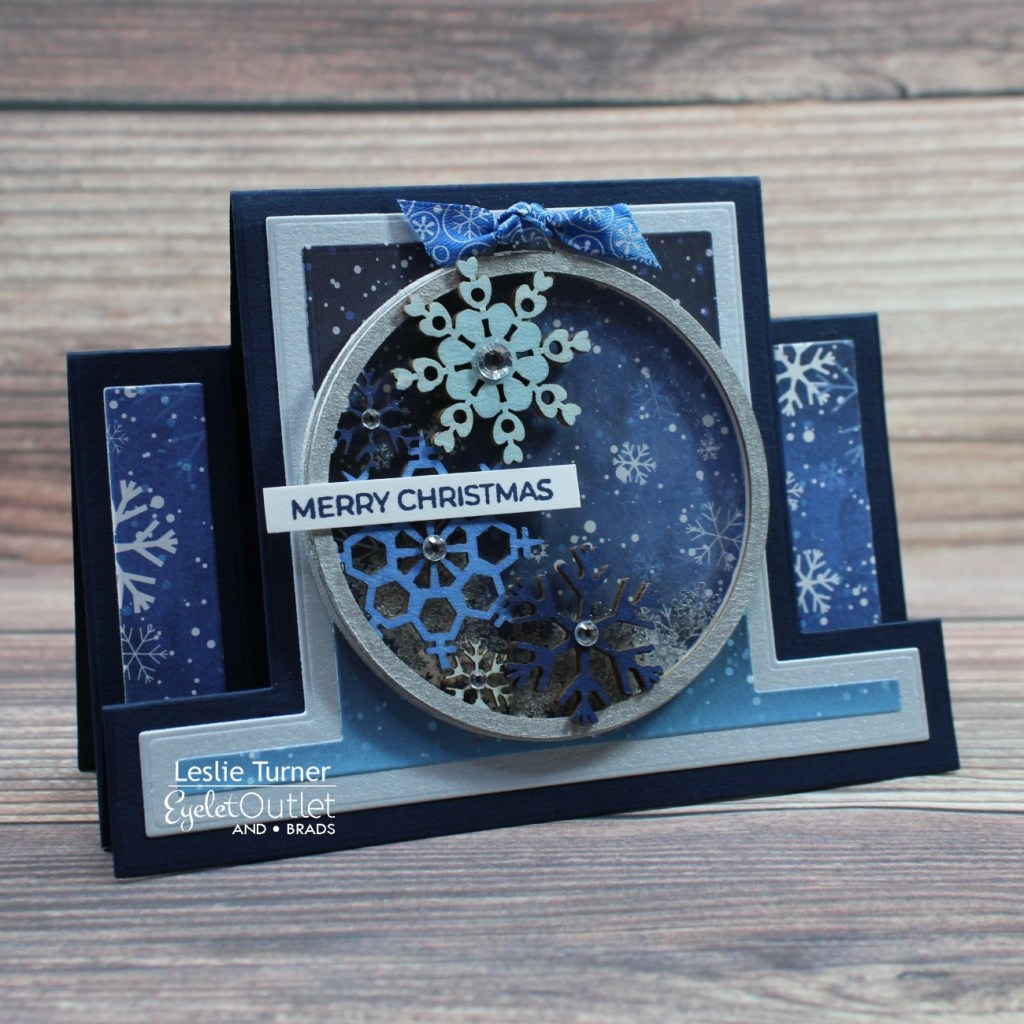
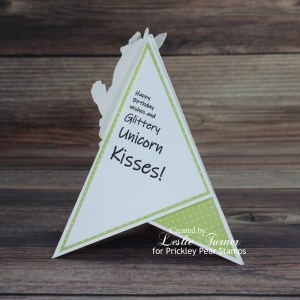
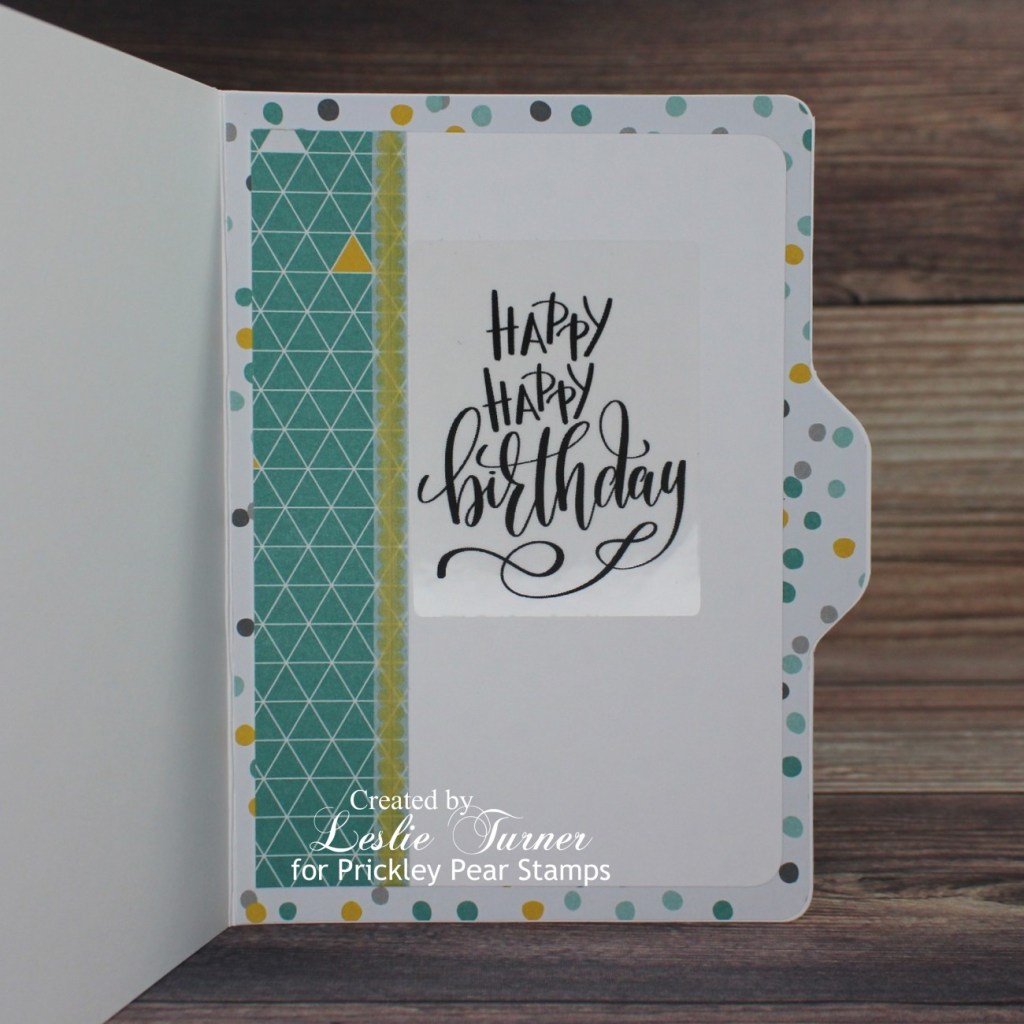
I used a step card die set to cut the card base from CutCardStock Basis Navy cardstock along with layers from CutCardStock Curious Metallic White Silver cardstock and Hot Off The Press Snowfall 6×6 double-sided papers which I adhered to the card base. I built the shaker element with the Hot Off The Press Snowflakes Ornament Chipboard, using the Snowfall patterned paper for the inside and added several additional die cut rings (using two circle dies) cut from Neenah Classic Crest 110# Solar White cardstock to make it just a tad deeper and then filled it with our Snowflake Sequins. I painted the outside rim and edge silver with a Posca Silver paint pen and colored the snowflakes on the front of the shaker with alcohol markers in blue tones, adding clear gemstones from our Clear Jewel Bling and Clear Bling Strips to embellish them. I adhered a tied snowflake ribbon to the top and added a sentiment stamped in blue ink on Neenah Classic Crest 80# Solar White cardstock from the Trinity Stamps A Sentiment For (Almost) Everything stamp set to complete the card.
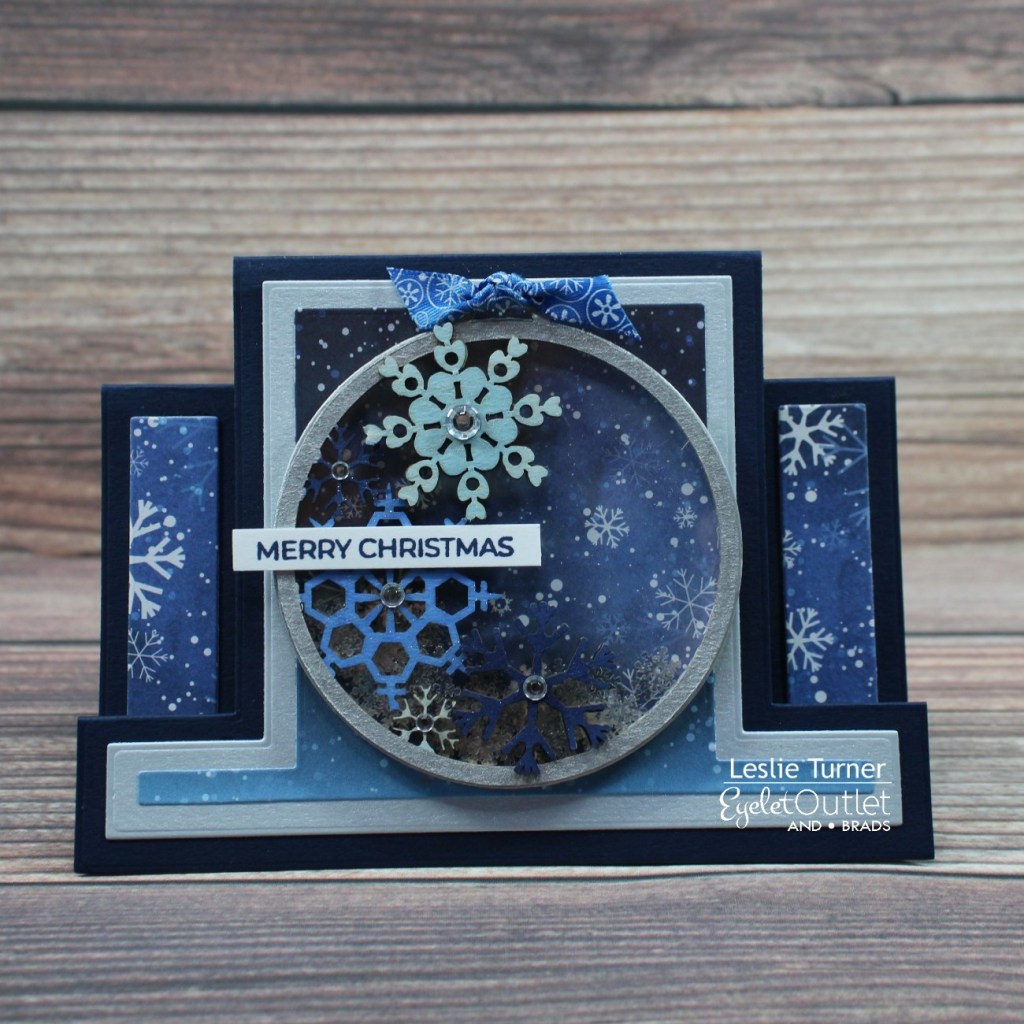
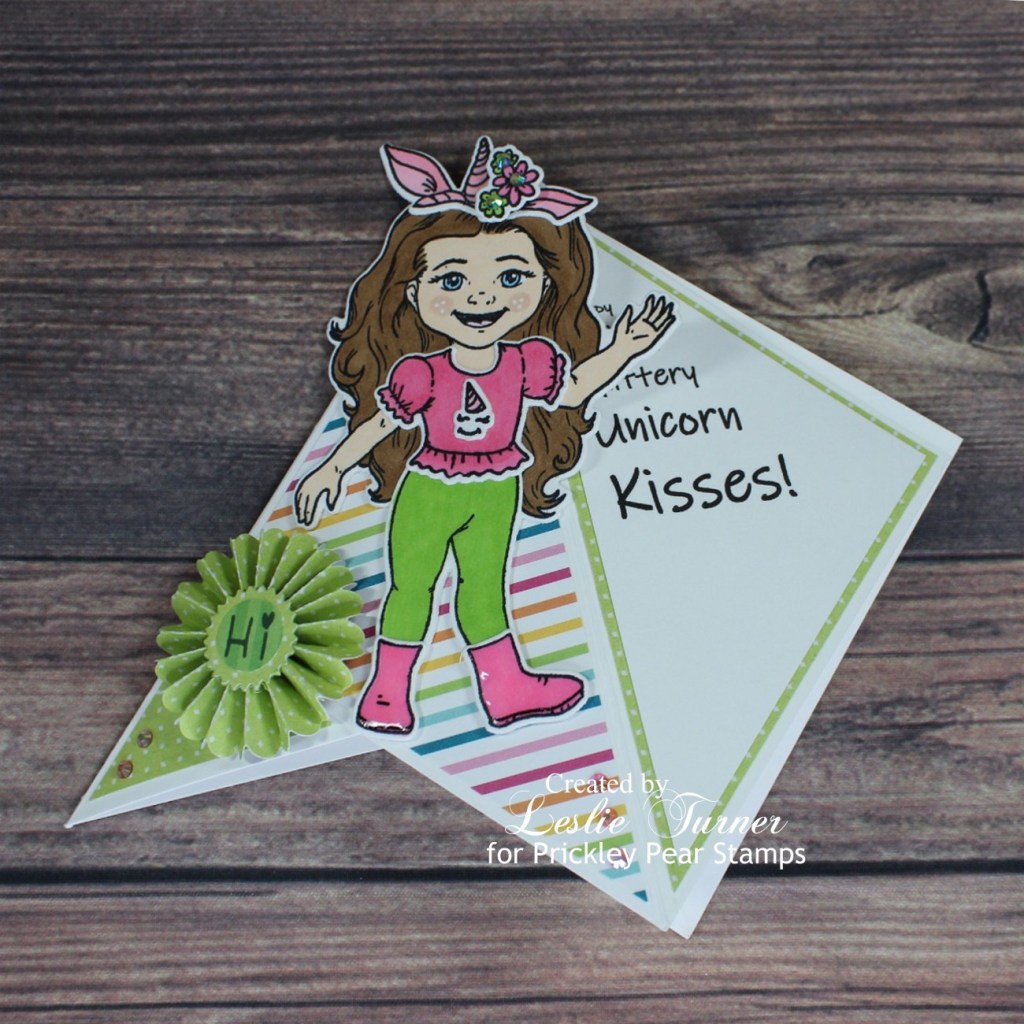
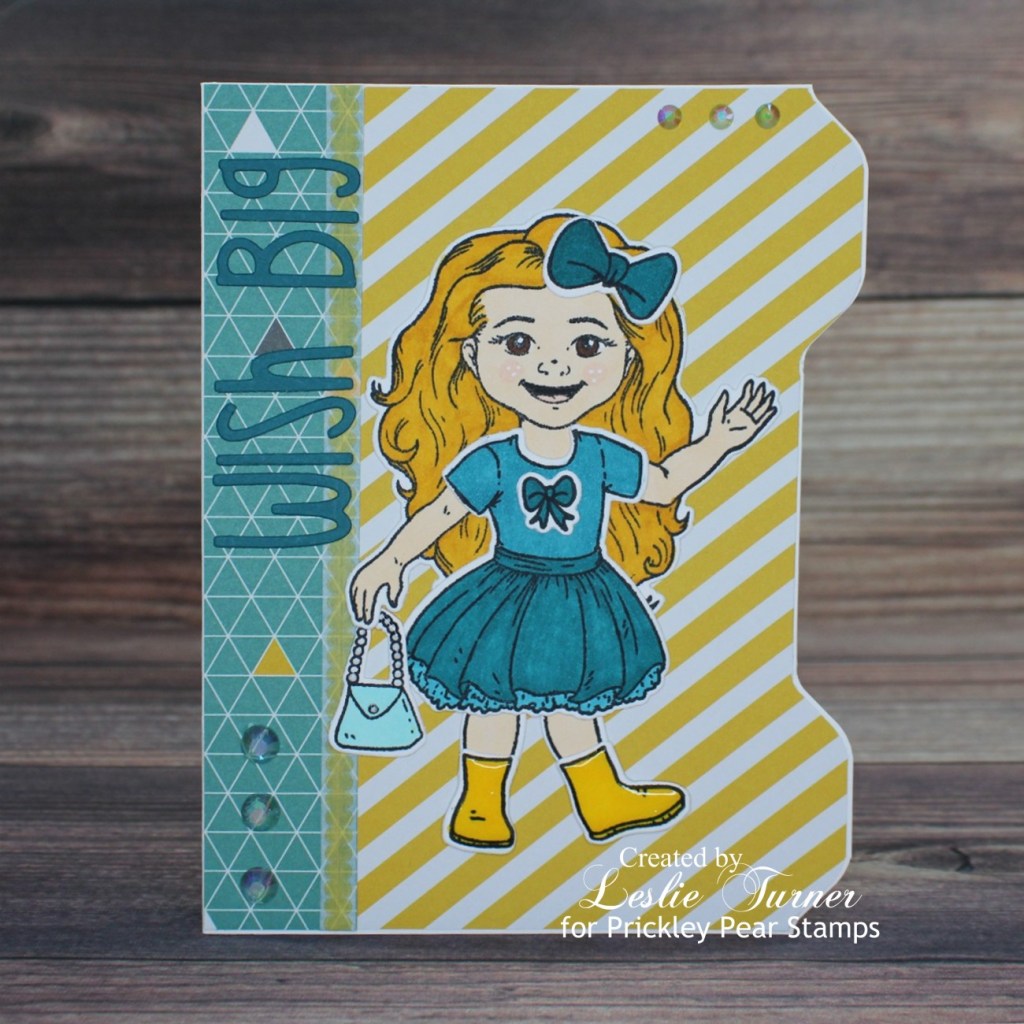
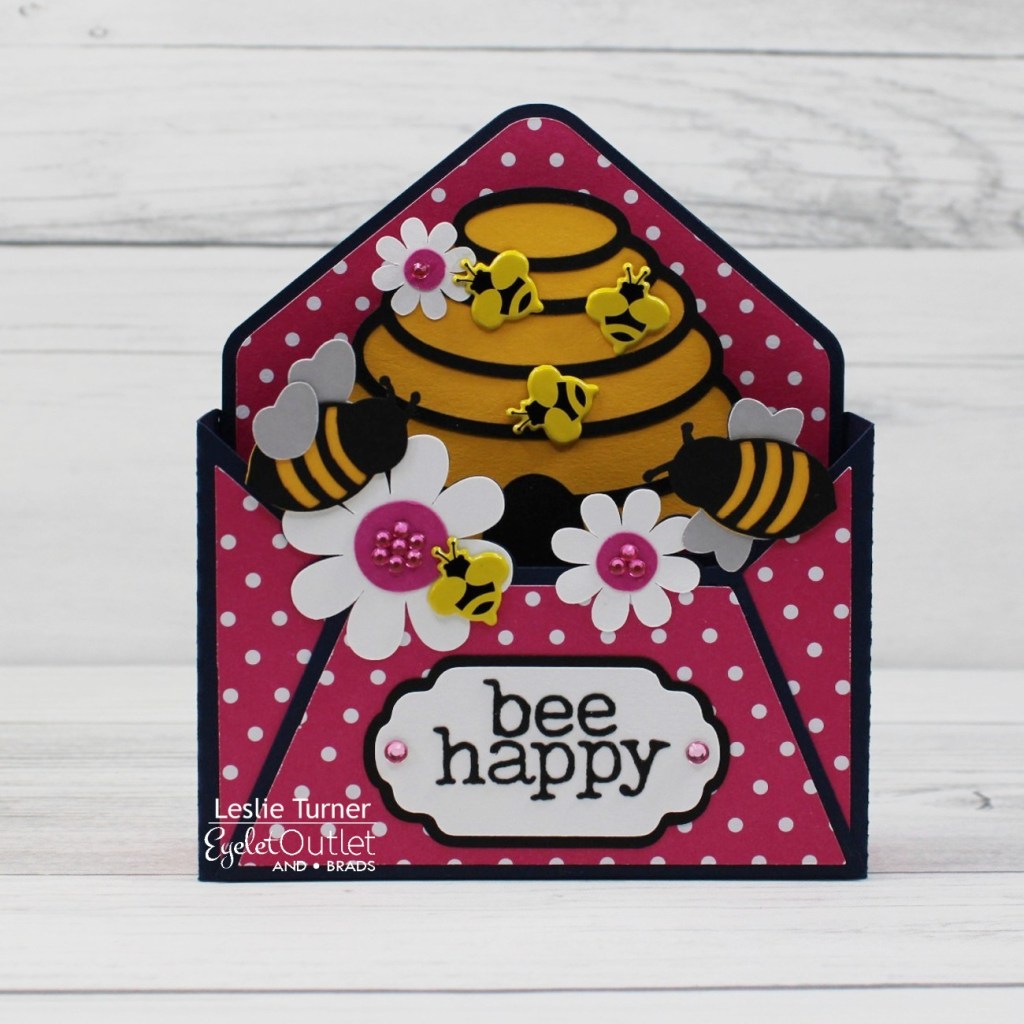
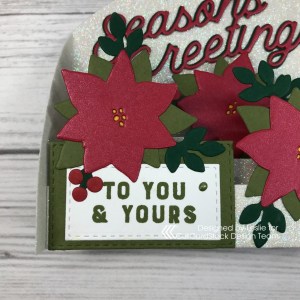
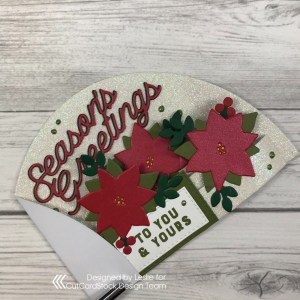
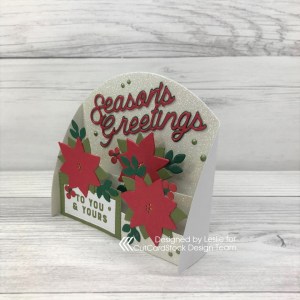
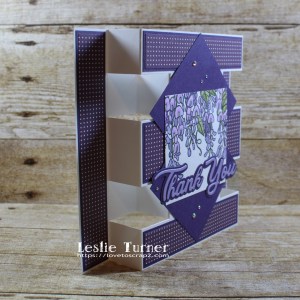
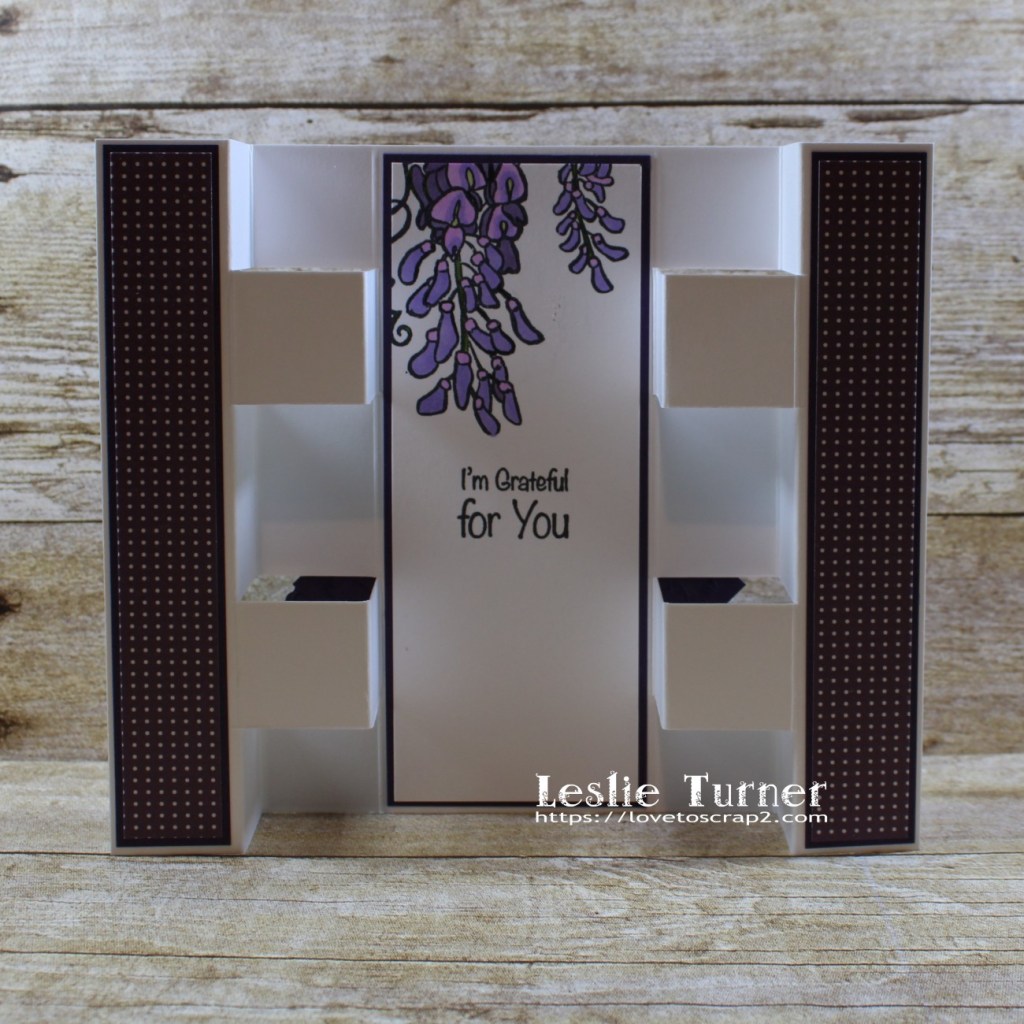
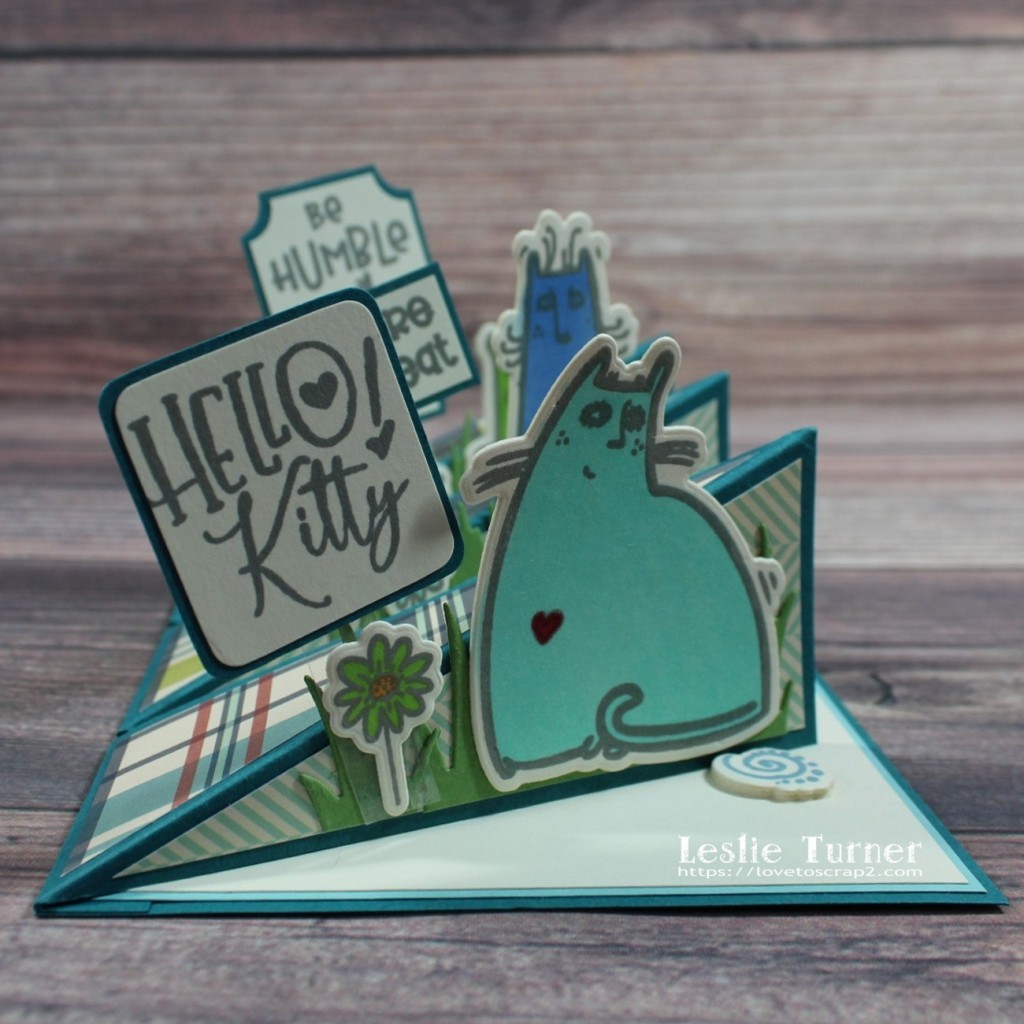
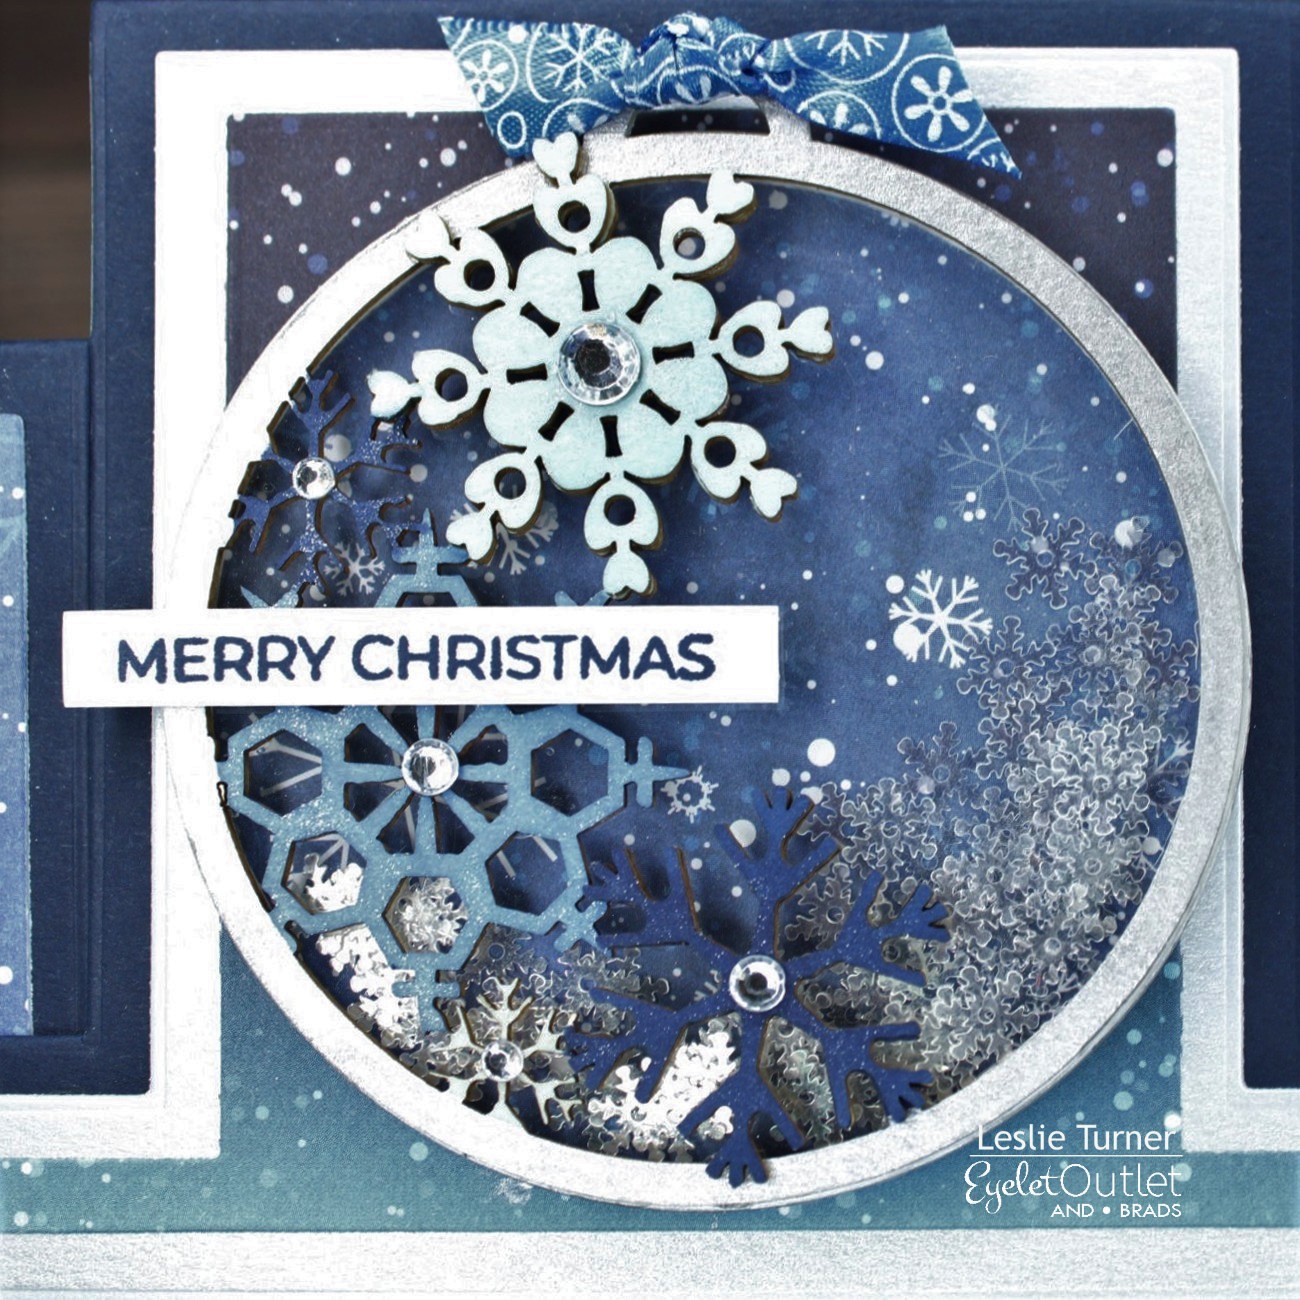
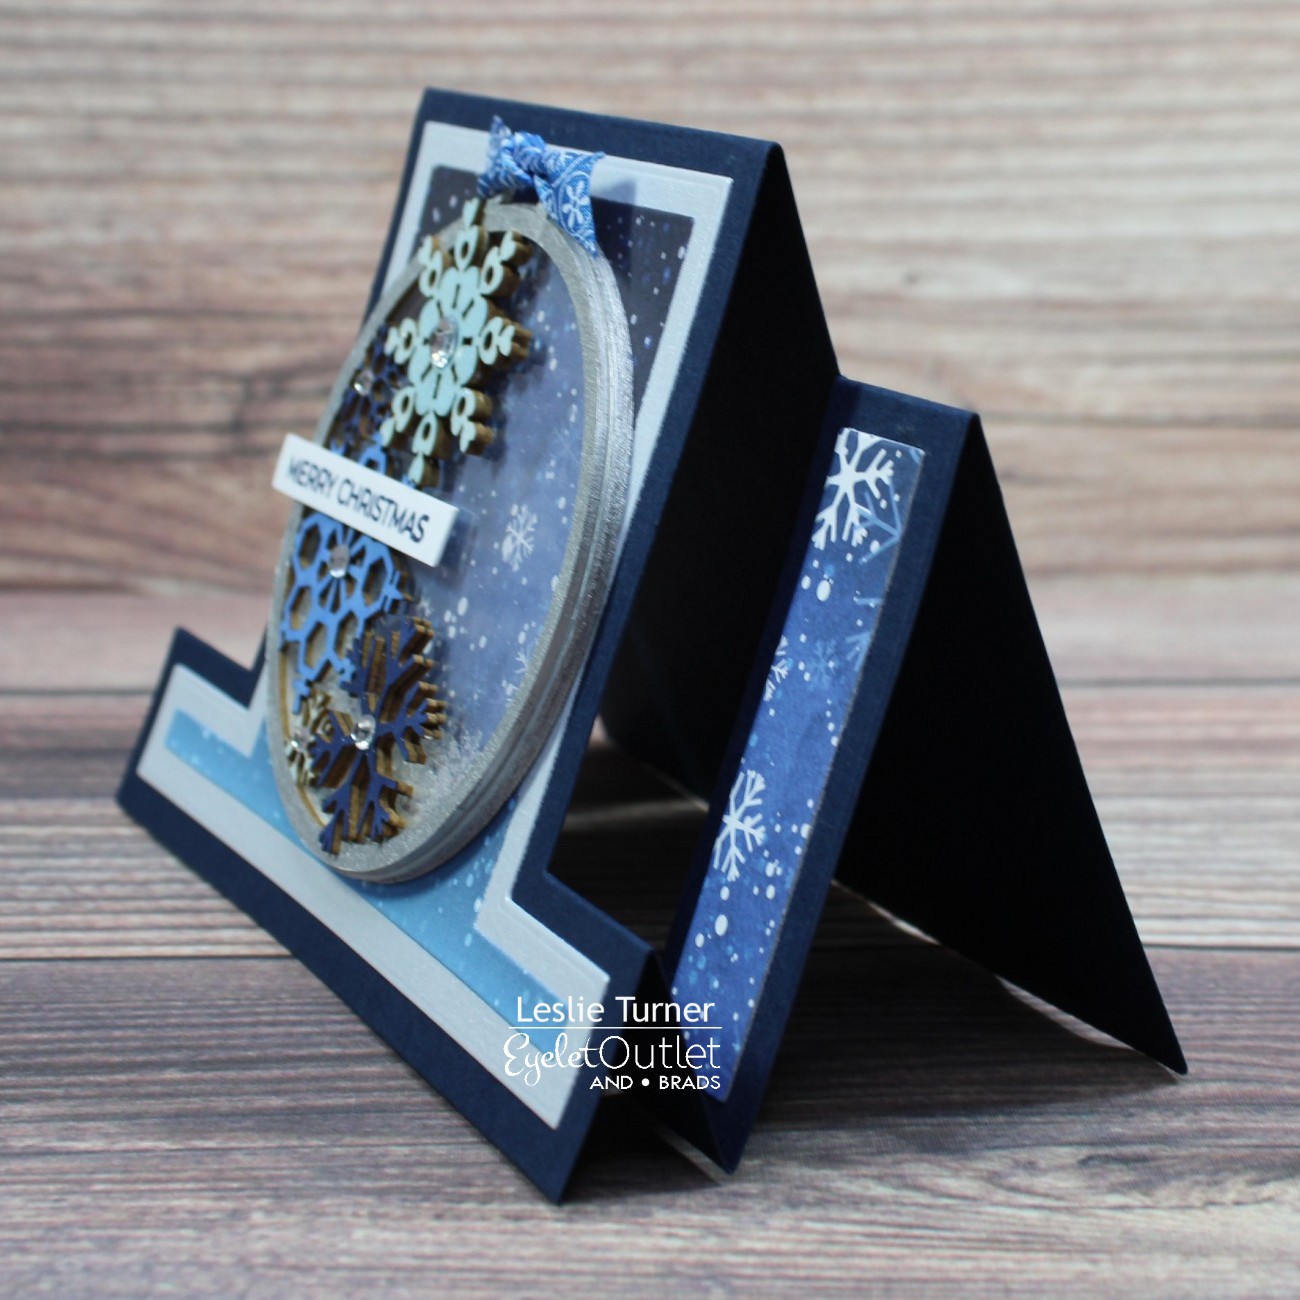
Here are a few more shots of this awesome card.
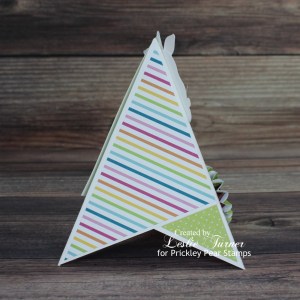
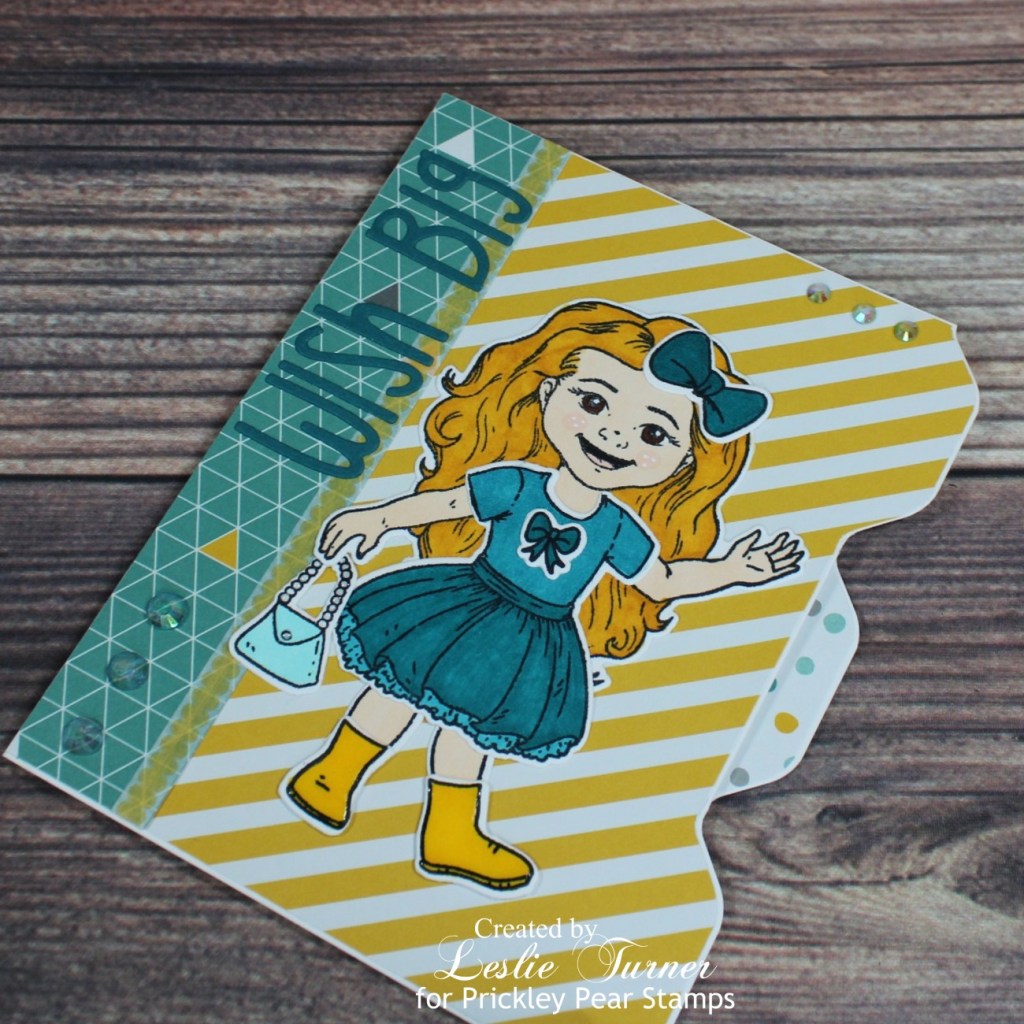
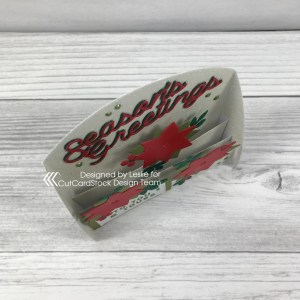
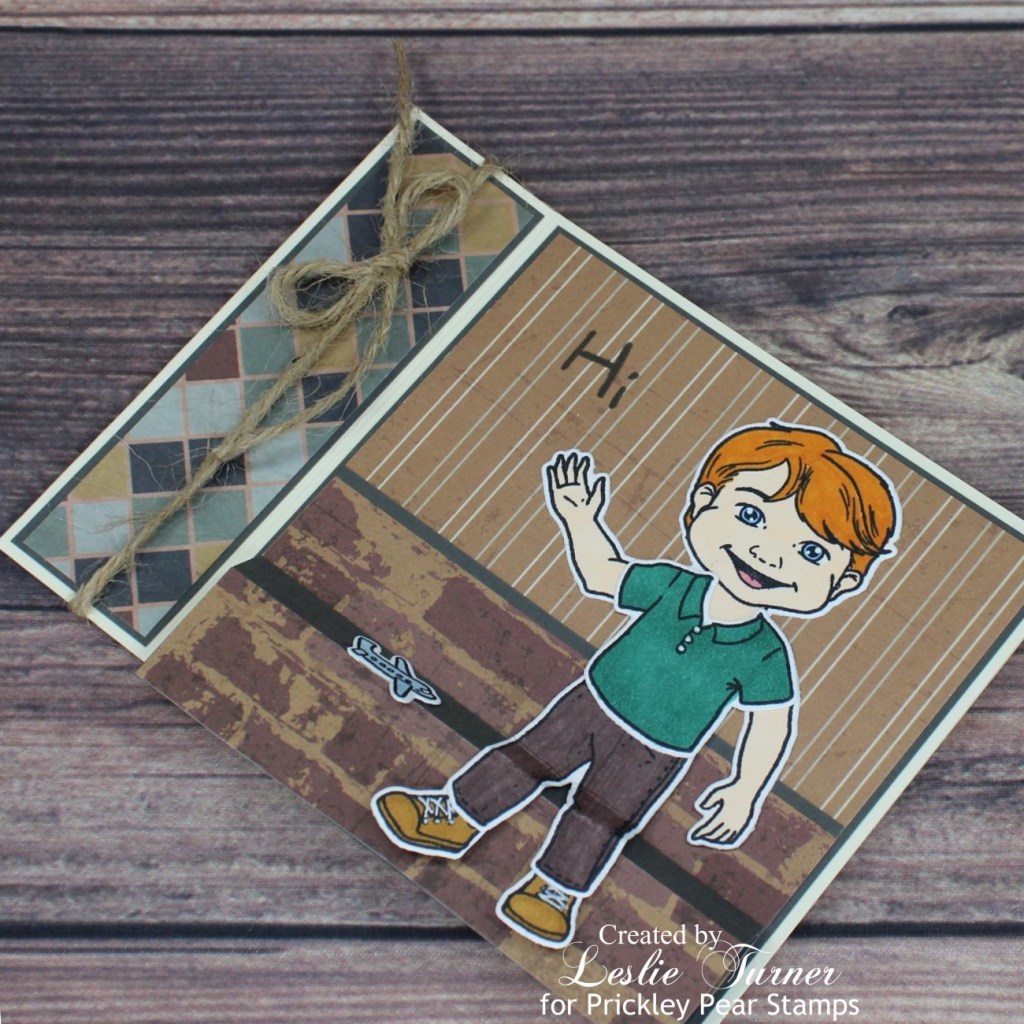
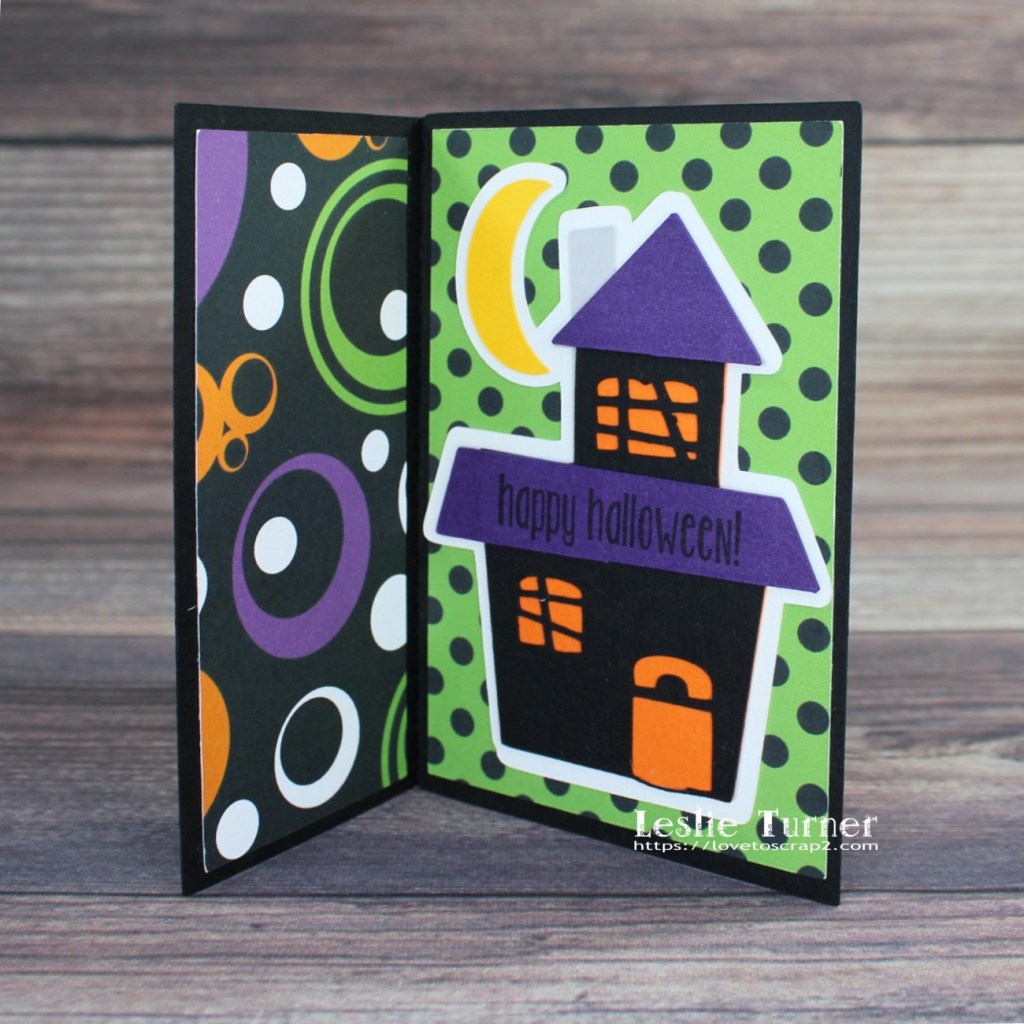
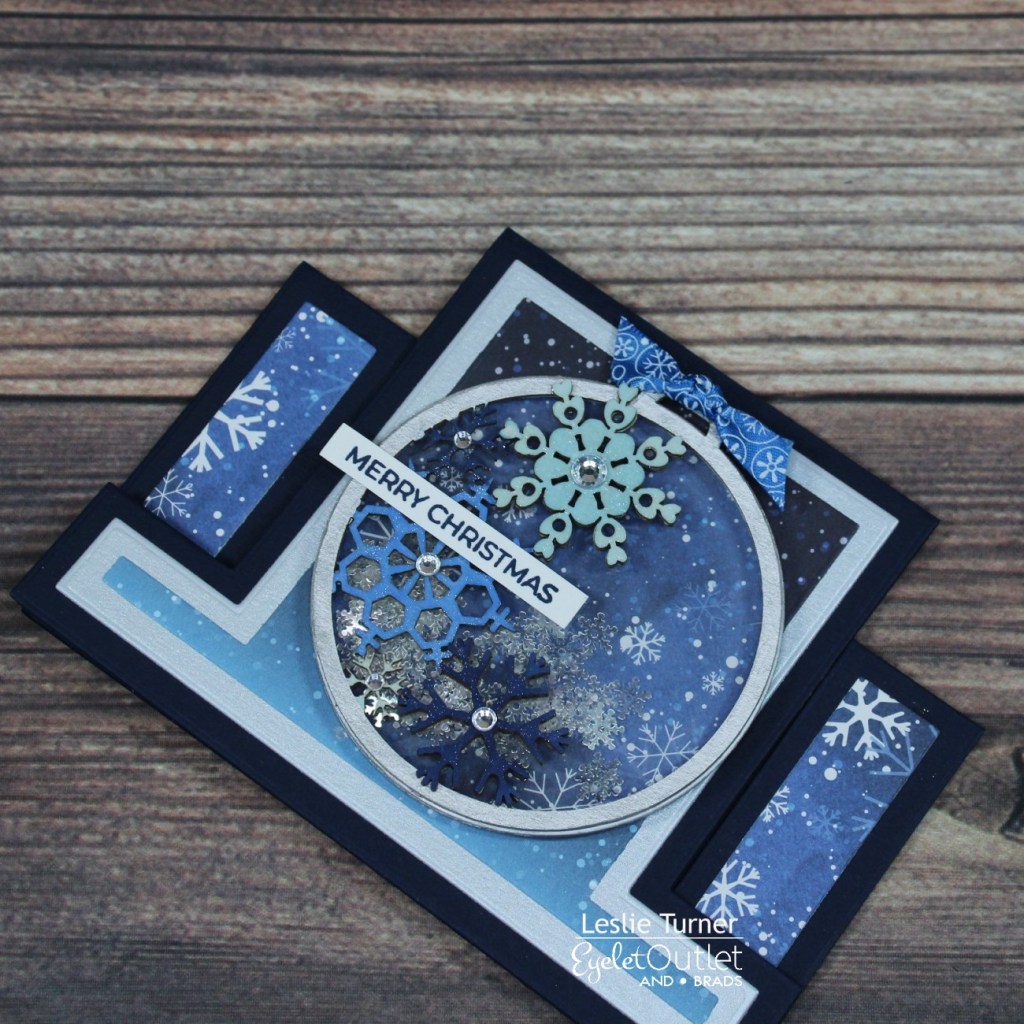
And one more peek of the card folded flat for mailing. I sure do love how this turned out! Shakers are among my all-time favorites!
Sharing in the following challenges:
1. 613 Avenue Create: #11 – Anything Goes with optional twist of Thanks/Thankfulness
2. A Perfect Time To Craft: #11 – Anything Goes
3. Aud Sentiments Challenge Blog: #288 – Anything Goes + A Sentiment
4. Christmas Craft Creations: November – Fun Fold![]()
5. Christmas Crafts All Year ‘Round: November – Something that starts with U, V and/or W (winter)
6. Classic Design Challenge: #11 – Anything Goes
7. Crafty Catz: #573 – Anything Goes with optional Add Some Metal
8. Creative Creases: #19 – Anything Goes with a Fun Fold
9. Creative Inspirations Challenge Blog: November – Wonderful Winter/Feeling Festive
10. Di’s Digi Challenge: Lots of Layers
11. Dragonfly Dreams: November – Christmas/Winter
12. Sweet Stampers Challenge Blog: #62 – Christmas
Eyelet Outlet products used:
Snowflake Sequins
Clear Jewel Bling
Clear Bling Strips
Other products used:
Cardstock/Paper: CutCardStock Basis Navy cardstock, CutCardStock Curious Metallic White Silver cardstock, Neenah Classic Crest 110# and 80# Solar White cardstock, Hot Off The Press Snowfall 6×6 double-sided papers
Stamps: Trinity Stamps A Sentiment For (Almost) Everything stamp set
Ink: Arteza alcohol markers- B29/32/37; Posca Silver paint pen, Spectrum Noir Crystal Clear Sparkle overlay marker, Catherine Pooler Juniper Mist ink
Dies/Punches: Creative Craft Products High Center Stepper Card die set, Spellbinders Standard Circles Large and Small die sets
Accessories: Tonic Studios 12″ Guillotine Paper Trimmer, Bearly Art precision craft glue, Hot Off The Press snowflakes Ornament Chipboard, Ranger Distress Collage Medium, Really Reasonable Ribbon Beautiful Blues Ribbon Assortment
I hope you’ve enjoyed today’s project! Be sure to check out all the fun goodies at Eyelet Outlet! I can already see you drooling, lol! Be sure to ‘like’ and ‘follow’ Eyelet Outlet Facebook Page to keep up with news and sales, and while you’re at it, join the Eyelet Outlet Fans Facebook group for lots of creative inspiration! Thanks so much for stopping by today – we’ll see you next time! ;)
Scrappy hugs,