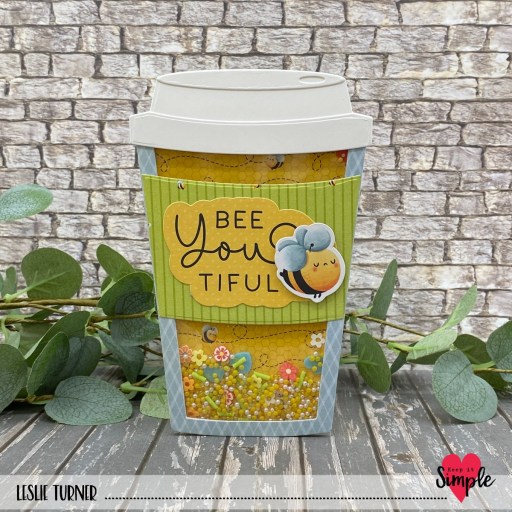
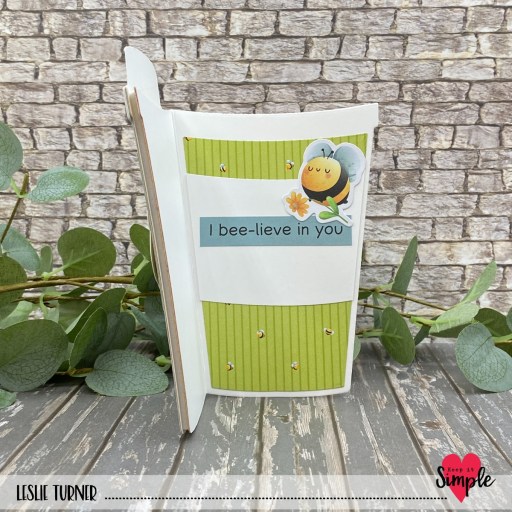
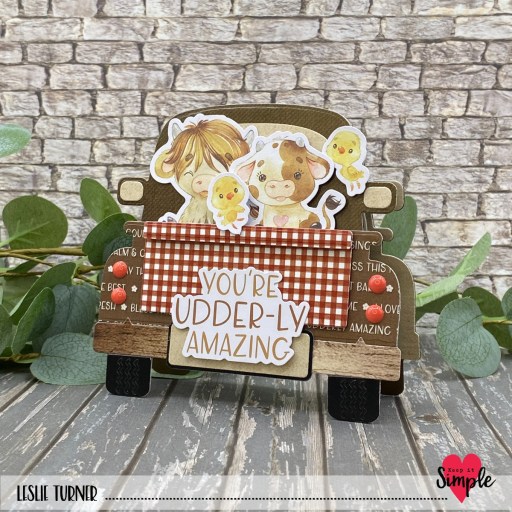
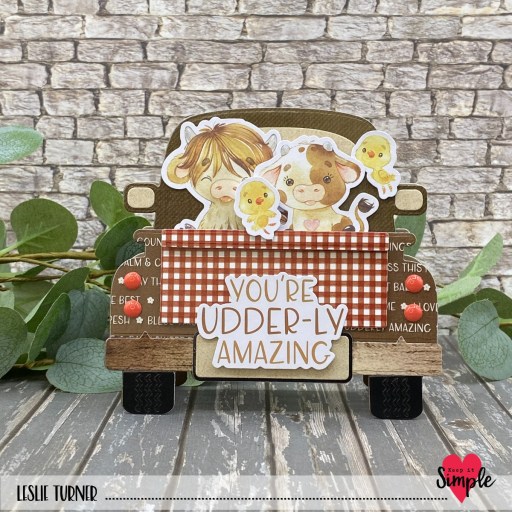
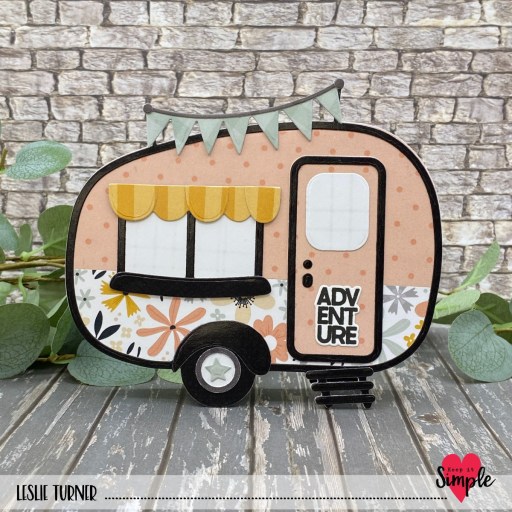
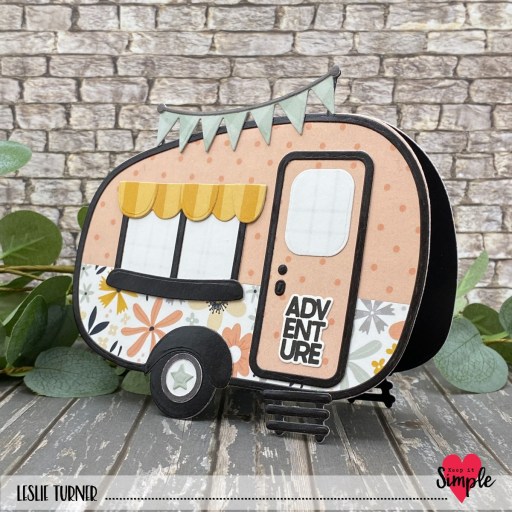
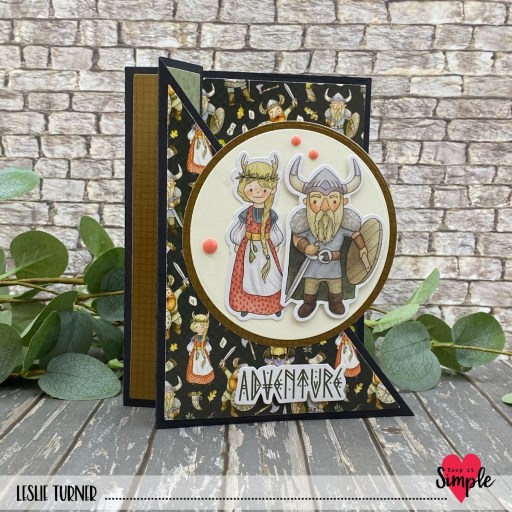
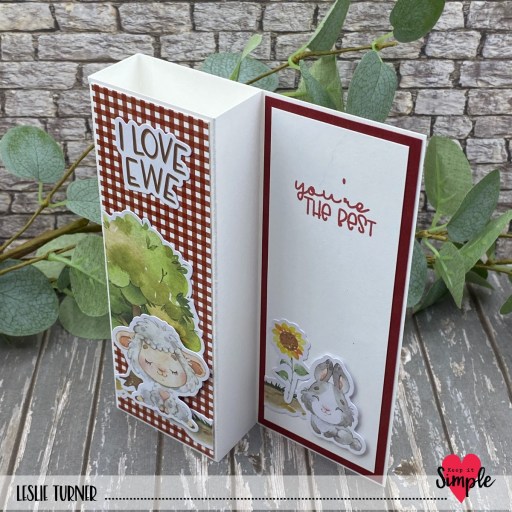
Hey everybody, Happy Hump Day! I hope you’re having a great week! I have a super cute and very easy project to share for Keep It Simple today! I made this simple pillar card for the How-To’s section on the website, and it features primarily papers and die cut pieces from our new-ish Barnyard Bliss collection. I know there are lots of crafters out there who make fun folds all the time (I’ll raise my hand), and on the flip side of that, there are many who have never attempted to make one at all due to sheer intimidation. I would love to change that! My tutorial for this fun fold will help guide anyone reading it through the ins and outs of making this card, so be sure to check it out!
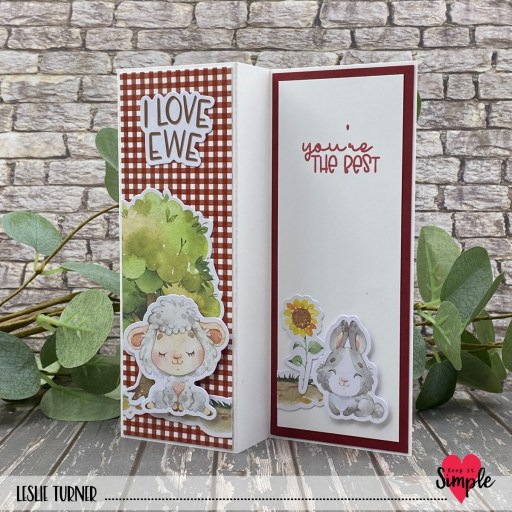
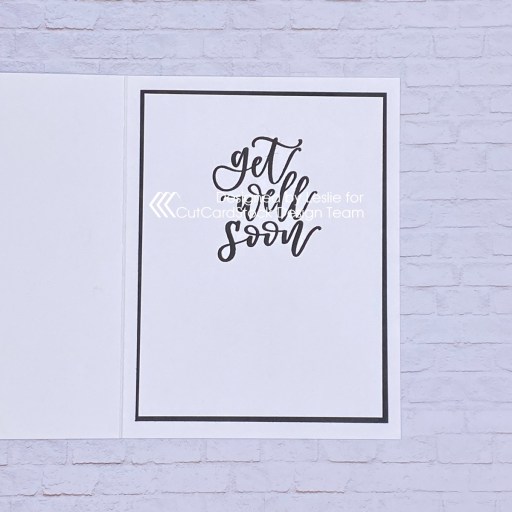
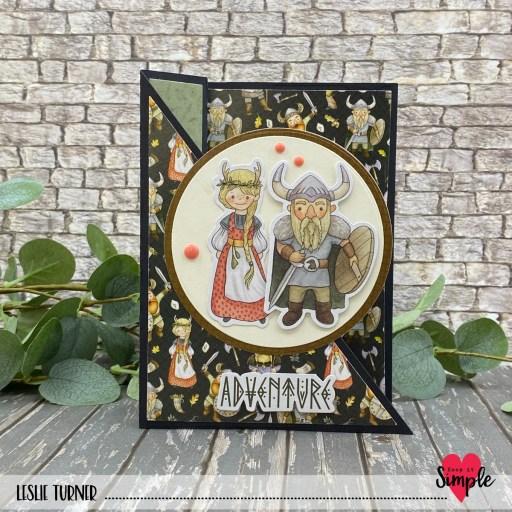
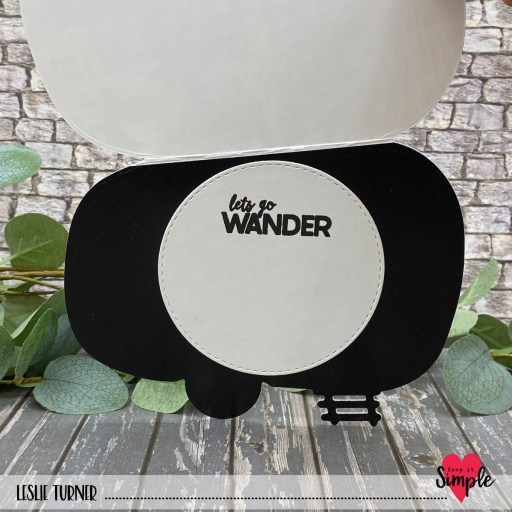
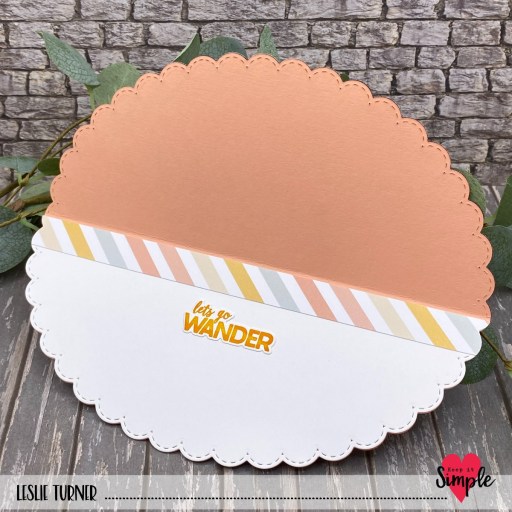
I cut the card base from Classic Crest 110# Solar White cardstock along with layering panels from a plaid print (in the Barnyard Bliss collection), CutCardStock Basis Dark Red and 80# Solar White. I grabbed several die cut pieces from the Barnyard Bliss collection to embellish both sides, popping a few of them up on small and large 1mm foam squares from the Adhesive Basics Squares & Strips. I stamped a sentiment from the KIS Sentiment Stamps Sunshine & Rainbows stamp set in Memento Rhubarb Stalk ink, which completed the card.
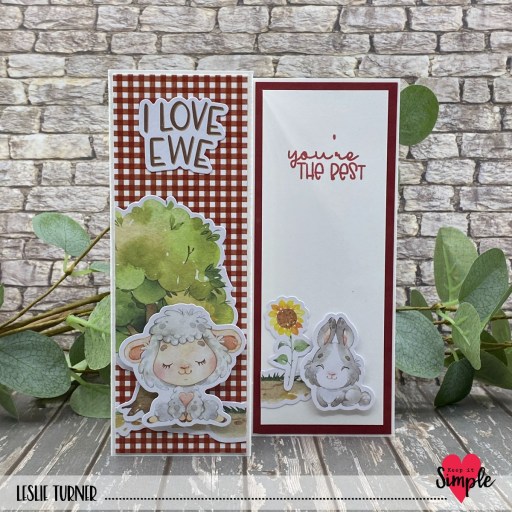
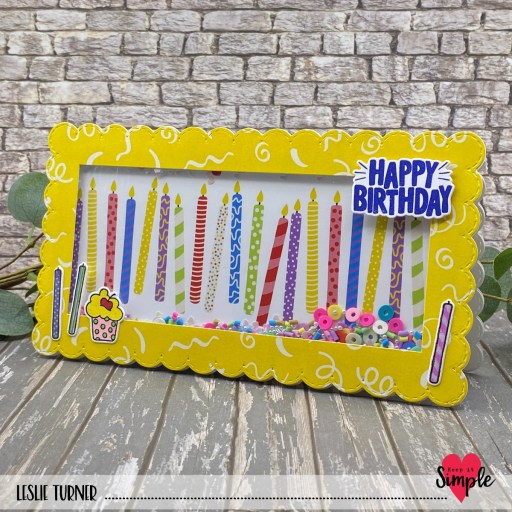
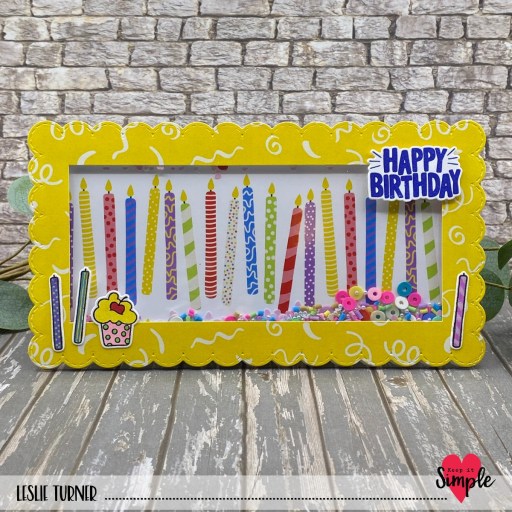
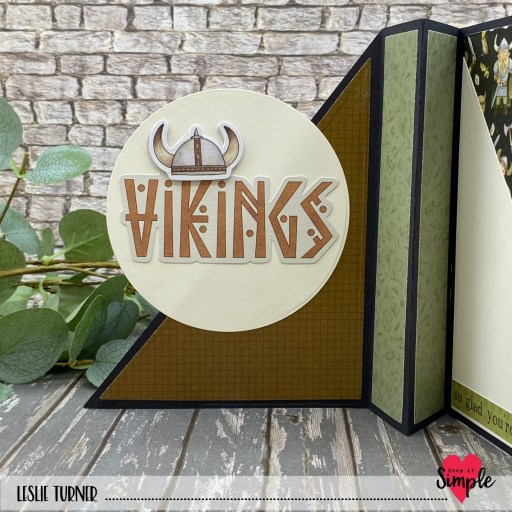
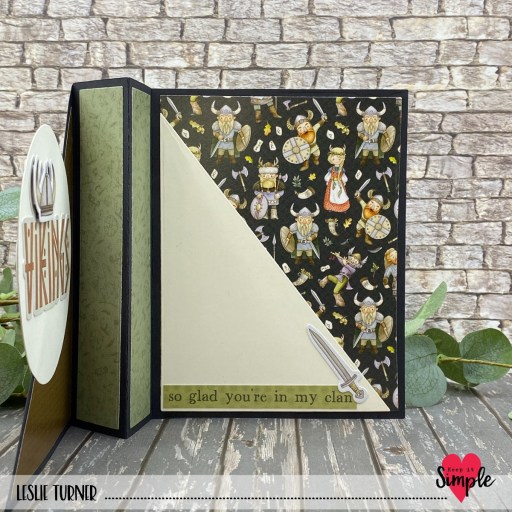
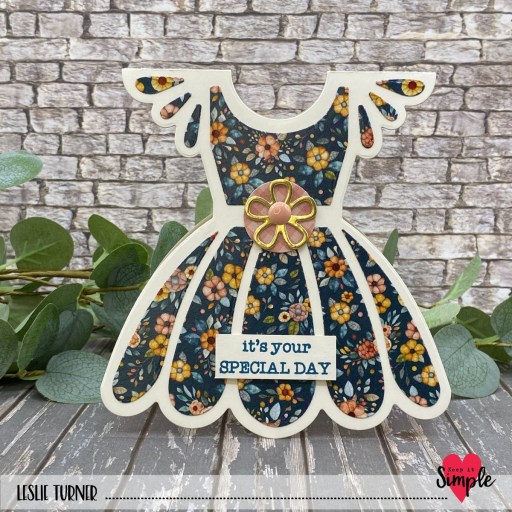
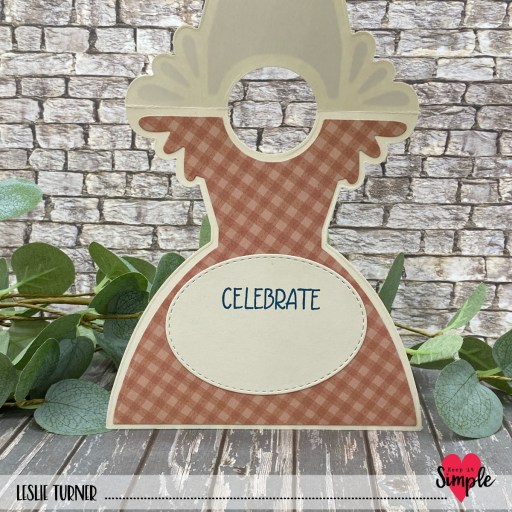
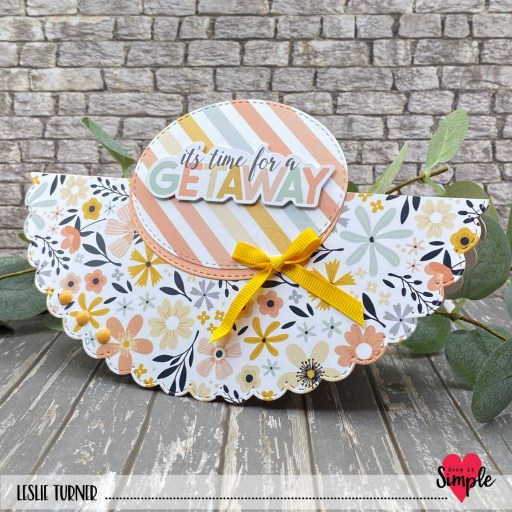
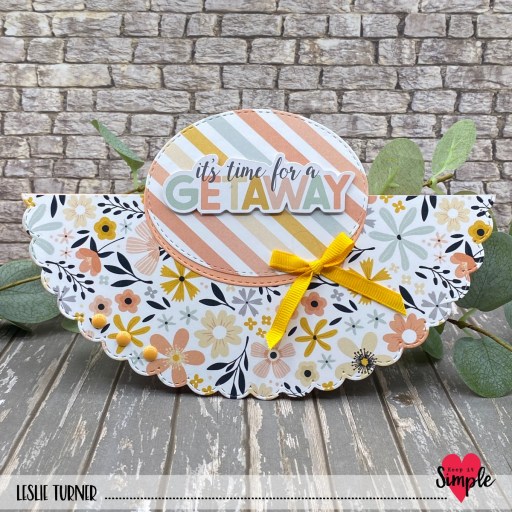
Here’s an angled shot so you can see the simple construction – and it folds flat for mailing! I’d love to know if you make one. If you’ve never attempted a fun fold before, you’ll make yourself proud!
Keep It Simple products used:
Barnyard Bliss 6×9 Collection Pack
Barnyard Bliss Die Cut Pieces
KIS Sentiment Stamps Sunshine & Rainbows
Back To Basics Adhesive Basics – Squares & Strips
Affiliate links are used in this post at no cost to you – I really appreciate your support!
Other products used:
CARDSTOCK/PAPER: Classic Crest 110# and 80# Solar White cardstock, CutCardStock Basis Dark Red cardstock
INK: Memento Rhubarb Stalk ink
ACCESSORIES: Fiskars 12″ ProCision Rotary Bypass Paper Trimmer, Spellbinders 12×12 Scoring Board, My Sweet Petunia Precision Glue Press, Bearly Art precision craft glue, Mini MISTI, Scrapbook Adhesives E-Z Runner Grand Permanent Strips
I hope you’ve loved seeing this project as much as I loved creating it and you’re inspired to get crafty! Be sure to check out ALL the fun goodies in the Keep It Simple online store! Save 10% on your entire order when you shop online using code LoveToScrap2 at checkout! There is no minimum purchase requirement and no usage limits, AND it combines with product, order, and shipping discounts! Is that cool, or what?! Be sure to Follow us on Facebook, Instagram, and Pinterest for lots of crafty inspiration! Thanks so much for stopping by today – we’ll see you next time!
Scrappy hugs,