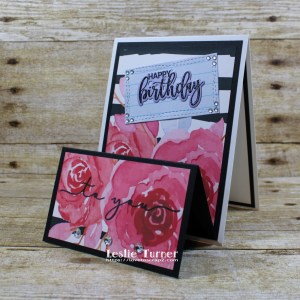
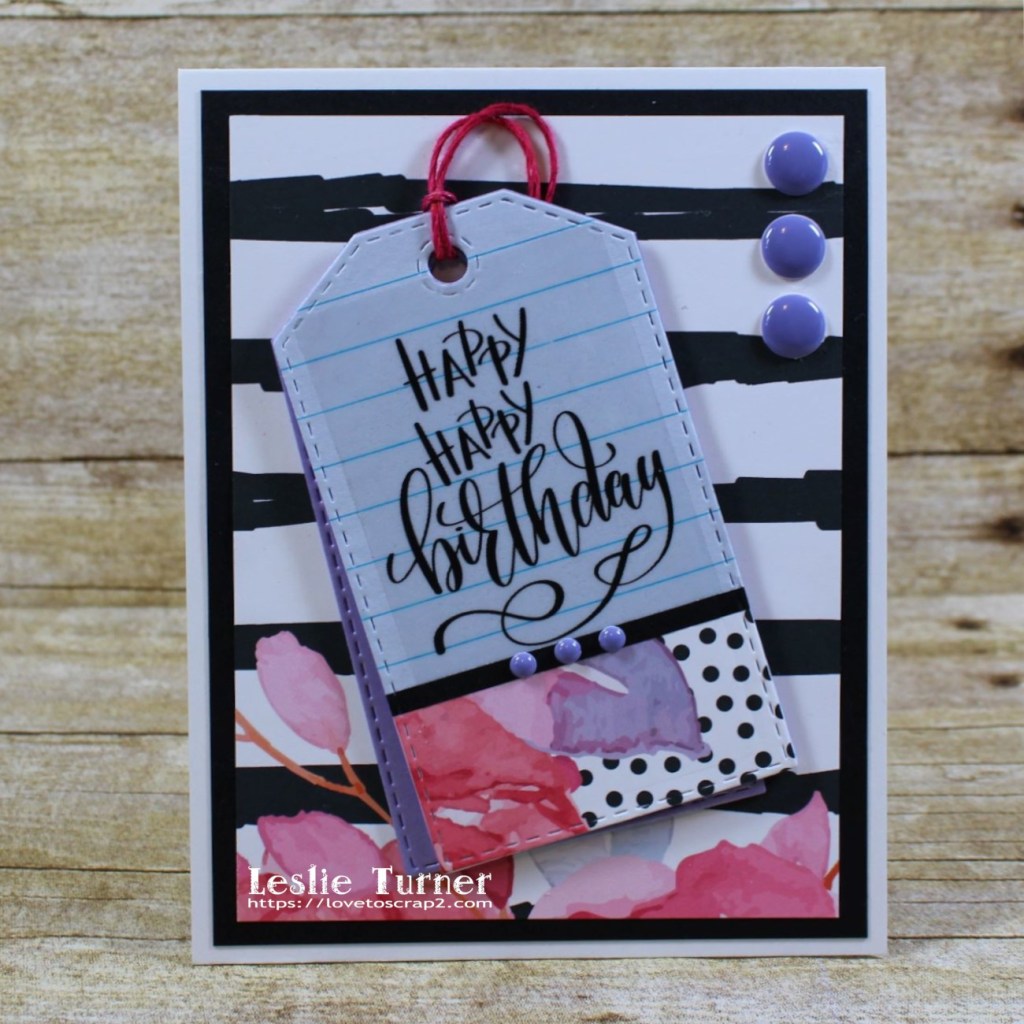
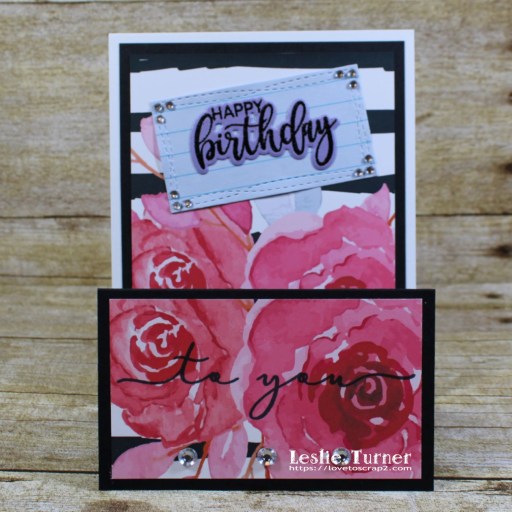
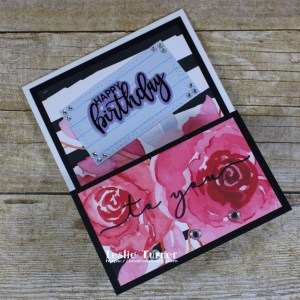
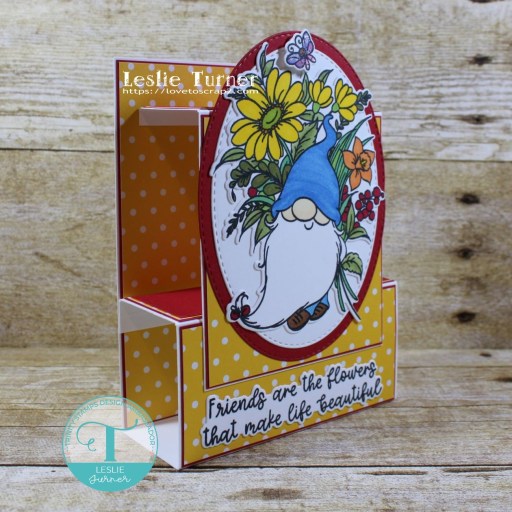
Hi friends! I hope your week is going well and you’re staying healthy and creative! Absolutely no complaints here – I’ve gotten a lot of studio time in lately which makes me happy! Affiliate links are used in this post at no cost to you. I really appreciate your support! I’m thrilled to share my first project as a Trinity Stamps Ambassador! We haven’t gotten our official assignments yet but have been given the go-ahead to share whatever projects we want to create until the assignments roll in. So I created a pretty front step card (you know how I LOVE this fold!) featuring the Friends are Flowers stamp set and the coordinating Friends are Flowers die set! I sure do love me some gnomes and I’ve added several of their most adorable gnome stamps and dies to my stash!
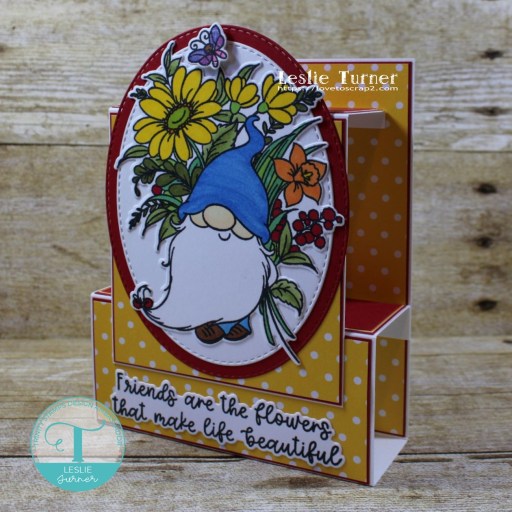
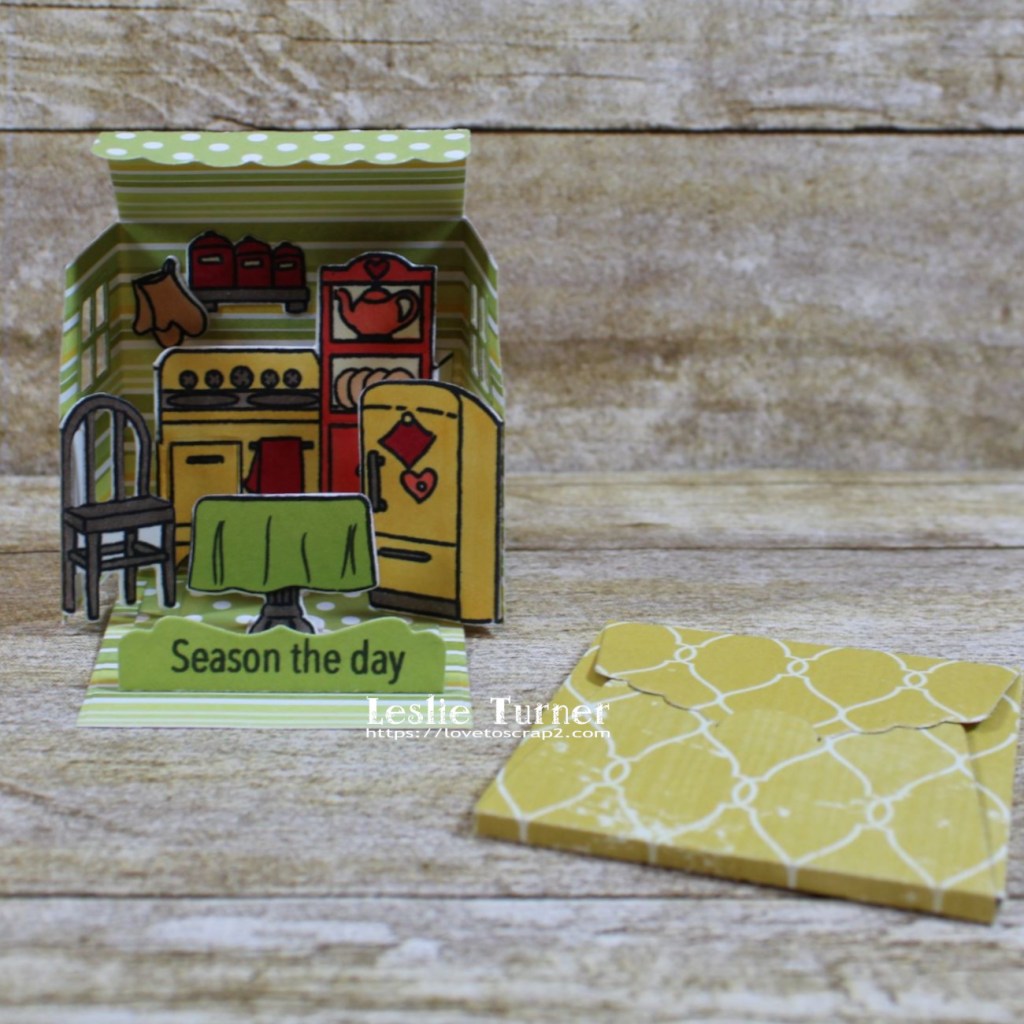
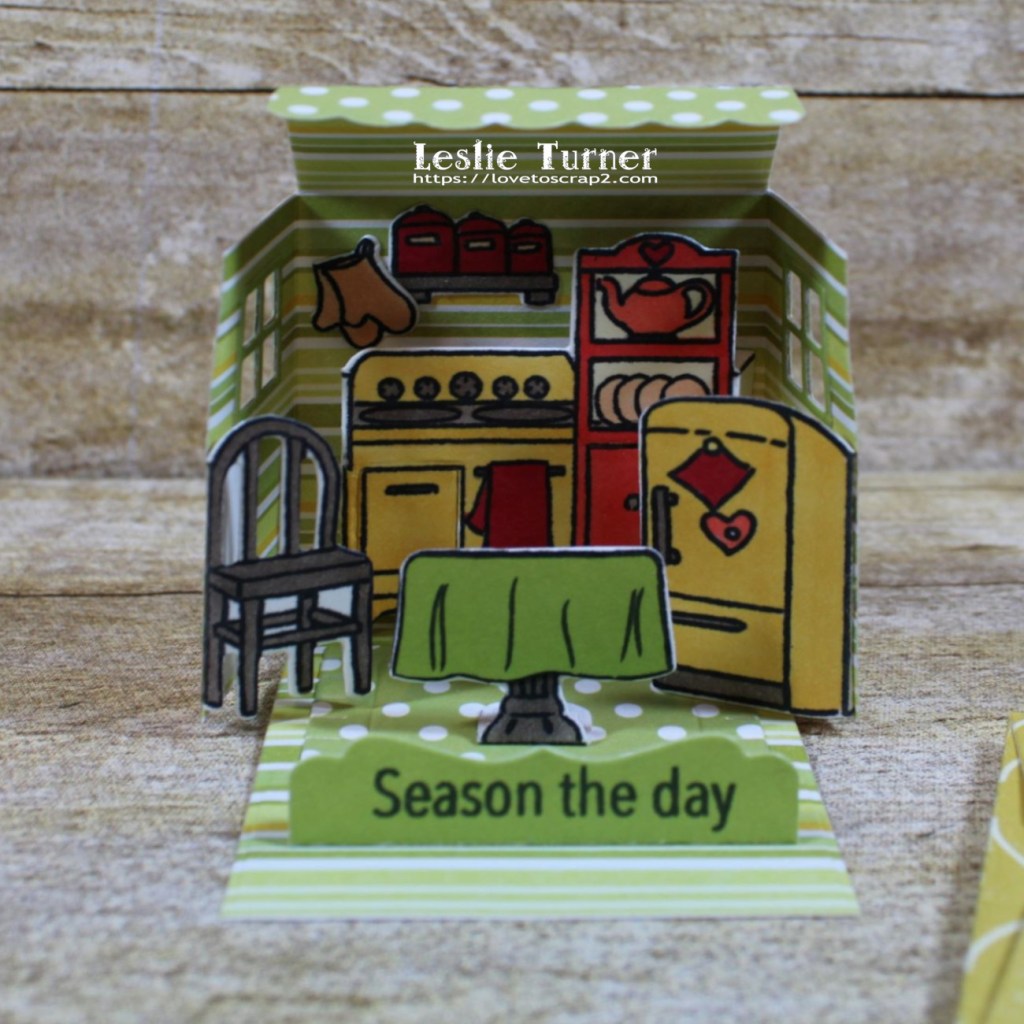
I stamped the image from the Friends are Flowers stamp set on Neenah Classic Crest Solar White cardstock, colored it with alcohol markers and cut it with the coordinating Friends are Flowers die set. I adhered the die cut image to a white stitched oval die cut, adding shimmer to the butterfly and popping it up on an Adhesive Foam Circle. I cut a slightly larger stitched oval from CutCardStock Pop Tone Wild Cherry cardstock and adhered it beneath the white oval. I cut the card base from Neenah Classic Crest Solar White cardstock and panels from CutCardStock Pop Tone Wild Cherry cardstock and yellow and white dotted cardstock, and assembled the card. I stamped the sentiment on Solar White cardstock, cut it with the coordinating die, and adhered it to the bottom of the card front.
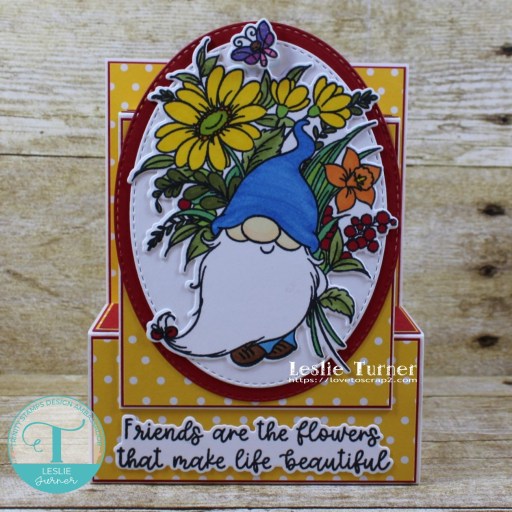
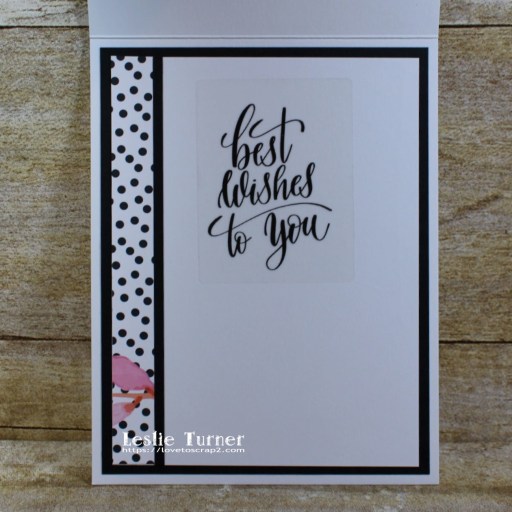
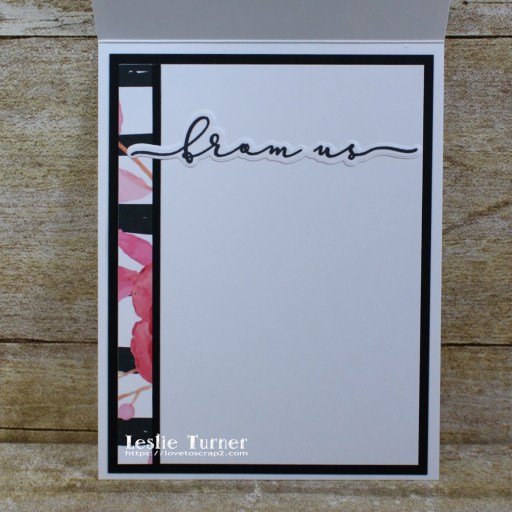
I cut the back panel from Neenah Classic Crest Solar White cardstock and embellished it with strips of yellow dotted and CutCardStock Pop Tone Wild Cherry cardstock, stamped the sentiment from the Succulent Banner stamp set and layered the panel on the red cardstock.

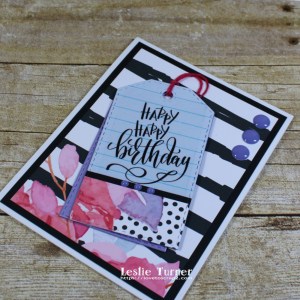
And one more look… I absolutely love this stamp set! Such a cute guy! ;)
Trinity Stamps products used:
Friends are Flowers stamp set
Friends are Flowers die set
Succulent Banner stamp set
Other products used:
Cardstock/Paper: Neenah Classic Crest Solar White cardstock, CutCardStock Pop Tone Wild Cherry cardstock, Colorbok Seeing Dots yellow cardstock
Ink: Memento Tuxedo Black ink; Nuvo alcohol markers- Rich Reds Collection, Fragrant Oranges Collections, Sunshine Yellows Collection, Organic Greens Collection, Irish Clover Collection, Woodland Greens Collection, Marina Blues Collection, Indigo Ink Collection, Palma Violets Collection, Flamingo Pinks Collection, Natural Browns Collection, Fair Skin Tones Collection, Ombre Collection; Sakura Clear Star Gelly Roll pen
Dies/Punches: Memory Box Stitched Oval Layers
Accessories: Tonic Studios 12″ Guillotine Paper Trimmer, MISTI stamp tool, Gemini Junior, Bearly Art precision craft glue, Darice Double-Sided Adhesive Foam Circles
I hope you’ve enjoyed today’s project and you’re inspired to get those craft supplies out to play! Be sure to check out all the amazing stamps, dies and other goodies at Trinity Stamps! And head on over to the Trinity Stamps Facebook Page for loads of inspiration! And while you’re at it, join the Trinity Stamps Facebook community group to connect with other Trinity Stamps fans! Thanks so much for stopping by today – we’ll see you next time!
Scrappy hugs,