Hi everyone! Happy Monday! Our new sketch challenges this month are live over at Stick It Down and I’ve popped in this morning to share my Card Team inspiration project! Allie’s Scrap Shop is our sponsor this month so come on over and play for the chance to win a prize! The card team is showcasing projects today on the blog and this is our super awesome card sketch this month:

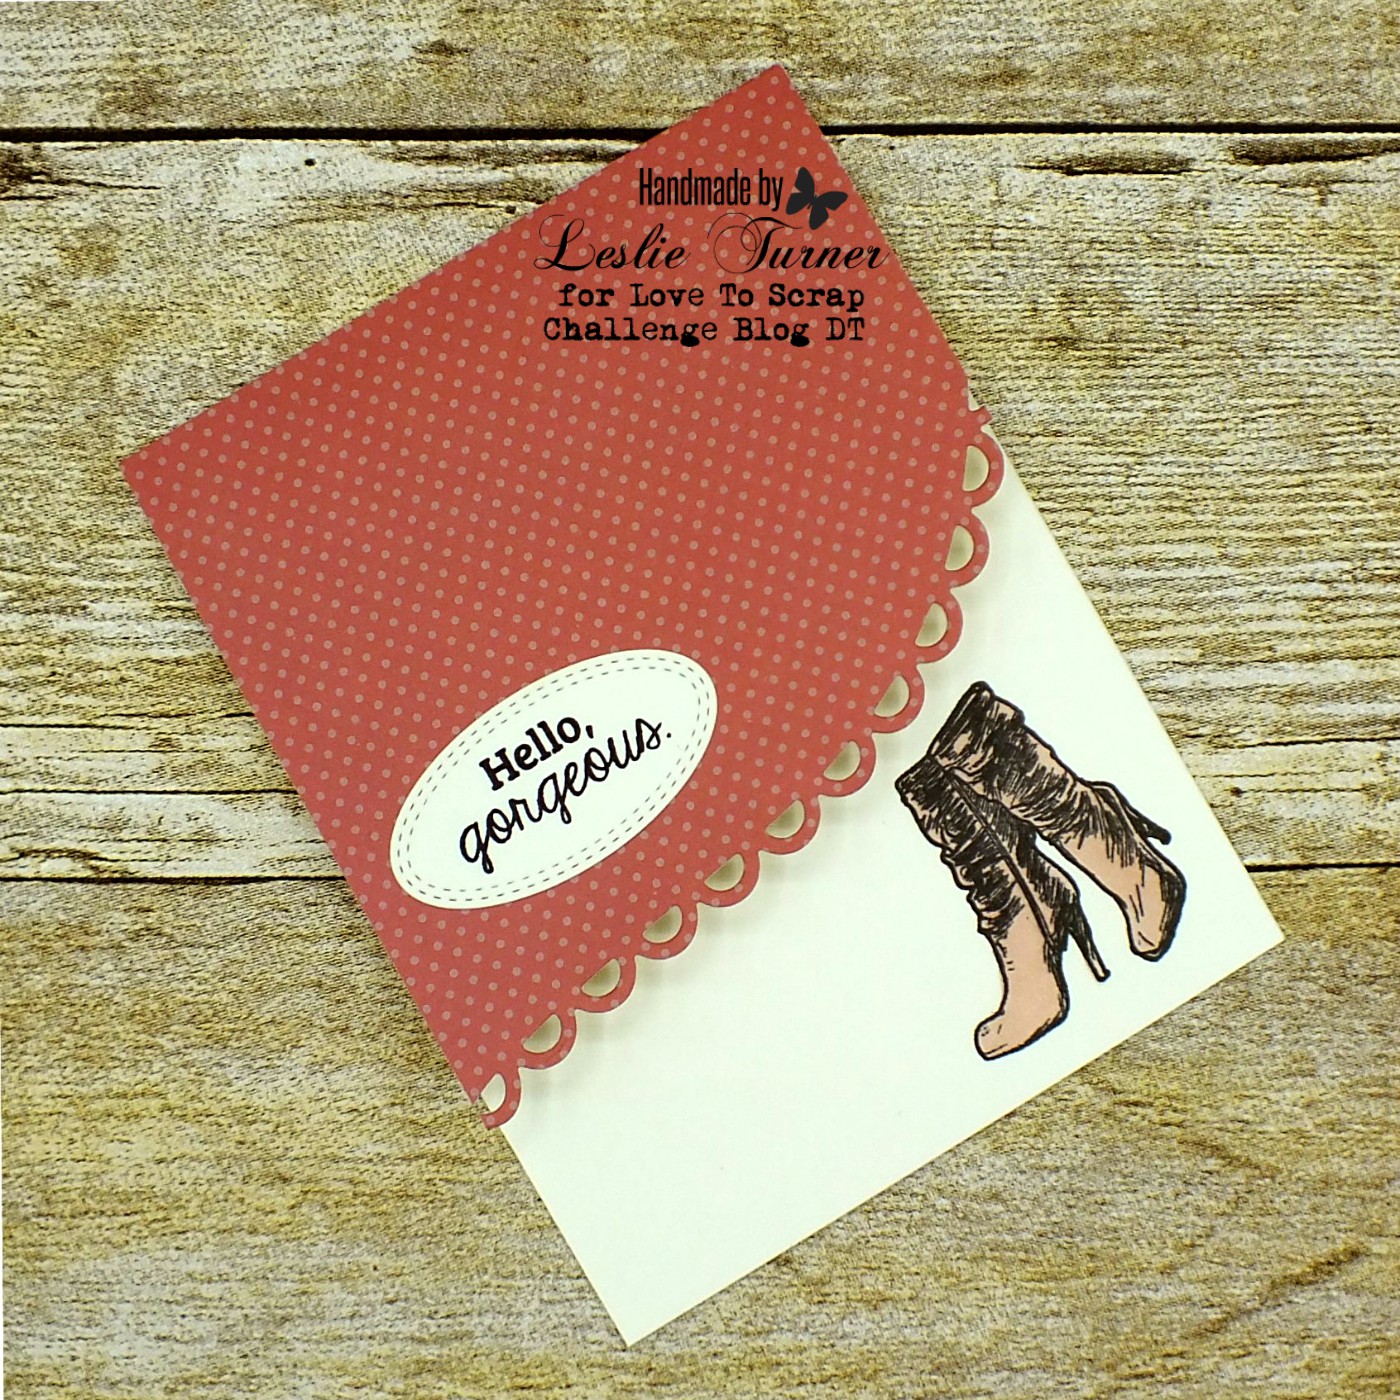
I created my first-ever pet sympathy card, and although it’s not something anyone wants to ever go through, I really love how it turned out and would be proud to give it away. Thank you, Laura, for another fantastic sketch!
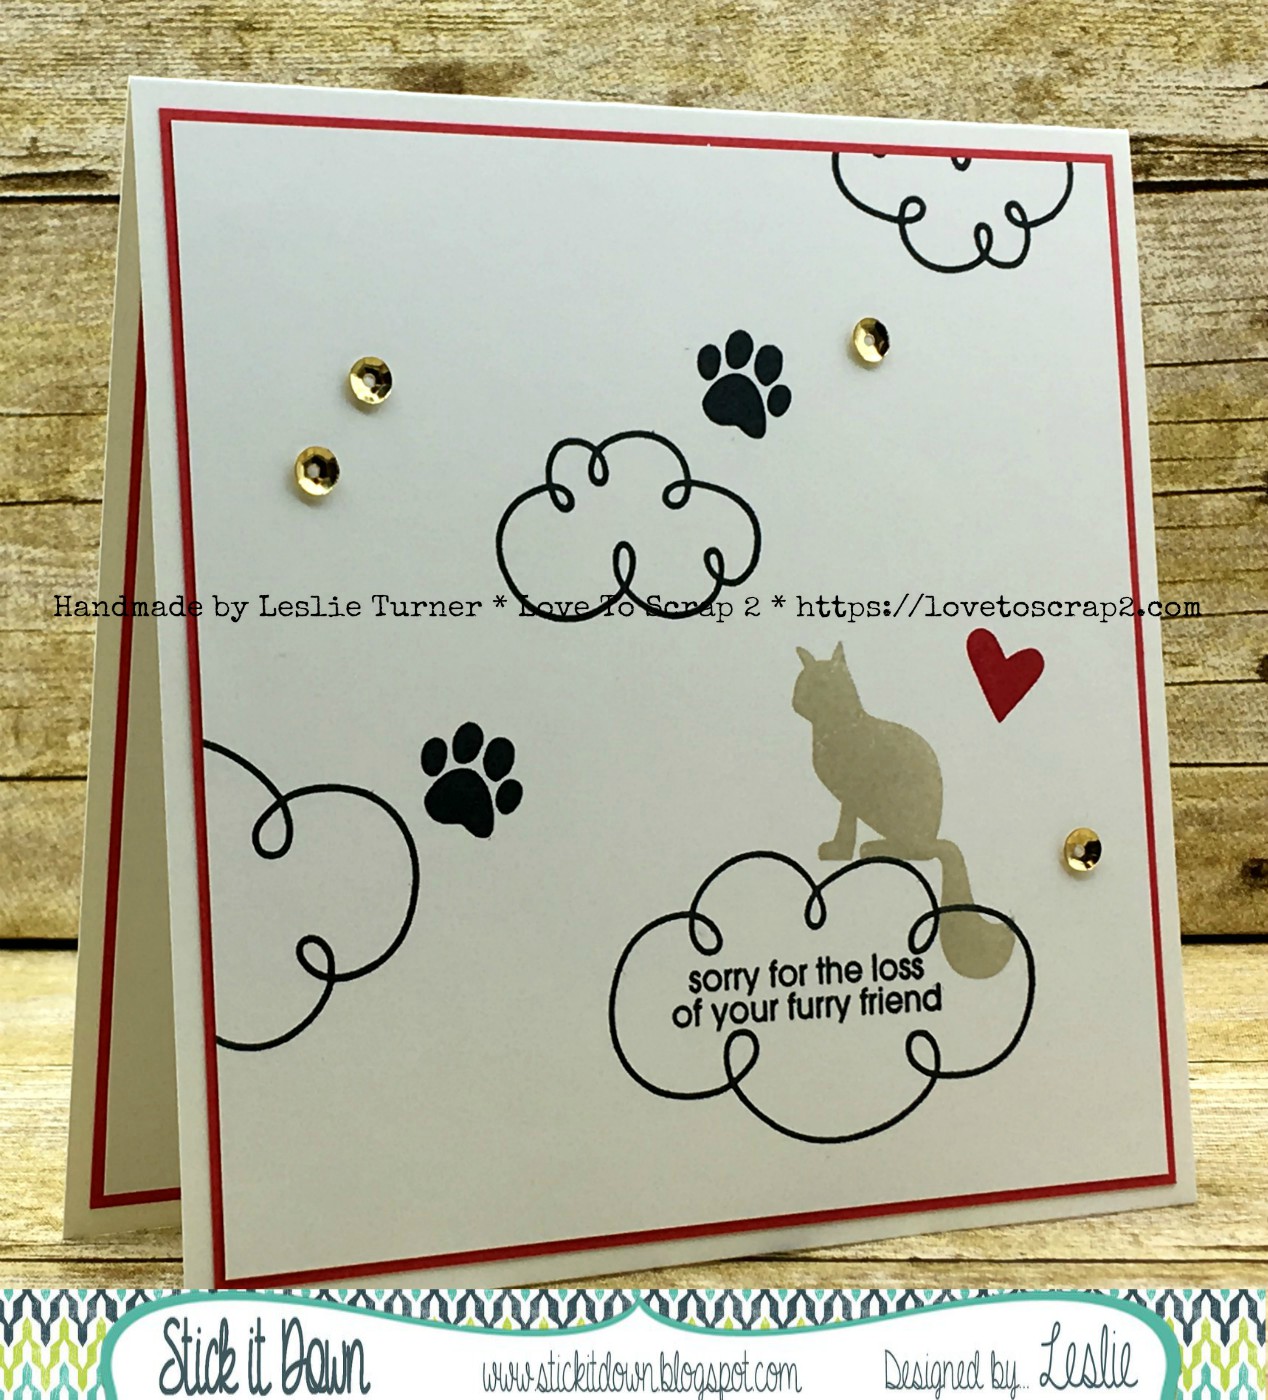
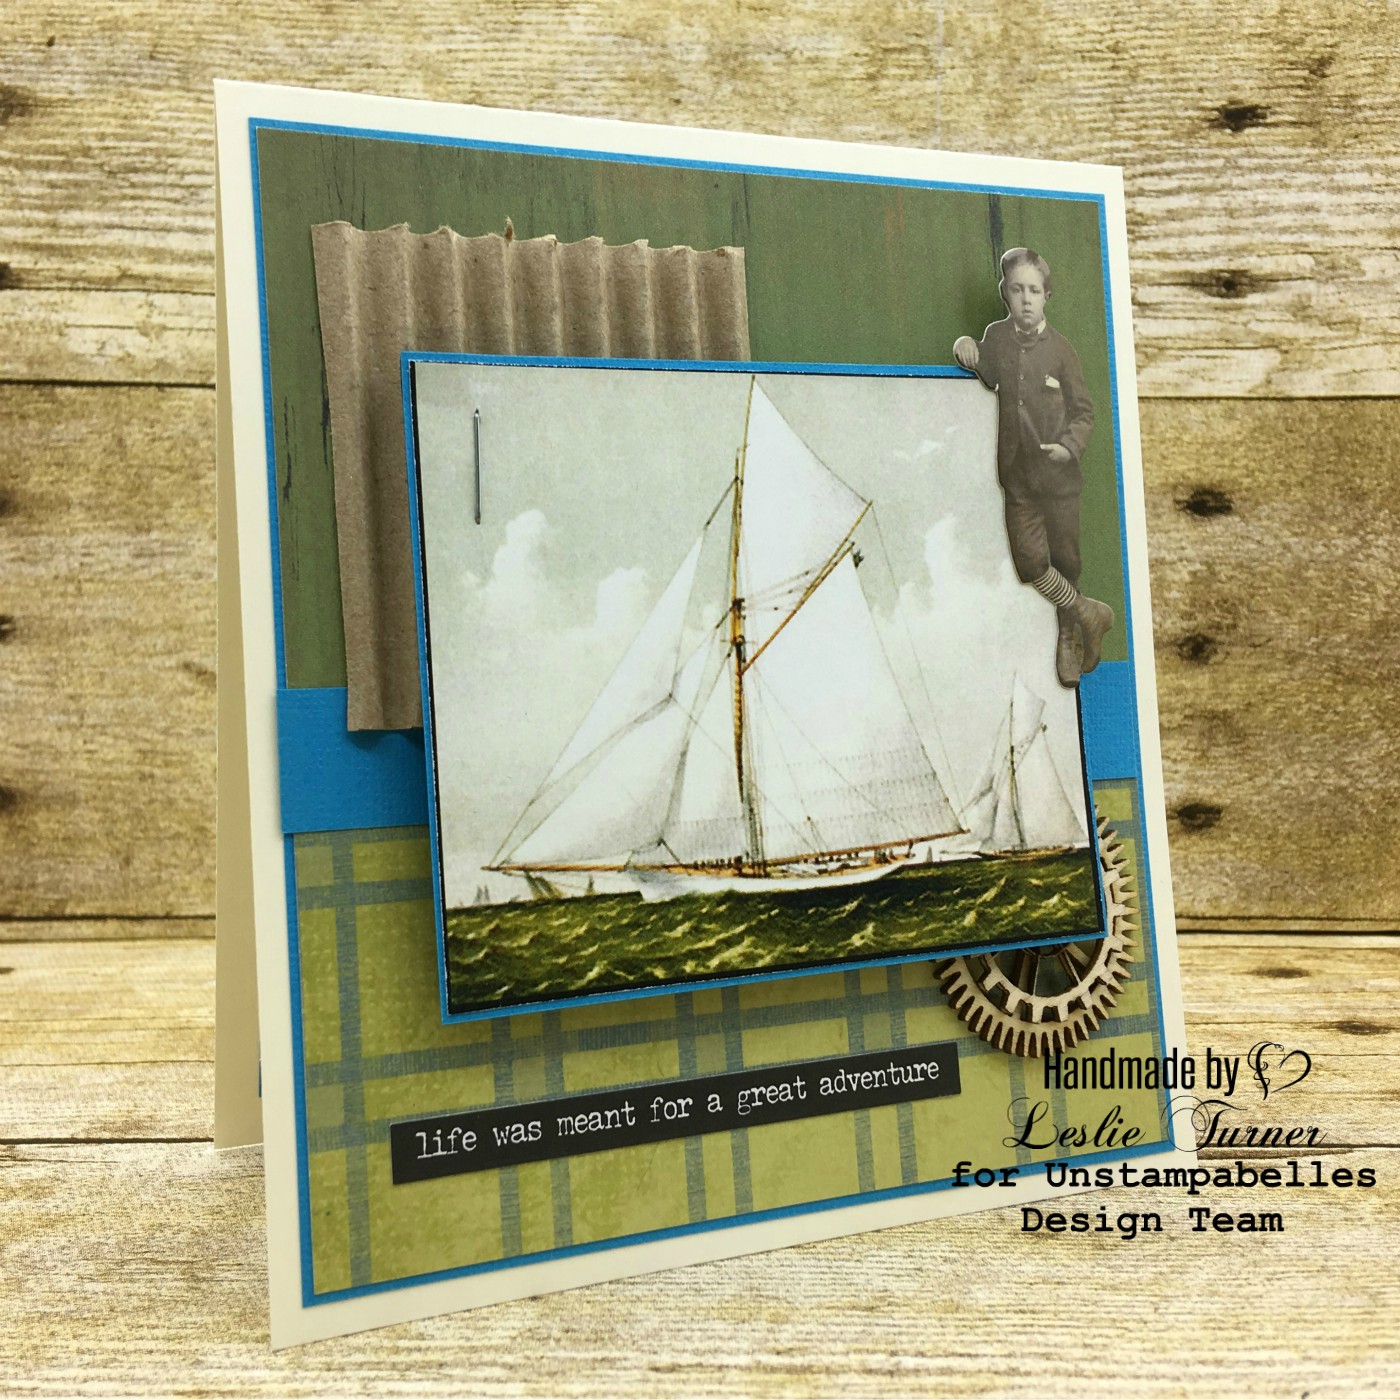
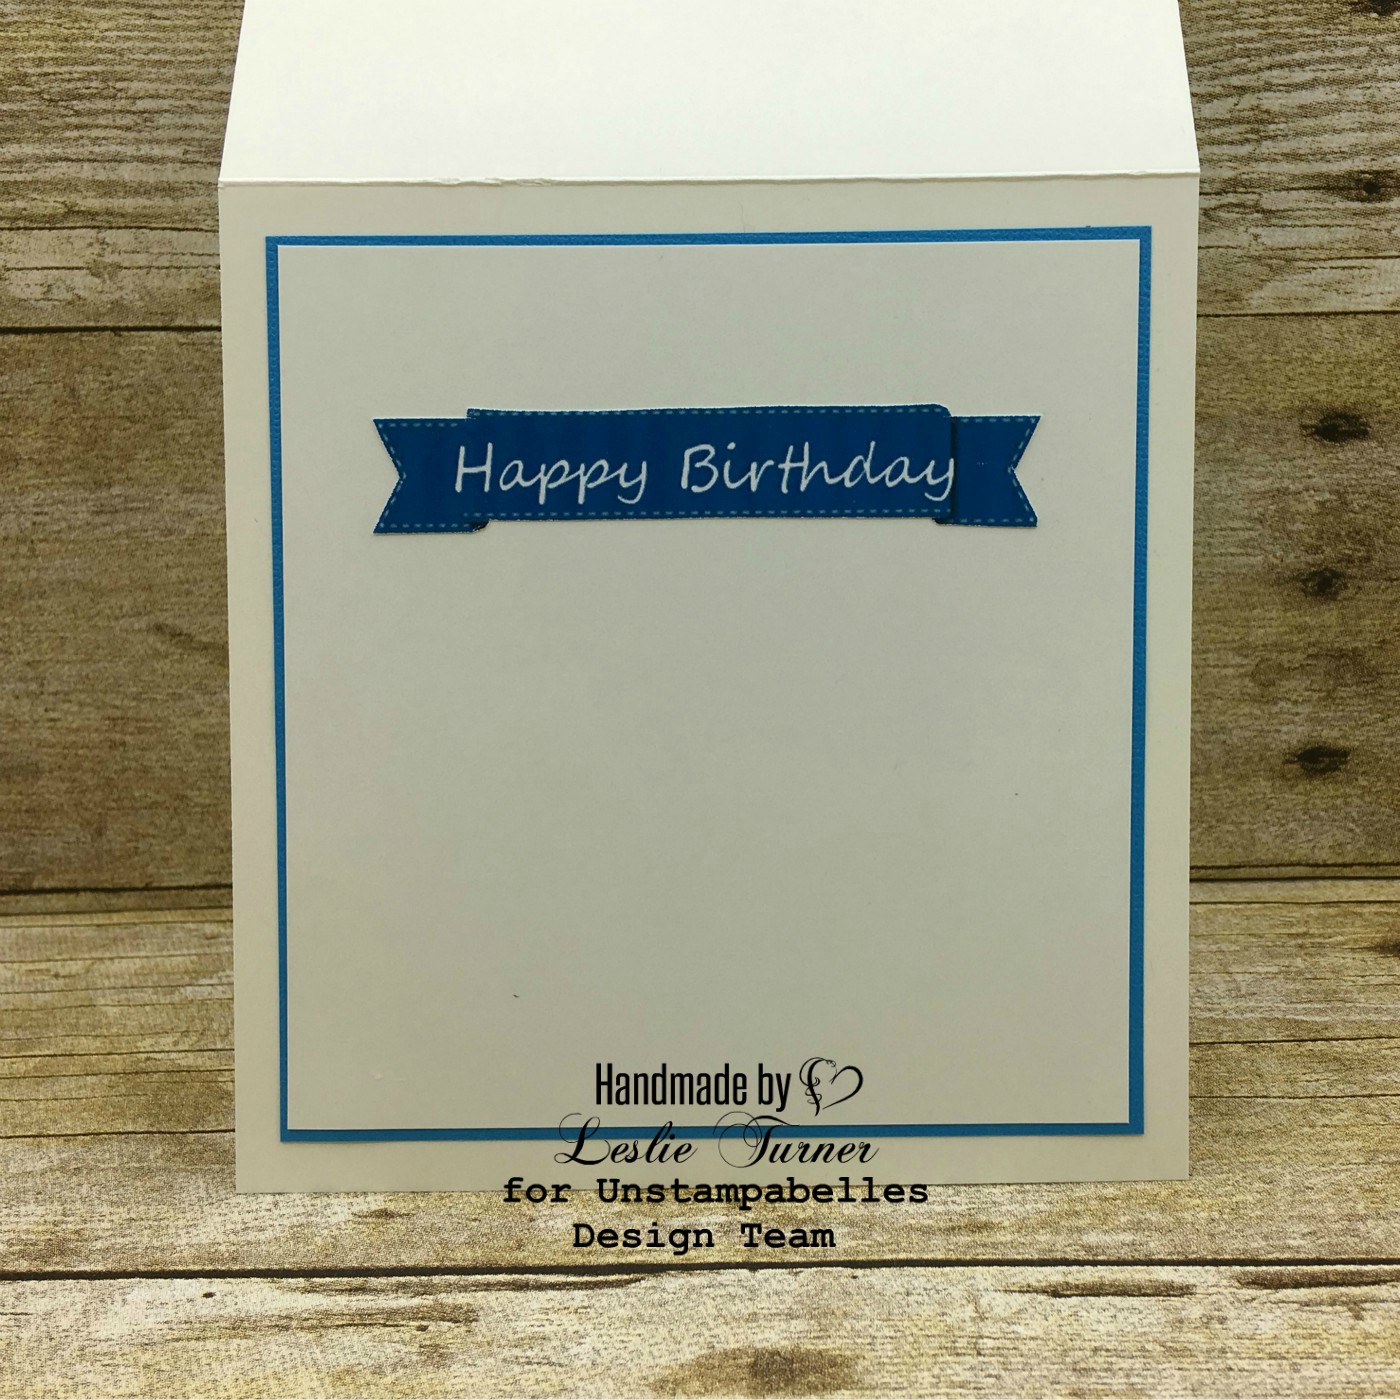
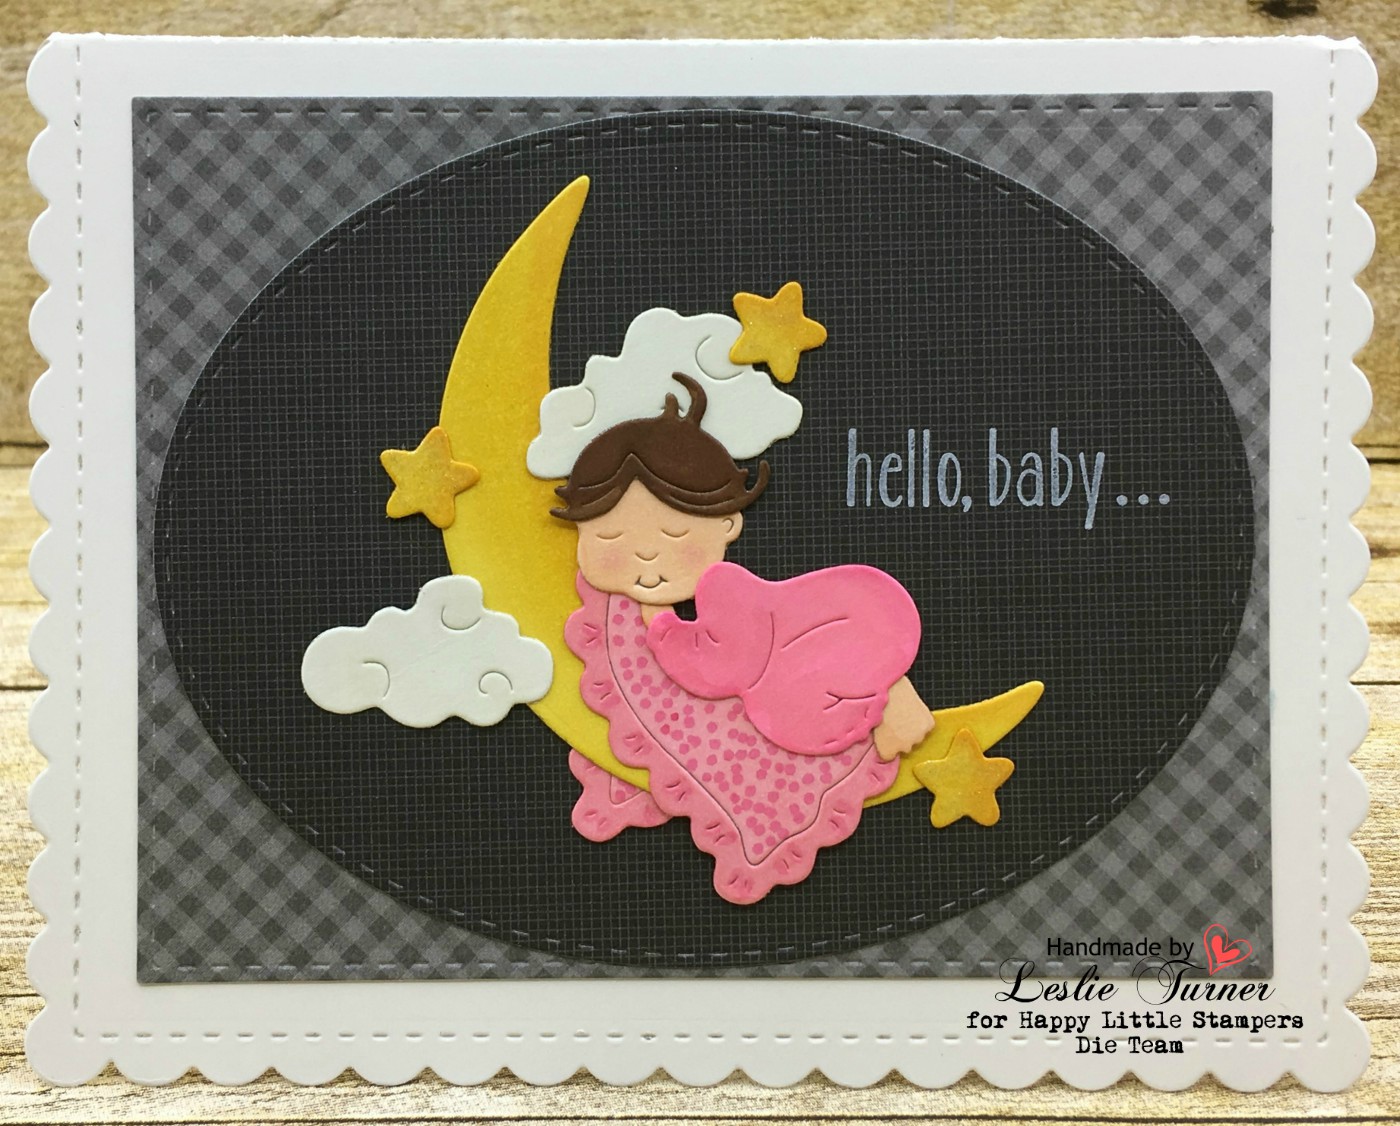
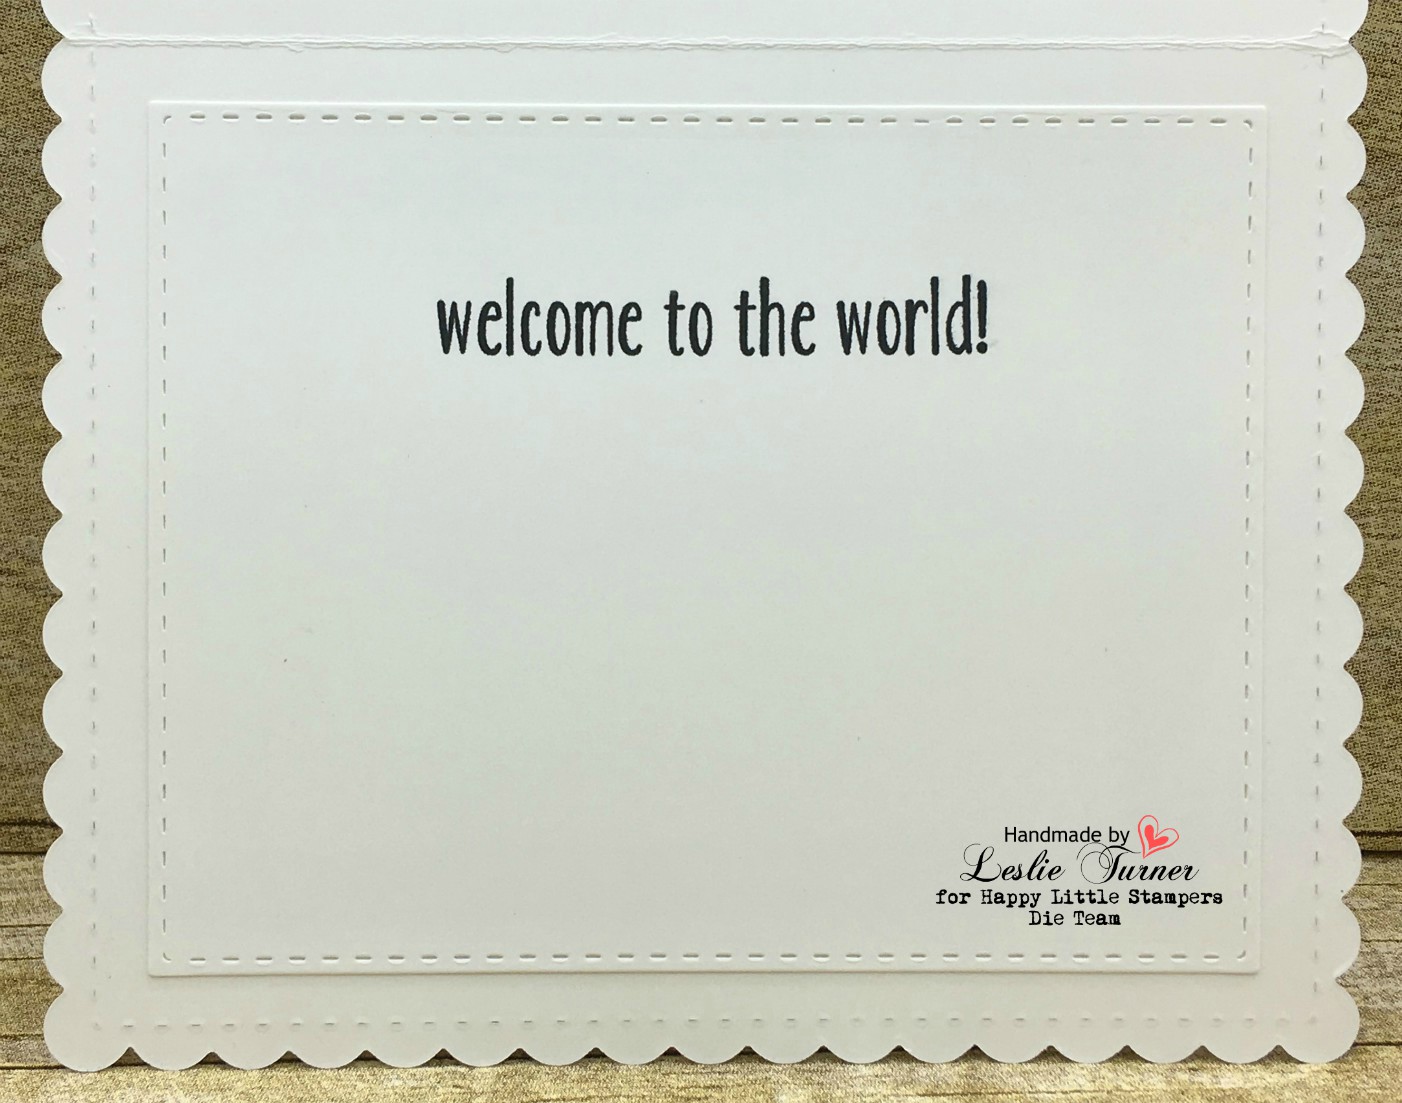
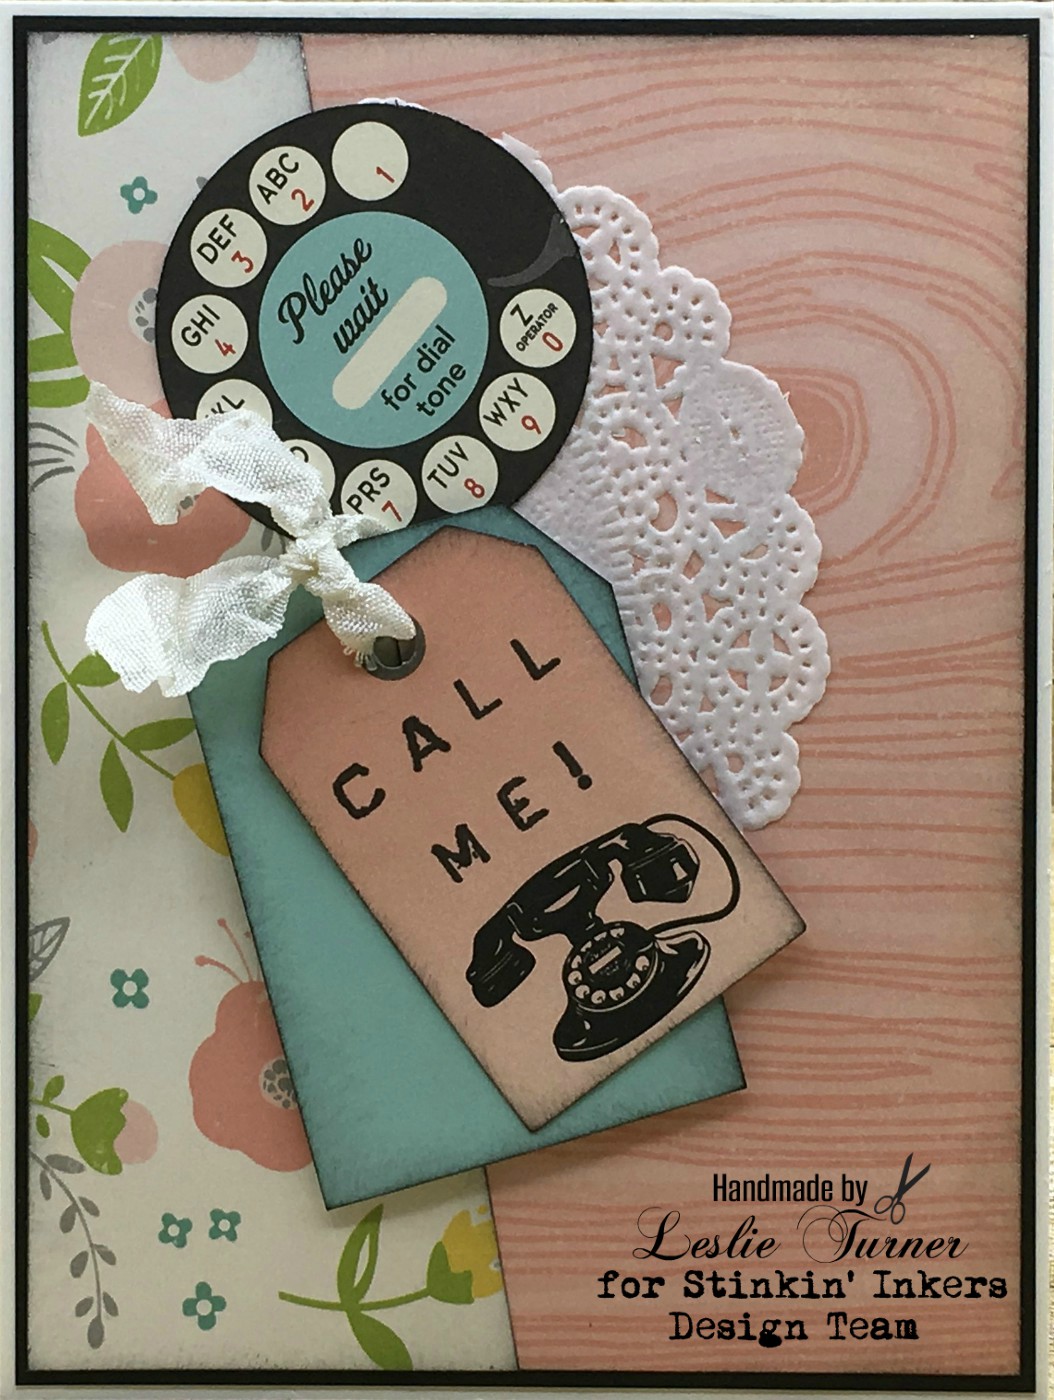
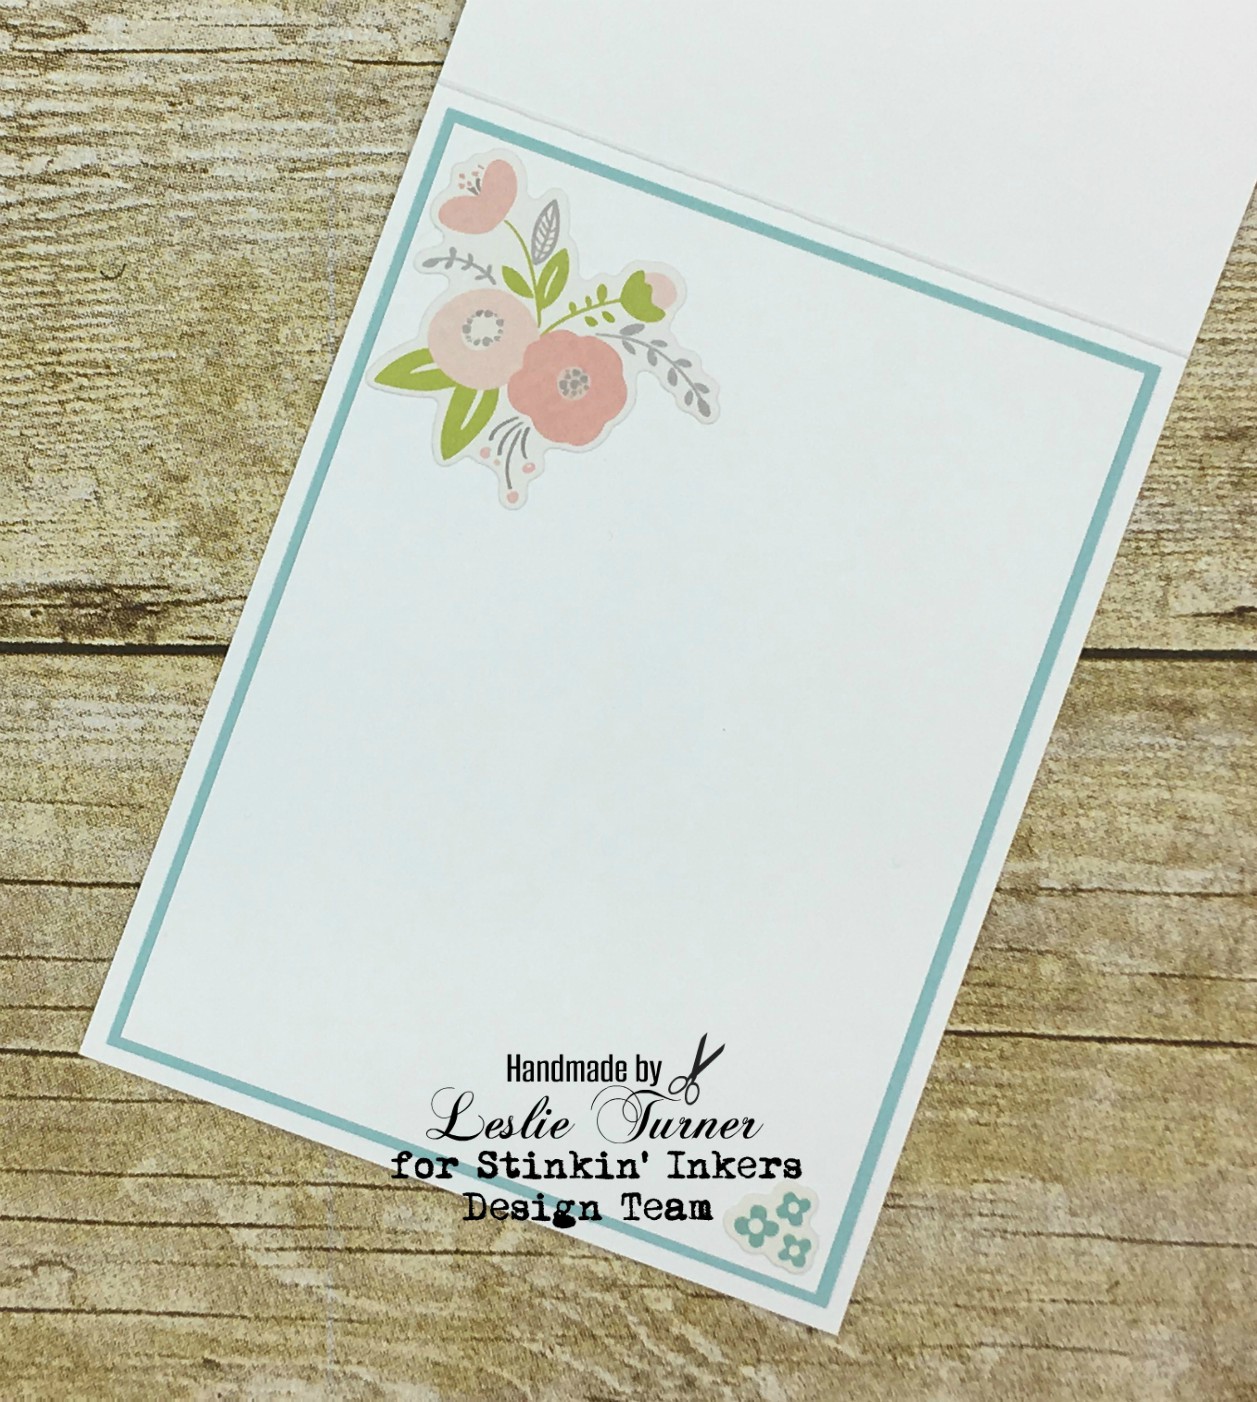
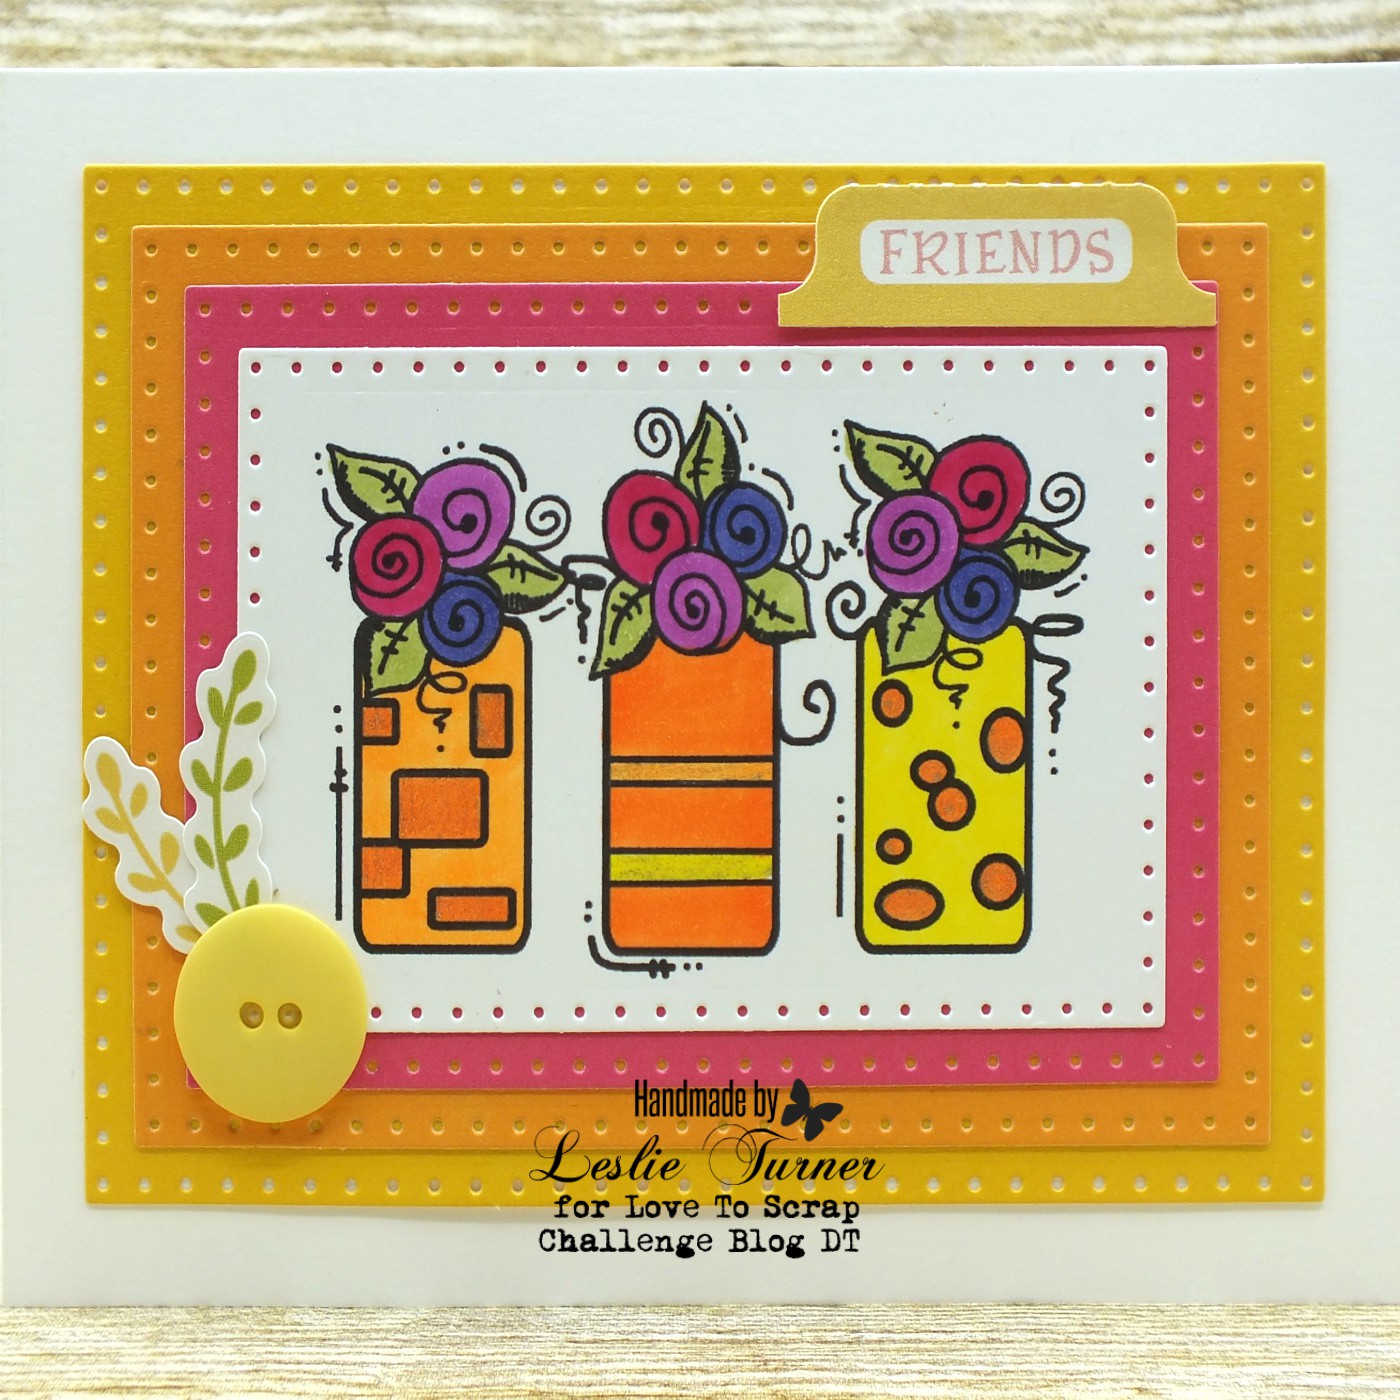
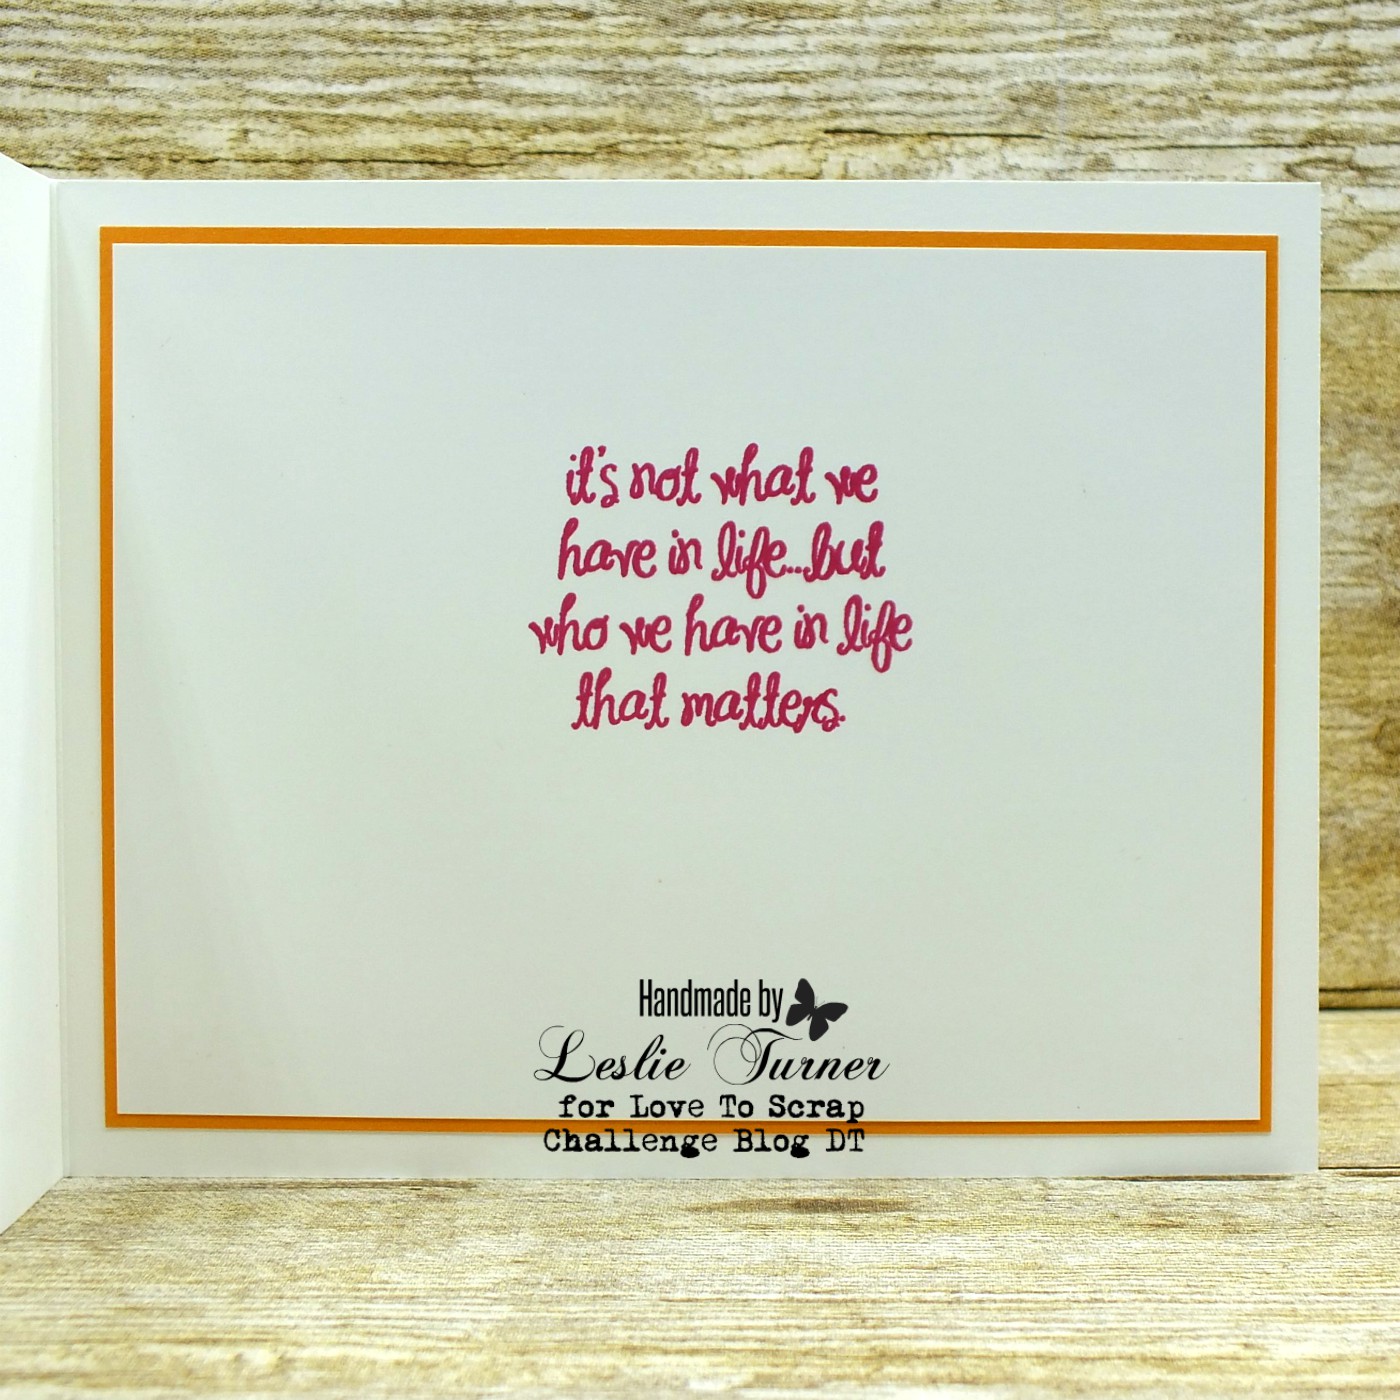
I used two Paper Smooches stamp sets to create the background following the sketch, stamping in neutral colors with just a pop of red. I layered the panel on red cardstock and added a few sequins in keeping with the sketch. I left the inside blank to write a custom sentiment.
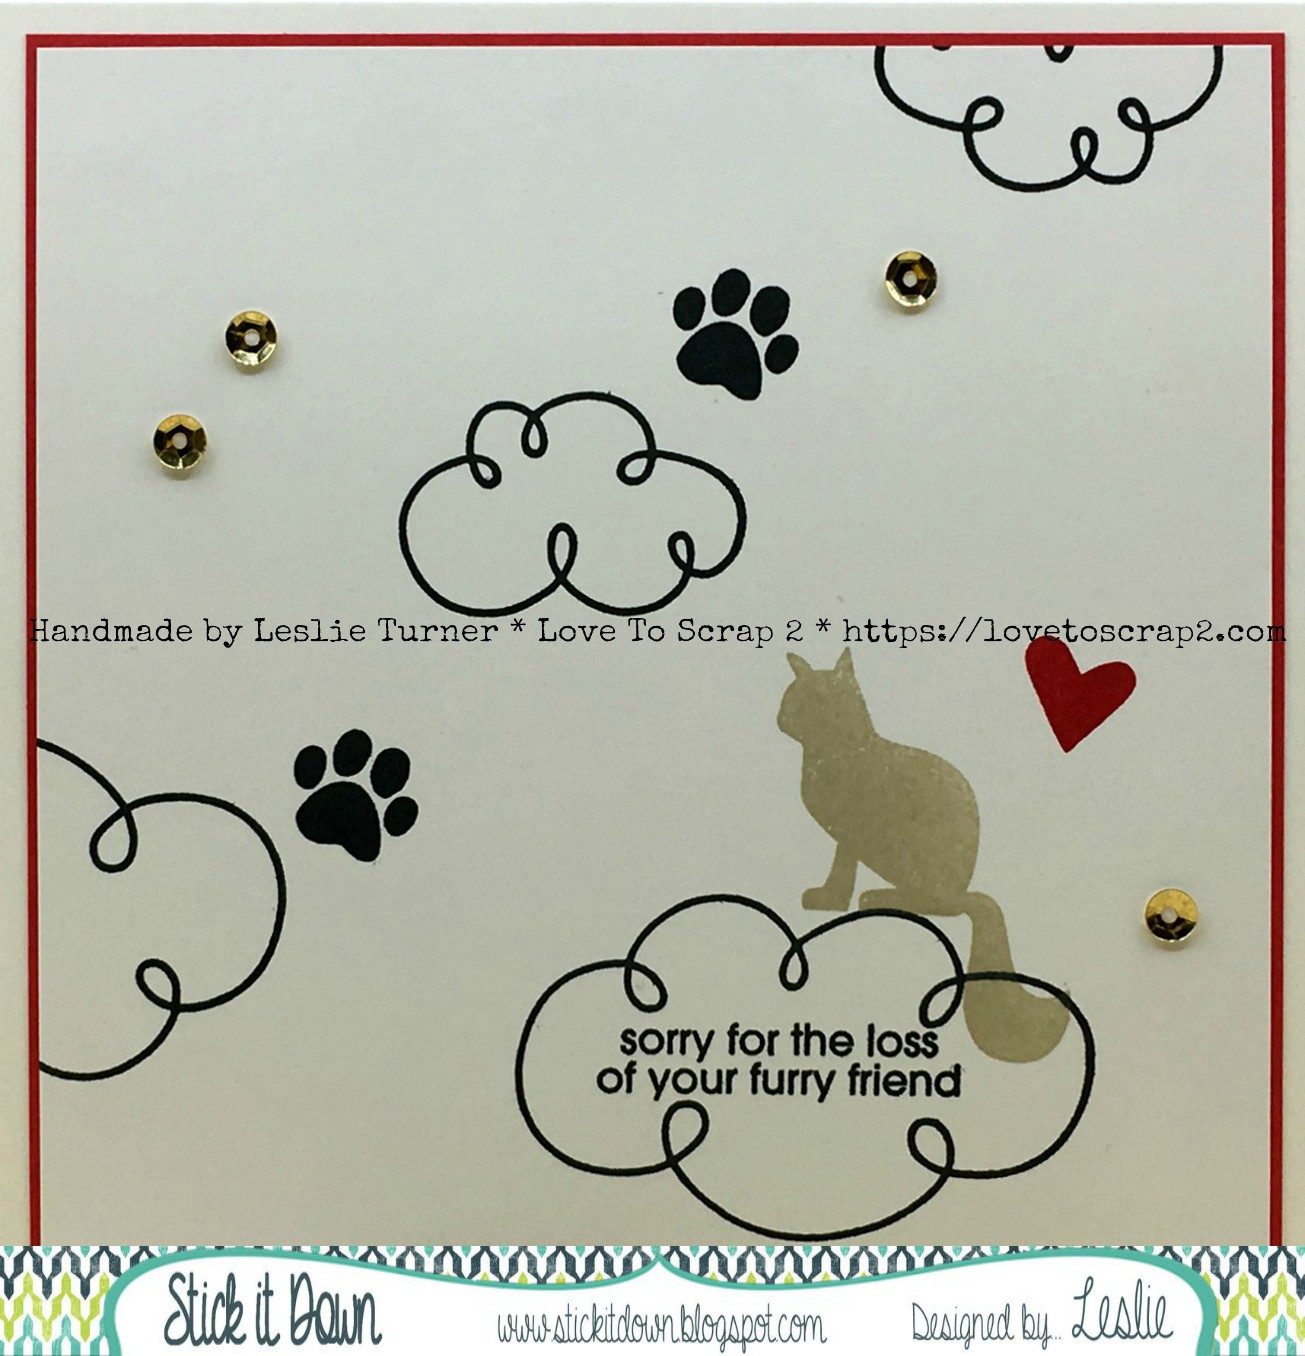
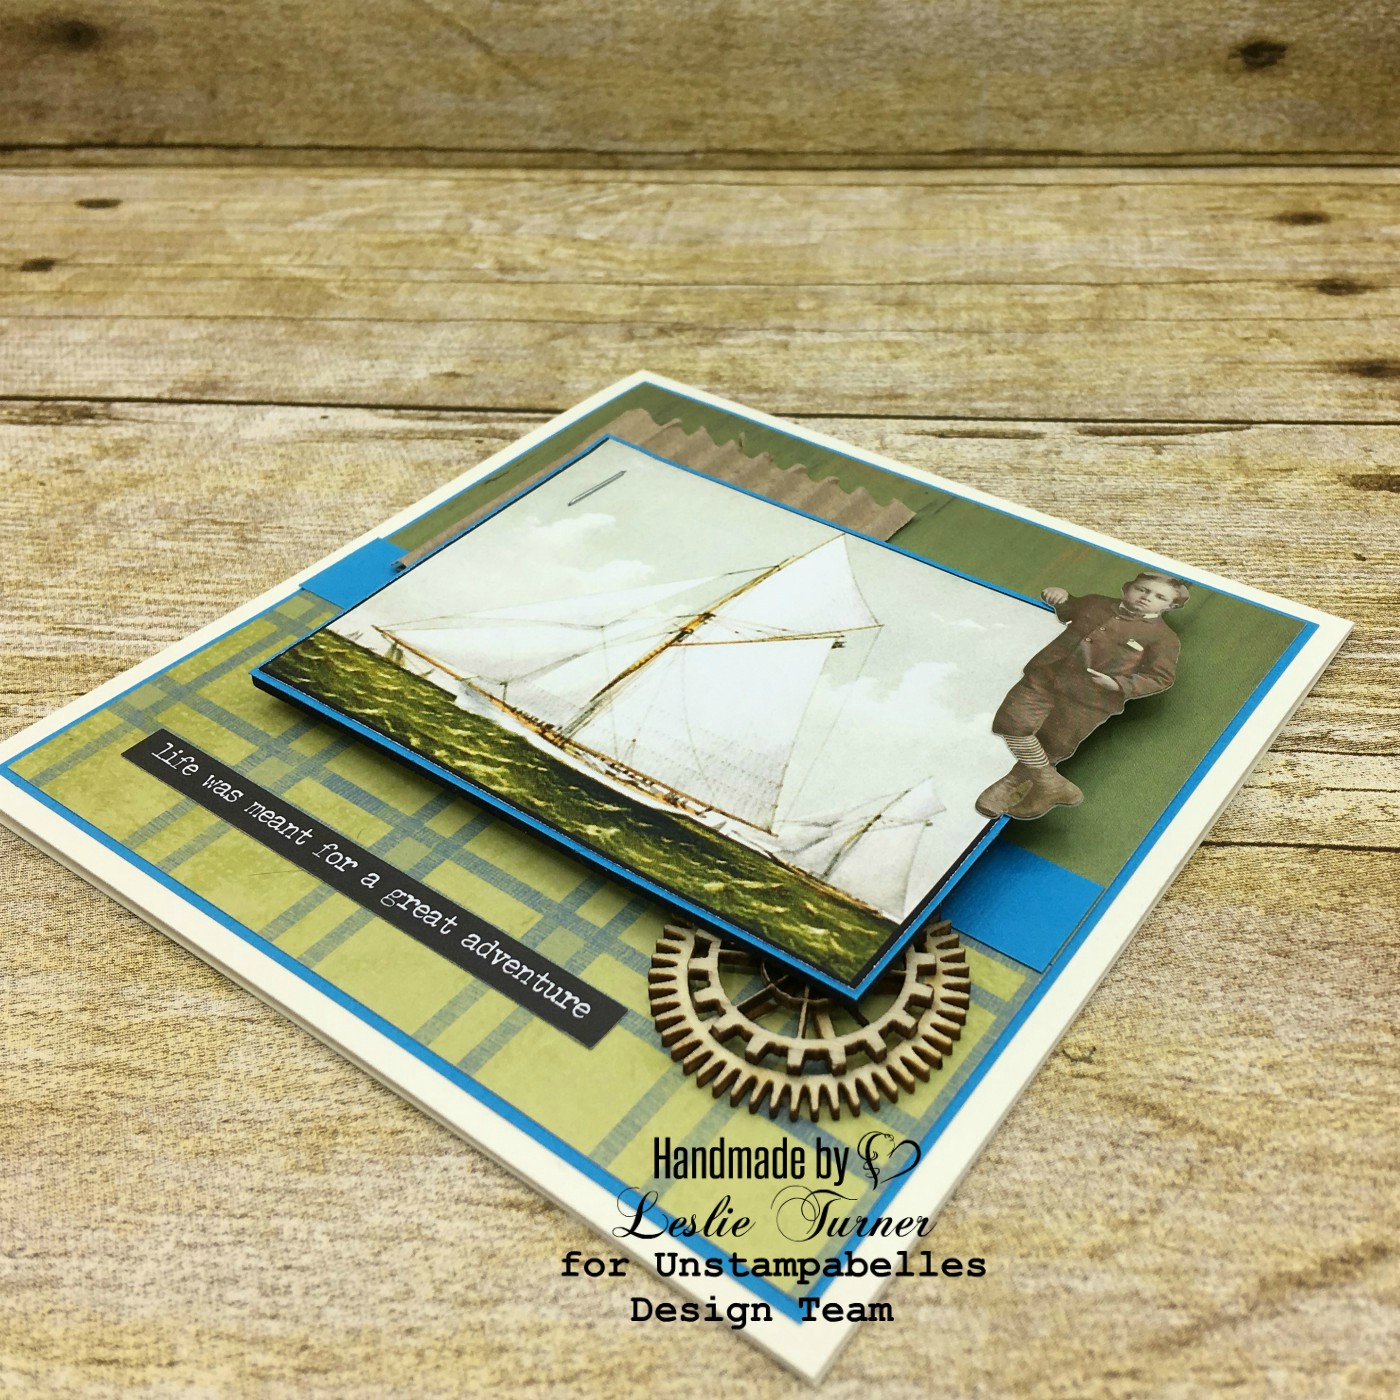
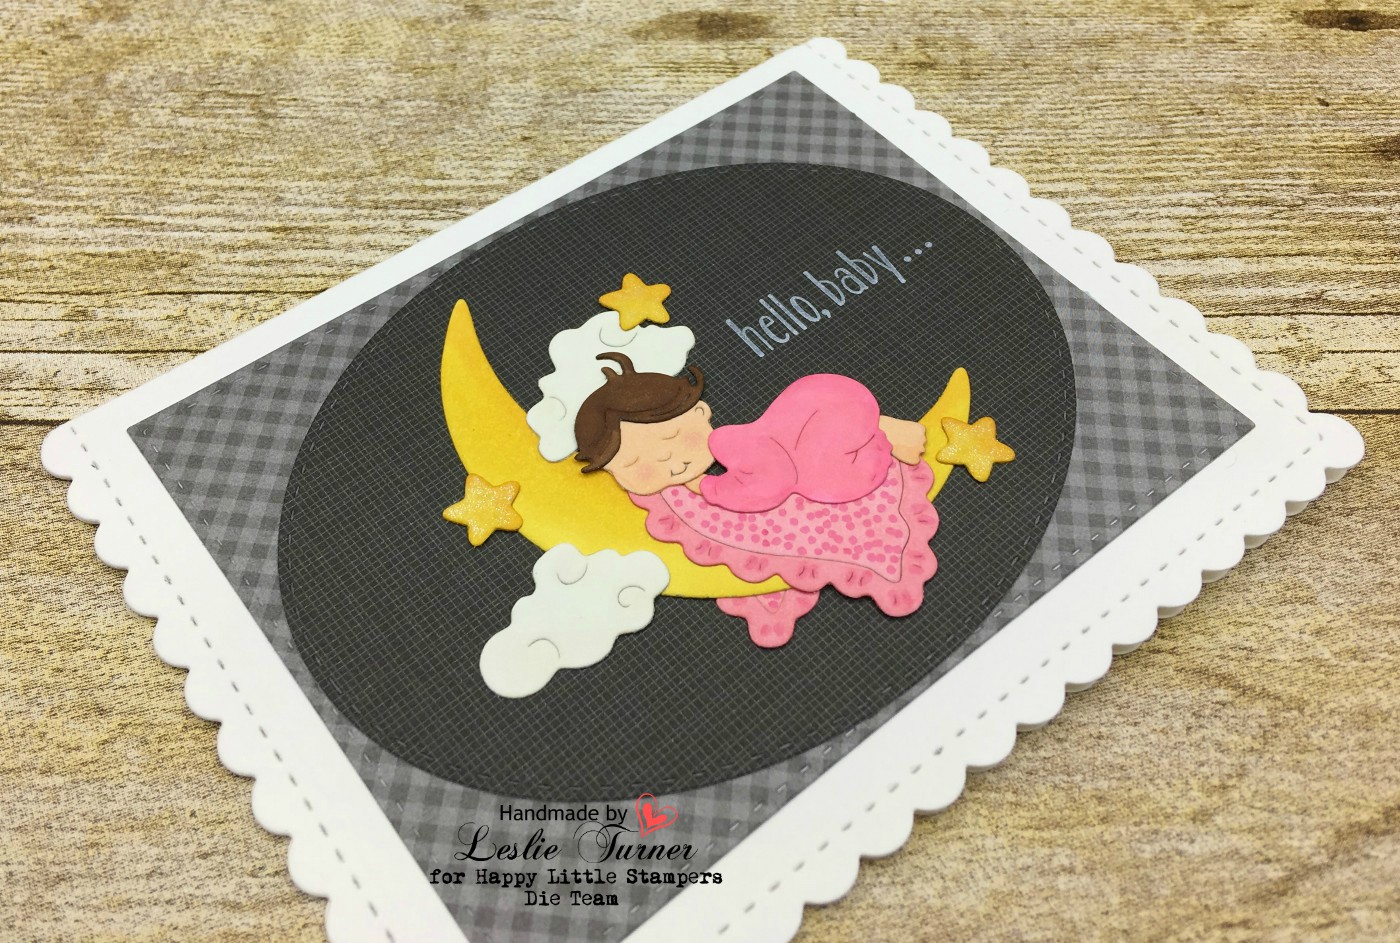
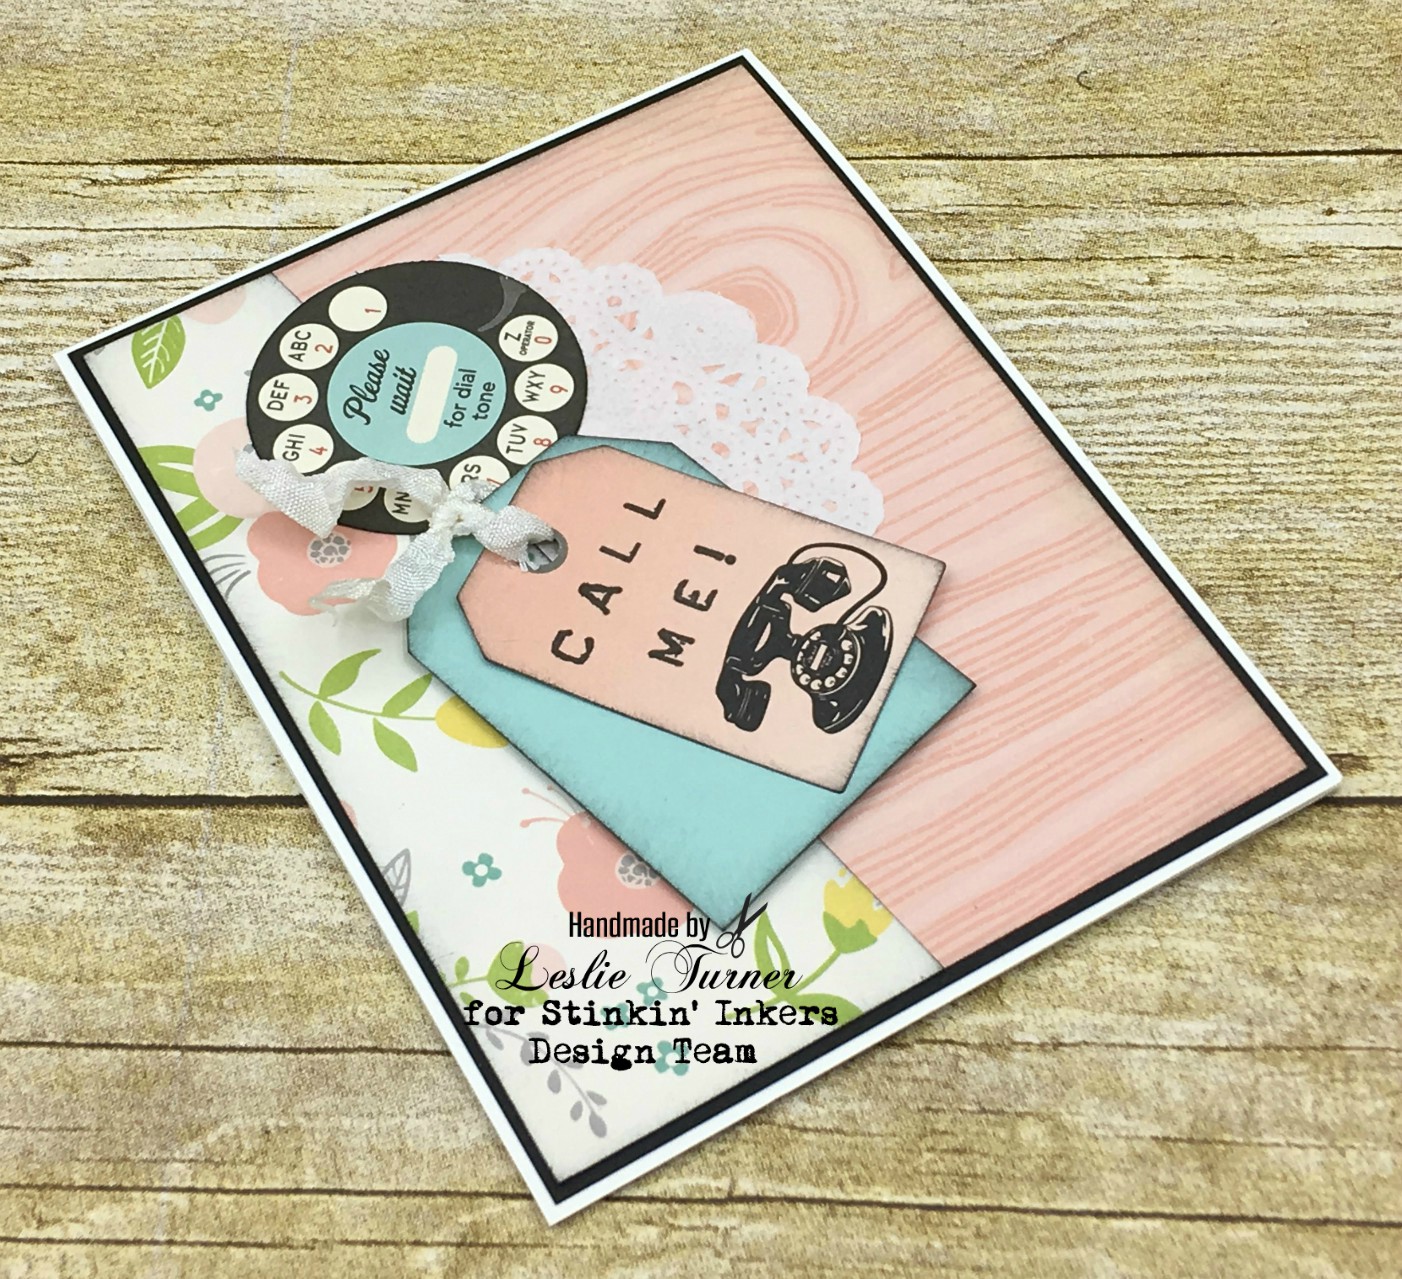
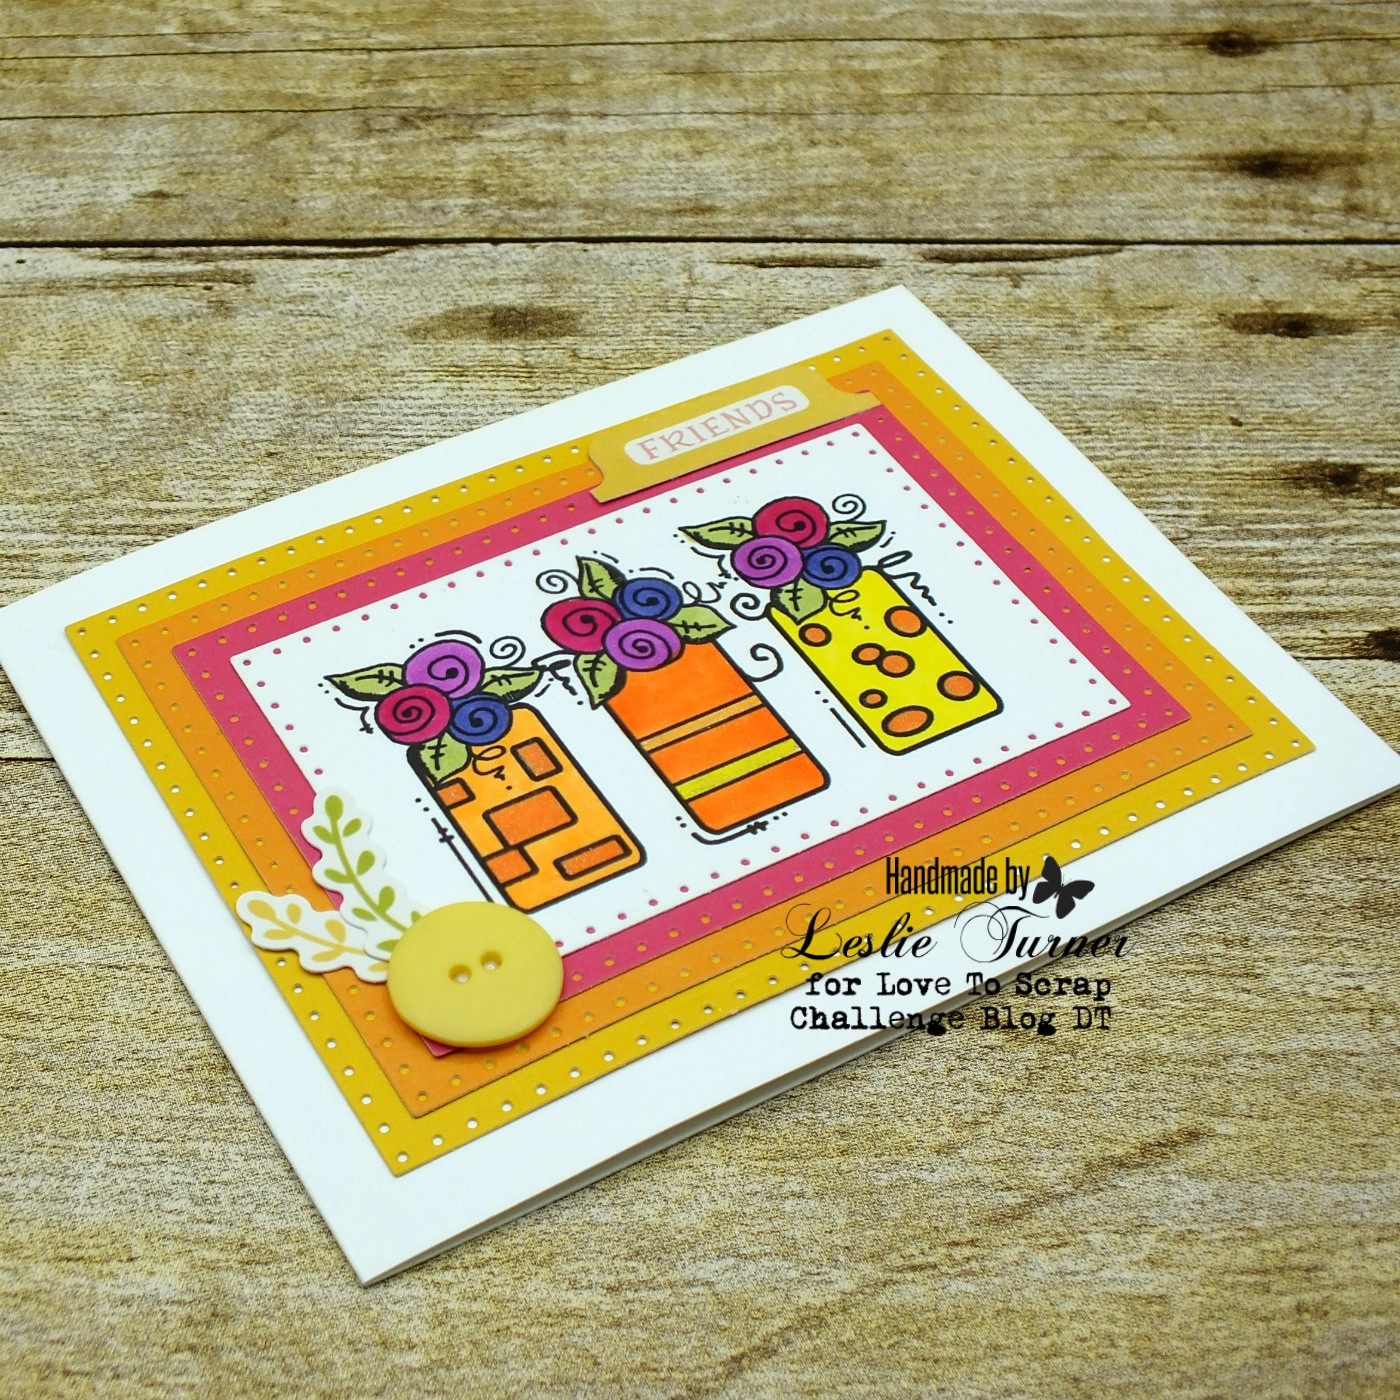
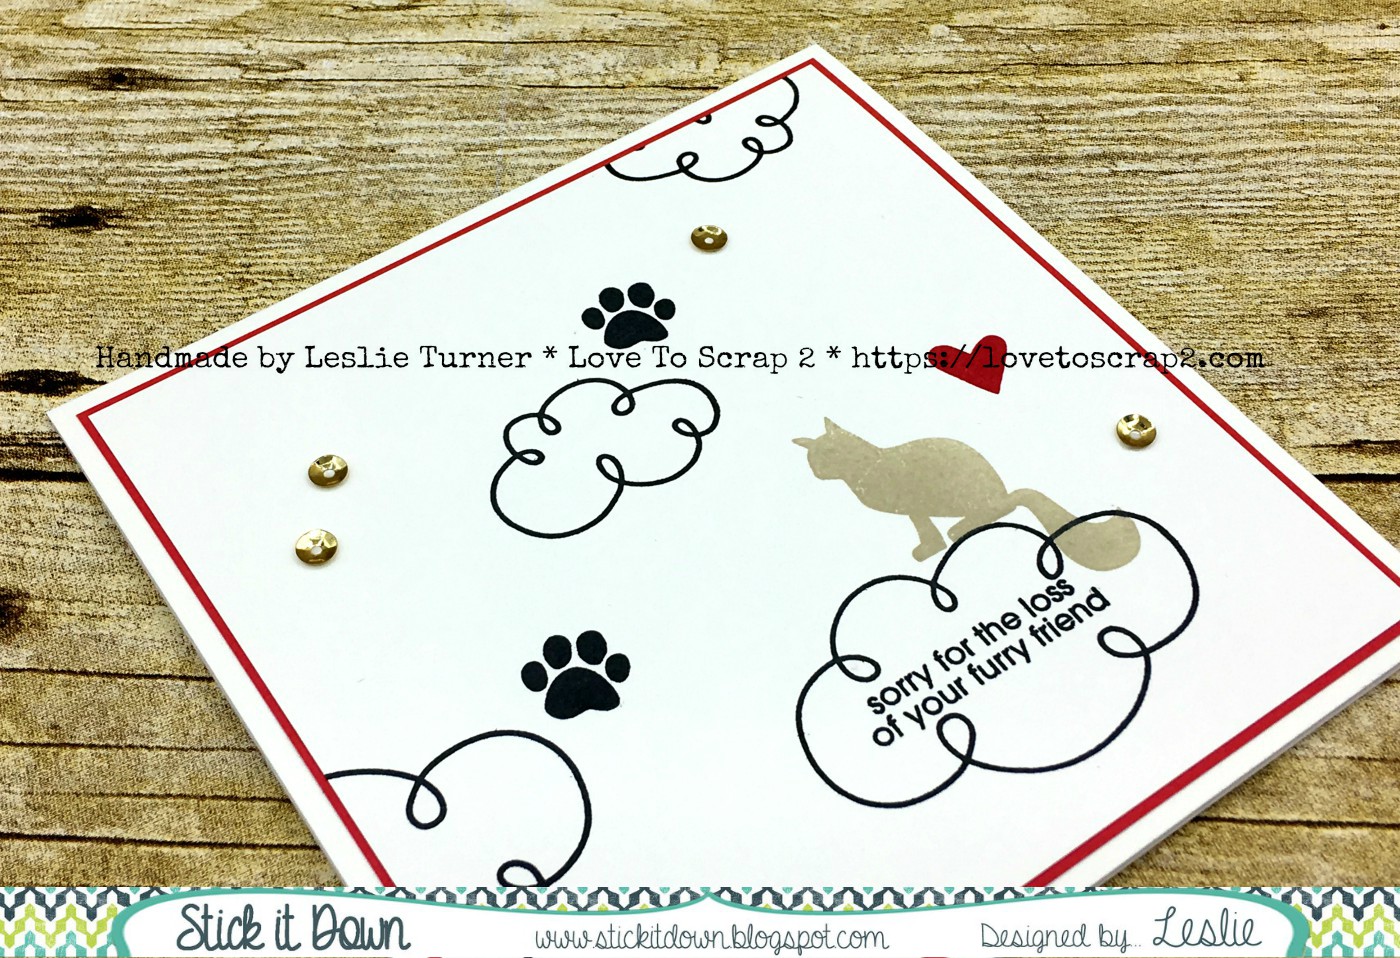
Here’s one more look… love how this turned out!
Products used:
Cardstock/Paper: Stampin’ Up thick and regular Whisper White cardstock, Colorbok Primary Red cardstock
Stamps: Paper Smooches Cosmos and Feline Friends stamp sets
Ink: Memento Tuxedo Black ink, Stampin’ Up Sahara Sand and Real Red ink
Accessories: Tim Holtz Stamp Platform, Darice 5mm Gold Sequins
I hope you’ve enjoyed today’s project and will link up with us! Feel free to play along with the double page or single page sketch if you’re a scrapbook layout designer, or the card sketch if you’re a card maker! You have until the end of the month to play and we’d love to see what you create! Be sure to check out all the fun goodies at Allie’s Scrap Shop! Thanks so much for stopping by today – we’ll see you next time! ;)
Scrappy hugs,