Hi everyone! As you know, the Love To Scrap Challenge Blog is turning six this month, and to celebrate, we’re hosting a Sixth Birthday Blog Hop & Challenge lasting six days, with six sponsors and six prizes! Be sure to visit the blog to check out all the details! I’m showcasing each of my blog hop projects individually so I can enjoy sharing them in some challenges.
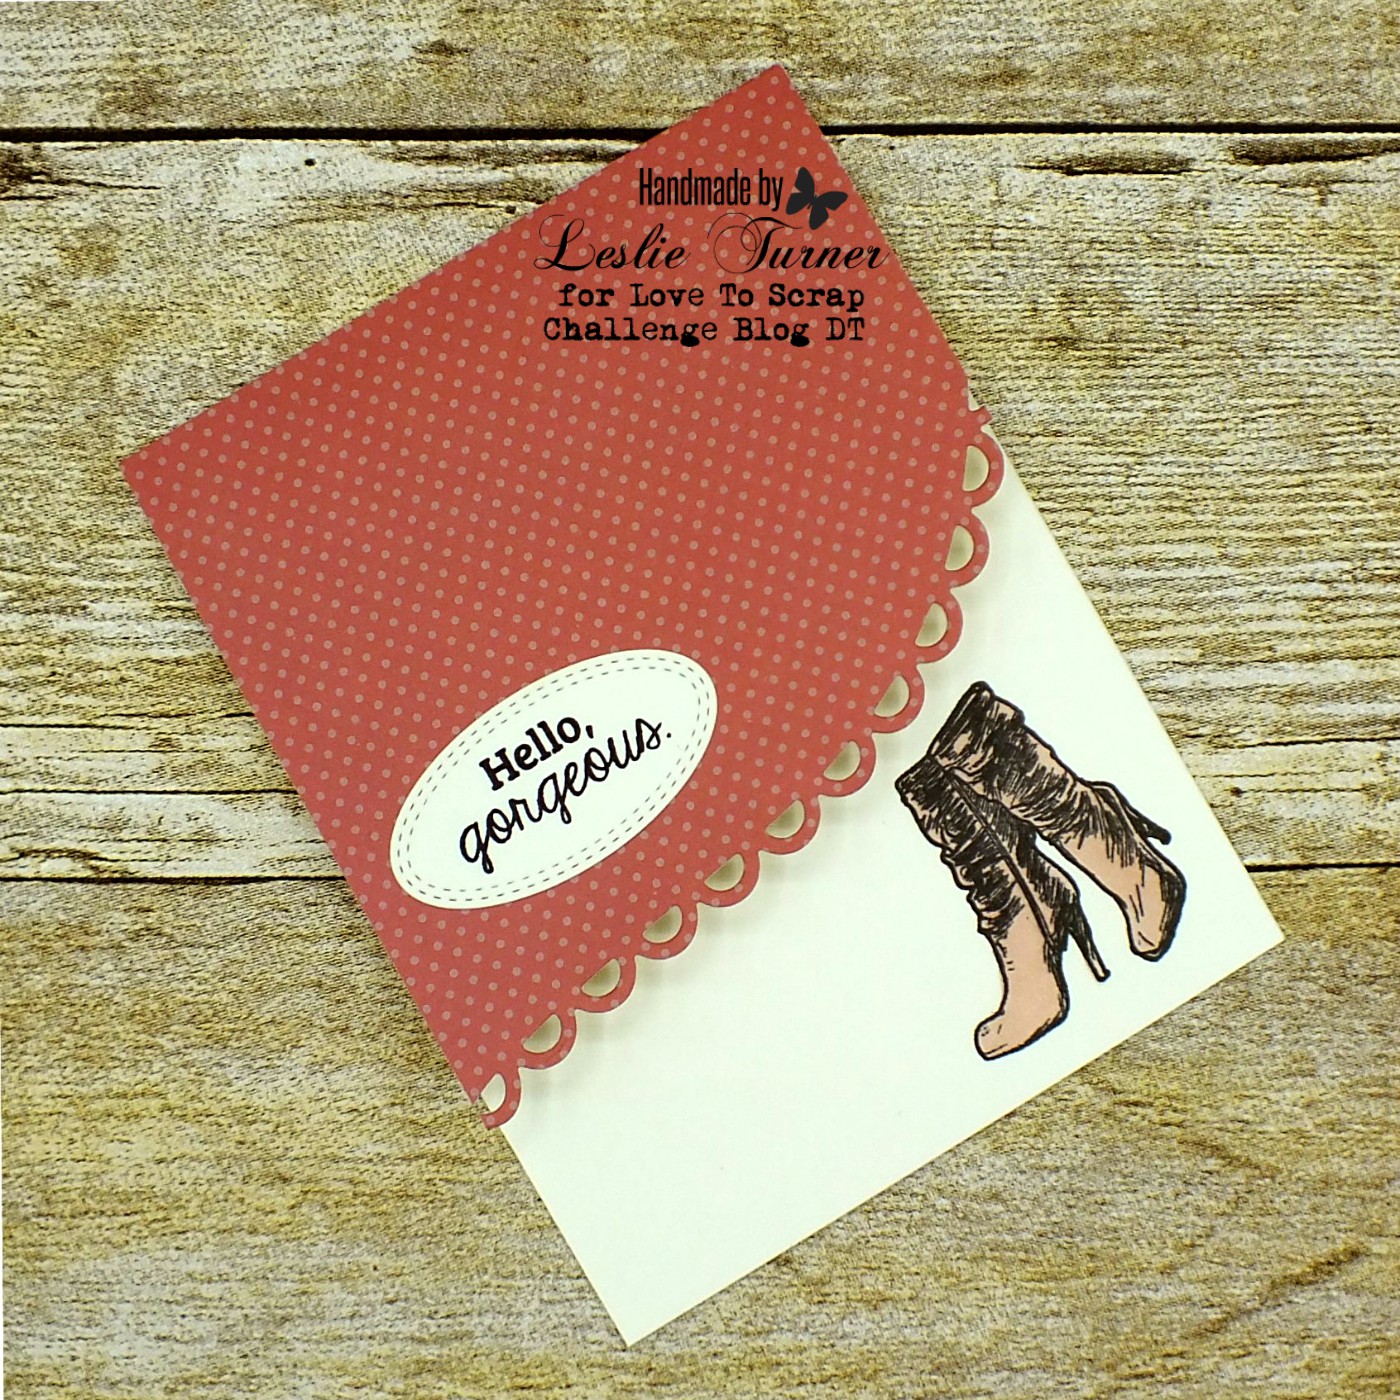
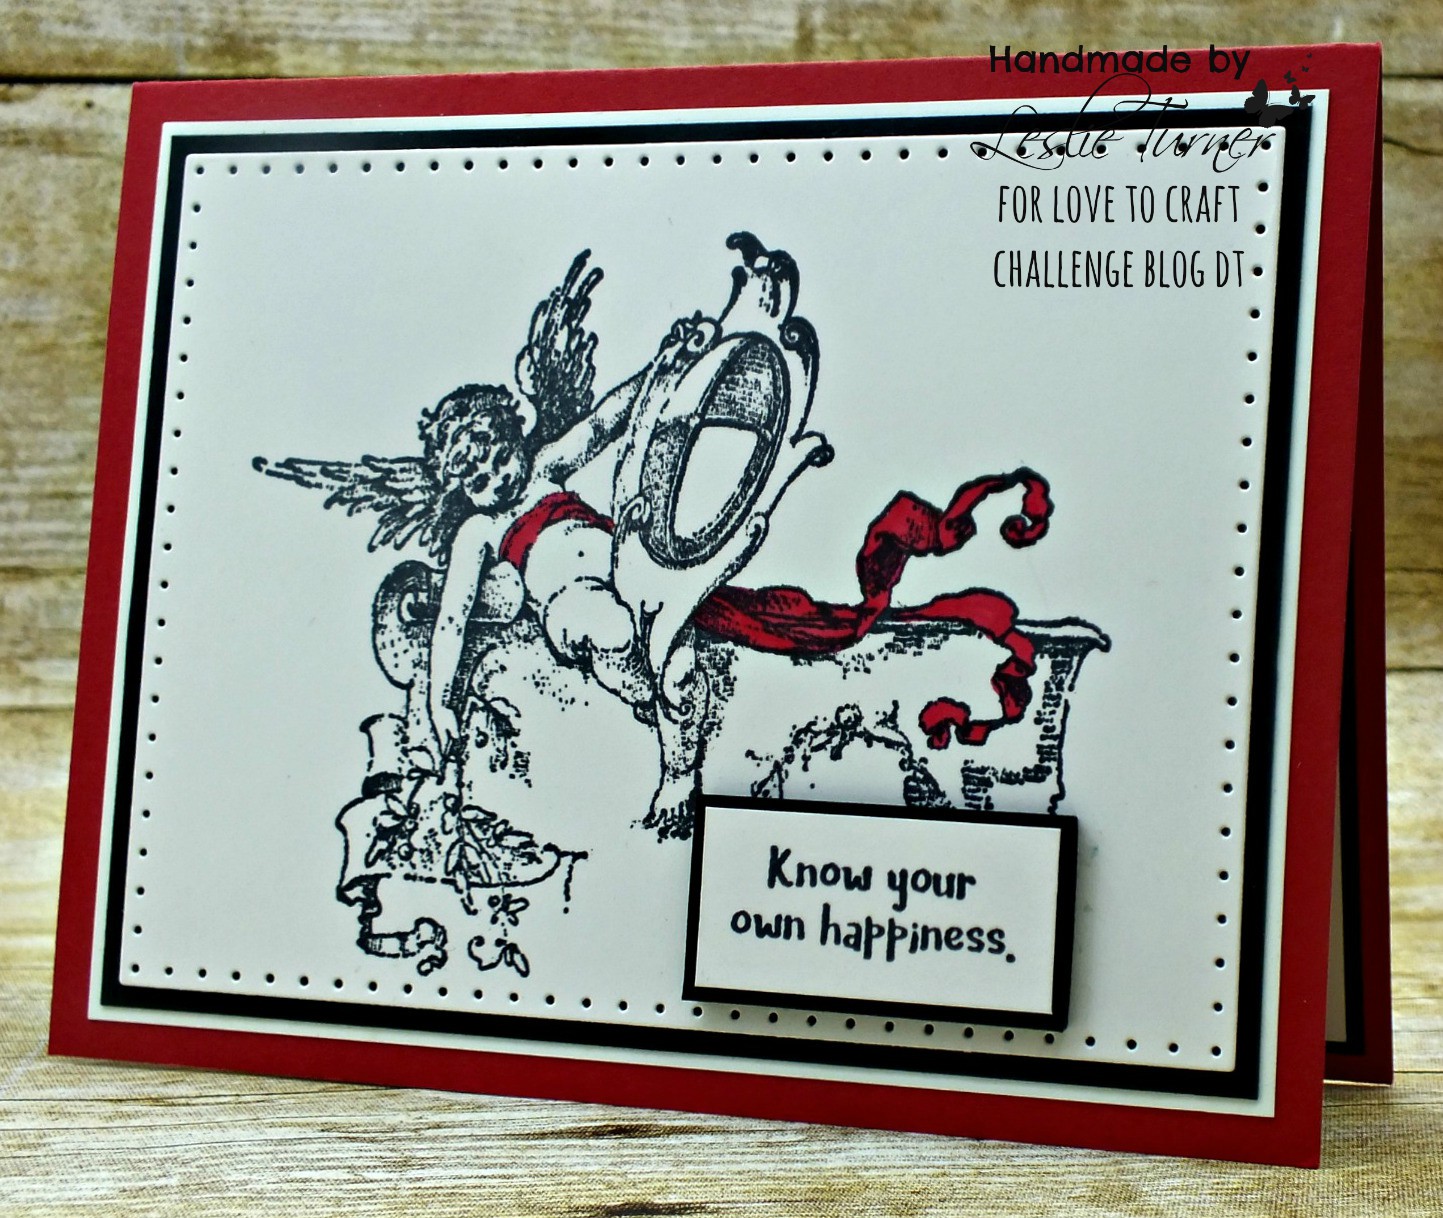
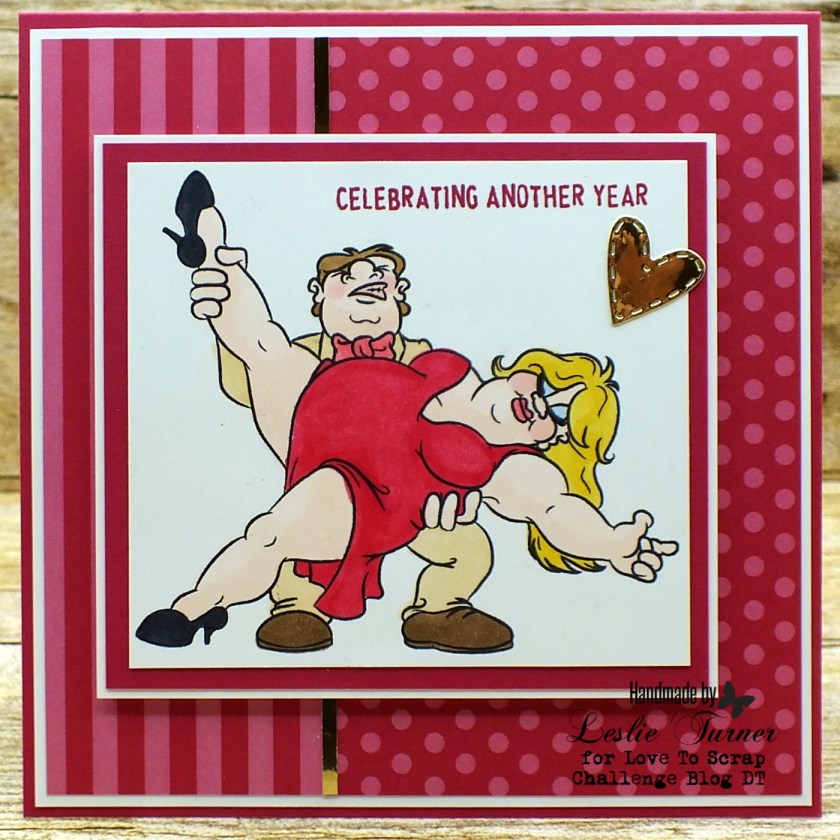
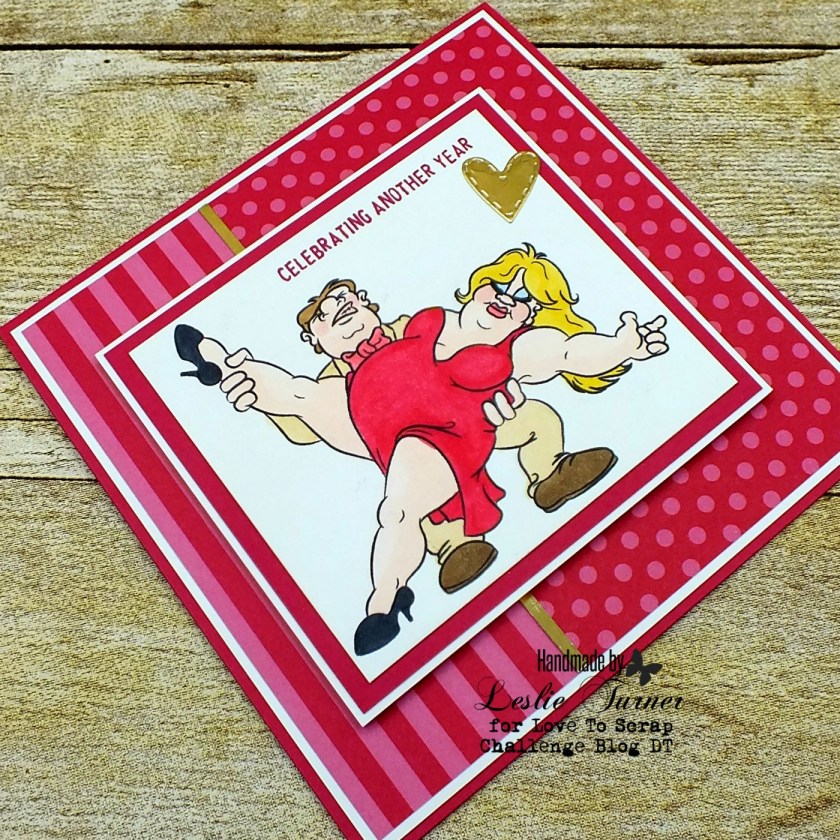
Another blog hop project I’d like to share is an anniversary card I created using the super awesome Ballroom Brenda digital image from Dr. Digi’s House of Stamps! John never disappoints with his humor! I colored this image with my Studio 71 alcohol markers and added a sentiment and a gold heart die cut directly on the image panel.
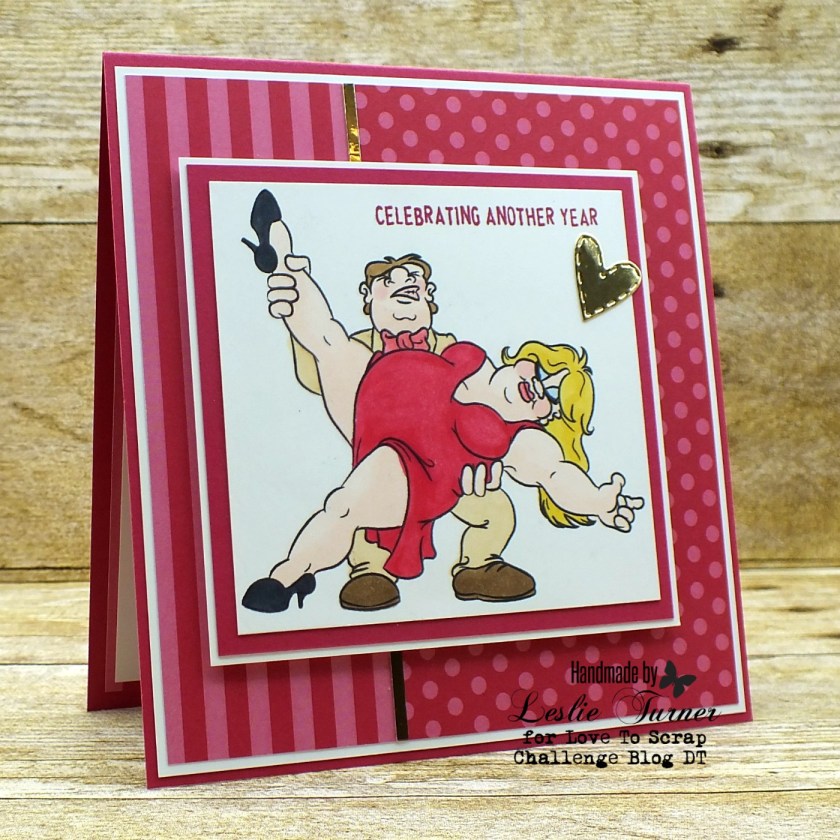
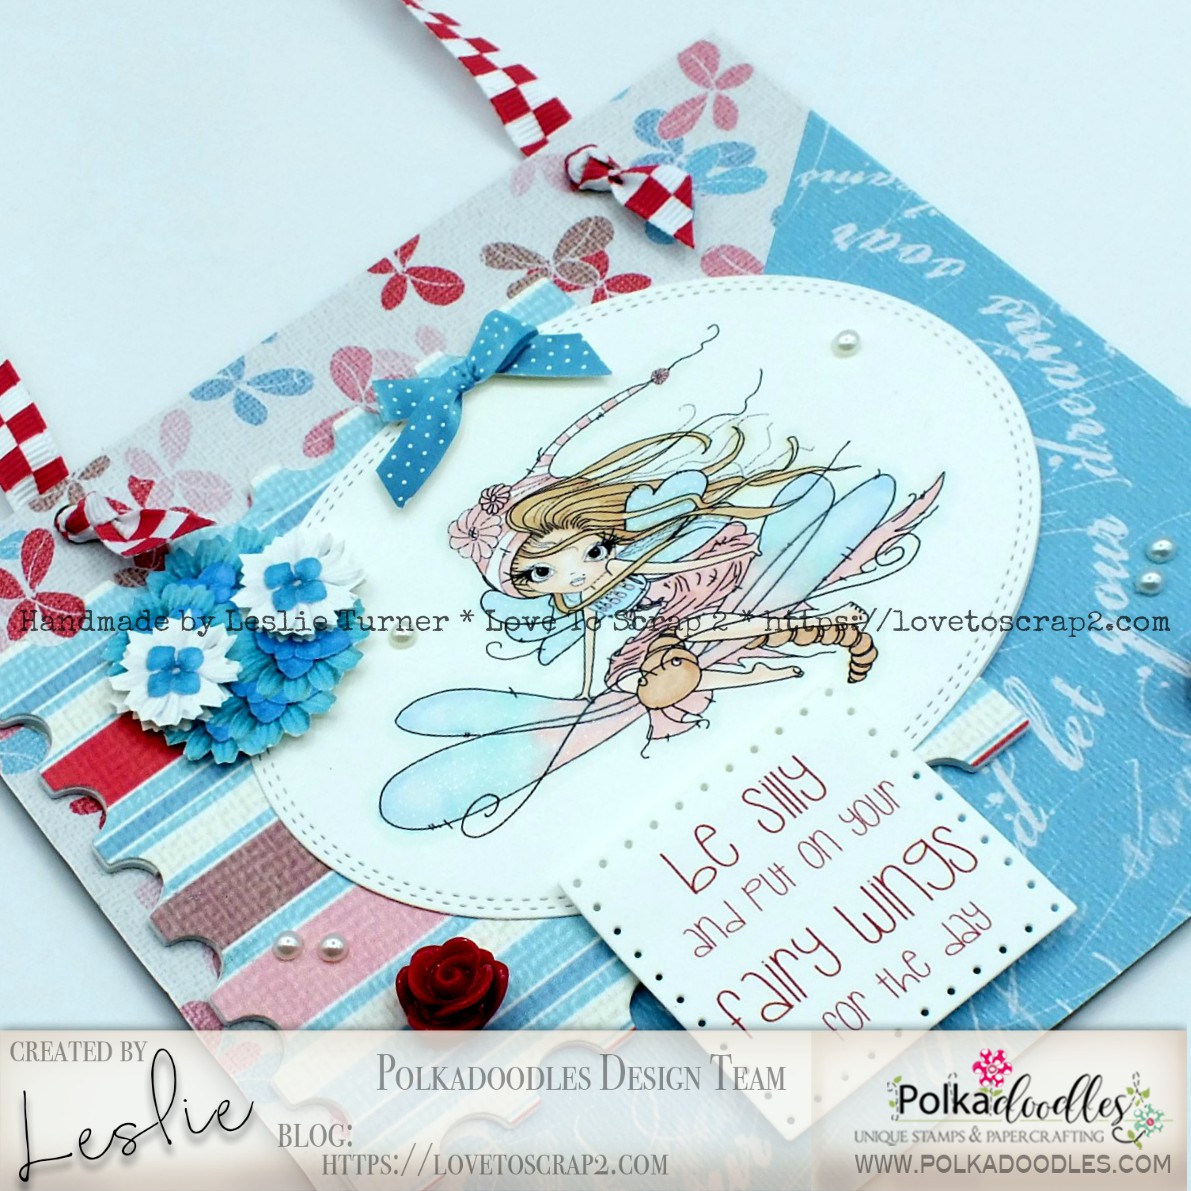
I used coordinating striped and dotted papers layered on pink and white cardstock along with an added narrow strip of the gold mirror cardstock to compliment the gold heart.
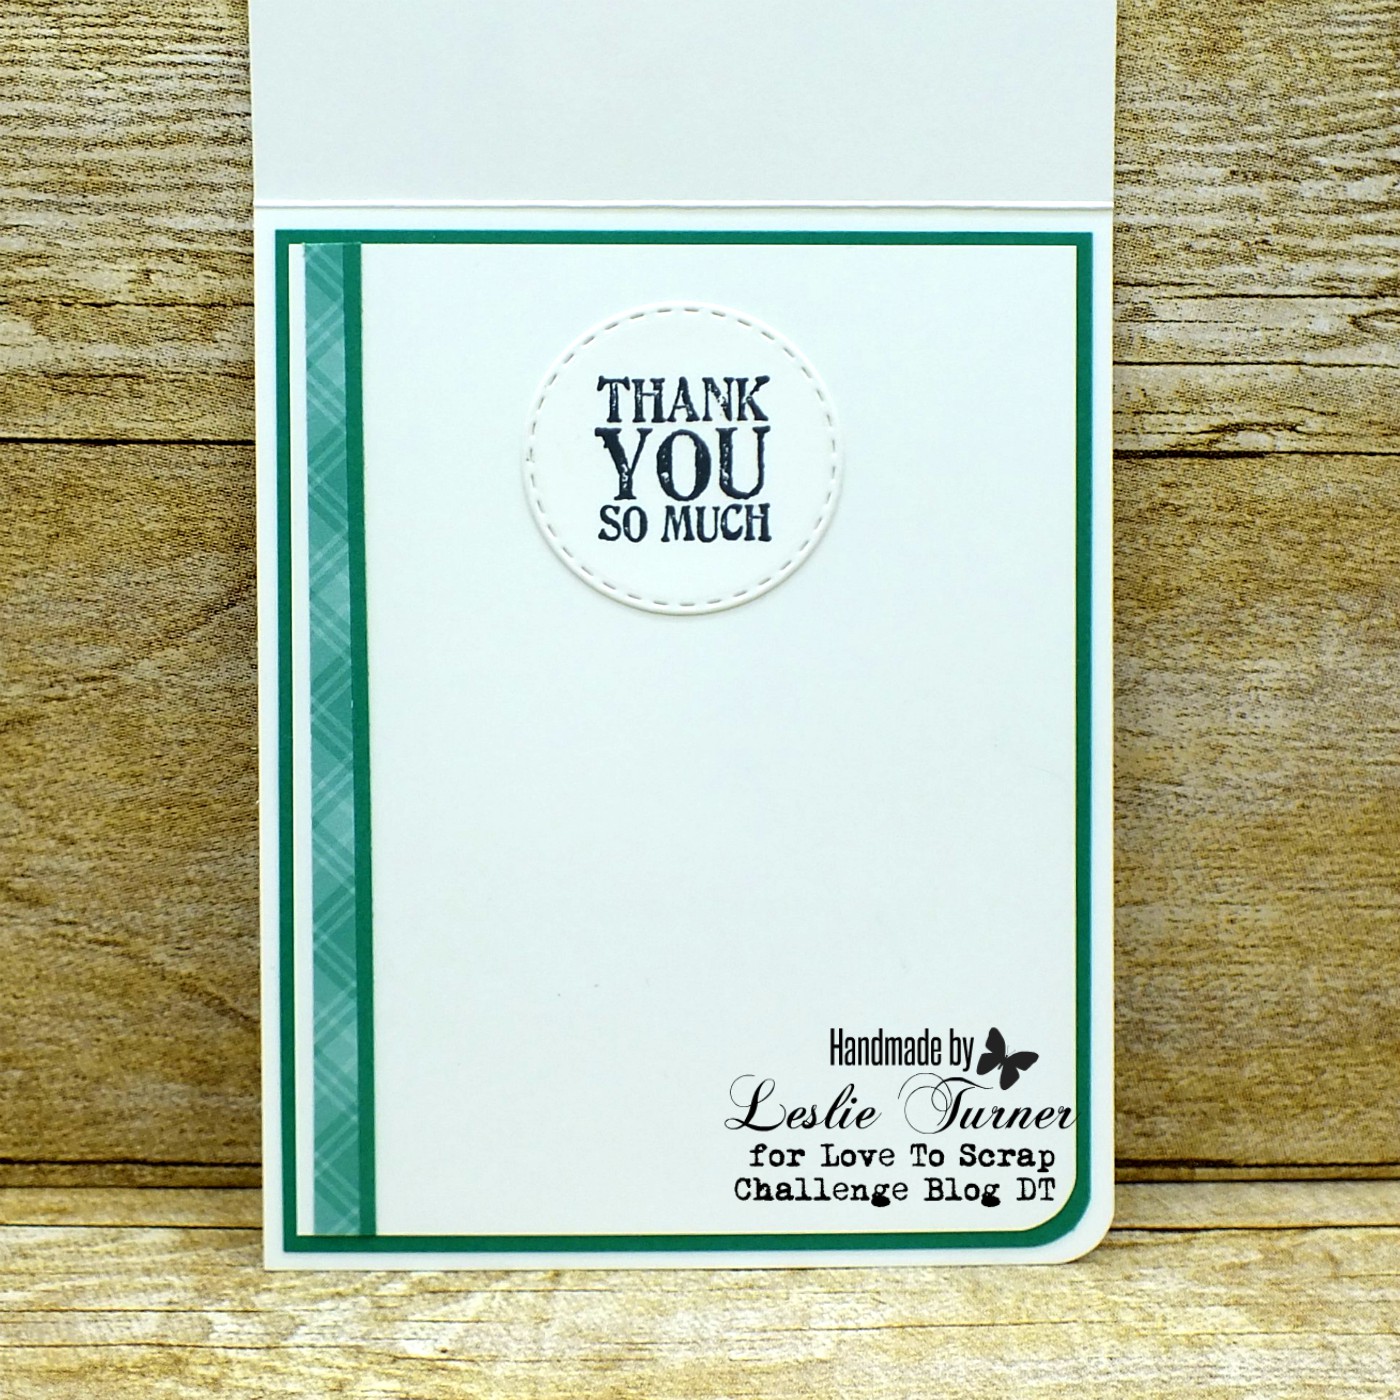
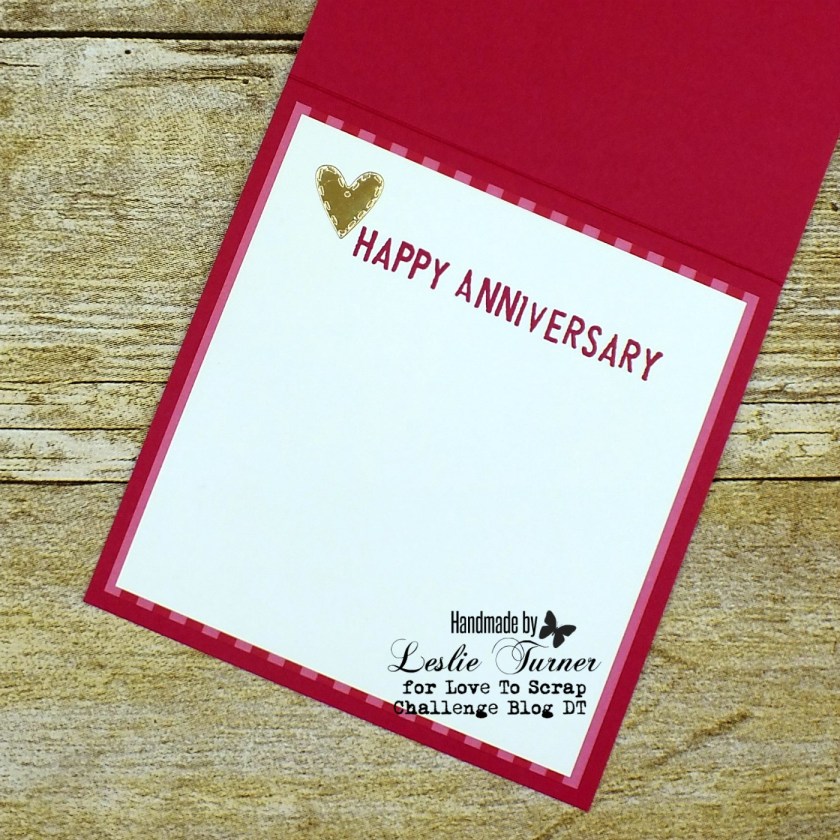
I layered the inside panel on a piece of the striped paper, stamped the sentiment, and added one more gold heart.
One more look… another fun card completed! Love this!
Products used:
Cardstock/Paper: Stampin’ Up Whisper White and Lovely Lipstick cardstock, Stampin’ Up 2018-2020 In Color 6×6 Designer Series Paper
Stamps: Dr. Digi’s House of Stamps Ballroom Brenda digital image, Leave Memories With One Stamp stamp set
Ink: Studio 71 alcohol markers- R6, R12, Y9, B1, E2, E6, E10, E15, N10; Stampin’ Up Lovely Lipstick ink
Dies/Punches: Memory Box Stitched Heart Layers die
Accessories: Tim Holtz stamp platform
Thanks so much for stopping by and I hope you are enjoying our sixth birthday blog hop and challenge! We’ll see you again soon with another blog hop project showcase! ;)
Scrappy hugs,