Hello, my crafty friends! I’m sitting here shaking my head at quickly this year is flying by! My sister’s birthday is on the 8th and it always seems like once her birthday passes, the rest of the year is a blur! It’s time for a new challenge over at Mix It Up Challenge Blog and I’m excited to share my DT inspiration project for MIUCB #16 – Anything Goes + Acrylic Block Stamping. Remember, our challenges are always Anything Goes and we offer a different technique twist each month just to inspire you – the twists are not required to play!
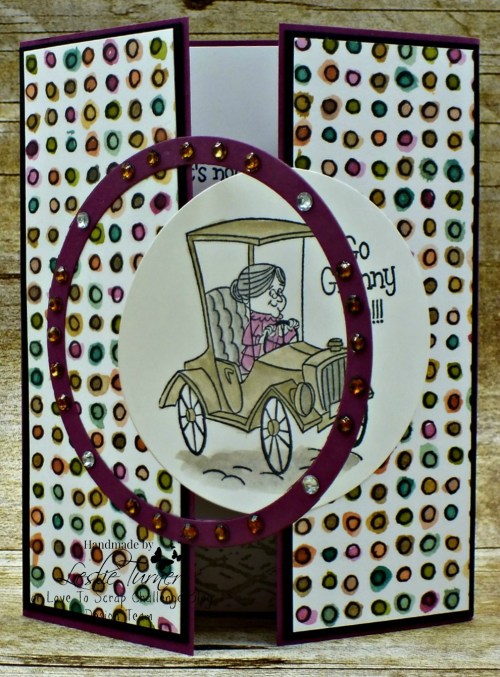
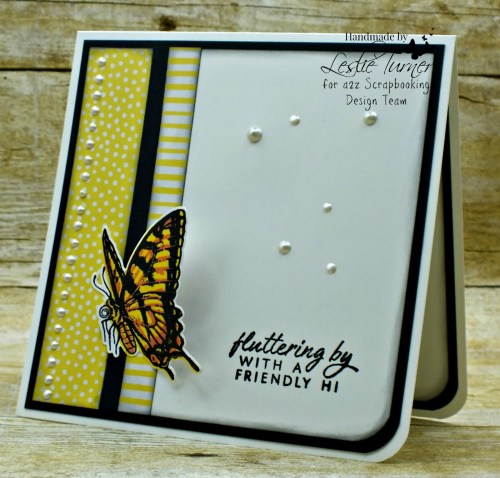
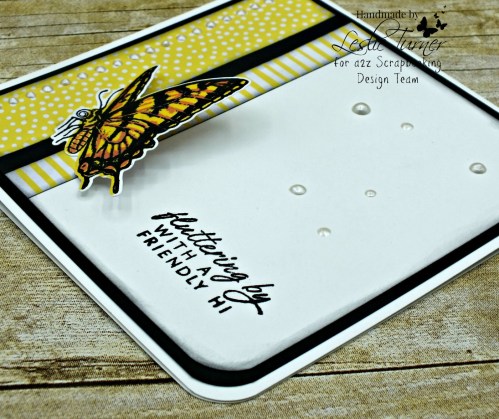
I created a fun faux leather tag for this month’s challenge and I literally stamped with a 3×3 acrylic block! It’ll be fun to see the different interpretations because everybody sees things a different way!
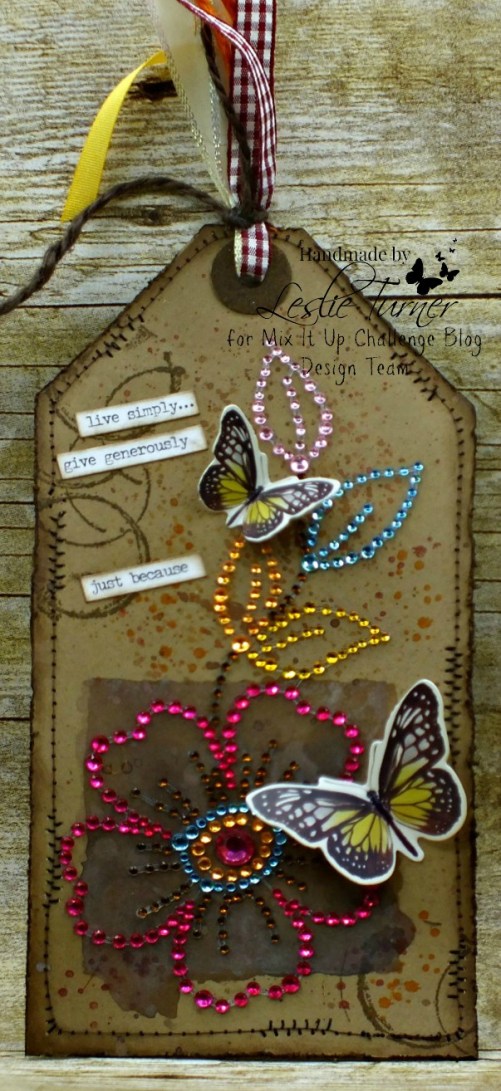
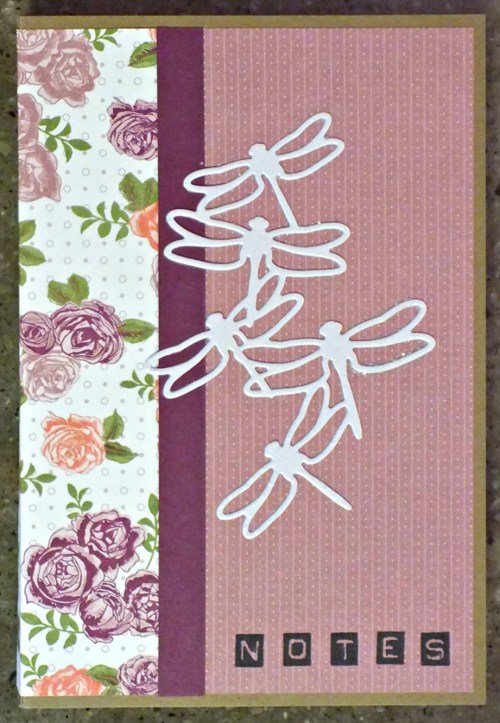
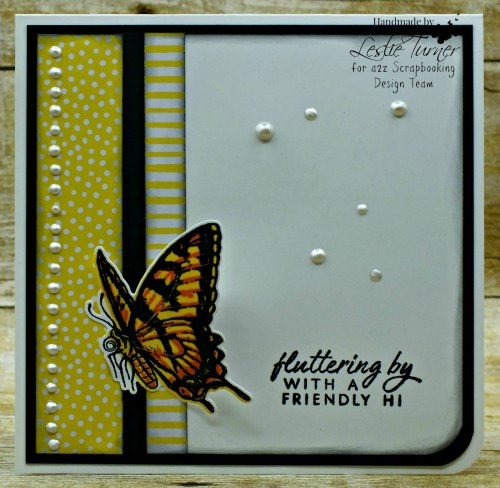
I cut my tag from heavy kraft cardstock, distressed the edges with tool and ink, then sewed around the edges with my Janome Sew Mini.
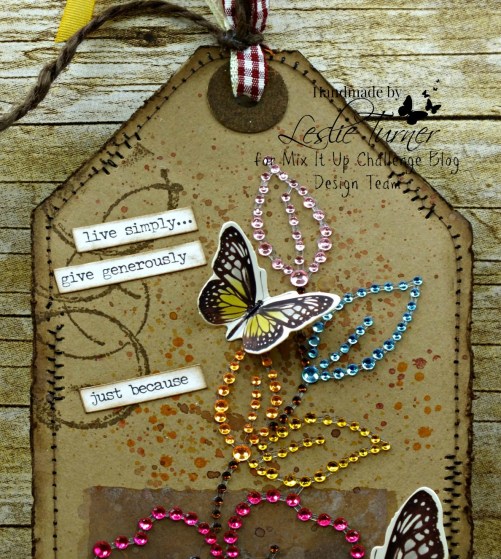
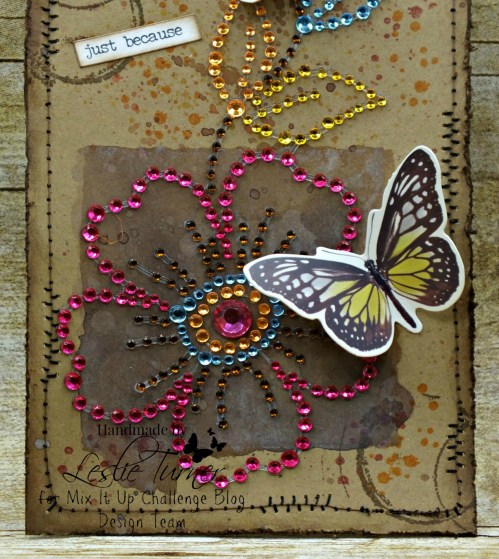
I stamped with the acrylic block, then randomly stamped some partial circle images around the edges. I splattered some distress ink with a fan brush and then applied the Prima crystal flower, butterflies and inked sentiments.
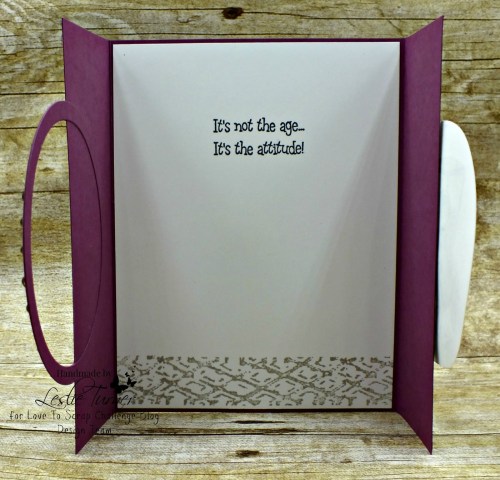
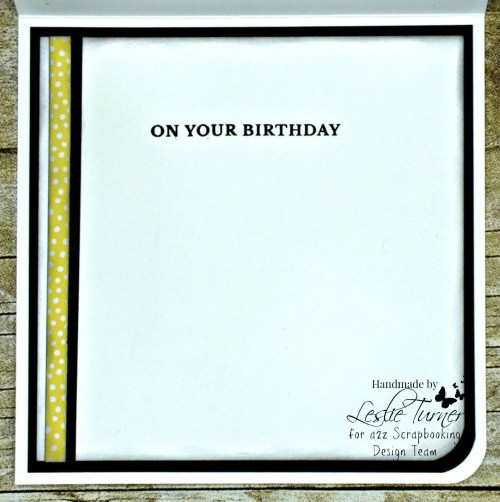
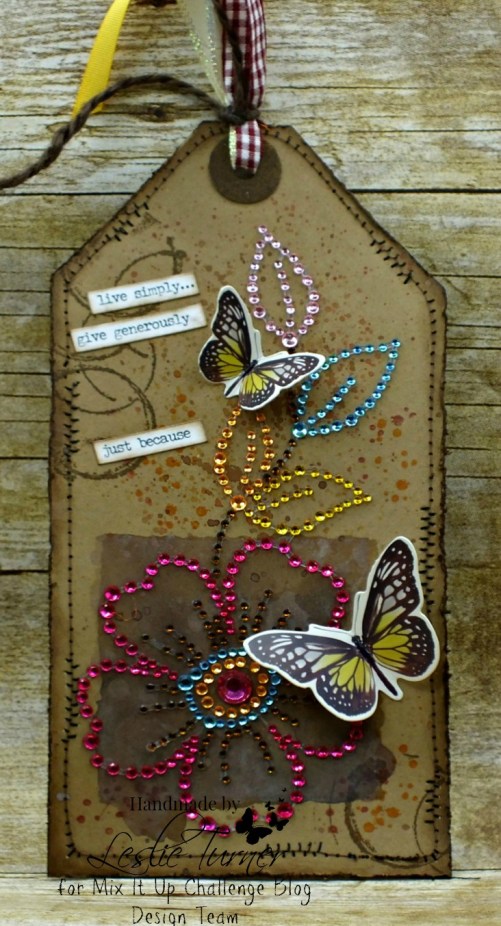
I created a grommet around the opening at the top of the tag and then added several pieces of ribbon scraps.
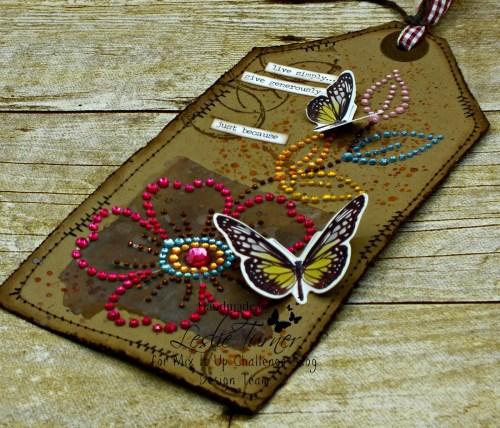
One final angled shot. Love, love, love!
Products used:
Cardstock/Paper: Paper Accents 120# Kraft cardstock
Stamps: Stampin’ Up Timeless Textures stamp set
Ink: Ranger Walnut Stain, Fired Brick and Spiced Marmalade Distress Ink, Ranger Walnut Stain Distress Oxide
Dies/Punches: Stampin’ Up 3/4″ Circle Punch, 1/4″ Hole Punch
Accessories: Tim Holtz Distress Tool, Janome Sew Mini sewing machine, Prima Say It In Crystals Flower, Tim Holtz Idea-ology Botanical Ephemera, Tim Holtz Idea-ology Small Talk sticker sentiments, assorted ribbon and jute scraps
I hope you’ve enjoyed seeing this project and will link up with us this month! We’d love to see what you create! Thanks so much for stopping by – we’ll see you again soon!
Scrappy hugs,