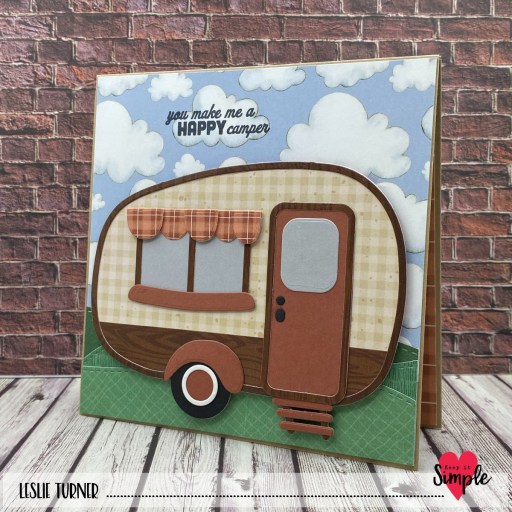
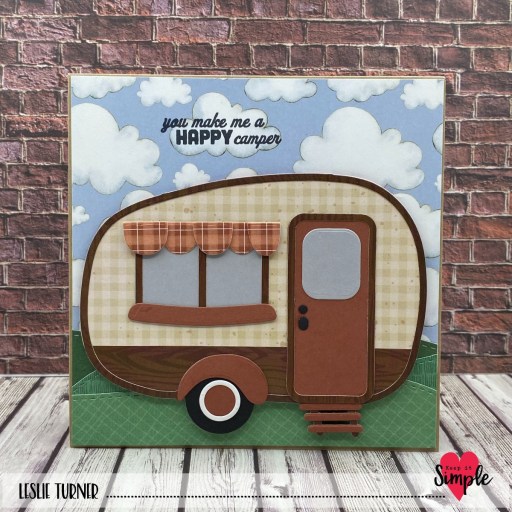
Hey everybody! Happy Saturday! I hope you have something fun planned this weekend! I’m stoked to share a Keep It Simple DT inspiration project created with our NEW KIS Cuts Freshly Brewed that just debuted yesterday! Can you say SQUEAL?! This is a fun die set and there are so many possibilities to use it for! I created a gift tag to go with a coffee-themed gift of assorted coffees, a coffee grinder, coffee mugs, etc. How fun is that?!
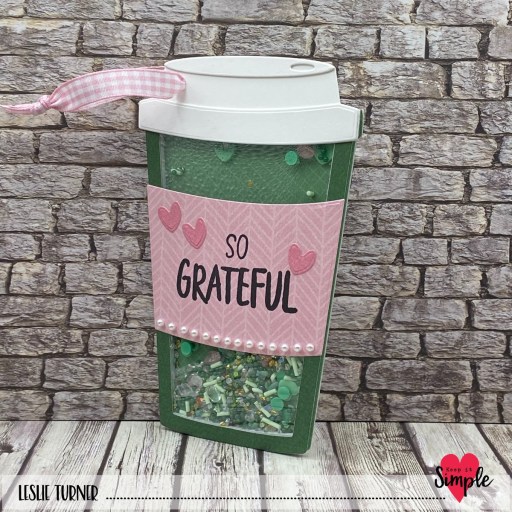
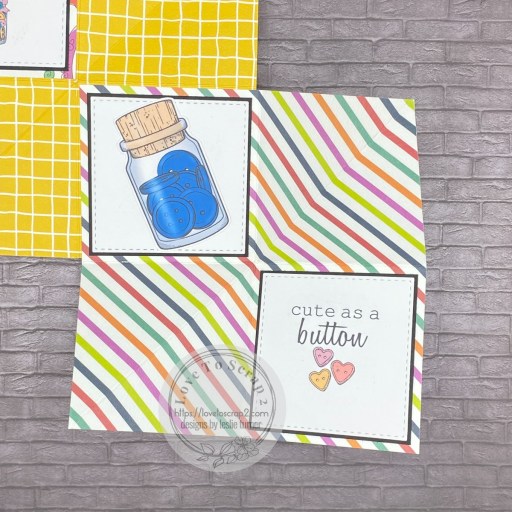
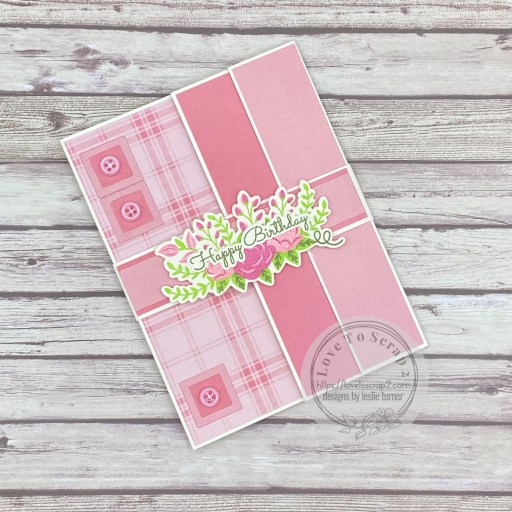
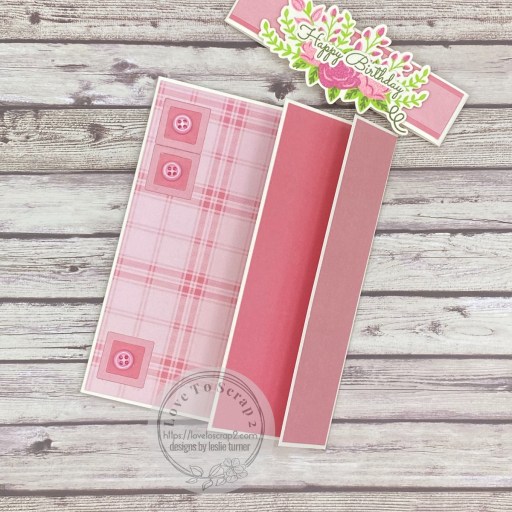
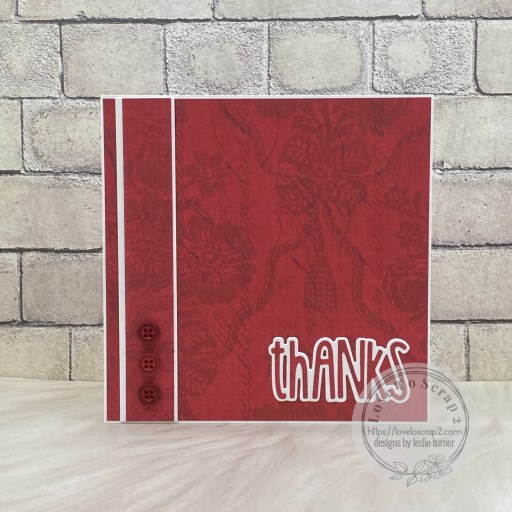
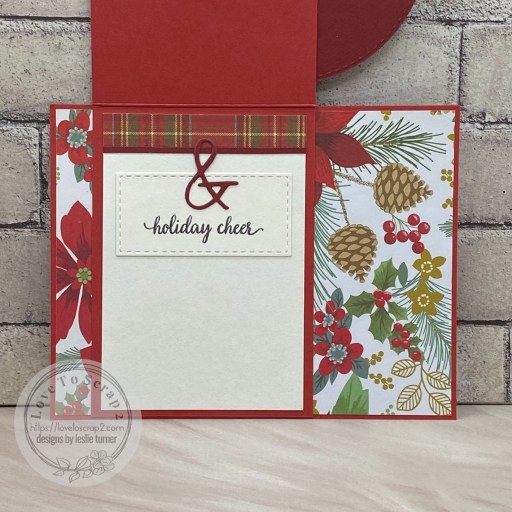
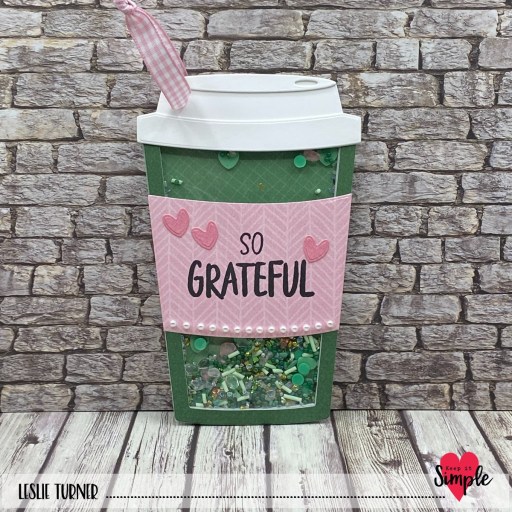
Using the KIS Cuts Freshly Brewed dies, I cut the cup shaped tag and all the layers from Neenah Classic Crest Solar White cardstock and coordinating papers in the Jade and Rose 12×12 Collection Packs. Of course I had to make a shaker using a variety of polymer clay, beads and crush from our new Sprinkles line! The sentiment on the cup sleeve is from the Thank You Sentiments stamp set, stamped in Memento Tuxedo Black, and embellished with 3mm Pearls and die cut hearts. The tag loop was fashioned from a length of Rose Ribbon.
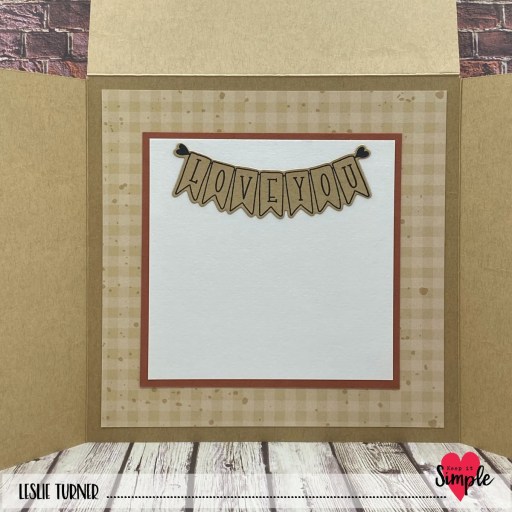
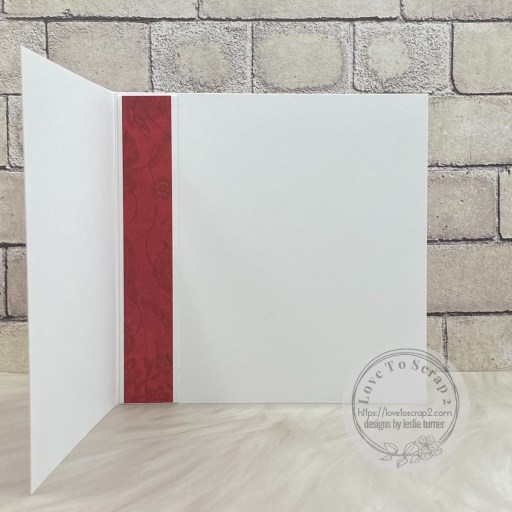
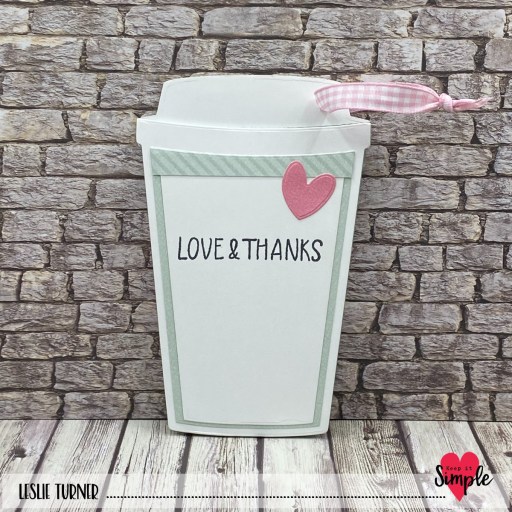
I cut the back panel and layers using dies in the KIS Cuts Freshly Brewed set which I embellished with a die cut heart and a stamped sentiment (also from the Thank You Sentiments stamp set). Love how this turned out!
Keep It Simple products used:
KIS Cuts Freshly Brewed
Back To Basics Jade 12×12 Collection Pack
Back To Basics Rose 12×12 Collection Pack
Back To Basics Ruby Ribbon Pack
Back To Basics Thank You Sentiments stamp set
Sprinkles- Polymer Clay Grass Green Dots
Sprinkles- Polymer Mint Sprinkles
Sprinkles- Polymer Mint Hearts
Sprinkles- 2mm Dark Green Matte Beads
Sprinkles- 3mm White Pearl Beads
Sprinkles- Metallic Crush Rivers Edge
Affiliate links are used in this post at no cost to you – I really appreciate your support!
Other products used:
CARDSTOCK/PAPER: Neenah Classic Crest 110# Solar White cardstock
INK: Memento Tuxedo Black ink
DIES/PUNCHES: We R Memory Keepers Crop-A-Dile II Big Bite
ACCESSORIES: Fiskars 12″ ProCision Rotary Bypass Paper Trimmer, Bearly Art precision craft glue, MISTI stamp tool, Big Shot, GKD Shaker Stripes, Grafix Crystal Clear Craft Plastic, 1/4″ red liner tape
I hope you’ve loved seeing this project as much as I loved creating it and you’re inspired to get crafty! Be sure to check out ALL the fun goodies in the Keep It Simple online store! Save 10% on your entire order when you shop online using code LoveToScrap2 at checkout! There is no minimum purchase requirement and no usage limits, AND it combines with product, order, and shipping discounts! Is that cool, or what?! Be sure to Follow us on Facebook, Instagram, and Pinterest for lots of crafty inspiration! Thanks so much for stopping by today – we’ll see you next time!
Scrappy hugs,