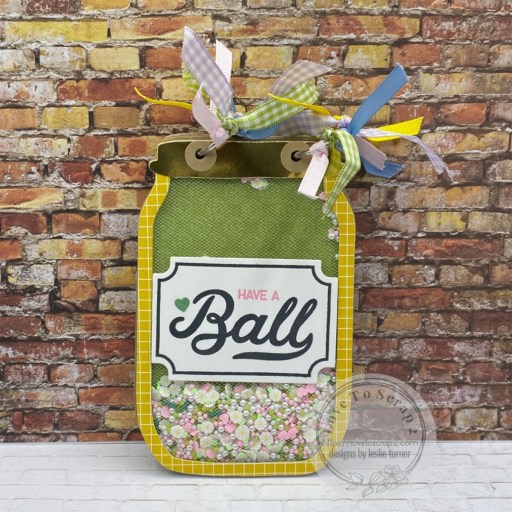
Hey everybody! Happy July 1st! It’s a busy morning on my blog with all my challenge blogs going live with new challenges this morning! Our new challenge launched this morning over at Mix It Up Challenge Blog and I’m excited to share my DT inspiration project for MIUCB #72 – Anything Goes + optional Veggie Stamping! Yep, you read that right… veggie stamping! Have you ever done it?! It’s totally fun and you can stamp with lettuce, celery, beets, carrots, green beans and dried beans to name a few – whatever vegetables you can think of! I used sliced beets to stamp my background on this fun birthday card. I thought of it as kind of a ‘two-fer’ because the beets rendered stamping and pink coloring!
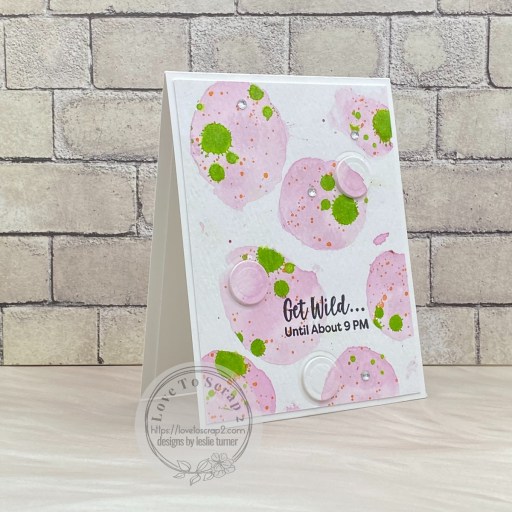
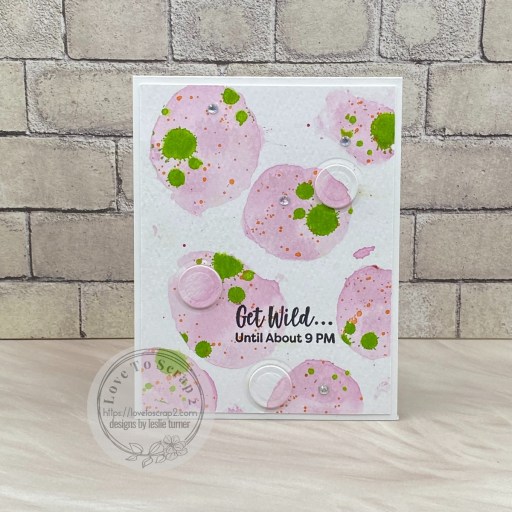
I cut a standard A2 size top-folding card base from Neenah Classic Crest 110# Solar White cardstock along with a layering panel from Tim Holtz distress watercolor cardstock. I opened a can of sliced beets and used a large one and a small one (with rubber gloves, of course, lol) and stamped a background on the watercolor panel. Once the panel was dry, I photocopied it and fussy cut the beet images to create a mask.
With the mask in place, I stamped large splotches from the Stampin’ Up Gorgeous Grunge stamp set in Catherine Pooler Lime Rickey ink randomly over the beet images and added some Spectrum Noir Crystal Clear Sparkle overlay marker to the splotches. I used another small speckle stamp from the same Gorgeous Grunge stamp set and stamped those randomly over the beet images in Concord & 9th Marmalade ink.
I stamped a sentiment from the My Favorite Things Sassy Pants Birthday Greetings 3 stamp set in Memento Tuxedo Black ink on the bottom center portion of the panel. Using the smallest die in the Spellbinders Standard Circles Large set, I die cut three circles into the panel, trimmed the panel, and adhered it to the card base. I added the die cut circles back into their negative spaces popped up on small pieces of double-sided foam strip for a little interest. The finishing touch was adding several iridescent gemstones.
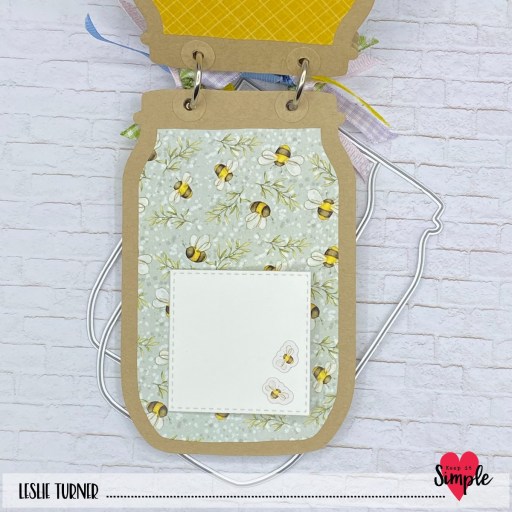
I cut the inside panel from 80# Solar White cardstock and embellished it with a leftover strip cut from the front panel. I stamped a sentiment from the same MFT stamp set in black ink. Using the same small Spellbinders die, I cut a circle into another leftover strip cut from the front panel and added it to the inside panel to tie in the little circles on the front.

Affiliate links are used in this post at no cost to you – I really appreciate your support!
Products used:
CARDSTOCK/PAPER: Neenah Classic Crest 110# and 80# Solar White cardstock, Tim Holtz distress watercolor cardstock
STAMPS: My Favorite Things Sassy Pants Birthday Greetings 3 stamp set, Stampin’ Up Gorgeous Grunge stamp set
INK: Memento Tuxedo Black ink, Concord & 9th Marmalade ink, Catherine Pooler Lime Rickey ink, Spectrum Noir Crystal Clear Sparkle overlay marker
DIES/PUNCHES: Spellbinders Standard Circles Large
ACCESSORIES: Tonic Studios 12″ Guillotine Paper Trimmer, GKD Adhesive Dot Runner, Bearly Art precision craft glue, Fiskars Stamp Press (small), can of sliced beets, 1/4″ double-sided foam strips, iridescent gemstones
I hope you’ve enjoyed seeing this project and will link up with us this time! Thanks so much for stopping by today – we’ll see you next time! ;)
Scrappy hugs,