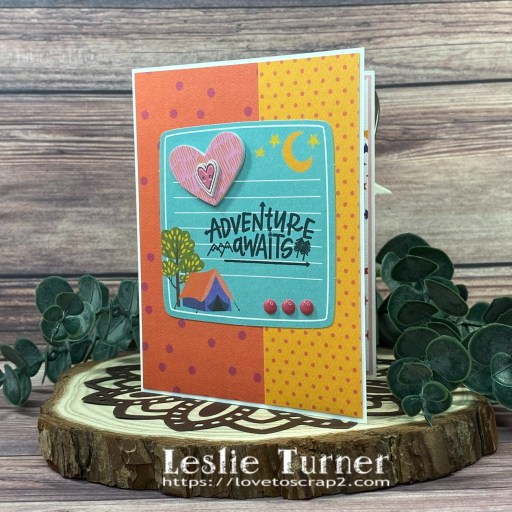
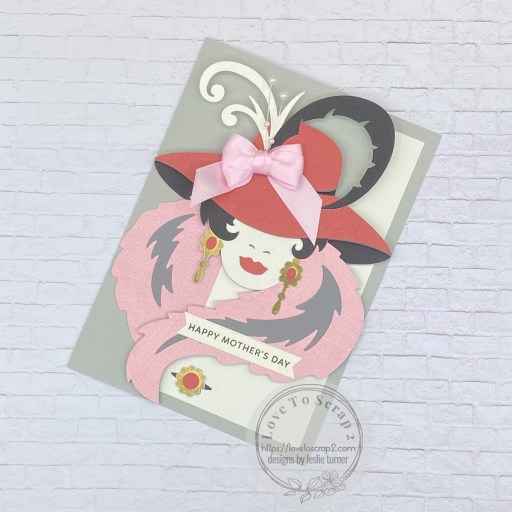
Hey everybody! Happy Hump Day – I hope you’re having a great week! Our new challenge is live over at Mix It Up Challenge Blog this morning and I’m delighted to share my clean and simple DT inspiration project for MIUCB #71 – Anything Goes + optional Inlaid Die Cut! Remember that all of our challenges are ‘anything goes’ and the technique twist is only suggested to inspire our participants and not required to play. Should you choose to add the inlaid die cut to your project, it can be raised or flat. I used the Spellbinders Diamond & Arch Motif stamps and dies for my card with a raised inlaid die cut. I love how this turned out – such a pretty color combo!
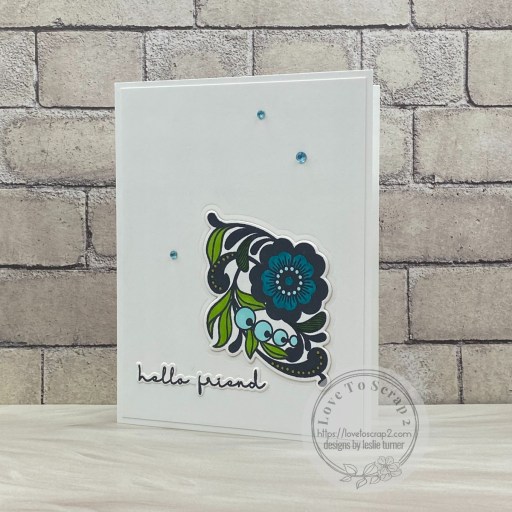
I cut the card base and layering panel from Neenah Classic Crest 80# Solar White cardstock. Using the Spellbinders Diamond & Arch Motif stamps, I stamped the focal image on the layering panel in Memento Tuxedo Black ink, cut it with the coordinating Spellbinders Diamond & Arch Motif die, and adhered the panel to the card base. I cut two additional plain die cuts from Solar White cardstock and adhered them beneath the stamped one. I colored it with alcohol markers and adhered it into the negative space on the layering panel. I stamped the sentiment in black ink and cut it with the coordinating die (both from the same stamp and die set). The finishing touch was adding three iridescent gemstones colored with an alcohol marker.

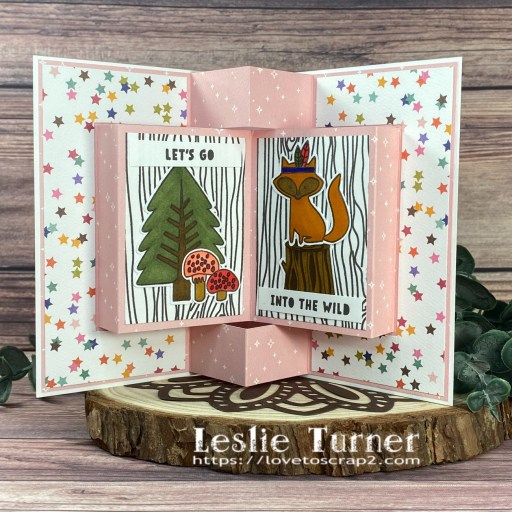
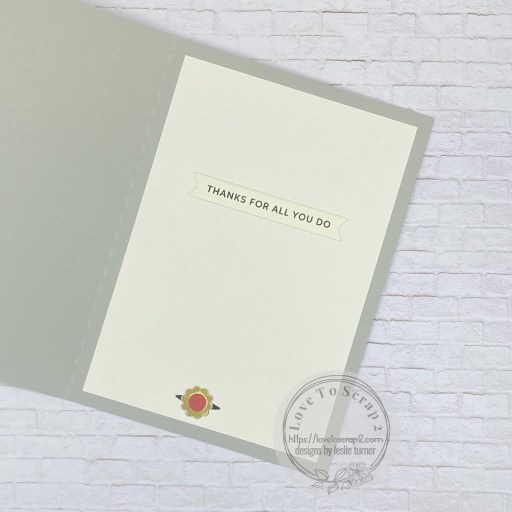
I cut the inside panel from Solar White and embellished it with strips of Solar White cardstock colored with the alcohol markers used on the front. I stamped the inside sentiment in black ink and cut it with the coordinating die (also from the same stamp and die set).

Affiliate links are used in this post at no cost to you – I really appreciate your support!
Products used:
CARDSTOCK/PAPER: Neenah Classic Crest 80# Solar White cardstock
STAMPS: Spellbinders Diamond & Arch Motif stamps
INK: Memento Tuxedo Black ink; Arteza alcohol markers- YG02/06, BG19/23; American Crafts Gold Metallic marker
DIES/PUNCHES: Spellbinders Diamond & Arch Motif dies
ACCESSORIES: Tonic Studios 12″ Guillotine Paper Trimmer, Tombow Mono Dots adhesive, Bearly Art precision craft glue, MISTI stamp tool, Big Shot, iridescent gemstones colored with BG23
I hope you’ve enjoyed seeing this project and will link up with us this time! Thanks so much for stopping by today – we’ll see you next time! ;)
Scrappy hugs,