12/13/25 Weekly Favorite at Splitcoast Stampers!
12/31/25 DT Favorite at Crafts Galore Encore Challenge Blog!
12/31/25 Top 3 at Penny’s Paper-Crafty Challenge Blog!
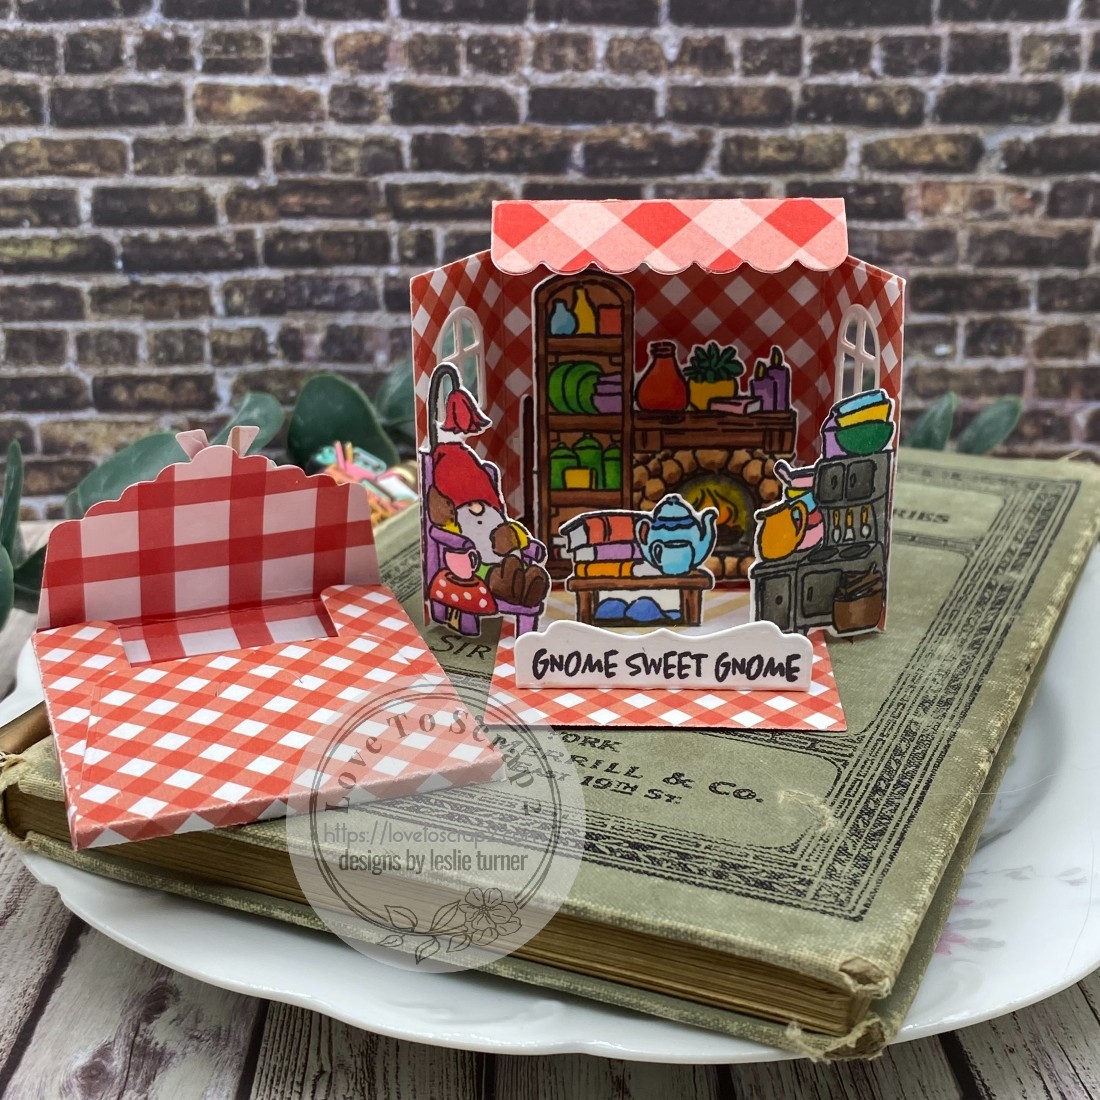
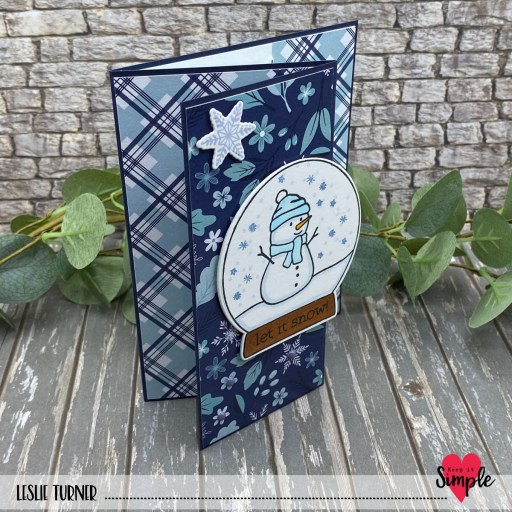
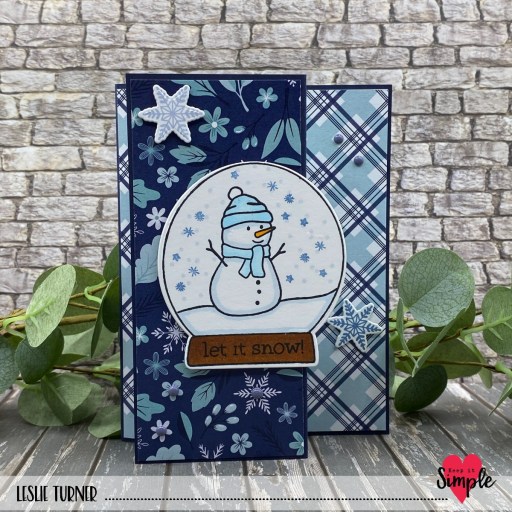
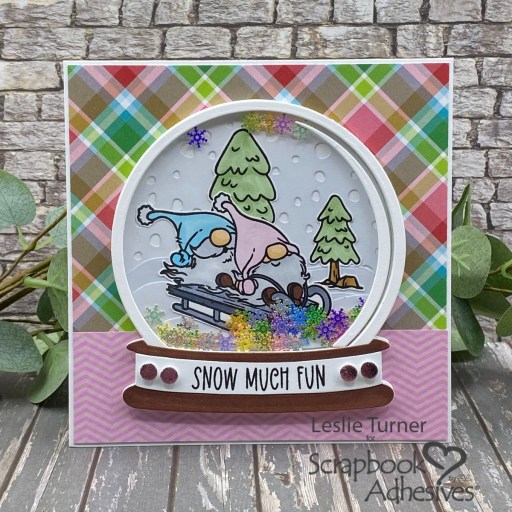
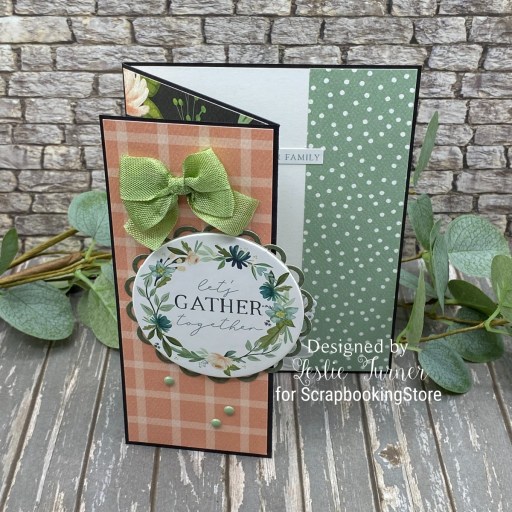
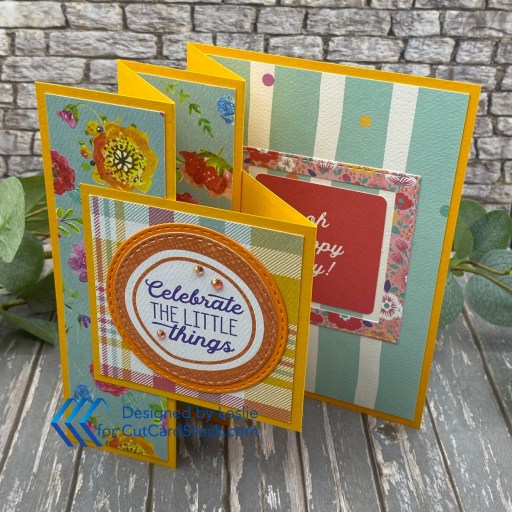
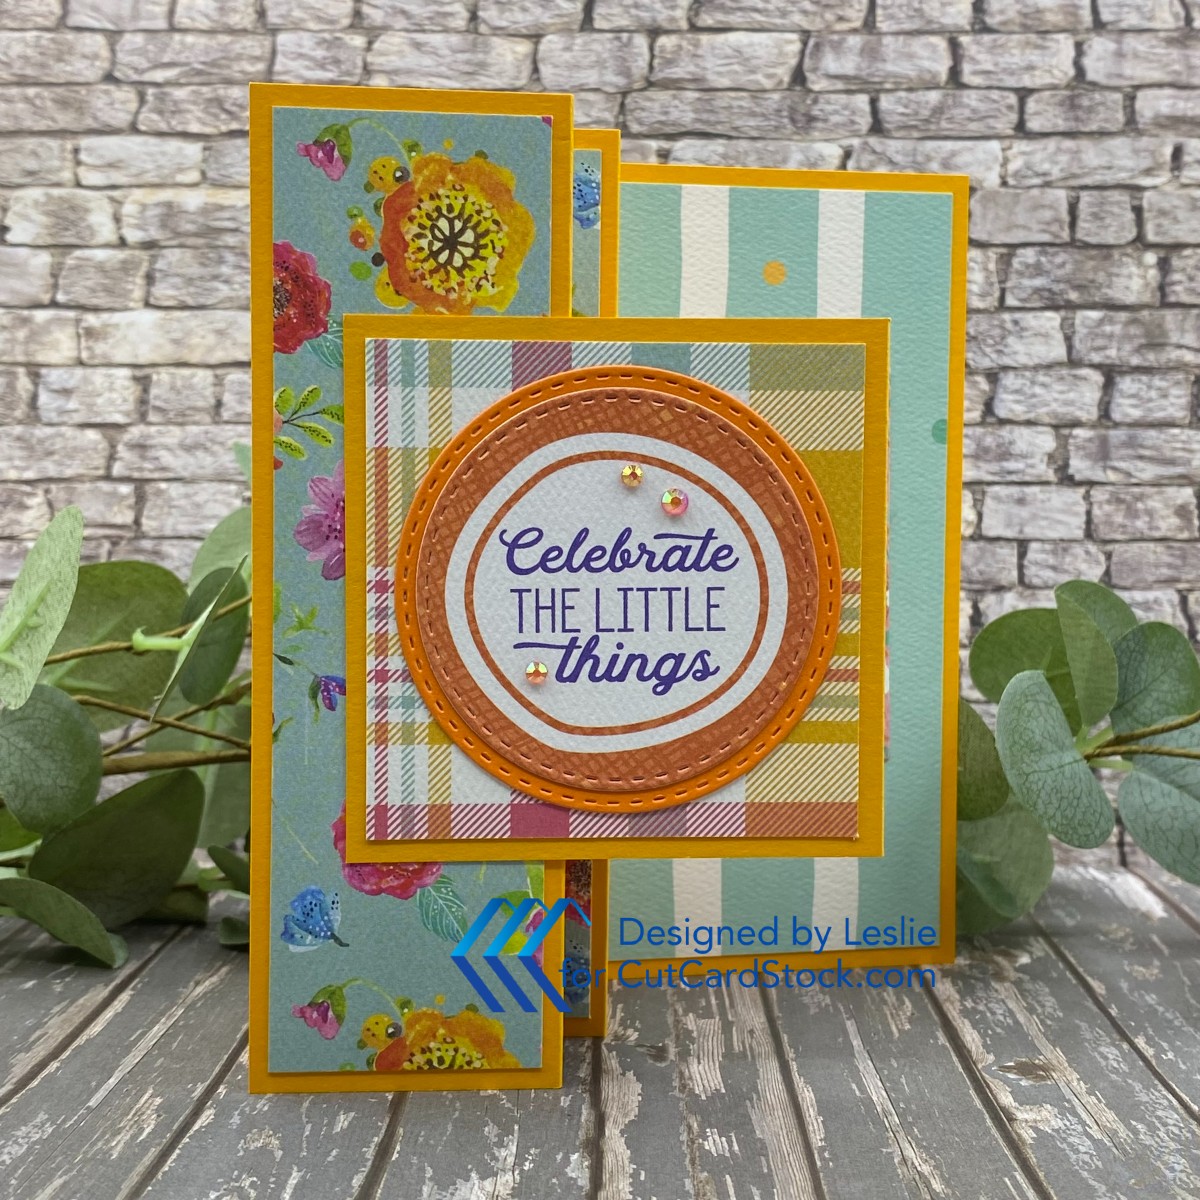
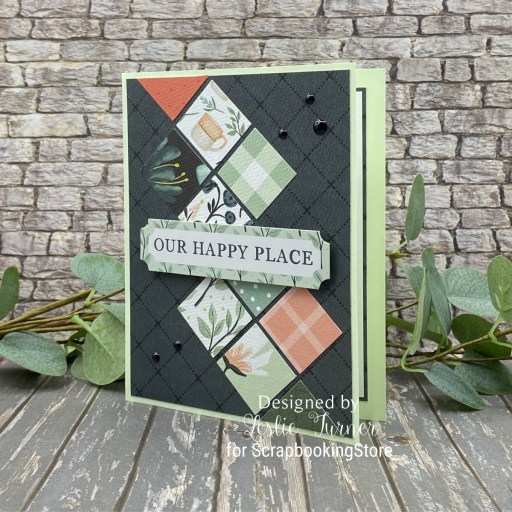
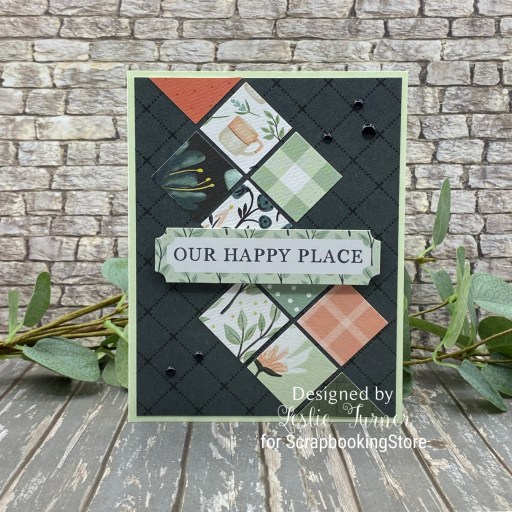
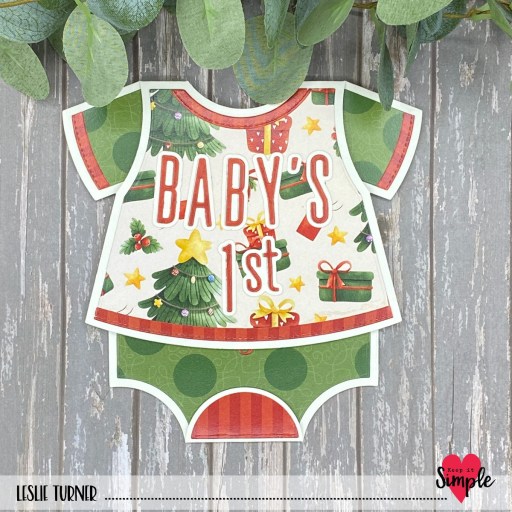
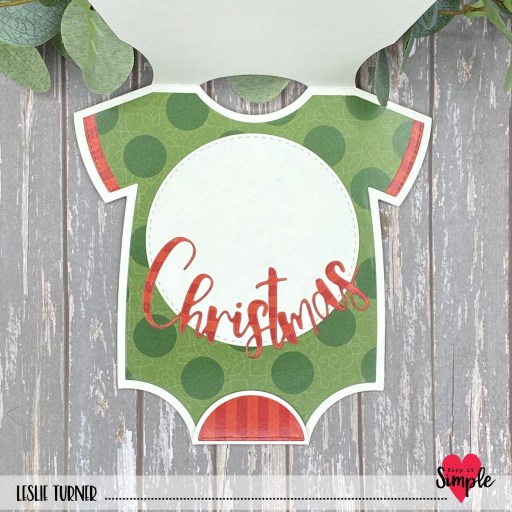
Hey everybody, happy weekend! I hope you’re having a good one! I’m delighted to share a festive Baby’s 1st Christmas card for Keep It Simple which features our KIS Cuts Baby Romper Card Dies and Here Comes Santa Claus 12×12 Collection Pack. I also used the KIS Cuts Ford Font Double Cut Dies, Back To Basics Stitched Circles Nested Dies, KIS Cuts Christmas Sentiments Dies and KIS Cuts Gift Card Pocket Die. Whew… LOTS of dies! I totally love shaped cards and thoroughly enjoyed making this.
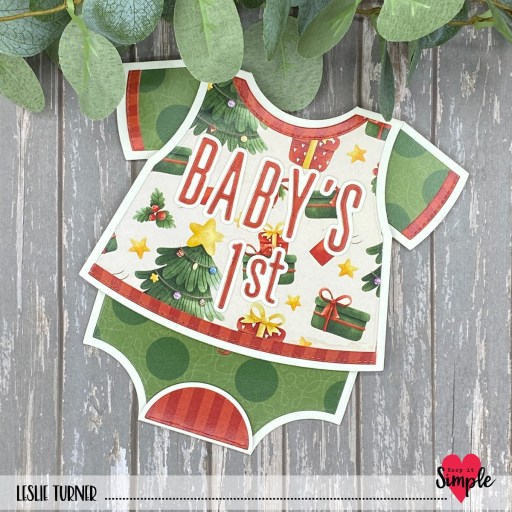
I cut the card base from CutCardStock Basis Natural cardstock along with all the romper layers from assorted prints in the Here Comes Santa Claus 12×12 Collection Pack. I used a few of our small Adhesive Basics foam squares to add a little dimension to the crotch flap. I used the KIS Cuts Ford Font Double Cut Dies for the sentiment on the front.
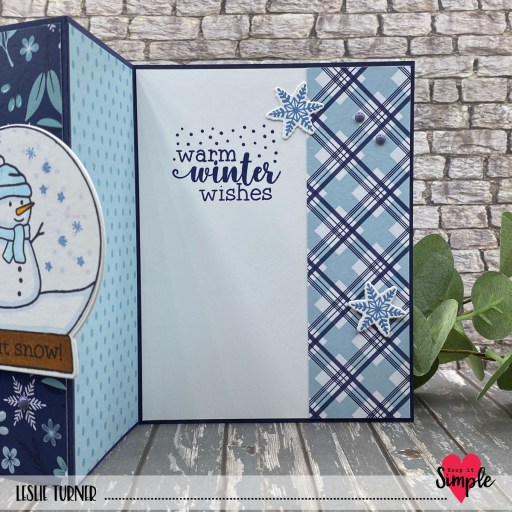
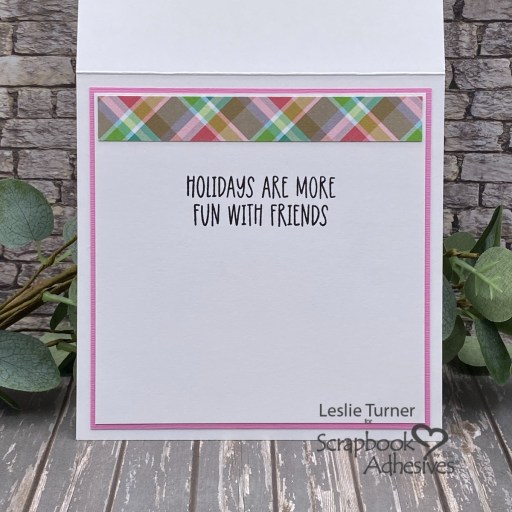
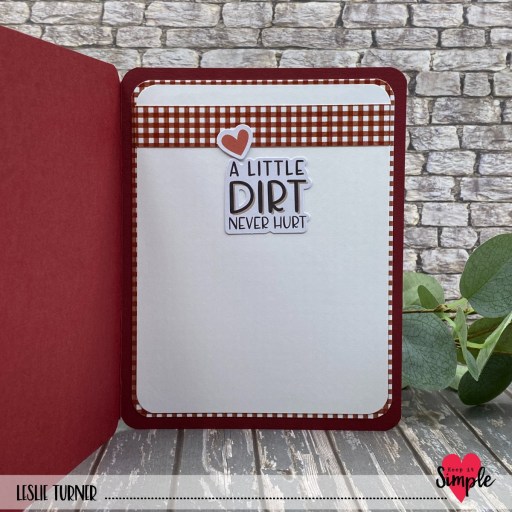
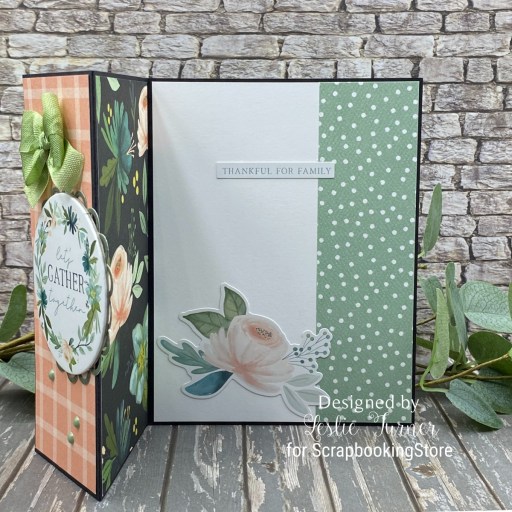
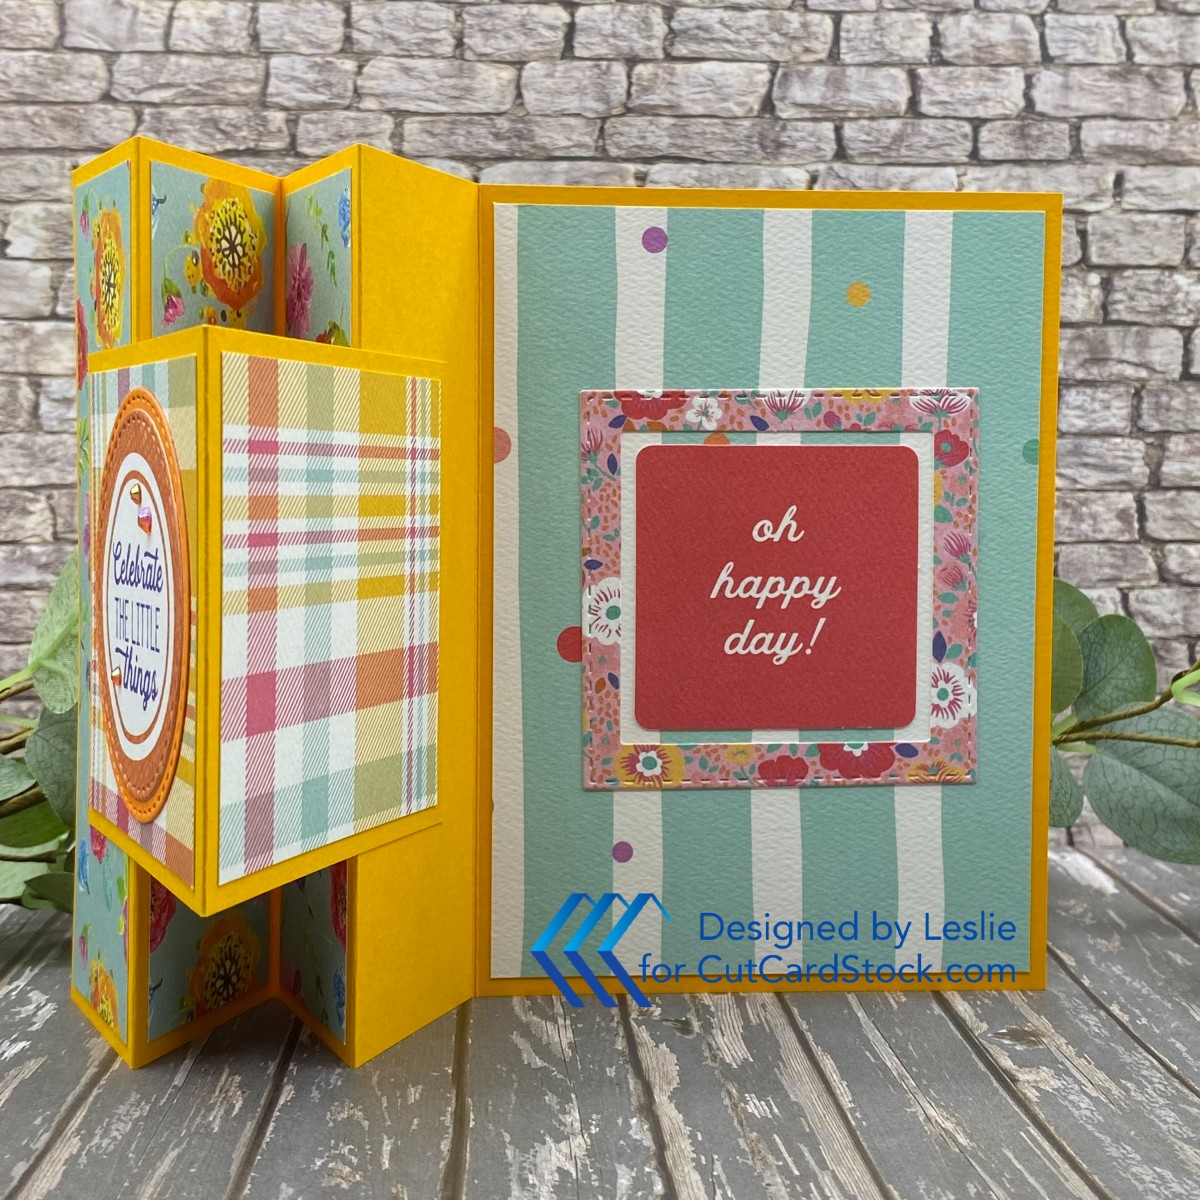
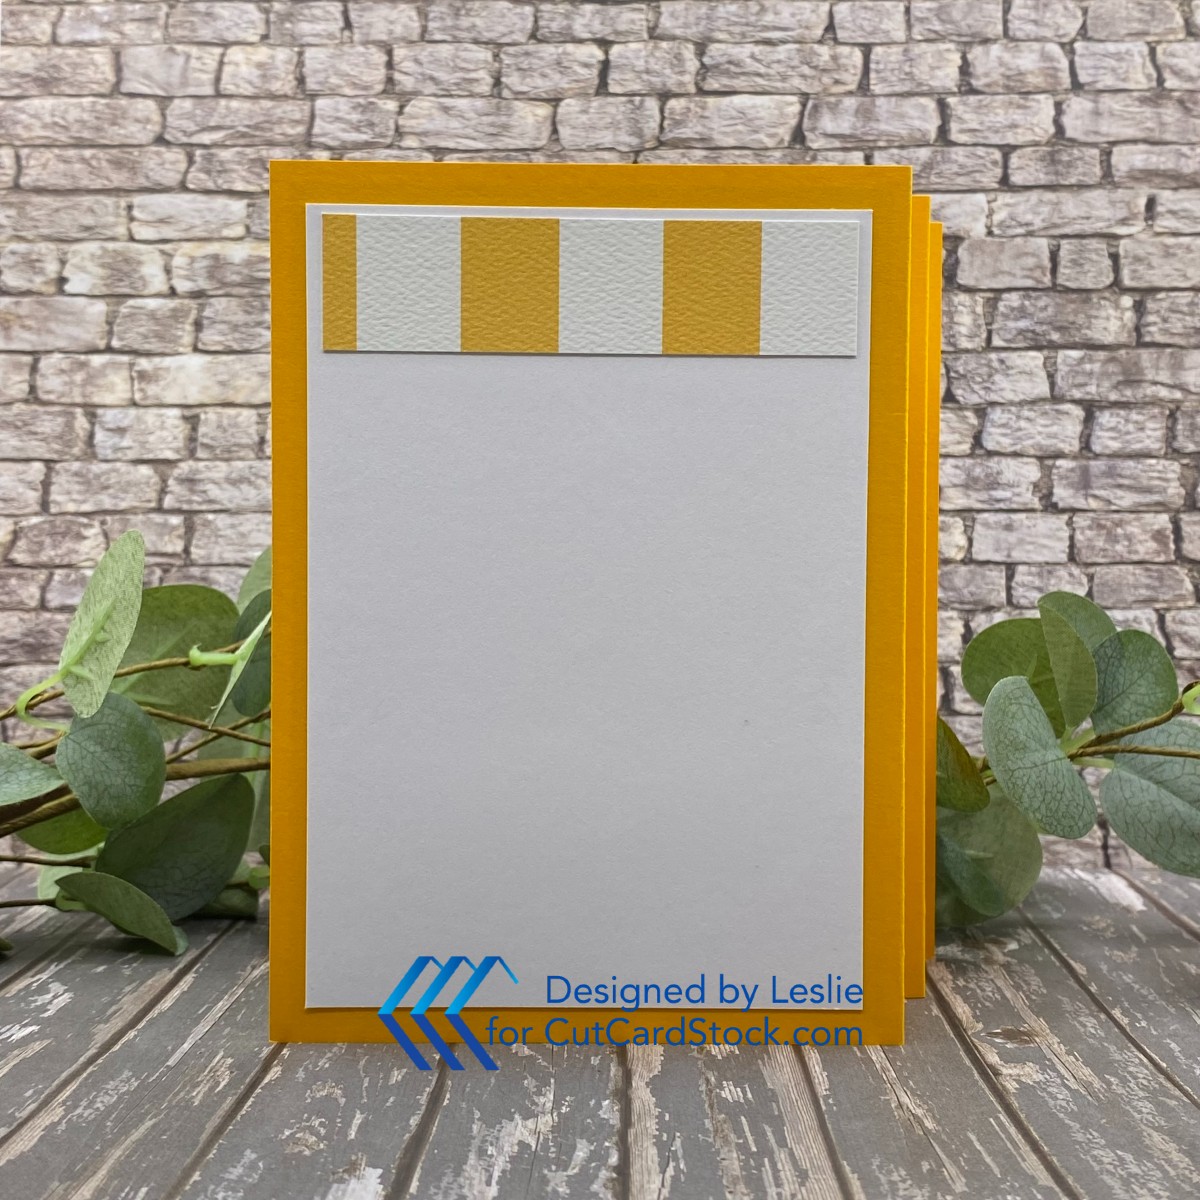
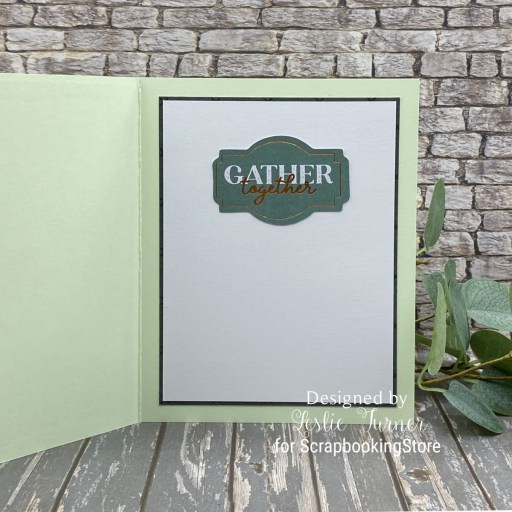
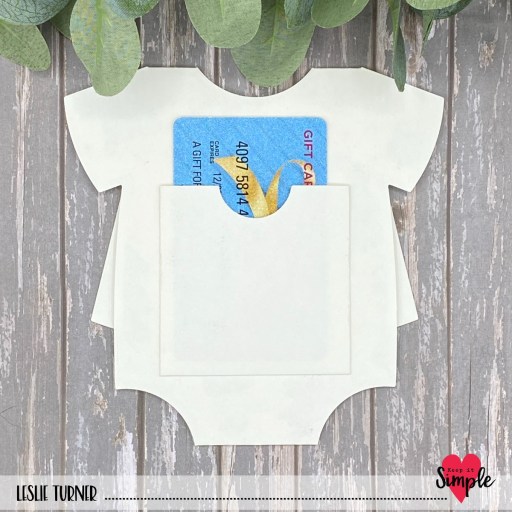
I used the Back To Basics Stitched Circles Nested Dies and KIS Cuts Christmas Sentiments Dies for the sentiment and panel on the inside. Then, I added a gift card pocket on the back using the KIS Cuts Gift Card Pocket Die. This was definitely a fun one to put together!
Sharing in the following challenges:
1. https://avenue613.blogspot.com/2025/12/december-2025-anything-goes-w-optional.html — no twist
2. https://craftingacutabove.blogspot.com/2025/12/december-challenge.html
3. https://aperfecttimetocraft.blogspot.com/2025/12/a-perfect-time-to-craft-open-challenge.html
4. https://classicdesignchallenge.blogspot.com/2025/11/classic-design-challenge-11-2025-novdec.html
5. https://cardsgalorechallenges.blogspot.com/2025/12/december-2025-crafts-galore-encore.html
6. http://craftycalendarchallenge.blogspot.com/2025/12/crafty-calendar-december-challenge.html
7. https://craftygalscornerchallenges.blogspot.com/2025/11/challenge-272-tis-season.html
8. https://giveacrafteracookie.blogspot.com/2025/12/cookie-challenge-211-december-time-for.html
9. https://lovetocraftchallengeblog.blogspot.com/2025/11/ltccb-89-anything-goes-ltccb-88-winner.html
10. https://lovetoscrapchallengeblog.blogspot.com/2025/11/ltscb-176-anything-goes-ltscb-175.html
11. https://mmmchallengeblog.blogspot.com/2025/12/266-christmas-trees.html
12. https://merrylittlechristmaschallenge.blogspot.com/2025/11/mlccb-65-anything-christmas-goes-mlccb.html
13. https://pennyschallenges.blogspot.com/2025/12/pennys-challenge-611-final-challenge.html
14. https://crafterscafeblogchallenge.blogspot.com/2025/09/325-use-colour-yellow.html
15. https://cinspirations.blogspot.com/2025/12/december-challenge-tis-season.html
Keep It Simple products used:
KIS Cuts Baby Romper Card Dies
Here Comes Santa Claus 12×12 Collection Pack
KIS Cuts Ford Font Double Cut Dies
Back To Basics Stitched Circles Nested Dies
KIS Cuts Christmas Sentiments Dies
KIS Cuts Gift Card Pocket Die
Back To Basics Adhesive Basics Squares & Strips
Other products used:
CARDSTOCK/PAPER: CutCardStock Basis 80# Natural cardstock
ACCESSORIES: Fiskars 12″ ProCision Rotary Bypass Paper Trimmer, Spellbinders 12×12 Scoring Board, My Sweet Petunia Precision Glue Press, Bearly Art Precision Craft Glue, Big Shot
I hope you’ve loved seeing this project as much as I loved creating it and you’re inspired to get crafty! Be sure to check out ALL the fun goodies in the Keep It Simple online store! Save 10% on your entire order when you shop online using code LoveToScrap2 at checkout! There is no minimum purchase requirement and no usage limits, AND it combines with product, order, and shipping discounts! Is that cool, or what?! Be sure to Follow us on Facebook, Instagram, and Pinterest for lots of crafty inspiration! Thanks so much for stopping by today – we’ll see you next time!
Scrappy hugs,