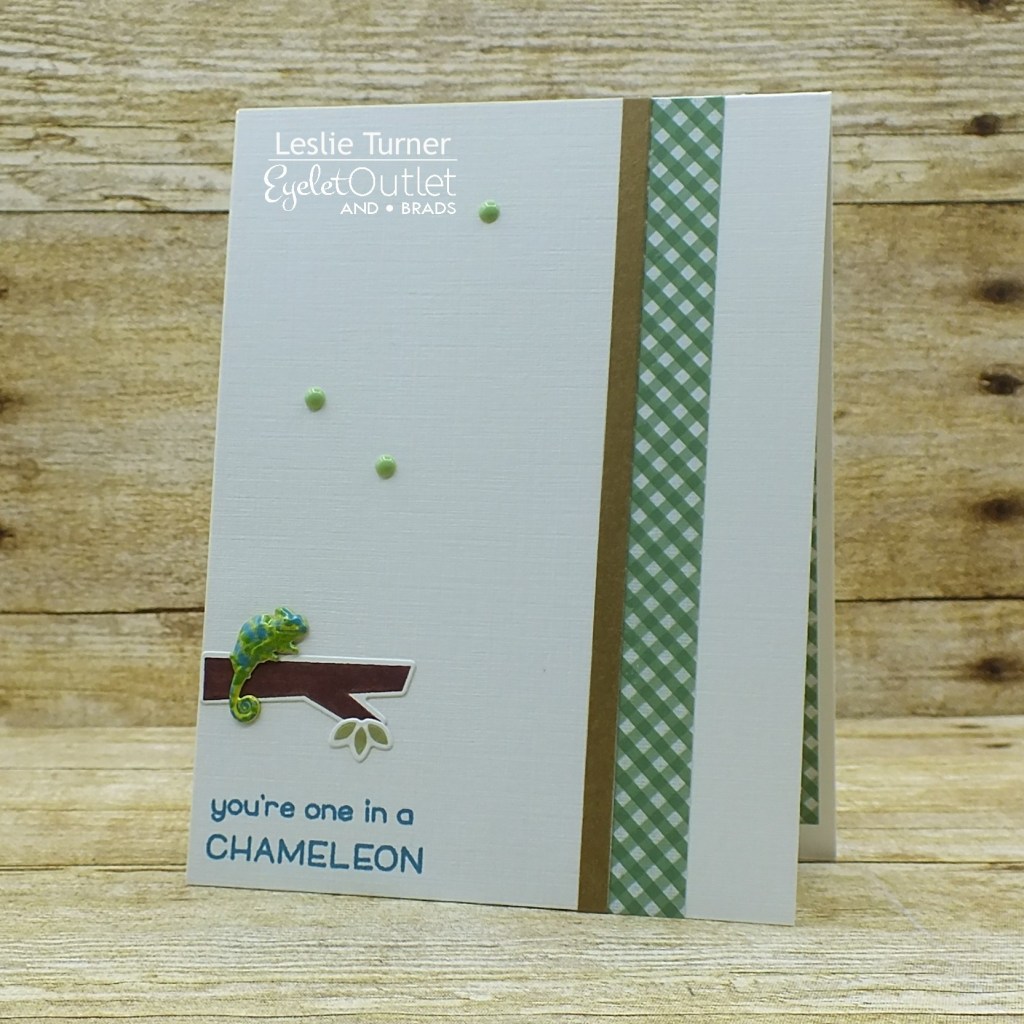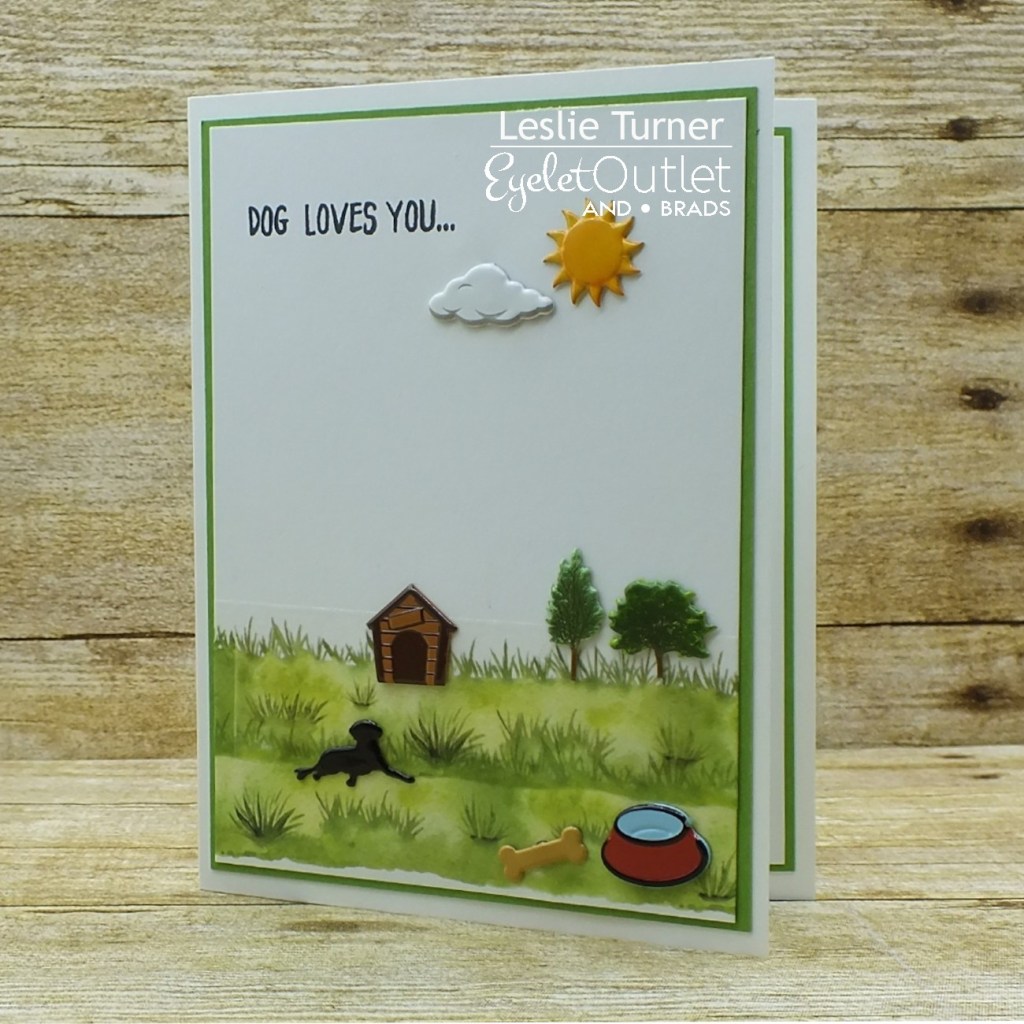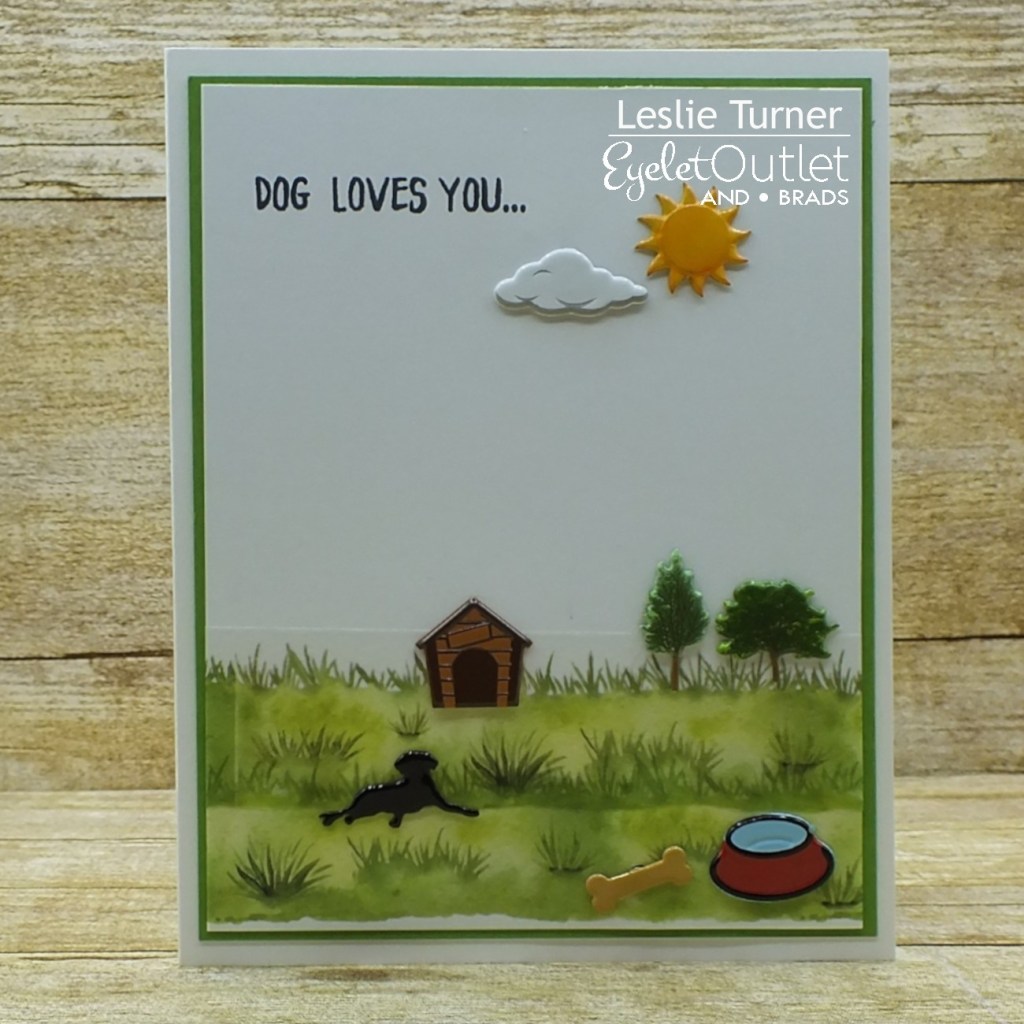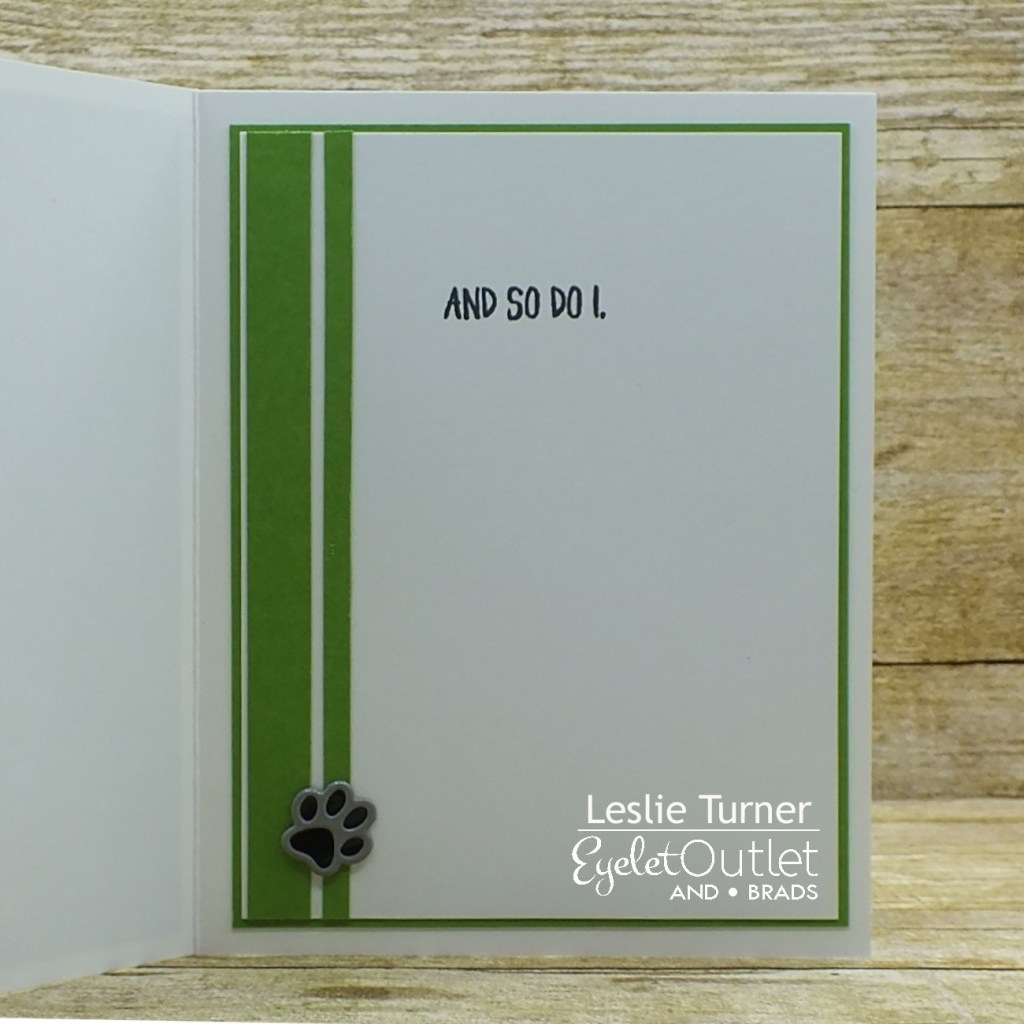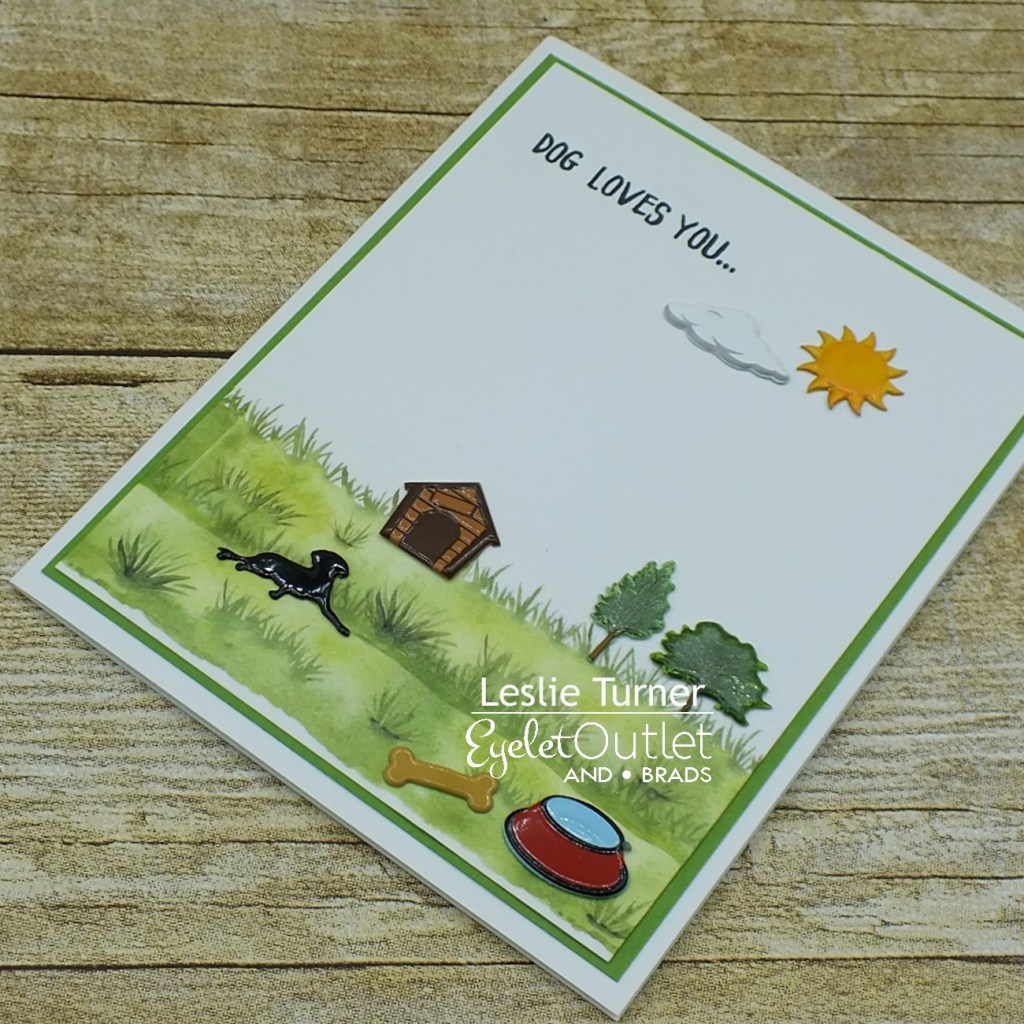
Hey everybody! Just wanted to pop in this morning to let you know that some new brads hit the Eyelet Outlet store a few days ago, and OMGoodness, they are beyond adorable!
Reptiles, Colored Daisies, Tropical Birds, Felines and Kennel Mix, OH MY! Be sure to check them out!
Hi everybody! Oh, Happy Day! I hope you’re having a good one! I’m back this morning with another fun post… my first Traveler’s Notebook! Affiliate links are used in this post at no cost to you. I really appreciate your support! I can’t even begin to tell you how much fun I had with this! I’ve been seeing these notebooks in various forms around the web for a good while now so I decided to try my hand at making one. I’ve actually had the notebook and inserts with tags done for a couple months, and finally added die cuts for photos and journaling yesterday, so now it’s complete and ready to mail. ;)
Here’s a huge shout-out to Doodlebug Design for making the most awesome 6×6 patterned paper EVER – all of the patterned papers are from various Rainbow Petite Prints paper pads plus another one of theirs that I’ve had in my stash for many years. I used Neenah Classic Crest Solar White cardstock for all 13 of the white tags slid into the pockets. There is a pocket inside the front cover, and there are three tri-fold inserts that each contain four pockets each with white tags and little doo-dad pulls at the top of each one. And here’s another huge shout-out to STAMPlorations for making some pretty awesome dies in their CUTplorations line that I used for die cuts on a number of the pages for photos and journaling. I used a Cottage Cutz die to create some double-stitched oval die cuts on a few of the pages as well (these are some more of my favorites). The cover is laminated and has an elastic cord to hold it closed. This was definitely a labor of love and I have plans to make a few more.
This was a booger to photograph… what with the problems I’m having with my old camera, the slick laminated cover sliding around (and casting a shine), and pages that would not open completely without holding them… so I did the best I could, lol!
I hope you’ve enjoyed seeing this Traveler’s Notebook as much as I enjoyed making it! It was a blast! Thanks so much for stopping by today – we’ll see you next time! ;)
5/2/21 Top 5 at Lil Patch of Crafty Friends Challenge Blog!
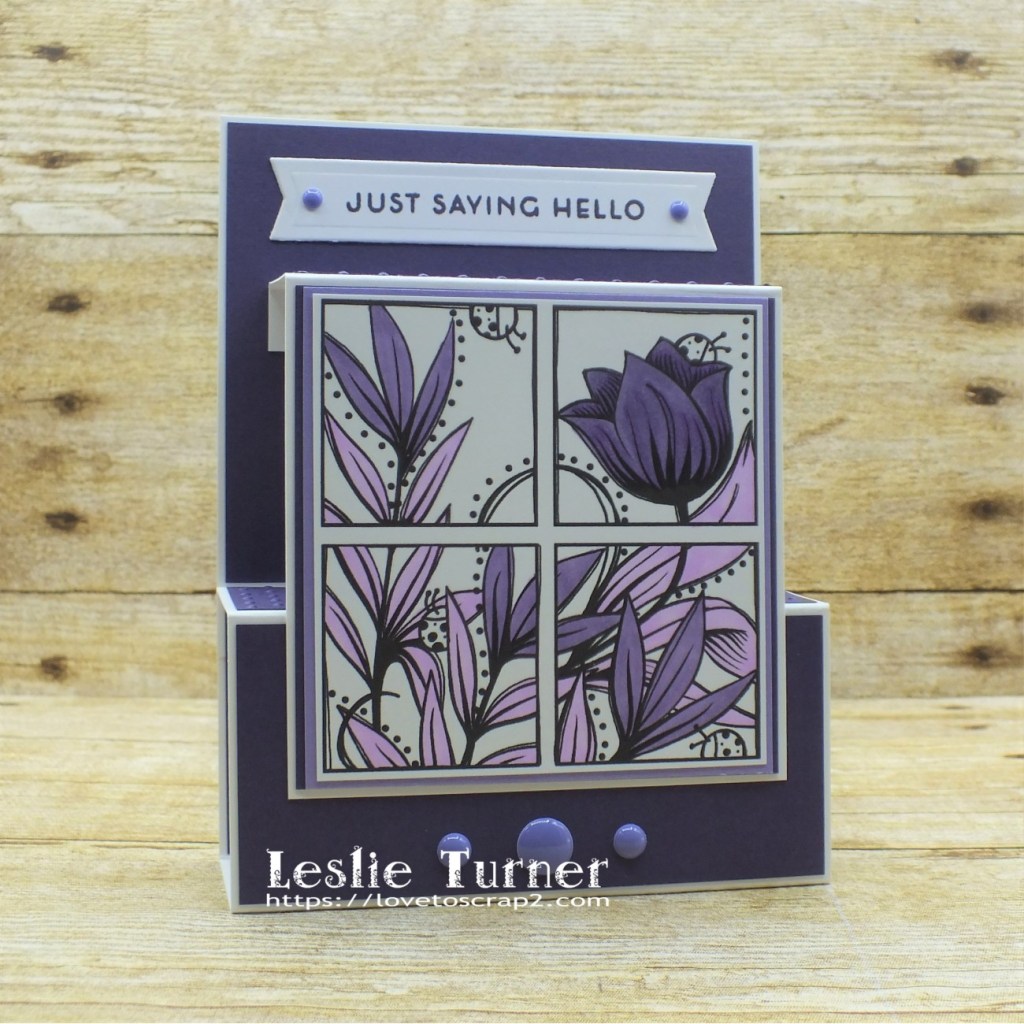
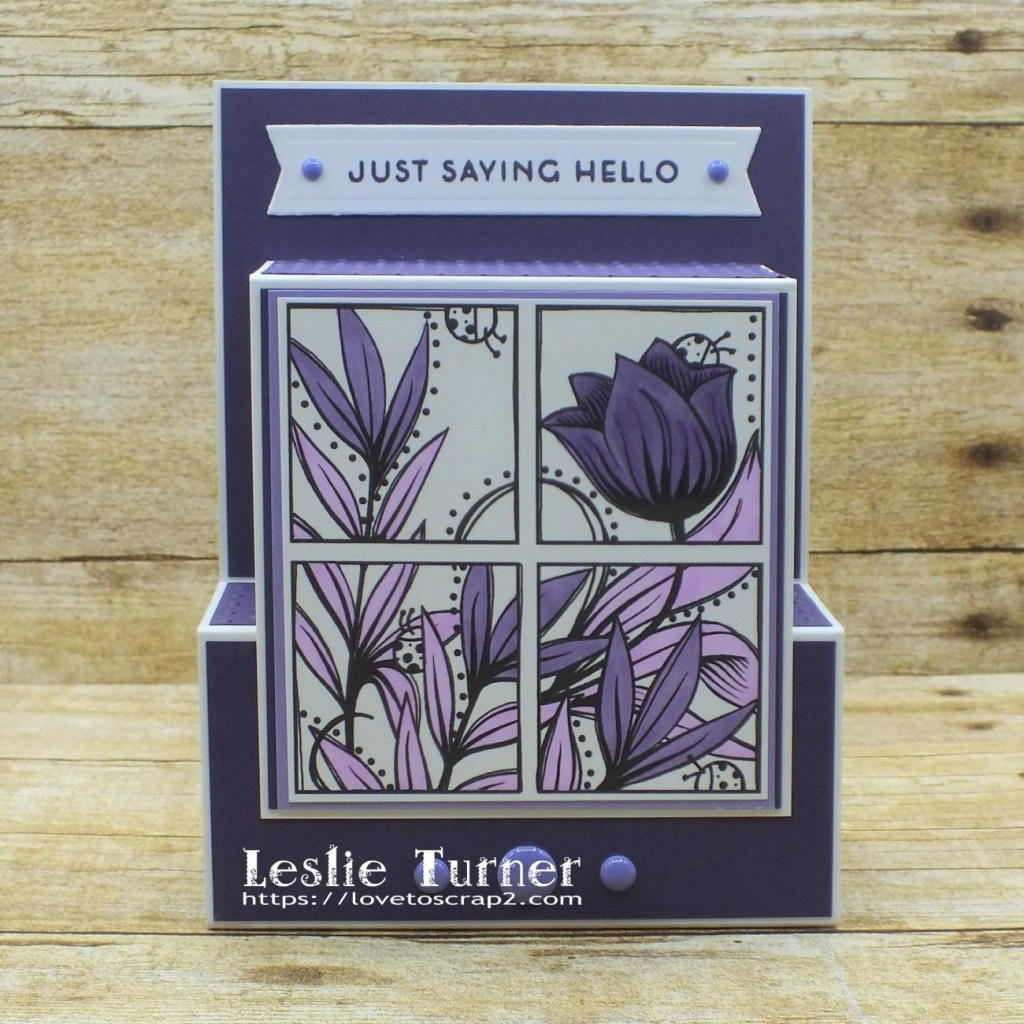
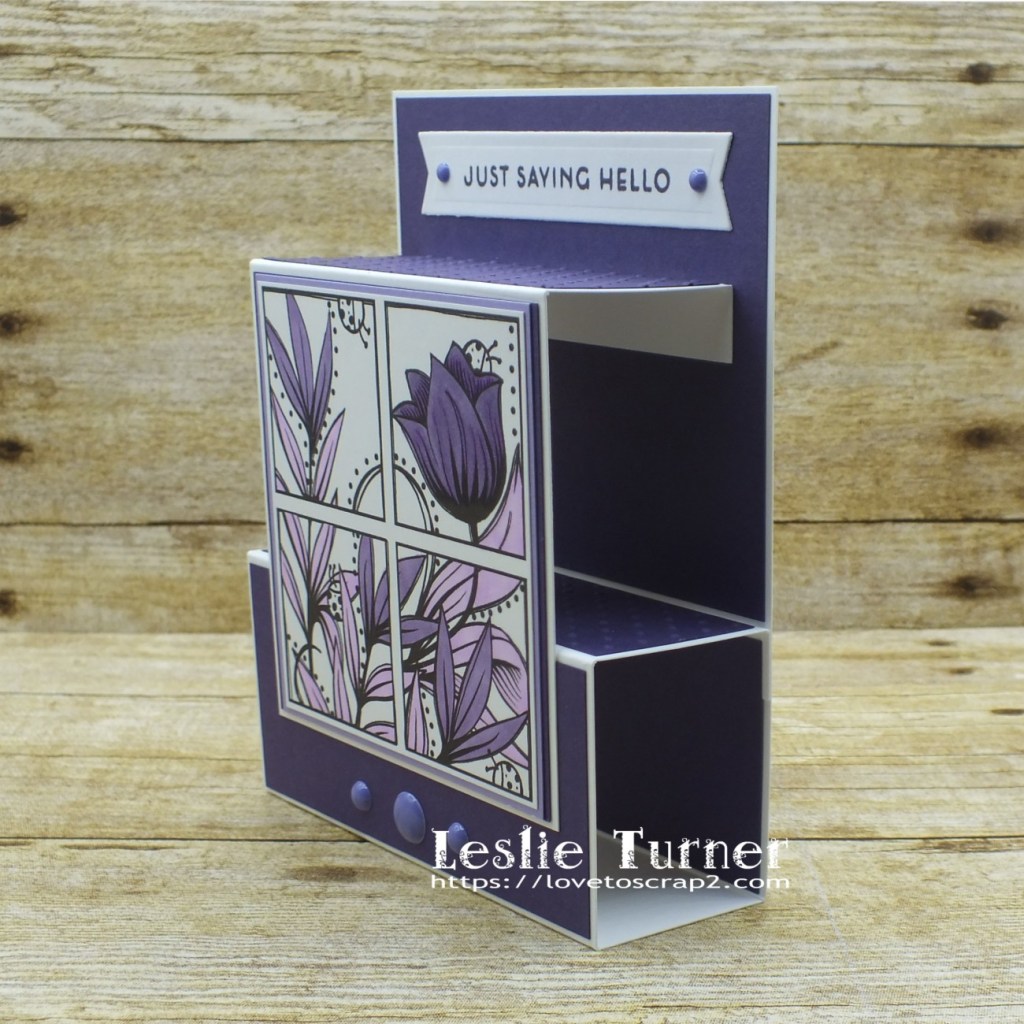
Hi friends! Hope your week is starting off great! Mine started with a doctor appointment… new insurance January 1st means a new primary care provider and I only put it off four months, lol! Affiliate links are used in this post at no cost to you. I really appreciate your support! I’ve popped in this evening with a fun birthday matchbook I created for a birthday coming up soon. Squeal – I’m HOOKED on matchbooks! OMG, they are so tiny and so stinkin’ fun!
I cut the base from Neenah Classic Crest Solar White cardstock and used a primarily-purple color scheme, with purple polka-dot paper on the base, and I cut the window frame, rug and sentiment panel from CutCardStock Basis Dark Purple cardstock. This was the first one I made and I learned a few tricks along the way for the next ones, lol!
I stamped all the elements on Neenah Classic Crest Solar White cardstock, colored them with alcohol markers and cut them with the coordinating dies. So sorry about these close-ups. My camera is on it’s way out. It’s eight years old and doesn’t seem to hold settings anymore. Macro and super macro are blurry, no white balance (which is a nightmare in the light box), it literally gobbles up batteries in two or three uses so I have to keep it hardwired all the time, it no longer reads SanDisks so I have to connect it directly to the laptop with a USB cable to upload my pics… I could go on and on. I guess after eight years I’ve gotten my money’s worth. So my new Canon Rebel T7 shipped out today and I will hopefully have it in a few days. I can’t wait… :P
Here are shots going around the outside of the matchbook and with the little envelope. ;)
And one more peek… I can’t stand it! I’ve been looking at these sets for the past few months and finally gave in! So stayed tuned for a few more, lol! I treated myself to the birthday, den, kitchen and craft room sets! “Warning: Matchbooks are addictive!” ;)
Hi everyone – I hope your week is off to great start! A new ‘3 Colors Plus Twist’ challenge has started today over at The Outlawz Tuesday Color Challenge and our sponsor is Beccy’s Place so be sure to come on over and play! Affiliate links are used in this post at no cost to you. I really appreciate your support! I created a Father’s Day card using Neville from Beccy’s Gnomes In My Garden digital stamp set. I’m so in love with Neville. I’ve had him in my stash for a little while and this is the second time I’ve used him. Is he cool or what?! If I wasn’t married and if Neville were a real dude, I’d SO date him, lol!
For the 3 Colors Plus Twist challenge this fortnight, we are to use the three colors shown in the photo below with a twist of a die cut. Definitely do-able! I used blue and green when I colored Neville, used double-stitched rectangle dies and added a yellow strip to my card design so I’ve covered all bases! ;)
I cut a standard A2 size side-folding card base from Neenah Classic Crest Baronial Ivory cardstock. I printed Neville on Neenah Classic Crest Baronial Ivory cardstock, colored him with alcohol markers and cut him with a double-stitched rectangle die. I layered the image on a slightly larger double-stitched rectangle cut from CutCardStock Pop-Tone Gumdrop Green. I didn’t have the right color of blue cardstock in my stash so I faked it by cutting a slightly larger rectangle of the ivory cardstock and coloring the outside 1/2″ around all four sides, then adhered it beneath the layered image. I added a wide strip of CutCardStock Camomile cardstock down the center of the card base, stamped the sentiment in black ink at the bottom, adhered the layered image, and added three black enamel dots to the top to finish the card front.
Products used: Cardstock/Paper: Neenah Classic Crest Baronial Ivory cardstock, CutCardStock Pop-Tone Gumdrop Green and CutCardStock Camomile cardstock Stamps: Neville from Beccy’s Place Gnomes In My Garden digital stamp set, The Project Bin Classic Man stamp set Ink: Nuvo alcohol markers- 391, 412, 430, 476, 466; Memento Tuxedo Black ink Dies/Punches: Cottage Cutz Double-Stitched Rectangle dies Accessories: Tombow Mono permanent adhesive, Bearly Art precision craft glue, Gemini Junior, MISTI stamp tool, Eyelet Outlet Black Enamel Dots
I hope you’ve enjoyed this project and will come over and join in all the fun at The Outlawz Challenges! I hope you’ll link up a project this fortnight – we’d love to see what you do with this color challenge! And be sure to check out all the fun images at Beccy’s Place! Thanks so much for stopping by – we’ll see you next time! ;)
4/30/21 Spotlight Winner at A Perfect Time To Craft Open Challenge!
Hi everyone! I hope you’ve had a great week and will be doing something fun (and safe) this weekend! Affiliate links are used in this post at no cost to you. I really appreciate your support! I’m happy to be back on the Eyelet Outlet blog today with another awesome DT inspiration project! I created a fun hybrid Father’s Day card featuring a slew of awesome brads and of course some washi tape!
I cut the inside panel from CutCardStock Sandcastle cardstock and embellished it with a strip of CutCardStock Brown Bag Kraft cardstock, a narrow strip of the sandcastle cardstock for a tone-on-tone effect, and a narrow strip of CutCardStock Curious Metallic Night cardstock. I stamped the sentiment in black ink on a scrap of the sandcastle cardstock, cut it with a stitched rectangle die and layered it on a slightly larger black cardstock die cut, and then layered the panel on the twine cardstock.
And one more look… I chuckled the entire time I was creating this! Absolutely love how it turned out! ;)
Other products used: Cardstock/Paper: CutCardStock Curious Metallic Night cardstock, CutCardStock Brown Bag Kraft cardstock, CutCardStock Sandcastle cardstock Stamps: DRS Designs Fishing Rules digital image, The Project Bin Classic Man stamp set Ink: Memento Tuxedo Black ink, Sakura Black Pigma Micron 08 pen Dies/Punches: My Favorite Things Stitched Rectangle STAX dies Accessories: Bearly Art precision craft glue, Tombow Mono permanent adhesive, MISTI stamp tool
I hope you’ve enjoyed today’s project! Be sure to check out all the fun goodies at Eyelet Outlet! I can already see you drooling, lol! Be sure to ‘like’ and ‘follow’ Eyelet Outlet Facebook Page to keep up with news and sales, and while you’re at it, join the Eyelet Outlet Fans Facebook group for lots of creative inspiration! Thanks so much for stopping by today – we’ll see you next time! ;)
Hello again! I’m back with the third project in my first feature as guest designer for STAMPlorations Stencil Sunday! I’m having a blast! Affiliate links are used in this post at no cost to you. I really appreciate your support! As mentioned in my previous posts, I have three projects to share and wanted to showcase them individually so I can enjoy sharing them in some challenges. All three projects feature several ARTplorations Stencils and Masks along with other products available in the store. So here is a fun mixed media board!
I started by laying a 6×6 piece of Neenah Classic Crest 110# Solar White cardstock with the ARTplorations ART happens Mask and three pieces of the ARTplorations Circles Flexi-Template in my ink spray cardboard box and randomly sprayed Red, Gold, Yellow and Orange Glimmer Mists over the board. I then put a 2×2 EcoArtBoard into the cardboard box with the R on the mask centered over it and sprayed the Glimmer Mists over it as well. The spray landed heavier in some areas on both pieces, splattered/splotched in some areas, and even ran in a couple areas but I felt like all this contributed in a positive way to this mixed media board! After both pieces were thoroughly dry, I adhered the inked cardstock to a 6×6 Gessobord with matte gel used as an adhesive, and then randomly stamped sentiments from the STAMPlorations Art Is stamp set by pressing the stamps into barn door archival ink and then pressing them onto the pieces with my fingers rather than putting them on a block. I expressed ink from my Gold Posca pen onto a piece of scrap paper and flicked gold ink over the board, and then ran the pen around the edges of both pieces. I used the matte gel to adhere the EcoArtBoard to the Gessobord, lining up the letters. The finishing touch was adhering an arrow from the CRAFTplorations Funky Arrows #2 pack with the matte gel and drawing four tiny gold dots on the arrow with the Gold Posca pen.
Here are a couple additional shots.
And one more peek… this was so much fun! This mask and circle templates are awesome! Nothing like good mixed media play!
Other products used: Cardstock/Paper: Neenah Classic Crest 110# Solar White cardstock Ink: Tattered Angels Glimmer Mist- Red, Gold, Yellow and Orange; Ranger barn door archival ink; Gold Posca pen Accessories: Ampersand Art Gessobord, RubberStampConcepts EcoArtBoard, Stencil Magic repositionable stencil adhesive, Liquitex Matte Gel (used as an adhesive)
I hope you’ve enjoyed these projects and you’re inspired to grab some of your stencils and play! Be sure to check out all the amazing stamps, dies, stencils, digis and other crafty goodies at the STAMPlorations main, outlet and digital stores! Use code STAMPGIRLLESLIE for a 20% discount on your orders in the store (with unlimited uses)! And there is A LOT going on over at the STAMPlorations blog – tons of creative inspiration, tutorials, promotions and giveaways – all month long! If you’ve never visited, you are definitely in for a good time! When you do visit, be sure to leave comments on the posts! Every month Shery draws seven random winners from all the posts published during the month, so the more posts you comment on, the more chances you have to win! And be sure to Follow STAMPlorations on Facebook, Instagram and Pinterest for more creative inspiration! Thanks so much for stopping by today – we’ll see you next time! ;)
Howdy peeps! As I mentioned in my last post, I’m guest designing for STAMPlorations Stencil Sunday for the next three months and I’m totally enjoying myself! Affiliate links are used in this post at no cost to you. I really appreciate your support! I have three projects to share for my first feature and I’m showcasing them in individual posts so I can enjoy sharing them in some challenges. All three projects feature several ARTplorations Stencils and Masks along with other products available in the store. So I’m back with my second project which is a pretty anniversary card!
I cut a standard A2 size top-folding card base from Neenah Classic Crest Solar White 110# cardstock. I grabbed a pretty A2 Card Front from the CRAFTplorations Quick Cards #3 – Spring Florals pack and masked off the flowers and leaves in the corners. Using the ARTplorations Almost Shattered Slimline Stencil, I applied iced spruce distress ink with an ink blending brush over the large open area. I stamped the STAMPplorations Beautiful Place To Get Lost sentiment in Memento Tuxedo Black ink and then a second time in Versamark. I applied clear embossing powder and hit it with the heat tool. I discovered this trick years and years ago to get virtually any color of heat embossing and haven’t bought colored embossing powder since! I adhered the panel to CutCardStock Basis Dark Purple cardstock and adhered it to the front of the card base. The final touch was the application of several iridescent gemstones.
And one more look… totally loving how this anniversary card turned out! This stencil is so awesome! And these Card Fronts are beyond gorgeous and I can’t wait to use more of them!
Other products used: Cardstock/Paper: Neenah Classic Crest 110# and 80# Solar White cardstock, CutCardStock Basis Dark Purple cardstock Ink: Ranger iced spruce distress ink, Memento Tuxedo Black ink, Versamark Accessories: Stencil Magic repositionable stencil adhesive, Tombow Mono permanent adhesive, Bearly Art precision craft glue, MISTI stamp tool, Hero Arts clear embossing powder, Milwaukee heat tool, ScraPerfect iridescent gemstones
I hope you’ve enjoyed these projects and you’re inspired to grab some of your stencils and play! Be sure to check out all the amazing stamps, dies, stencils, digis and other crafty goodies at the STAMPlorations main, outlet and digital stores! Use code STAMPGIRLLESLIE for a 20% discount on your orders in the store (with unlimited uses)! And there is A LOT going on over at the STAMPlorations blog – tons of creative inspiration, tutorials, promotions and giveaways – all month long! If you’ve never visited, you are definitely in for a good time! When you do visit, be sure to leave comments on the posts! Every month Shery draws seven random winners from all the posts published during the month, so the more posts you comment on, the more chances you have to win! And be sure to Follow STAMPlorations on Facebook, Instagram and Pinterest for more creative inspiration! Thanks so much for stopping by today – we’ll see you next time! ;)
Hi everyone! Happy Sunday – hope you’re having a fabulous weekend! I’m super stoked to share that I’m guest designing for STAMPlorations Stencil Sunday for the next three months! This is a dream come true for this old gal… I LOVE their products! Affiliate links are used in this post at no cost to you. I really appreciate your support! For my first feature, I have three mixed media projects to share and will showcase them in individual posts so I can enjoy sharing them in some challenges. All three projects feature ARTplorations Stencils and Masks along with other products available in the store. My first project is a mixed media congrats note card. We can always use those in our stash!
I created a standard A2 size top-folding card base from Neenah Classic Crest 110# Solar White cardstock and cut a layering panel from Neenah Classic Crest 80# Solar White cardstock. I angled the ARTplorations Almost Tetris Slimline Stencil on the white cardstock panel and applied twisted citron, cracked pistachio, mermaid lagoon, blueprint sketch, wilted violet distress inks with ink blending brushes, overlapping each color slightly as it was applied. I mixed a tiny bit of water in black gesso and flicked it onto the panel with a fan brush, protecting the corners with scrap paper. I cut two strips for each corner (a narrow one layered on top of a wider one) and a layering panel from CutCardStock Pop-Tone Black Licorice cardstock, adhered them to the panel and then adhered the panel to the black cardstock layer. Using the CUTplorations Bravo Word Die, I die cut two sentiments from the black cardstock and layered one on top of the other for a little extra dimension. The finishing touch was the addition of several black gemstones.
I cut the inside panel from Neenah Classic Crest 80# Solar White cardstock and embellished it with a leftover strip trimmed from the inked panel on the front and a narrow strip of CutCardStock Pop-Tone Black Licorice, and layered the panel on the black cardstock. Since this is a note card, I left the panel blank to write a custom message.
And one more look… this stencil and word die are so awesome I can’t stand it! What a cool note card!
Other products used: Cardstock/Paper: Neenah Classic Crest 110# and 80# Solar White cardstock, CutCardStock Pop-Tone Black Licorice cardstock Ink: Ranger distress ink- twisted citron, cracked pistachio, mermaid lagoon, blueprint sketch, wilted violet Accessories: Stencil Magic repositionable stencil adhesive, Liquitex Black Gesso, Ranger distress sprayer, fan brush, Big Shot, Bearly Art precision craft glue, Tombow Mono permanent adhesive
I hope you’ve enjoyed these projects and you’re inspired to grab some of your stencils and play! Be sure to check out all the amazing stamps, dies, stencils, digis and other crafty goodies at the STAMPlorations main, outlet and digital stores! Use code STAMPGIRLLESLIE for a 20% discount on your orders in the store (with unlimited uses)! And there is A LOT going on over at the STAMPlorations blog too – tons of creative inspiration, tutorials, promotions and giveaways – all month long! If you’ve never visited, you are definitely in for a good time! When you do visit, be sure to leave comments on the posts! Every month Shery draws seven random winners from all the posts published during the month, so the more posts you comment on, the more chances you have to win! And be sure to Follow STAMPlorations on Facebook, Instagram and Pinterest for more creative inspiration! Thanks so much for stopping by today – we’ll see you next time! ;)
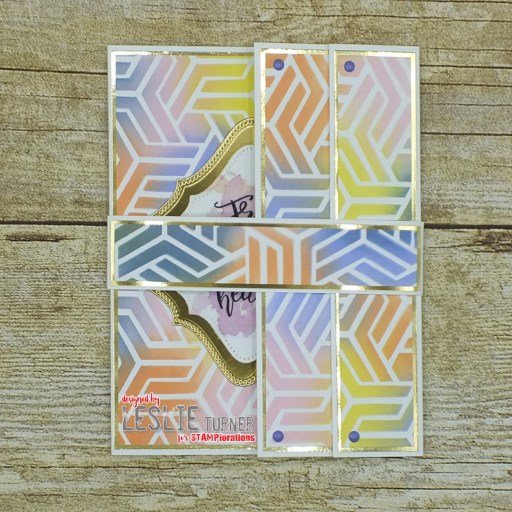
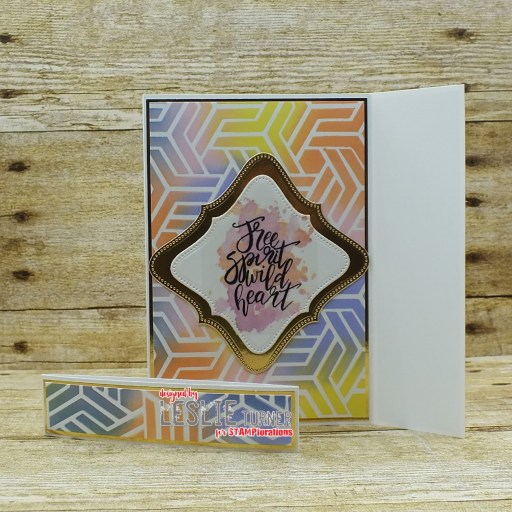
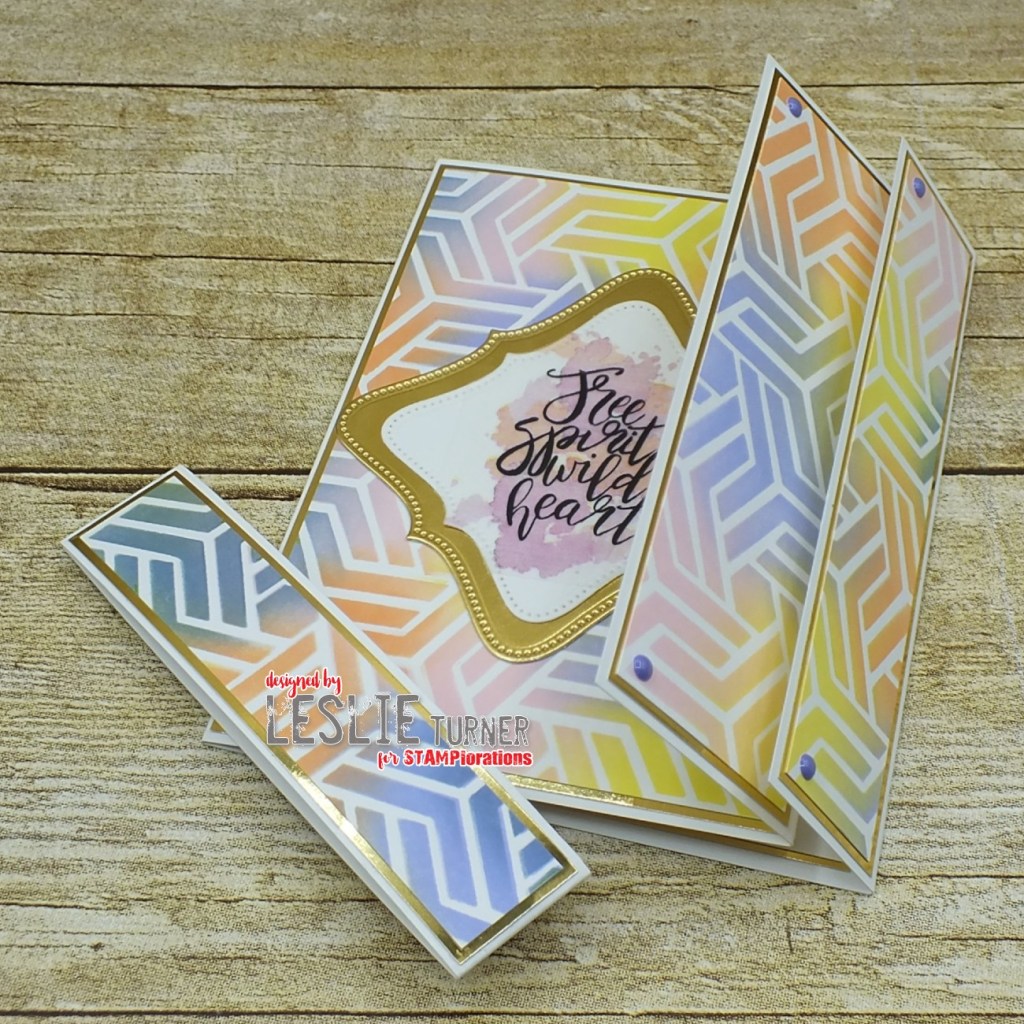
Hi friends! I hope the weather is wonderful where you are! I’m absolutely thrilled to share that I’m guest designing for STAMPlorations Stencil Sunday for the next three months! I’m so excited I can hardly stand it! Affiliate links are used in this post at no cost to you. I really appreciate your support! For my first feature I have three mixed media projects to share using several ARTplorations Stencils and Masks along with other goodies available in the store, so grab a cuppa and hang with me for a few!
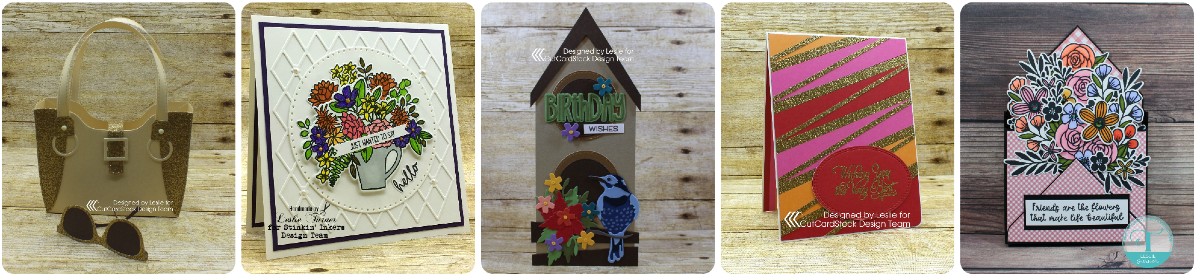
For more details and photos of each project, click the link above each photo below which will take you directly to the corresponding blog post. I’m posting each project individually so I can enjoy sharing them in some challenges. :)
I hope you’ll enjoy seeing each of these projects and will be inspired to grab some of your stencils and play! Be sure to check out all the amazing stamps, dies, stencils, digis and other crafty goodies at the STAMPlorations main, outlet and digital stores! Use code STAMPGIRLLESLIE for a 20% discount on your orders in the store (with unlimited uses)! And there is A LOT going on over at the STAMPlorations blog – tons of creative inspiration, tutorials, promotions and giveaways – all month long! If you’ve never visited, you are definitely in for a good time! When you do visit, be sure to leave comments on the posts! Every month Shery draws seven random winners from all the posts published during the month, so the more posts you comment on, the more chances you have to win! And be sure to Follow STAMPlorations on Facebook, Instagram and Pinterest for more creative inspiration! Thanks so much for stopping by today – we’ll see you next time! ;)
Hi everyone! OMGosh, the weather here is absolutely gorgeous! Three of our cats ninja’d their way out the front door yesterday (they are all inside cats) just so they could enjoy the beautiful weather on the loose, I’m sure! Luckily, they didn’t stay out long. They do have a backyard catio that Ed built several years ago, so they get to go out whenever they want! Darn kids! ;) Affiliate links are used in this post at no cost to you. I really appreciate your support! I’m happy to be back on the Eyelet Outlet blog today with another awesome DT inspiration project! I created a Christmas card (see, I’m still in that mode…) using some awesome brads, washi tape and my favorite enamel dots!
I cut a standard A2 size side-folding card base from Neenah Classic Linen 100# Solar White cardstock along with a layering panel for the front from Neenah Classic Linen 80# Solar White cardstock. I die cut the Alpines from Neenah Classic Crest 80# Solar White cardstock (snow caps) and an assortment of papers from the Core’dinations Kraft-Core Nostalgic Collection, and inked the edges of the pieces with pumice stone distress ink before assembling them. I added two Moose Brads and adhered the Alpines to the linen layering panel. I added two angled strips of Copper Skinny Washi Tape, adhered the panel to a piece of white craft foam and then adhered the piece to the card base. I stamped the sentiment in brown ink, cut it with a stitched oval die and layered it on a slightly larger green die cut, and adhered it to the background panel. The finishing touch was the addition of several White Enamel Dots.
I cut the inside panel from Neenah Classic Crest 80# Solar White cardstock and embellished it with leftover strips of the Core’dinations Kraft-Core used on the front, stamped the sentiment in brown ink and layered the panel on more of the Core’dinations Kraft-Core.
And one more look… totally loving how this turned out! These brads are so fun!
Other products used: Cardstock/Paper: Neenah Classic Linen 100# Solar White cardstock, Neenah Classic Linen 80# Solar White cardstock, Neenah Classic Crest 80# Solar White cardstock, Core’dinations Kraft-Core Nostalgic Collection 6×6 pad Stamps: Clearly Besotted Merry Christmoose stamp set, Prickley Pear Stamps Cardinals clear stamp set Ink: Ranger pumice stone distress ink, Memento Rich Cocoa ink Dies/Punches: Sizzix Alpine thinlits, JustRite Stitched Oval and Vine Dies Accessories: Bearly Art precision craft glue, Tombow Mono permanent adhesive, Gemini Junior, Darice white craft foam
I hope you’ve enjoyed today’s project! Be sure to check out all the fun goodies at Eyelet Outlet! I can already see you drooling, lol! Be sure to ‘like’ and ‘follow’ Eyelet Outlet Facebook Page to keep up with news and sales, and while you’re at it, join the Eyelet Outlet Fans Facebook group for lots of creative inspiration! Thanks so much for stopping by today – we’ll see you next time! ;)