1/18/25 Weekly Favorite at Splitcoast Stampers!
Hey everybody, happy Wednesday! Can you believe we’re already to the middle of January?! I hope it’s not too cold where you are – it’ll be a minute before Spring arrives! I’m up on the Scrapbook Pal blog today sharing a tutorial for making a clean and simple friendship card featuring the Hero Arts Floral Rainbow and Clouds Clear Stamps & Dies. I totally love color. I am all about rainbows and pretty rainbow colors, and the brighter the colors are, the better I love them! So you can imagine how much I enjoyed using these products. Hero Arts never disappoints!

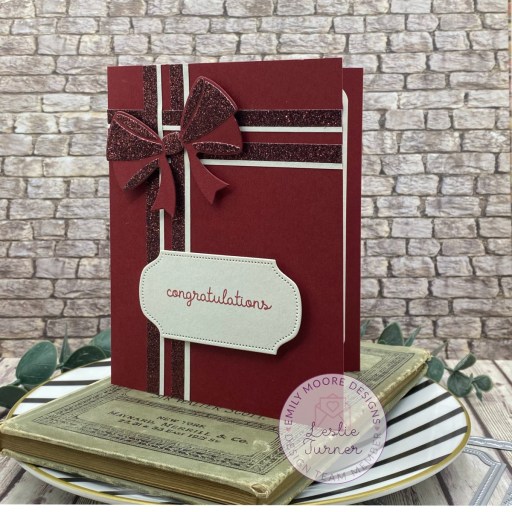
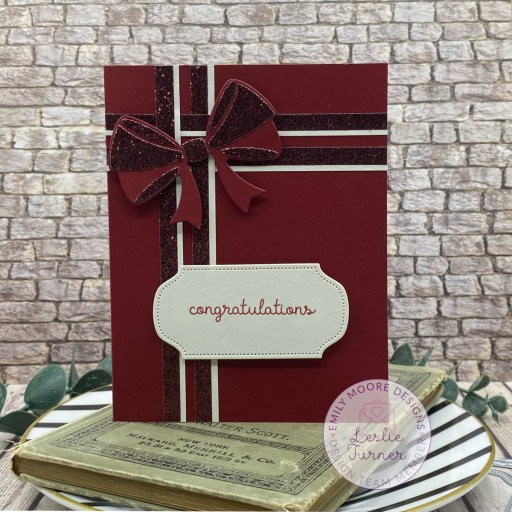
I started by stamping the focal image from the Hero Arts Floral Rainbow and Clouds Clear Stamps on Neenah Classic Crest Solar White cardstock in Memento Tuxedo Black ink. I colored it with a variety of Copic Ciao alcohol markers and then cut it with the coordinating die. Next, I cut the card base from Neenah Classic Linen 100# Solar White cardstock along with a layering panel which I cut with a Pinkfresh Studio Postage Edge Nested Rectangle die. I cut a slightly larger panel from CutCardStock Wild Salmon which I adhered beneath the postage edge panel and then adhered the panel to the card front on foam strips. I adhered the focal image along with sentiments (from the same stamp set) to the layered panel with foam squares. The finishing touch was adding a few iridescent gemstones.
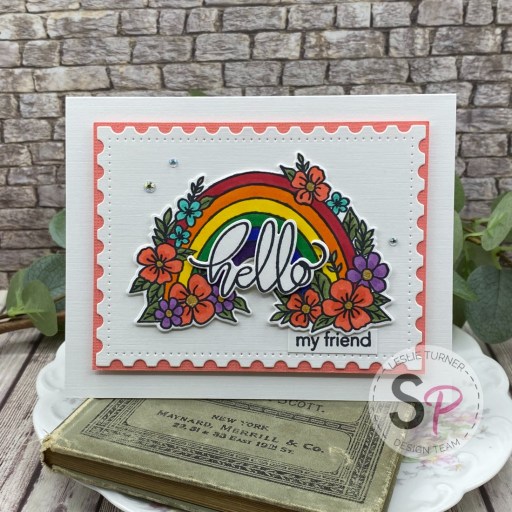
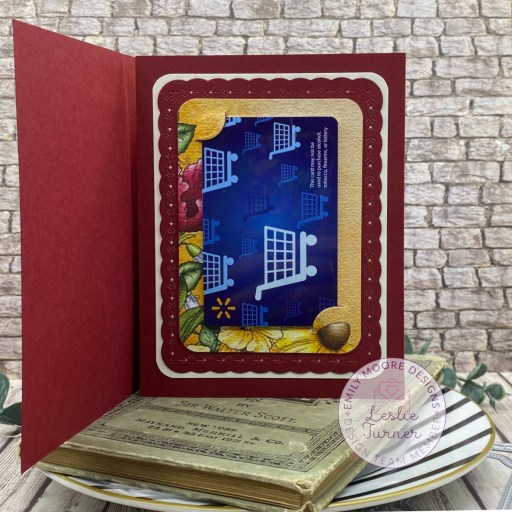
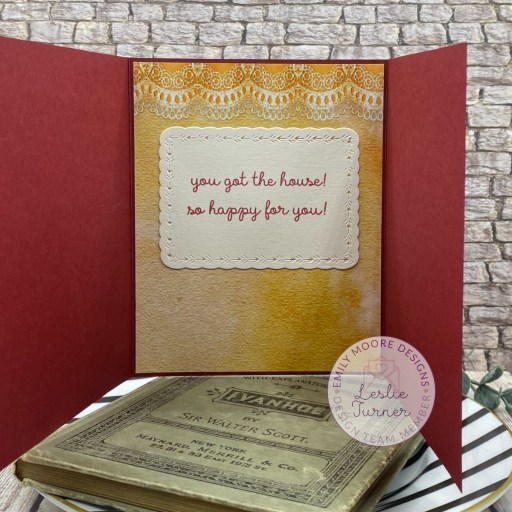
I cut the inside panel from Solar White cardstock, stamped the sentiment and flower in black ink, and layered the panel on the salmon cardstock.

Affiliate links are used in this post at no cost to you – I really appreciate your support!
Scrapbook Pal products used:
Hero Arts Floral Rainbow and Clouds Clear Stamps & Dies
Memento Tuxedo Black ink
Mini MISTI
Copic Ciao B18 Lapis Lauzuli
Copic Ciao BG23 Coral Sea
Copic Ciao G05 Emerald Green
Copic Ciao G94 Grayish Olive
Copic Ciao R14 Light Rouge
Copic Ciao R29 Lipstick Red
Copic Ciao Y08 Acid Yellow
Copic Ciao YR23 Yellow Ochre
Copic Ciao YR68 Orange
Copic Ciao V09 Violet
Copic Ciao V15 Mallow
Pinkfresh Studio Postage Edge Nested Dies
My Sweet Petunia Glue Press
Bearly Art precision craft glue
Scrapbook Adhesives Thin 3D Foam Squares White
Scrapbook Adhesives Crafty Foam Tape 54 ft
Other products used:
CARDSTOCK/PAPER: Neenah Classic Linen 100# Solar White cardstock, Neenah Classic Crest 80# Solar White cardstock, CutCardStock Wild Salmon cardstock
INK: Sakura Clear Star Gelly Roll pen
ACCESSORIES: Fiskars 12″ ProCision Rotary Bypass Paper Trimmer, Big Shot, iridescent gemstones
I hope you’ve enjoyed this project and you’re inspired to get your craft on! Be sure to check out the awesome array of craft supplies in the Scrapbook Pal store… the selection is amazing! And head over to the Scrapbook Pal Facebook, Pinterest and Instagram pages for more design team inspiration! And if you haven’t yet subscribed to our YouTube Channel, be sure to do that, too, for tons of hands-on crafty inspiration! Thanks so much for stopping by today – we’ll see you next time!
Scrappy hugs,