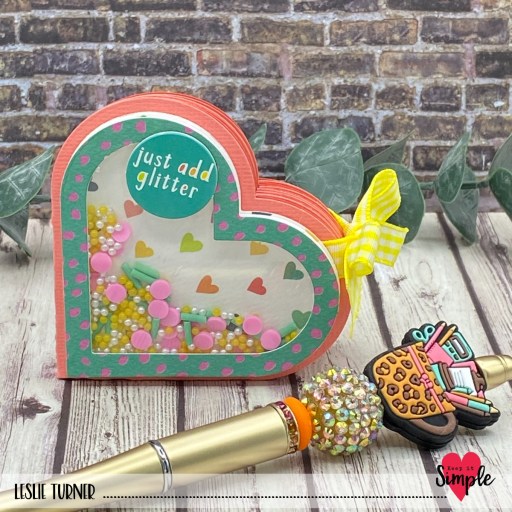
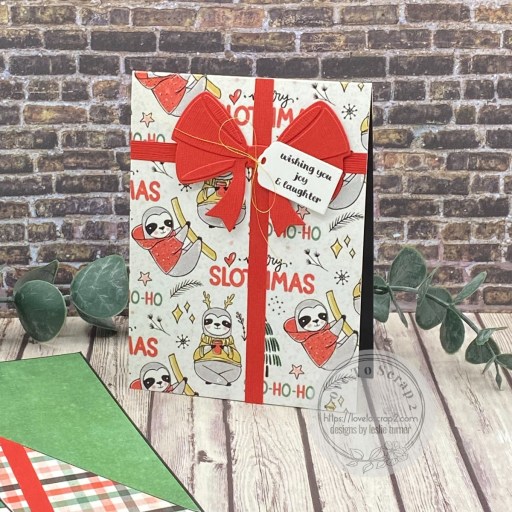
Hey everybody! I hope you’ve had a great week and have something fun planned this weekend. I’m up on the Emily Moore Designs blog today with a DT inspiration project featuring our Gift Card Holder Die With a Bow
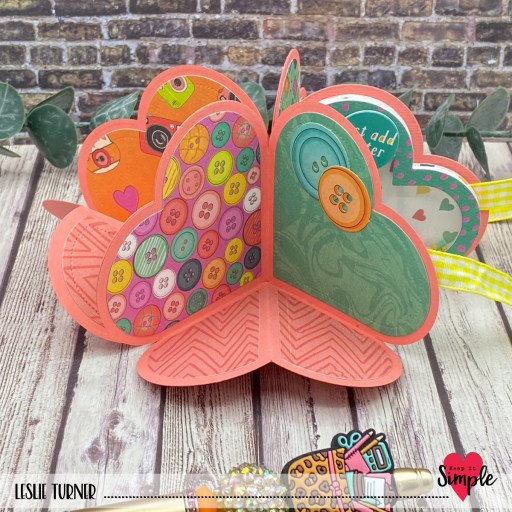
and Mini Gift Tag Holiday Sayings (free download). I created a fun sloth-themed diagonal pocket card (one of my favorite fun folds) as my debut project for this new design team and I’m over the moon excited!
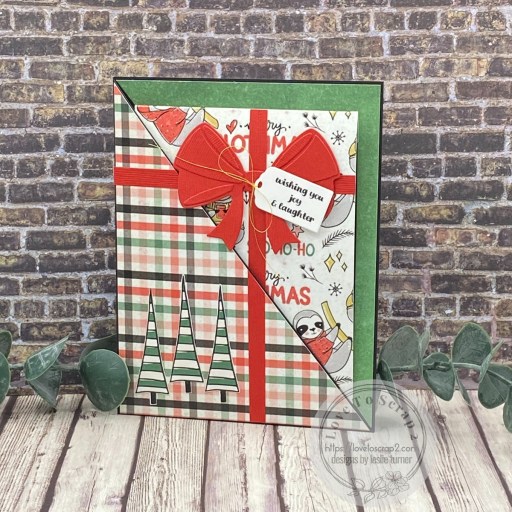
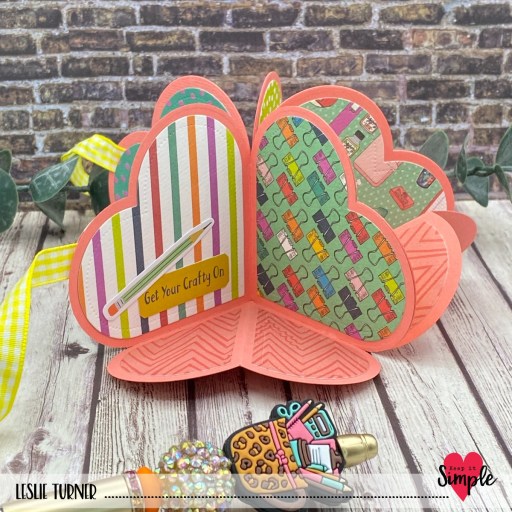
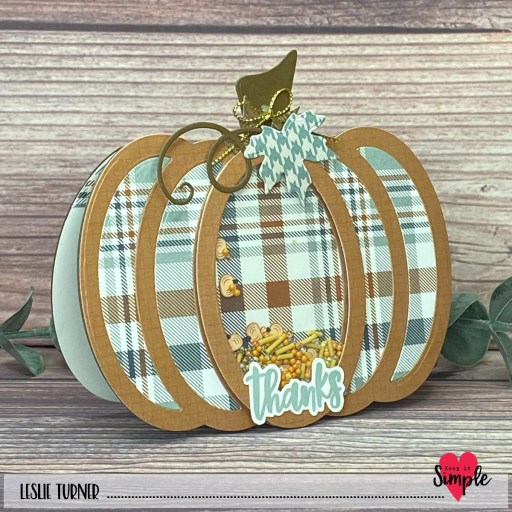
The card base is 5-1/2″ x 8-1/2″ and scored at 4-1/4″ which I cut from CutCardStock Astrobrights Eclipse Black. I sliced the front flap off at an angle (from top left to bottom right) and adhered two prints from the Traci Vanover Designs Embrace The Chill 6×6 paper pad to the diagonal flap and inside back. Next, I glued the flap across the bottom to form the pocket and added horizontal and vertical strips cut from CutCardStock Habanero Red to align with the bow detail on the mini card. The finishing touch was adding three trees to the card base, fussy cut from an ephemera sheet in the sloth paper pad.
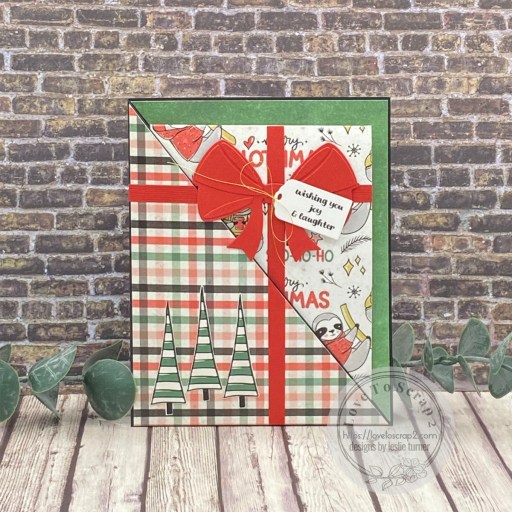
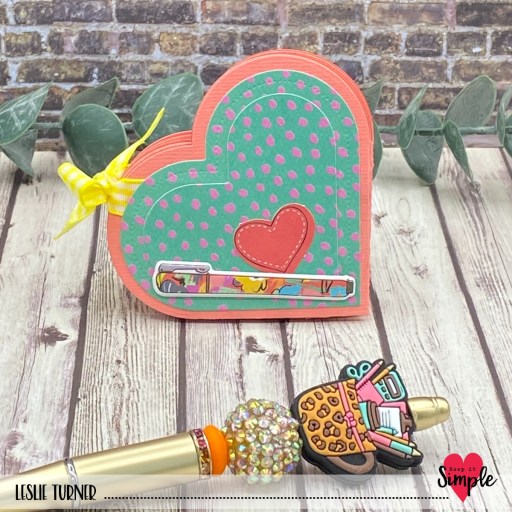
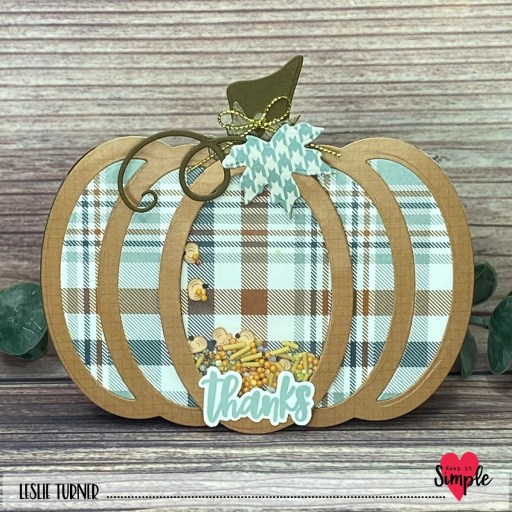
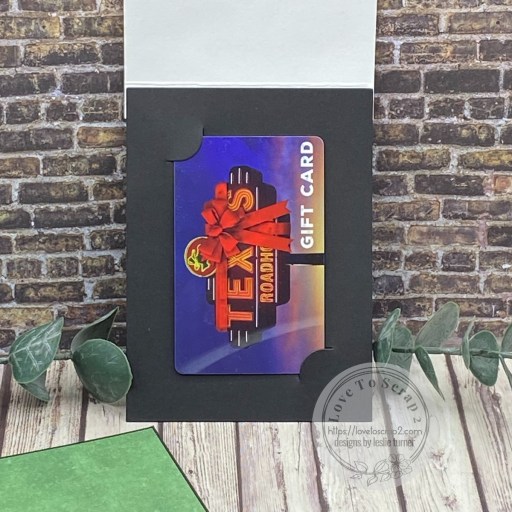
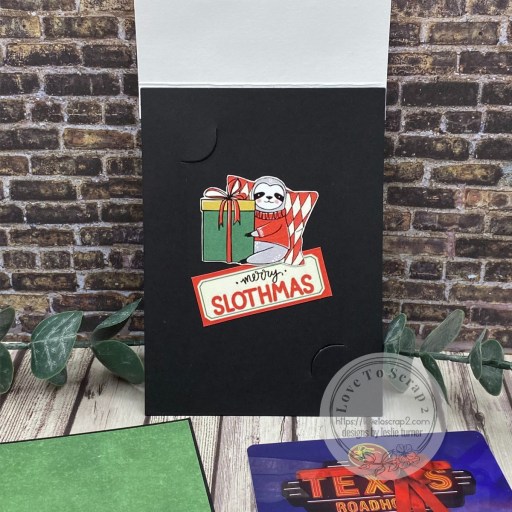
I created the base for the mini card using the gift card holder die in the set, cut from the Astrobrights Eclipse Black cardstock. I cut a flap from another print in the sloth paper pad measuring 3-1/2″ x 5-1/4″ and scored at 1/2″ on the long side, which I adhered to the gift card holder base. Using the bow dies in the set, I created the bow from the Habanero Red cardstock and set it aside. I cut another set of horizontal and vertical strips which I adhered to the front of the mini card, lining up with the strips on the card base. I adhered the bow, popping the left side up on adhesive foam squares so the mini card will slide in and out of the pocket nicely.
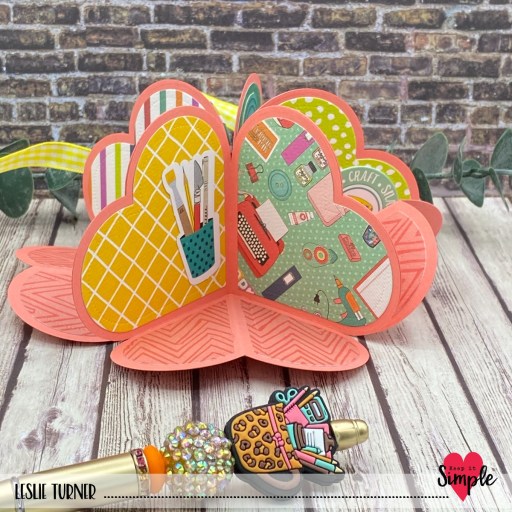
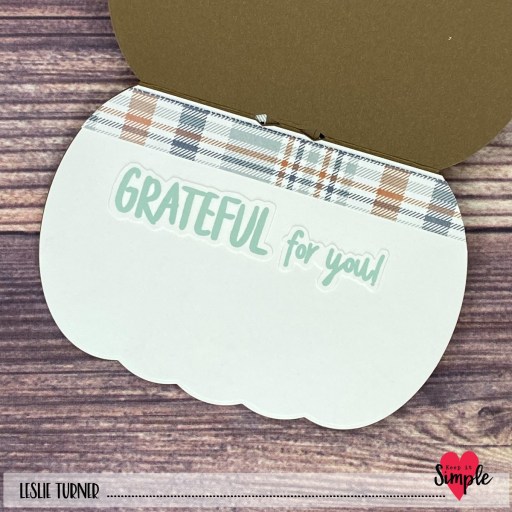
I printed the Mini Gift Tag Holiday Sayings on Neenah Classic Crest 80# Solar White cardstock. I cut one of them with the mini gift tag die in the set, tied a gold metallic thread bow, and adhered it with a thin adhesive foam square. I fussy cut a couple more pieces of ephemera from the sloth paper pad and adhered them to the inside center of the mini card base so they’re hidden under the gift card.
Emily Moore Designs products used:
Gift Card Holder Die With a Bow
Mini Gift Tag Holiday Sayings (free download)
Affiliate links are used in this post at no cost to you – I really appreciate your support!
Other products used:
CARDSTOCK/PAPER: CutCardStock Astrobrights Eclipse Black and Habanero Red cardstock, Neenah Classic Crest 80# Solar White cardstock, Traci Vanover Designs Embrace the Chill 6×6 paper pad
ACCESSORIES: Fiskars 12″ ProCision Rotary Bypass Paper Trimmer, Bearly Art precision craft glue, My Sweet Petunia Precision Glue Press, MISTI stamp tool, Big Shot, Scrapbook Adhesives 3D Foam Squares and Thin 3D Foam Squares, Coats gold metallic thread
I hope you’ve enjoyed seeing this project and you’re inspired to get crafty! New customers – use code LESLIE10 for 10% off your order! Be sure to Follow us on Facebook, Instagram and YouTube for crafty inspiration! Emily shares videos on all the social media platforms, and they are awesome and on point! Thanks so much for stopping by today – we’ll see you next time!
Scrappy hugs,