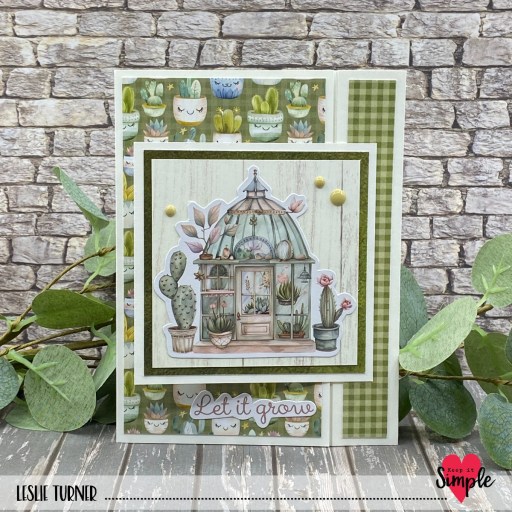
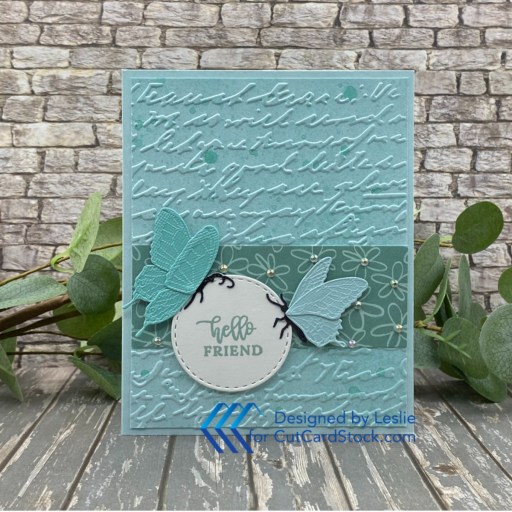
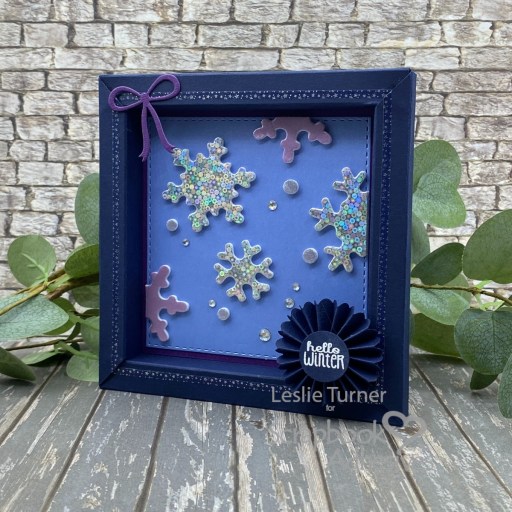
Hey everybody – hope you’re having a good week! I’m up on the CutCardStock blog today with a tutorial for making an interactive butterfly card. I had never heard of this pop out fun fold before I saw it on YouTube, and now I’ve made a couple of them (with different elements) and have another couple planned. So fun and easy! I made this one into a friendship card but it could be tailored for a birthday, anniversary, or just because. I used Pop Tone Snow Cone, Jet Stream Blue, Surf and Hummingbird cardstock which I paired with patterned paper, stamps, dies, and an embossing folder in my stash. I love these colors together!
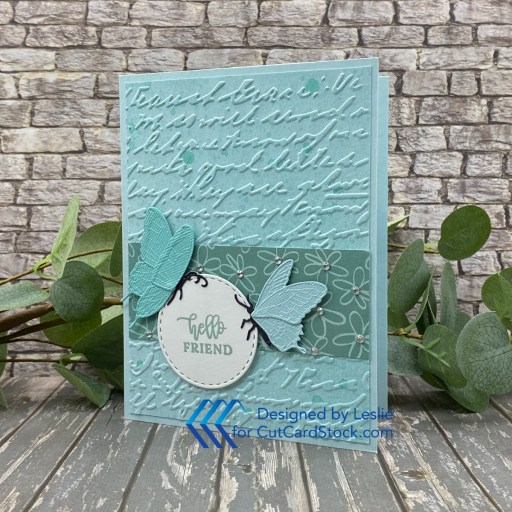
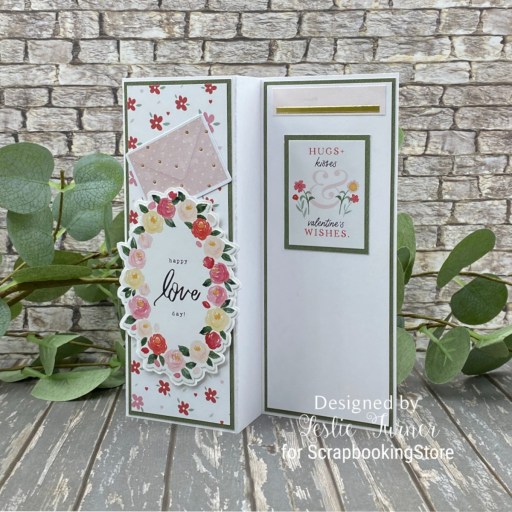
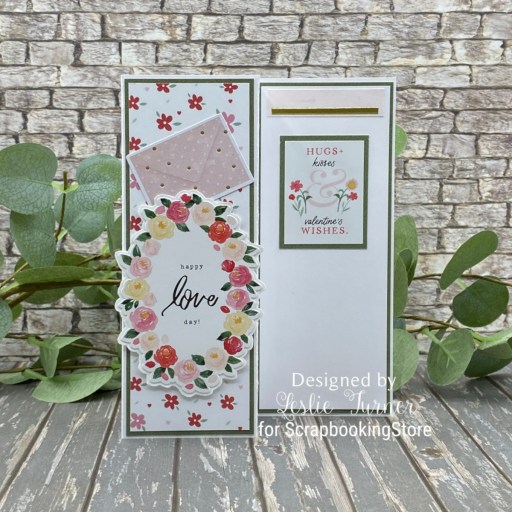
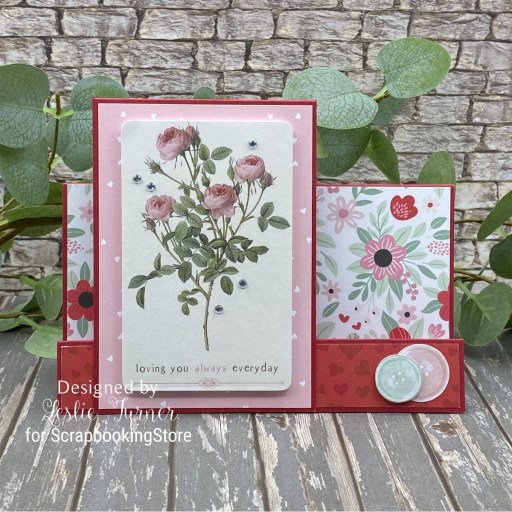
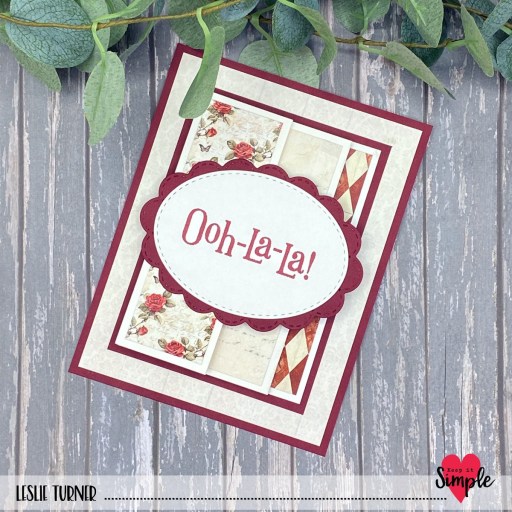
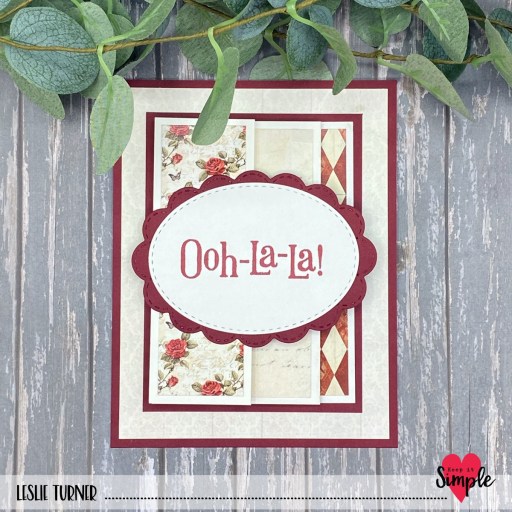
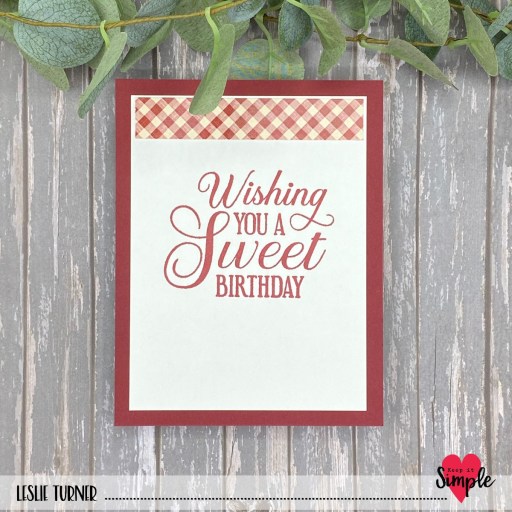
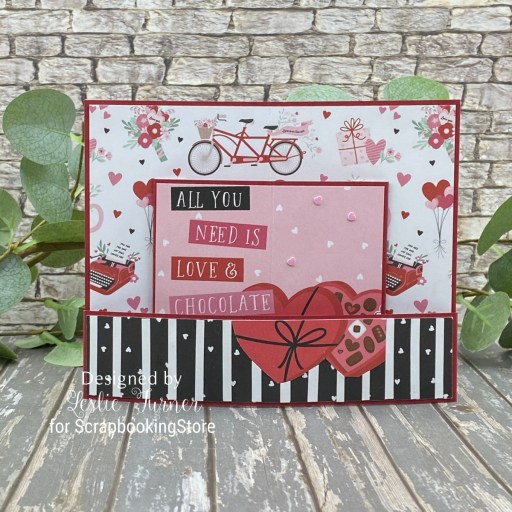
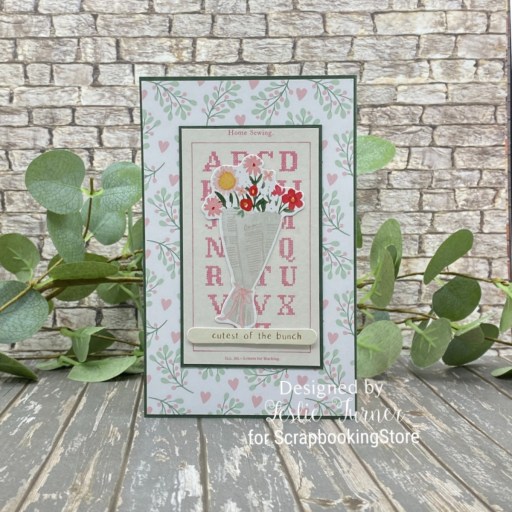
I used the Honey Bee Stamps Lovely Layers: Butterflies Dies to cut the butterflies. I cut the card base and panels from Pop Tone Sno Cone cardstock and added a panel of patterned paper from the simple Stories Boho Sunshine Collection Kit. The front sentiment is from the Hero Arts Here For You stamps which I cut with a Love From Lizi Stitched Circle Nested Cutting Die.
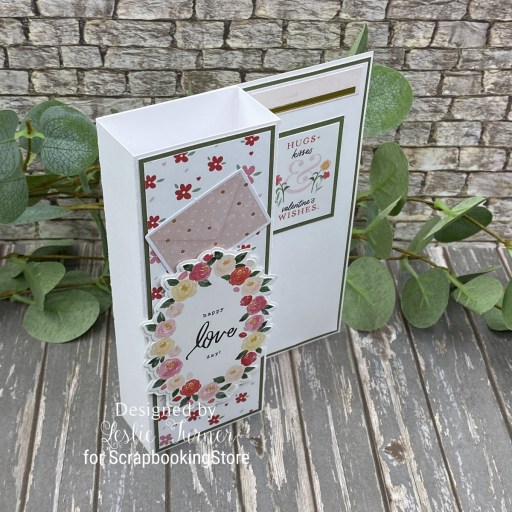
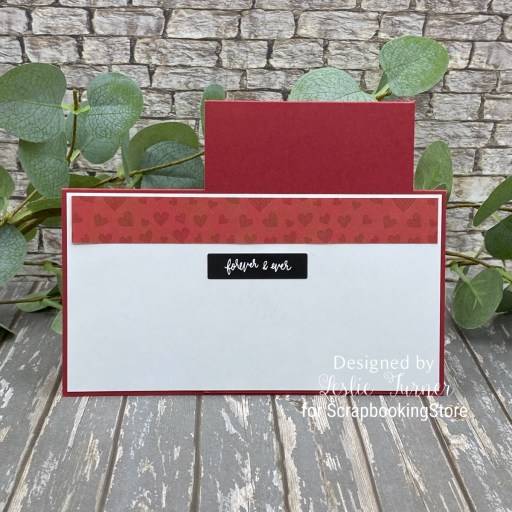
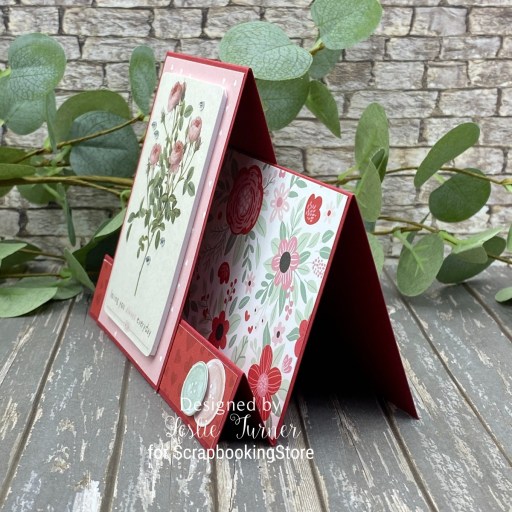
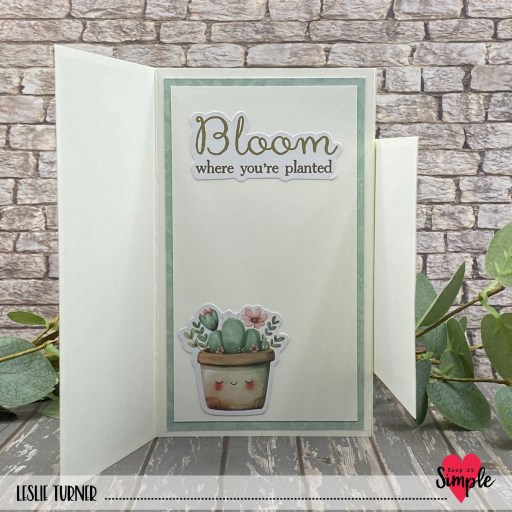
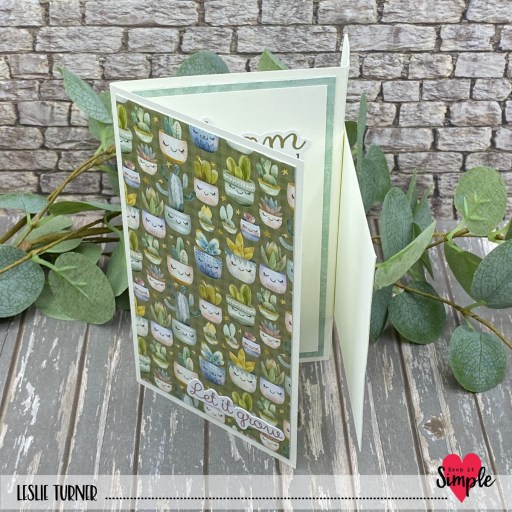
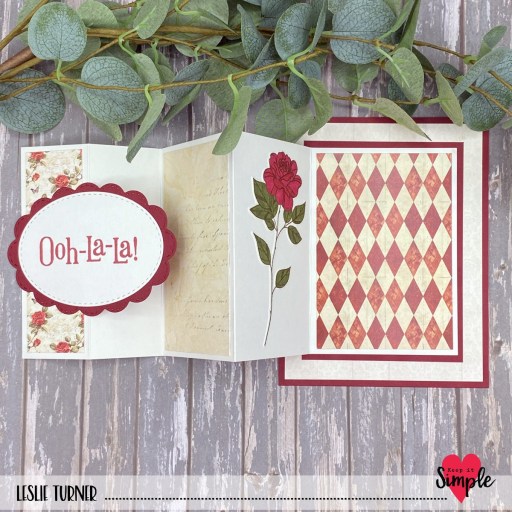
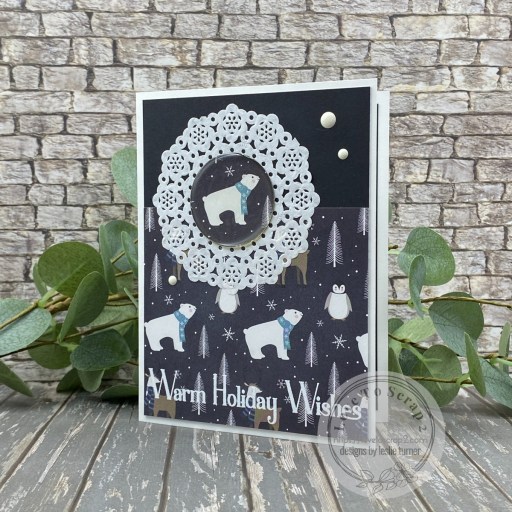
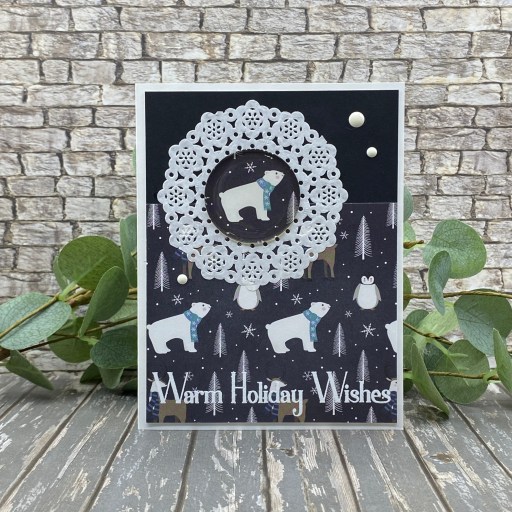
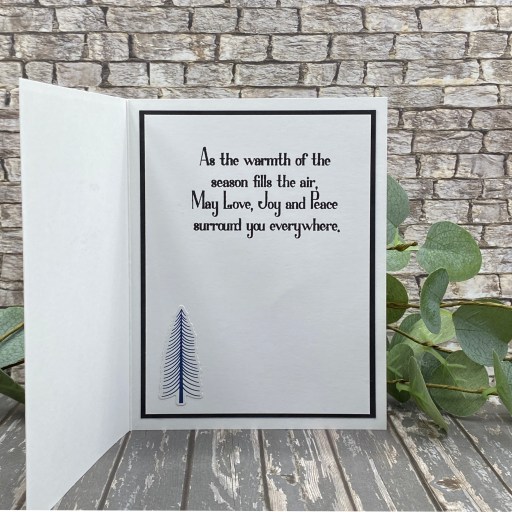
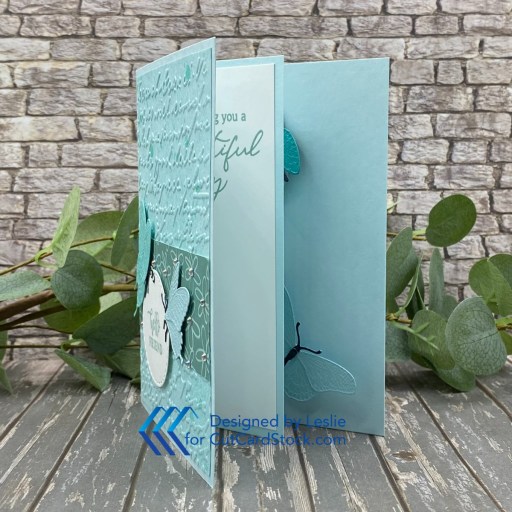
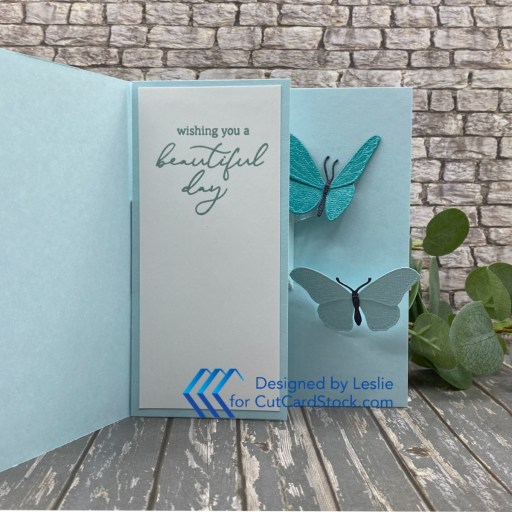
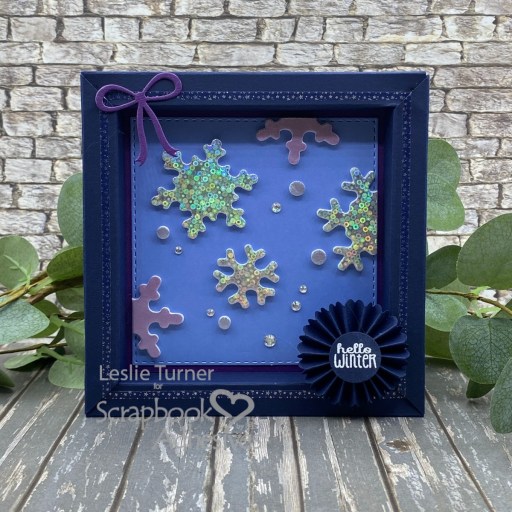
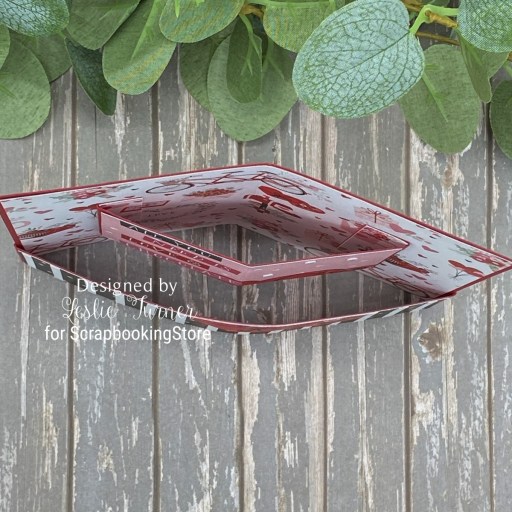
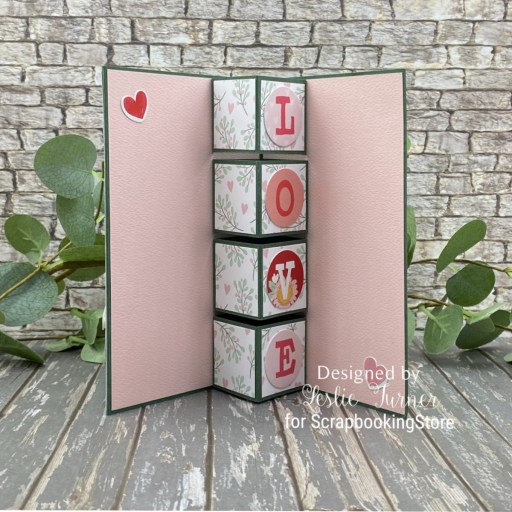
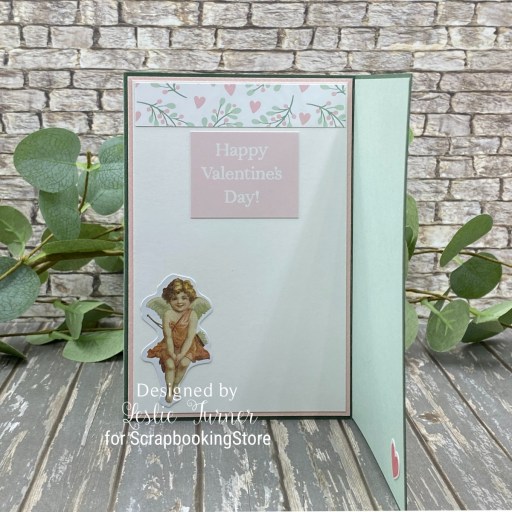
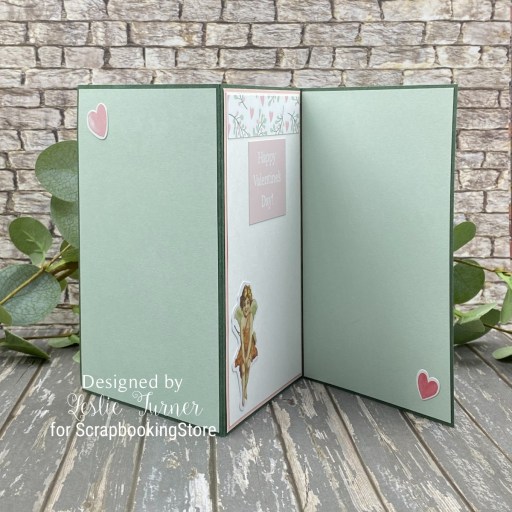
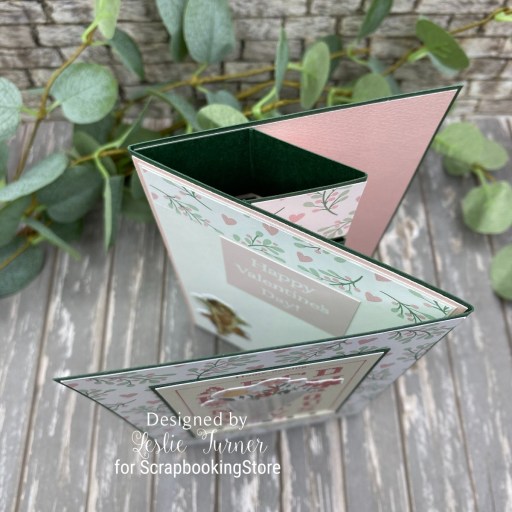
Here are shots of the card opening and then fully opened revealing a couple more butterflies that actually look like they are flittering out of the card. The inside sentiment is from the Altenew Enchanted Roses stamp set. Be sure to see my tutorial on the CutCardStock blog for more details on how to make this card!
Sharing in the following challenges:
1. https://avenue613.blogspot.com/2026/02/february-2026-anything-goes-w-optional.html
2. https://alphabetchallengeblog.blogspot.com/2026/02/u-is-for-up-lifting.html
3. https://secretstamper.com/2026/02/creative-creases-112-february-6th-through-march-5th/
4. https://2craftycrittercrazies.blogspot.com/2026/02/critter-crazy-challenge-107-with.html
5. https://fabnfunkychallenges.blogspot.com/2026/02/challenge-631-dies-or-punches.html (multiple dies used :)
6. https://mmmchallengeblog.blogspot.com/2026/02/271-use-2-dies.html (multiple dies used)
7. https://tictactoechallenge.com/tttc286-featured-designer-rosanne/ (3rd row: texture/friendship/patterned paper)
Affiliate links are used in this post at no cost to you – I really appreciate your support!
CutCardStock products used:
Pop Tone Sno cone cardstock
Jet Stream Blue cardstock
Surf cardstock
Hummingbird cardstock
Neenah Classic Crest 80# Solar White cardstock
Other products used:
PAPER: Simple Stories Boho Sunshine Collection Kit
STAMPS: Hero Arts Here For You Clear Stamp & Die Bundle, Altenew Enchanted Roses Stamp Set
INK: Copic Ciao 100 Black Alcohol Marker, Catherine Pooler Hot Tub ink
DIES/PUNCHES: Honey Bee Stamps Lovely Layers: Butterflies Dies, Hero Arts Here For You Clear Stamp & Die Bundle, Love From Lizi Stitched Circle Nested Cutting Dies
ACCESSORIES: Fiskars 12″ ProCision Rotary Bypass Paper Trimmer, Spellbinders 12×12 Scoring Board, My Sweet Petunia Precision Glue Press, Bearly Art precision craft glue, Mini MISTI, Big Shot, Brutus Monroe Seafoam Chill Shimmer Mist, Cuttlebug Script Embossing Folder, Grafix Crystal Clear Craft Plastic, Therm O Web Small Zots, Scrapbook Adhesives Thin 3D Foam Squares, iridescent gemstones
I hope you’ve enjoyed today’s project and you’re inspired to get crafty! Be sure to check out all the awesome cardstock and other goodies at CutCardStock (adhesives, labels, stickers, pens, watercolors and ribbon to name a few). And head on over to the CutCardStock Facebook Page and for more inspiration! Also, be sure to join our Creating with CutCardStock Facebook Group for even more crafty inspiration! Thanks so much for stopping by today – we’ll see you next time!
Scrappy hugs,


 5.
5.