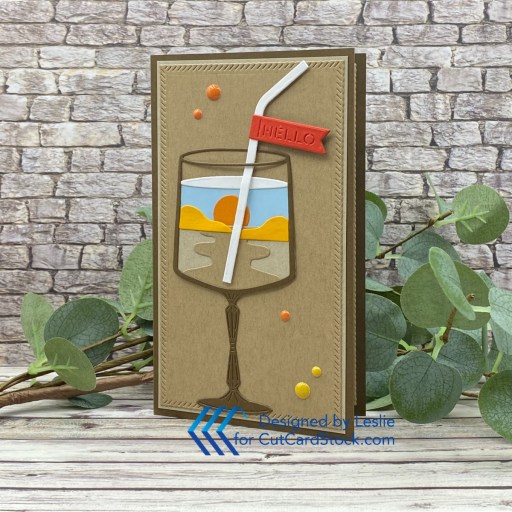
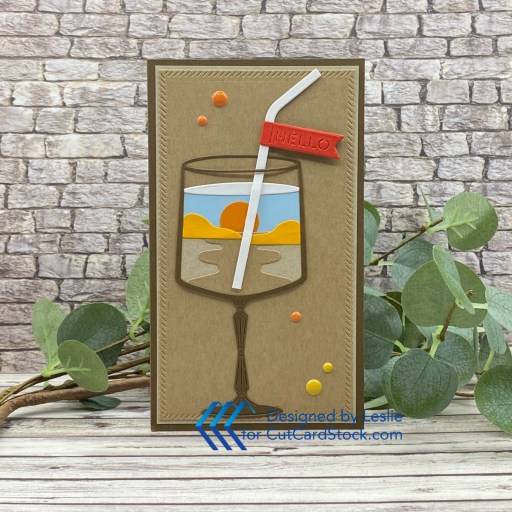
Hi everyone, happy Wednesday – I hope you’re having a great week! I’m up on the CutCardStock blog today with a tutorial for making an ocean inspired thank you card with pretty cardstock, shimmery foil and a super cute sea turtle. I used Savoy Cotton cardstock along with Surf, Hummingbird, and Caribbean Blue. Then, toward the end I brought in Vanilla Bean Brown and Ginger Snap. And, of course, my go-to for card bases and layering panels is typically Neenah Classic Crest Solar White.

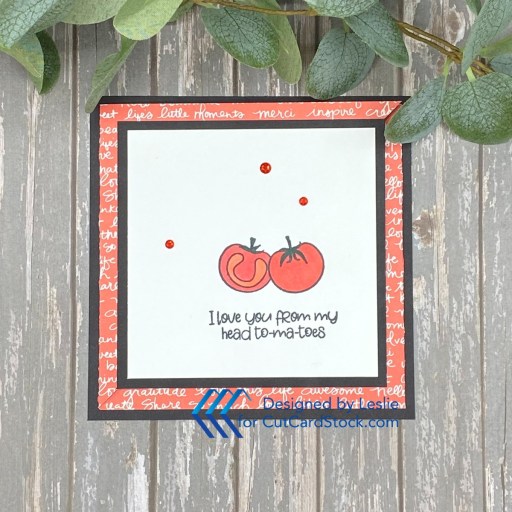
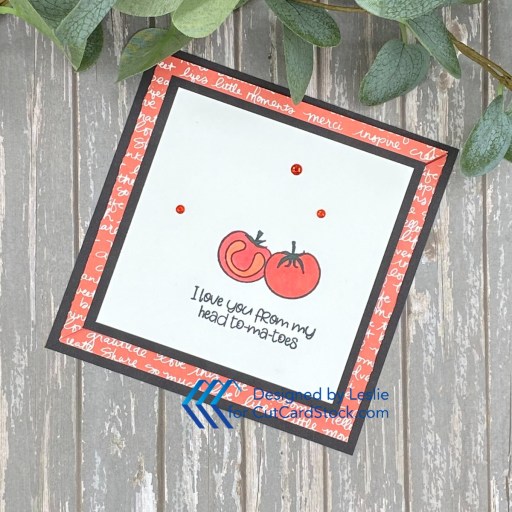
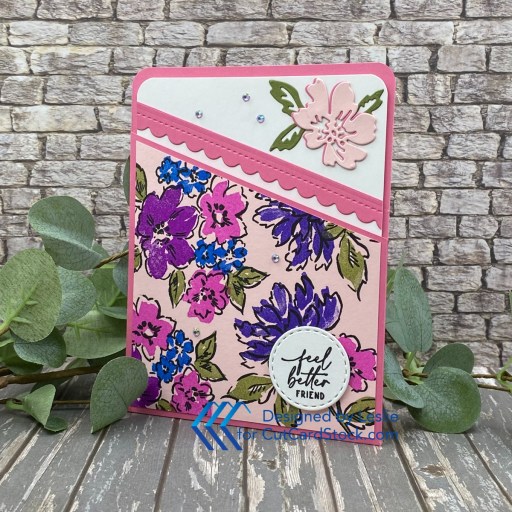
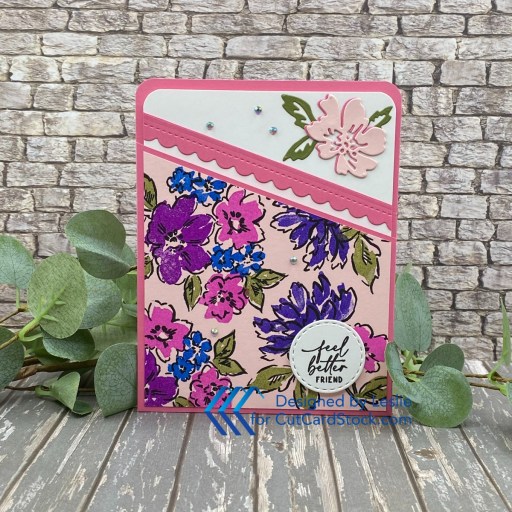
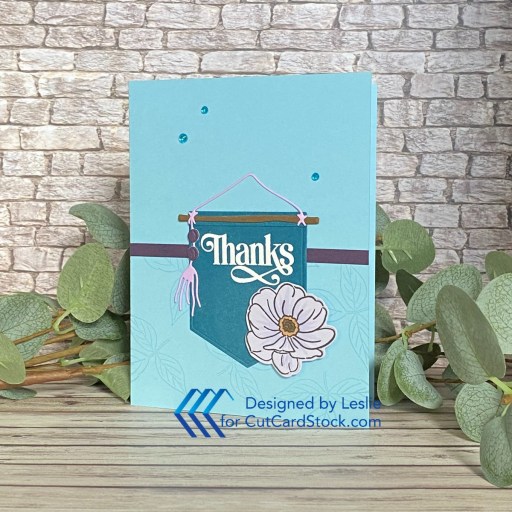
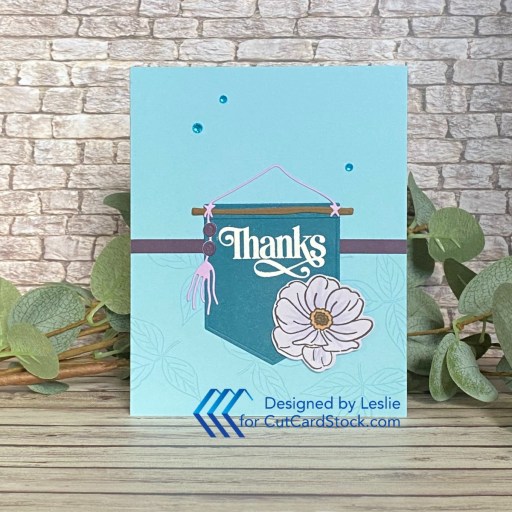
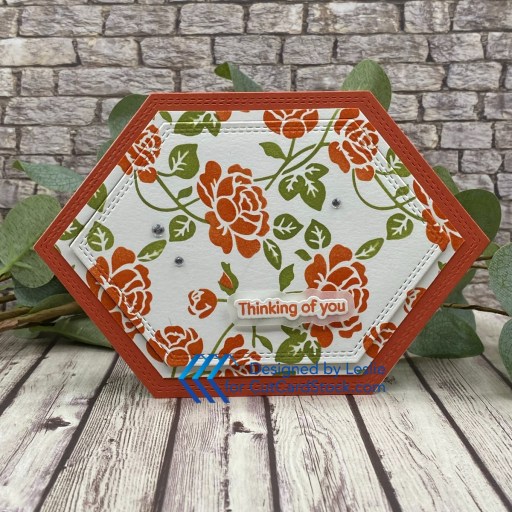
Using a panel of our Savoy cotton cardstock, I created the background panel using the Love From Lizi To The Beach stencil, Deco Foil Transfer Gel Duo and Deco Foil Glass Slipper Transfer Sheets. I cut the card base from Neenah Classic Crest 110# Solar White cardstock along with layering panels and frames from Surf, Hummingbird, and Caribbean Blue. The sentiment is from the Hero Arts Mermaid Kisses, stamped in Catherine Pooler Sea Glass ink. I used Love From Lizi Stitched Rectangle and Stitched Circle Nested Cutting Dies for this project. I brought in Vanilla Bean Brown and Ginger Snap for a turtle re-do toward the end of this process, which I explain in my tutorial.

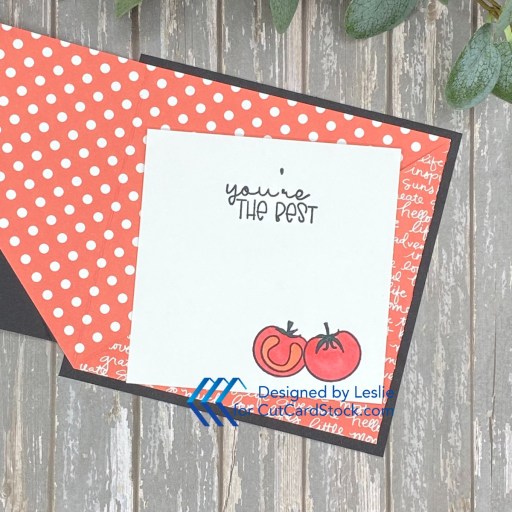
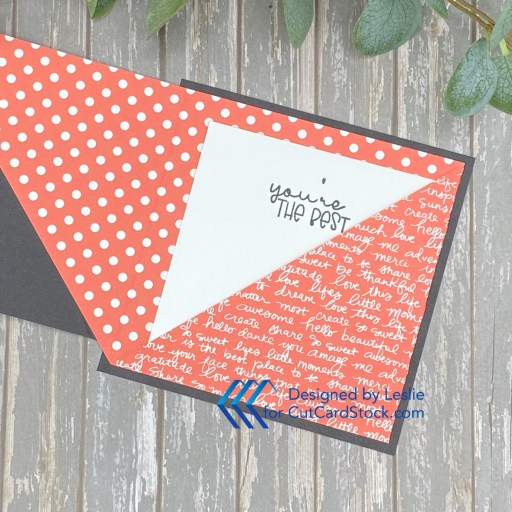
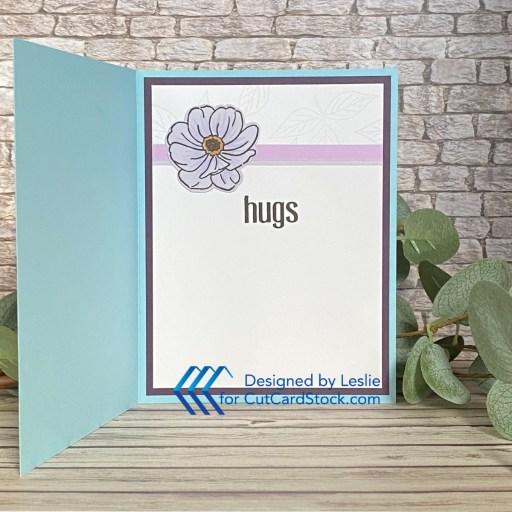
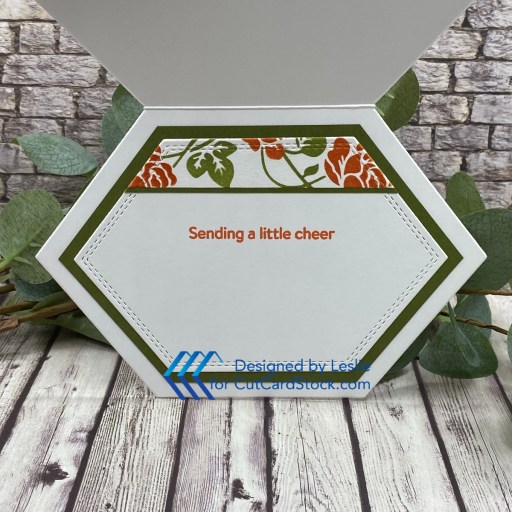
I embellished the inside panel with a leftover strip of the foiled background used on the front, and added an additional sentiment from the Hero Arts Mermaid Kisses Stamps. For more details, be sure to check out my tutorial on the CutCardStock blog!

Affiliate links are used in this post at no cost to you – I really appreciate your support!
CutCardStock products used:
Savoy Cotton cardstock
Surf Pearl Canvas Textured cardstock
Hummingbird Teal Pearl Canvas Textured cardstock
Caribbean Blue Canvas Textured cardstock
Vanilla Bean Brown cardstock
Ginger Snap cardstock
Neenah Classic Crest 110# and 80# Solar White cardstock
Other products used:
STAMPS: Hero Arts Mermaid Kisses Stamps
INK: Catherine Pooler Sea Glass ink
DIES/PUNCHES: Love From Lizi Stitched Rectangle Nested Cutting Dies, Love From Lizi Stitched Circle Nested Cutting Dies, Love From Lizi Cheerful Turtle Cutting Die
ACCESSORIES: Fiskars 12″ ProCision Rotary Bypass Paper Trimmer, Bearly Art precision craft glue, My Sweet Petunia Precision Glue Press, Mini MISTI, Love From Lizi To The Beach Stencil, Deco Foil Transfer Gel Duo, spatula, Ranger-Wendy Vecchi 12″ Make Art Stay-tion, MISTI Sticky Mat, Deco Foil Glass Slipper Transfer Sheets, Big Shot, Spellbinders Detail Scissors, Scrapbook Adhesives Crafty Foam Tape 54 ft, Scrapbook Adhesives Thin 3D Foam Squares, Trinity Pick Up Stick, Keep It Simple Clear Enamel Dots
I hope you’ve enjoyed today’s project and you’re inspired to get crafty! Be sure to check out all the awesome cardstock and other goodies at CutCardStock (adhesives, labels, stickers, pens, watercolors and ribbon to name a few). And head on over to the CutCardStock Facebook Page and for more inspiration! Also, be sure to join our Creating with CutCardStock Facebook Group for even more crafty inspiration! Thanks so much for stopping by today – we’ll see you next time!
Scrappy hugs,