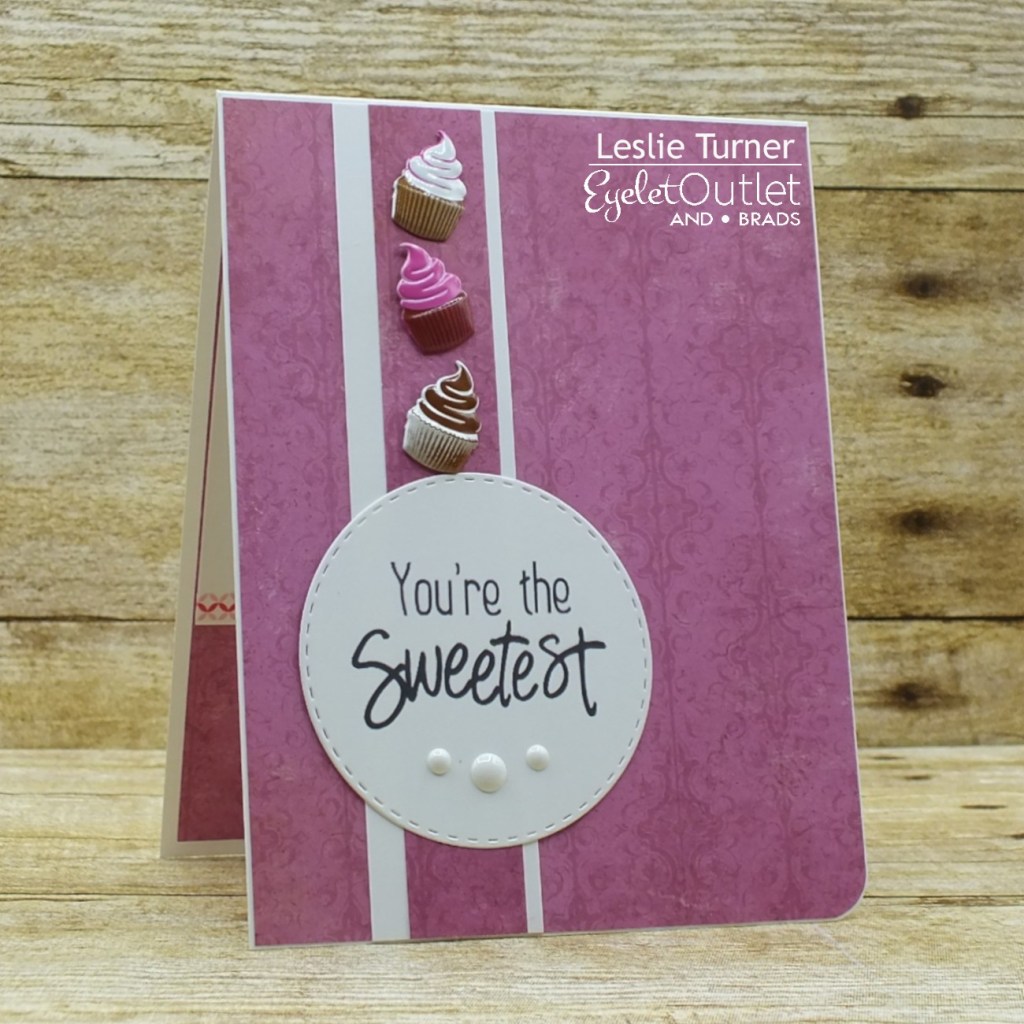
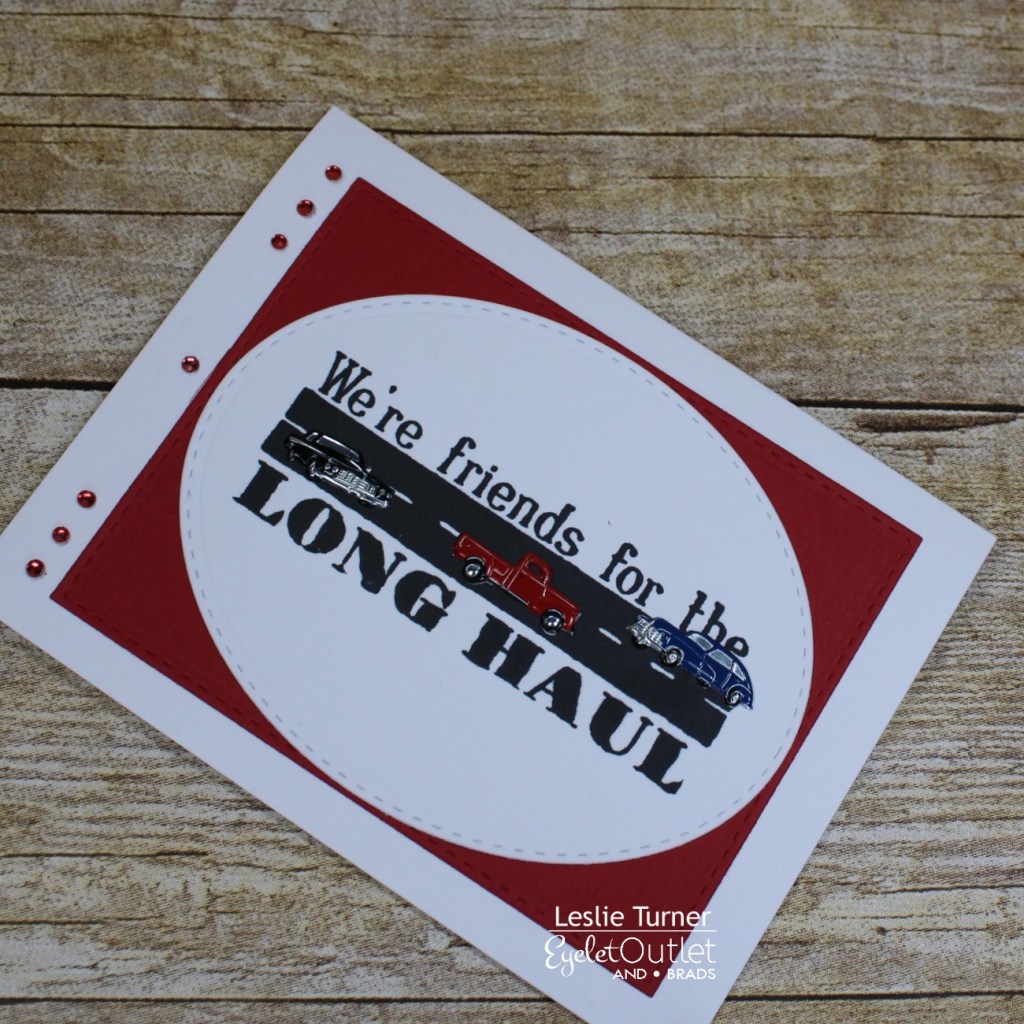
Hi everyone! A very Happy Saturday to you – I hope you’ve had a great week! Affiliate links are used in this post at no cost to you – I really appreciate your support! I’m stoked to be back on the Eyelet Outlet blog today with another awesome DT inspiration project! I created a friendship pick-me-up card using our Truck Stamp Set with matching Truck Brads along with our Car Brads and some Red Jewel Bling. I know I’ve mentioned before that I love our stamps and matching brads, or matching brads and washi tape. So much fun!
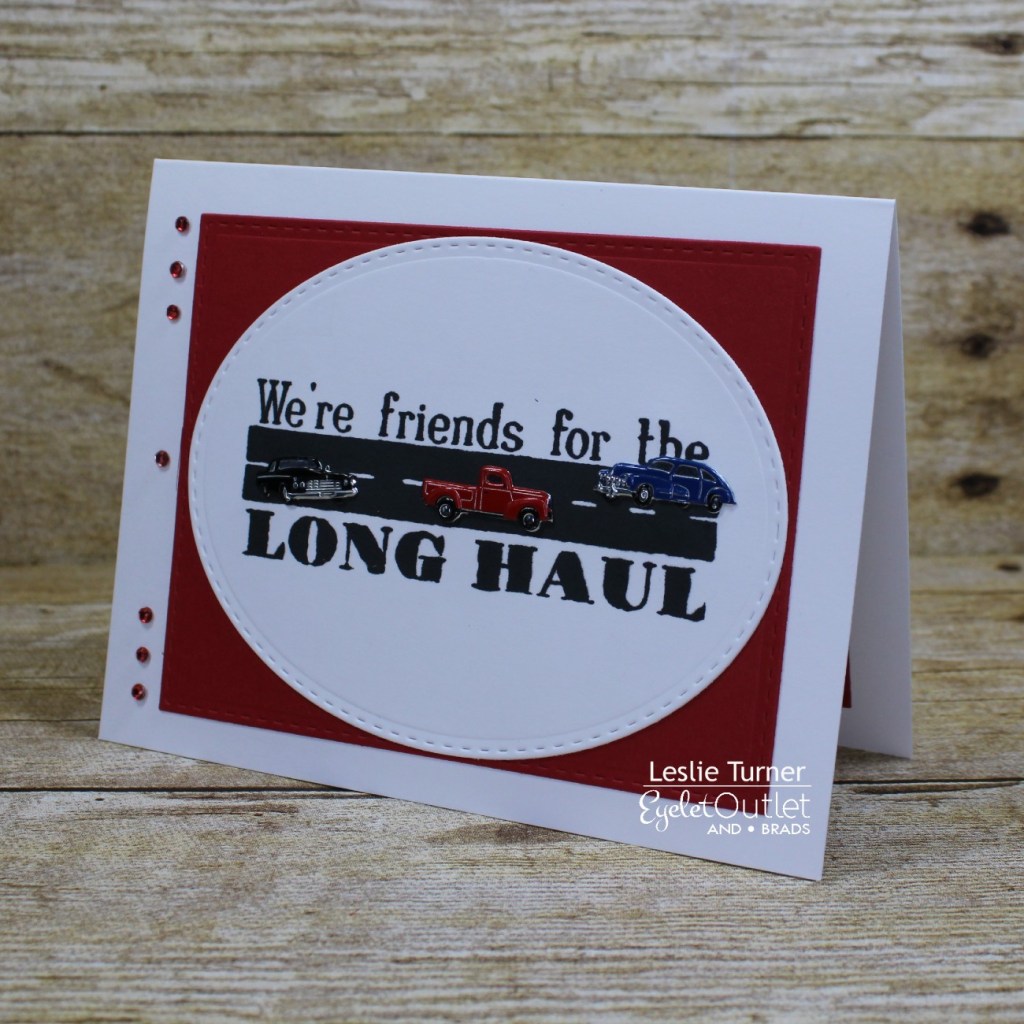
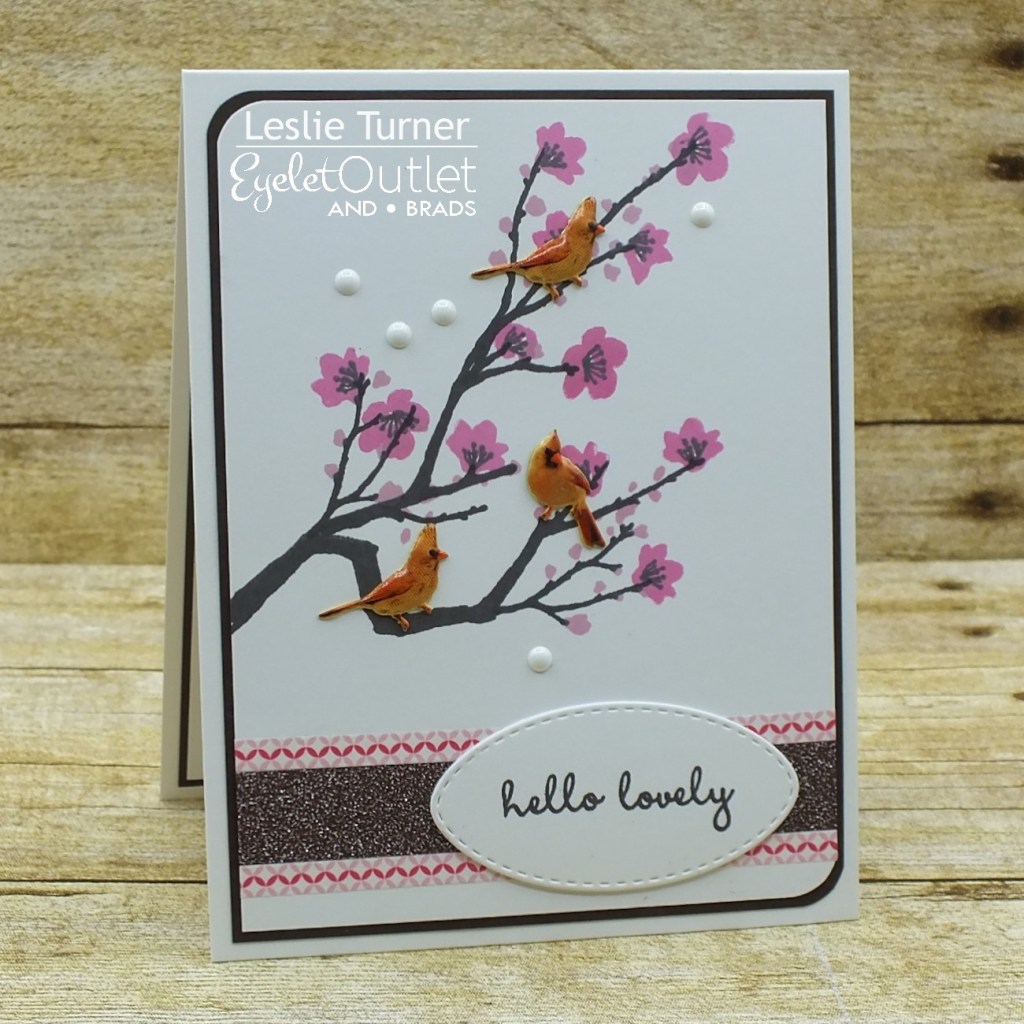
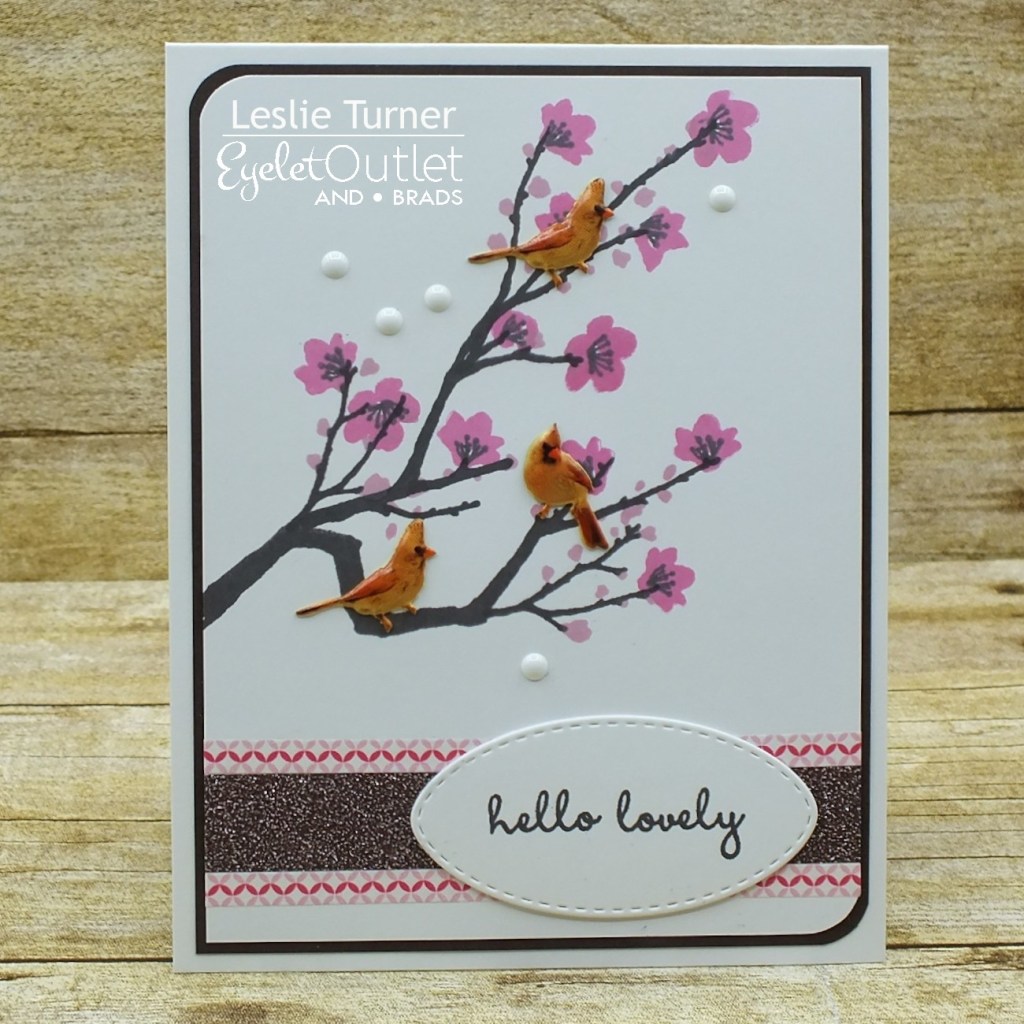
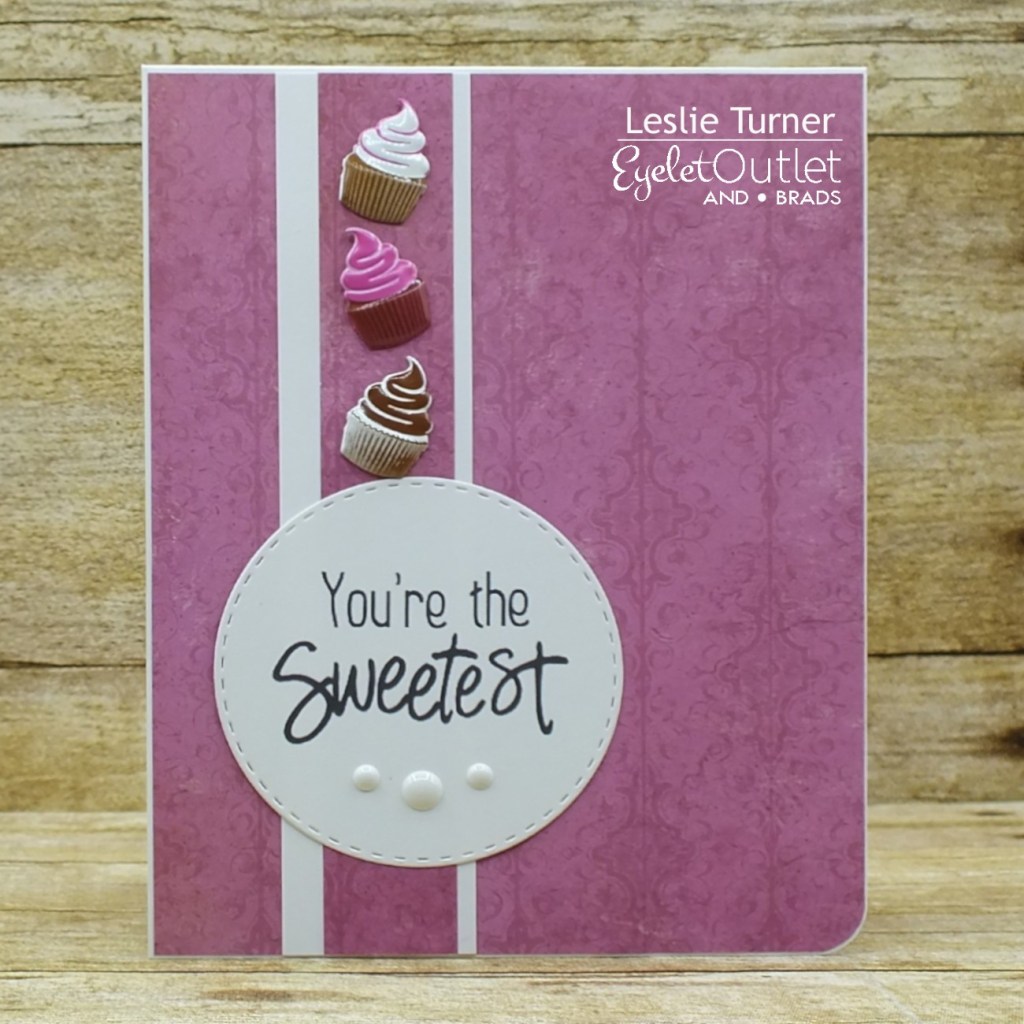
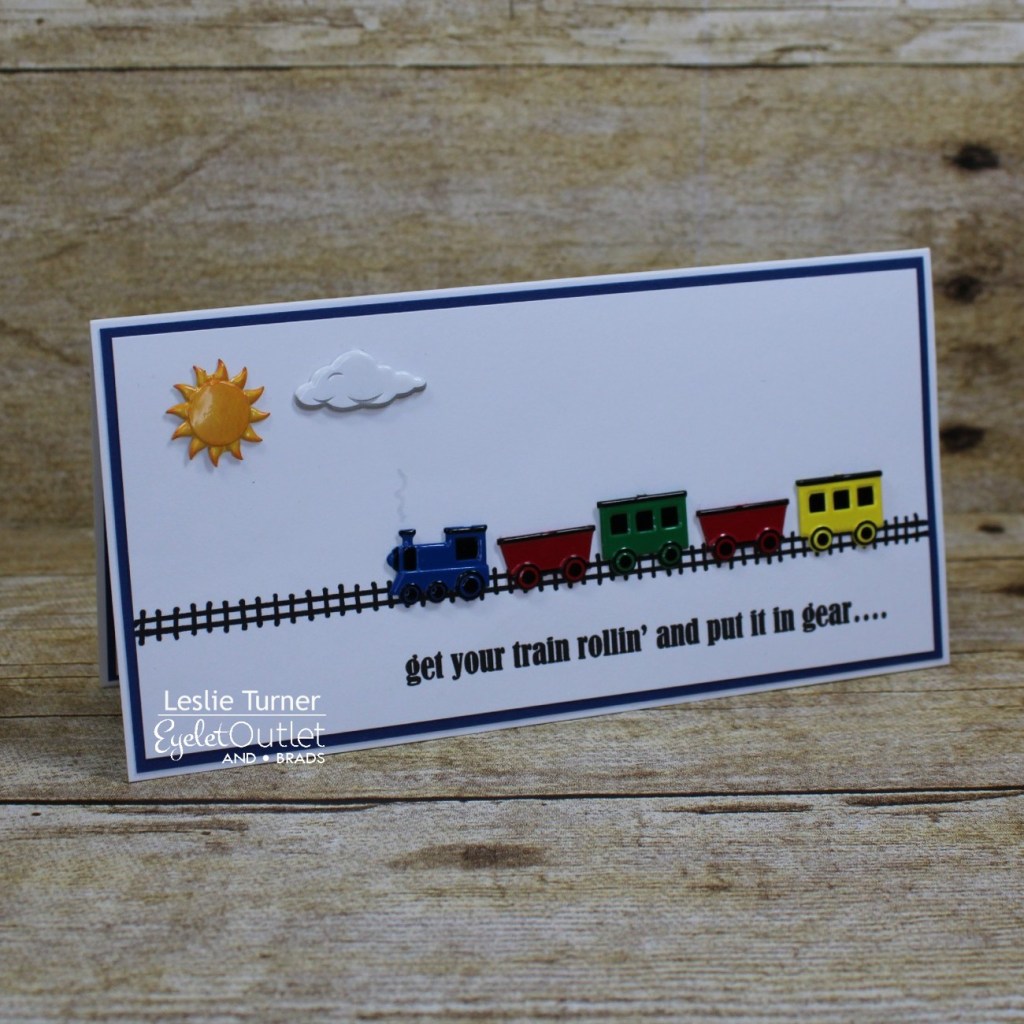
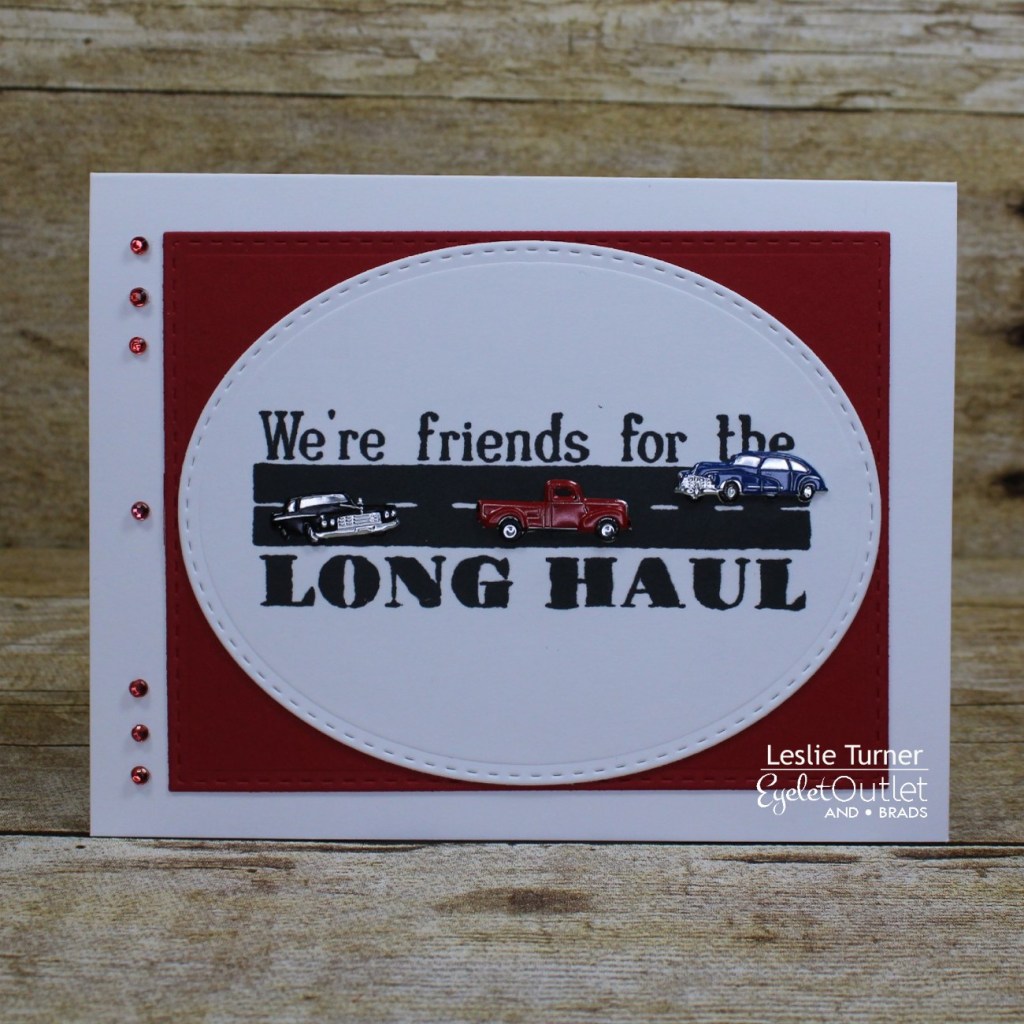
I cut a standard A2 size landscape top-folding card base from Neenah Classic Crest Solar White 110# cardstock along with a rectangle die cut from CutCardStock Basis Red cardstock and an oval die cut from Neenah Classic Crest Solar White 80# cardstock which I layered together. Using the Truck Stamp Set, I stamped the sentiment and highway in black ink and added a Truck Brad and two Car Brads. I adhered the panel to the card front and added Red Jewel Bling to complete the front.
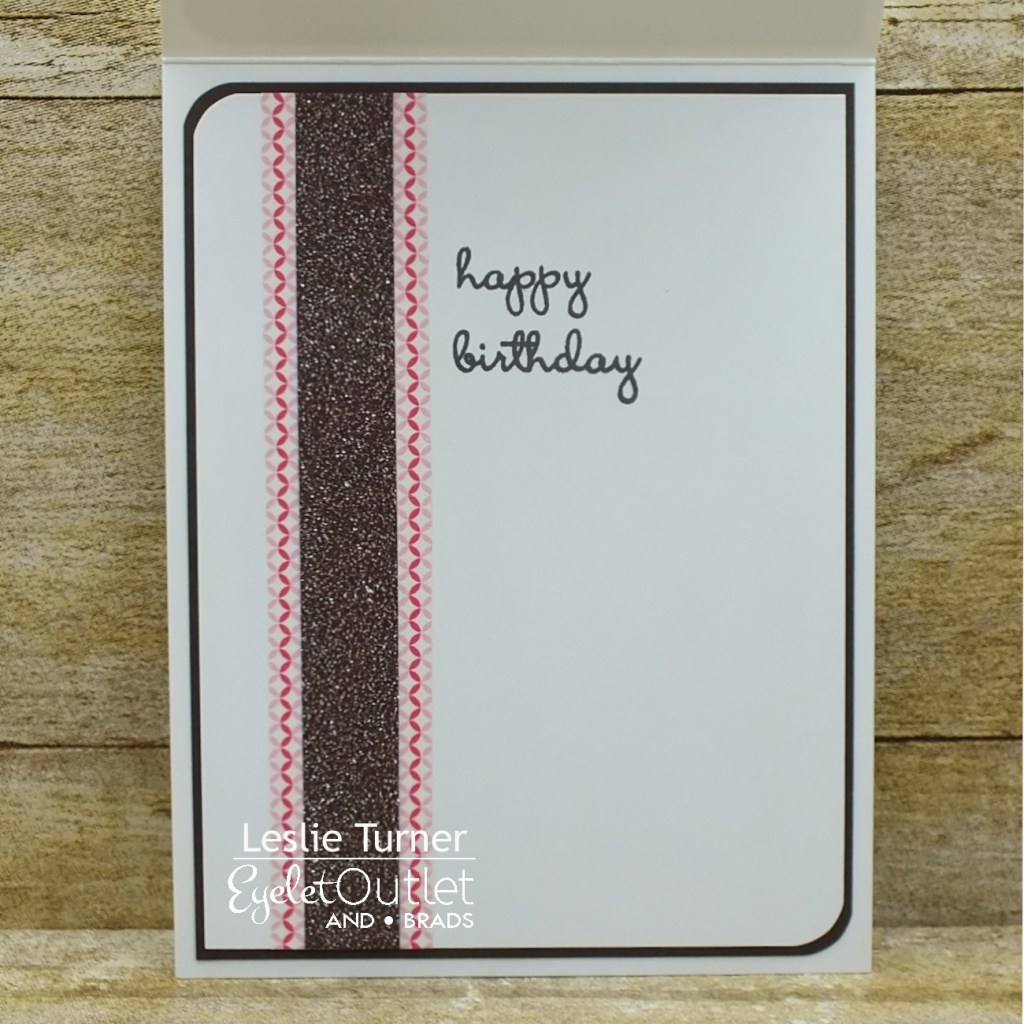
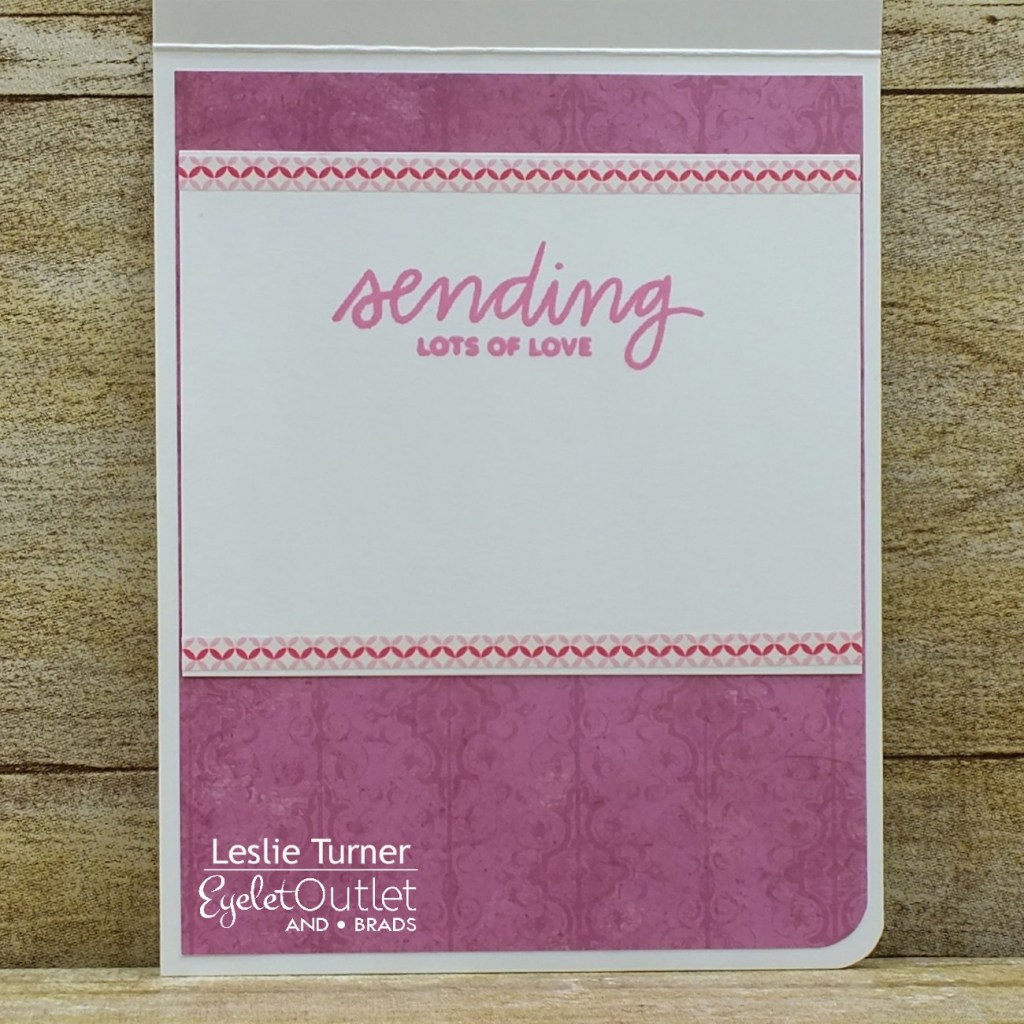
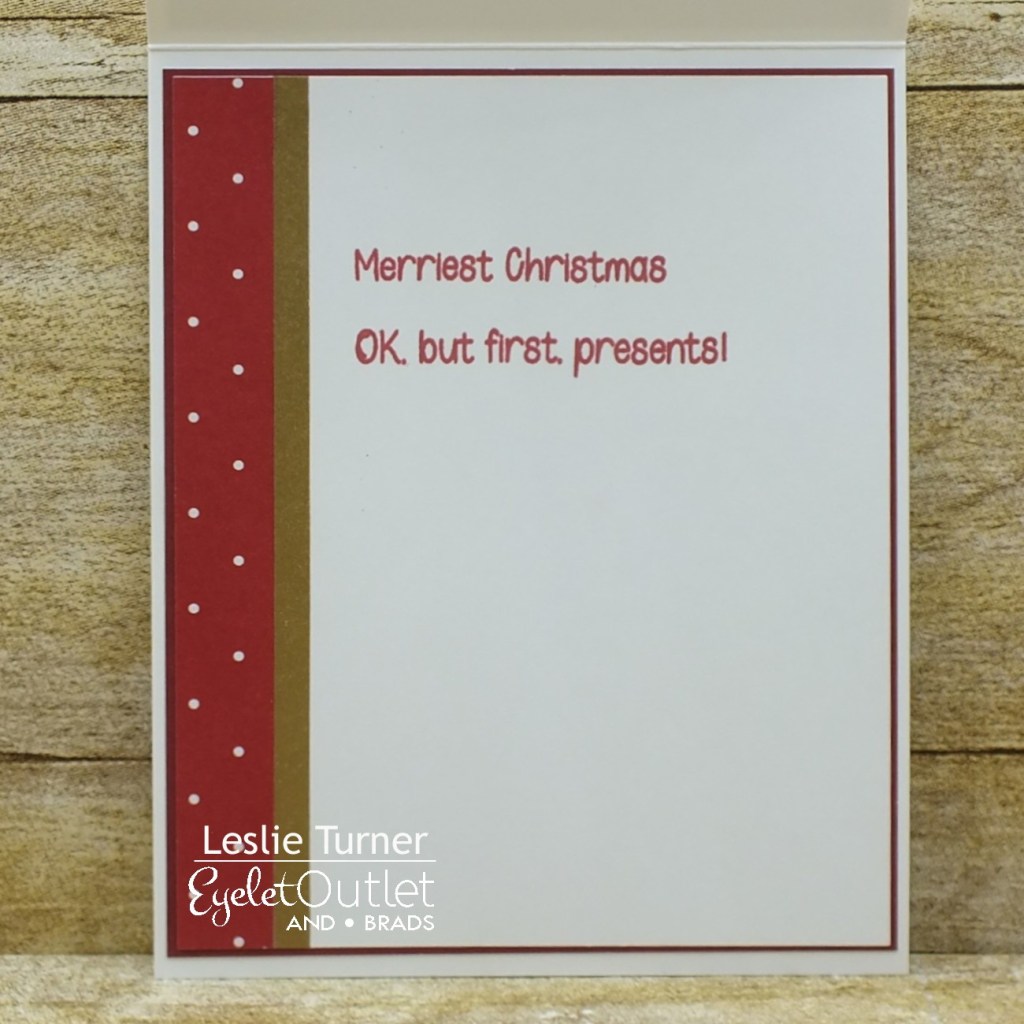
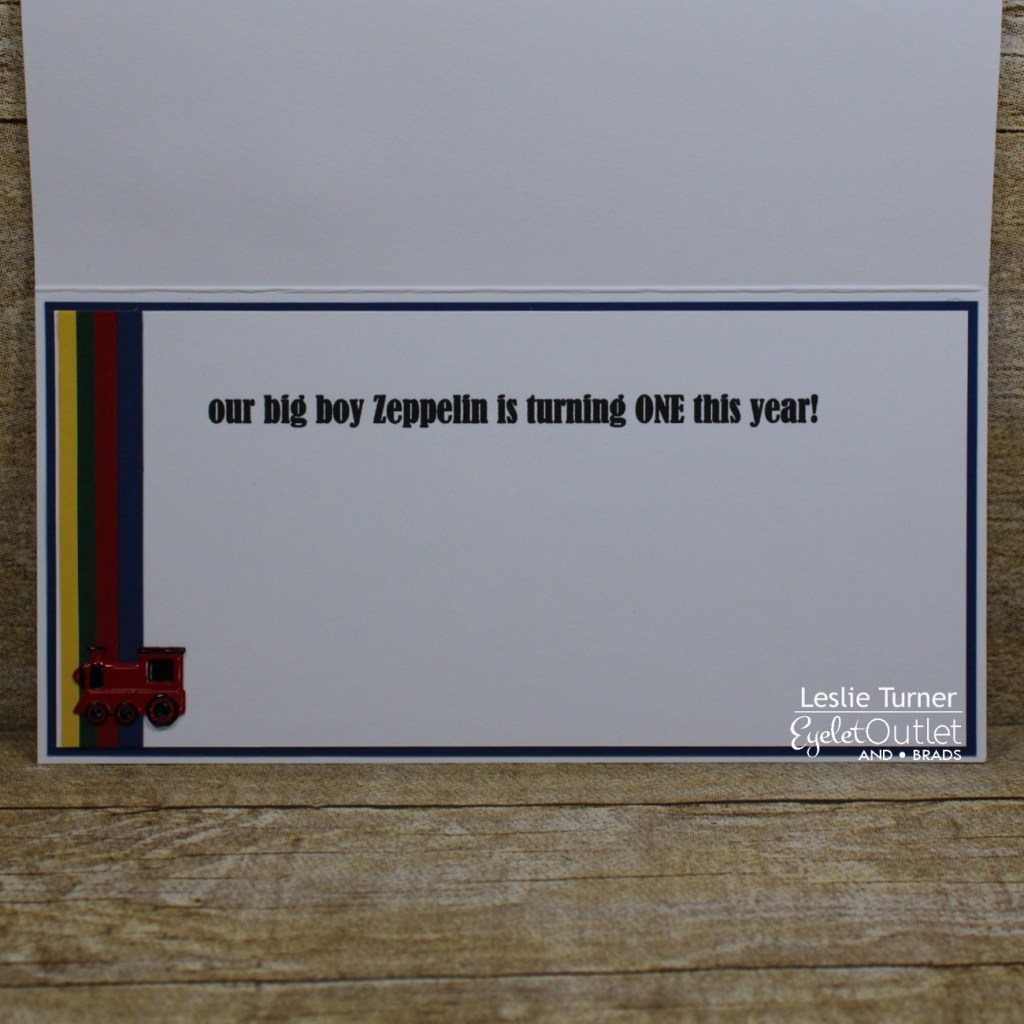
I cut the same rectangle die cut from CutCardStock Basis Red cardstock and an oval die cut from Neenah Classic Crest Solar White 80# cardstock for the inside which I layered together. Using the Truck Stamp Set, I stamped the sentiment in black ink, added a Truck Brad in the corner, and adhered the panel to the inside of the card base.
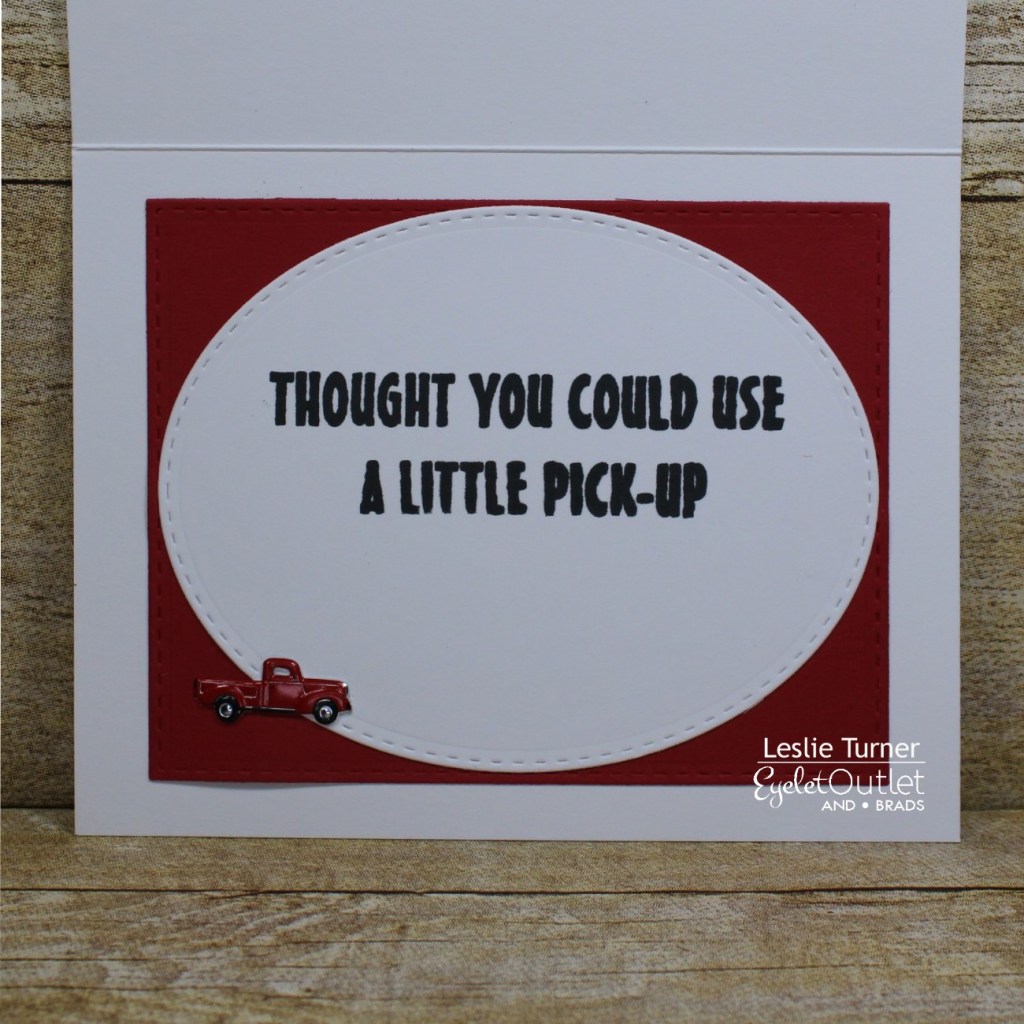
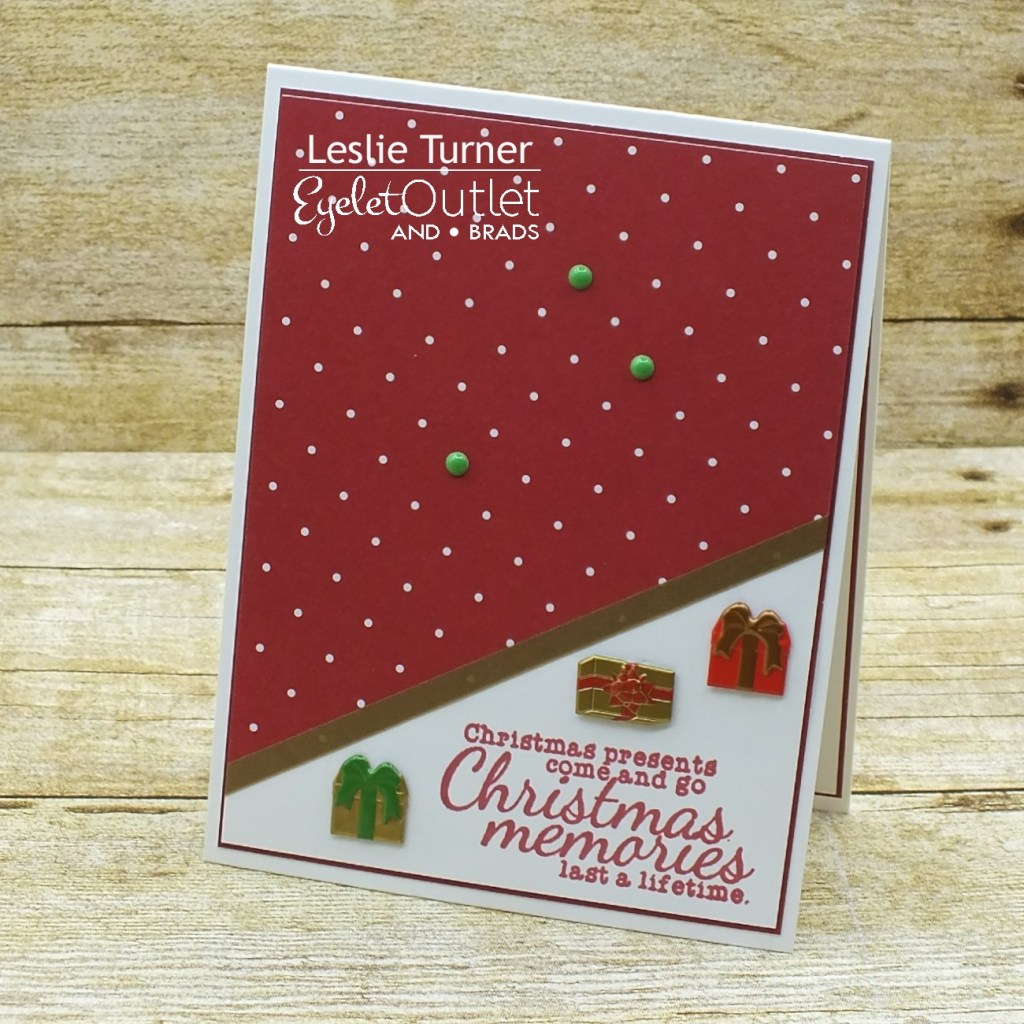
And one more look… if this card doesn’t lift a friend’s spirits, I don’t know what would, lol! Such fun stamps and brads!
Sharing in the following challenges:
1. A Perfect Time To Craft: #12 – Anything Goes
2. Alphabet Challenge Blog: R is for Red
3. Classic Design Challenge: #12 – Anything Goes
4. Crafty Catz: #575 – Anything Goes with optional Fancy Fold (no twist)
5. My Time To Craft: #471 – Stitching Real or Faux
6. The Crafter’s Cafe: #279 – Anything Goes
Eyelet Outlet products used:
Truck Stamp Set
Truck Brads
Car Brads
Red Jewel Bling
Other products used:
Cardstock/Paper: Neenah Classic Crest 110# and 80# Solar White cardstock, CutCardStock Basis Red cardstock
Ink: Catherine Pooler Midnight ink
Dies/Punches: Papertrey Ink Noted: Scalloped A2 Die Collection
Accessories: Tonic Studios 12″ Guillotine Paper Trimmer, MISTI stamp tool, Big Shot, Bearly Art precision craft glue
I hope you’ve enjoyed today’s project! Be sure to check out all the fun goodies at Eyelet Outlet! I can already see you drooling, lol! Be sure to ‘like’ and ‘follow’ Eyelet Outlet Facebook Page to keep up with news and sales, and while you’re at it, join the Eyelet Outlet Fans Facebook group for lots of creative inspiration! Thanks so much for stopping by today – we’ll see you next time! ;)
Scrappy hugs,