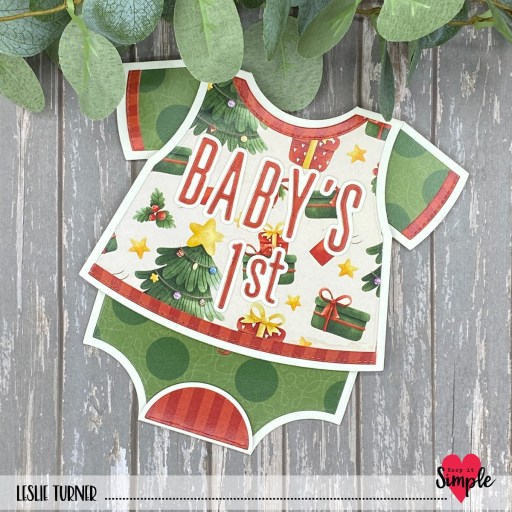
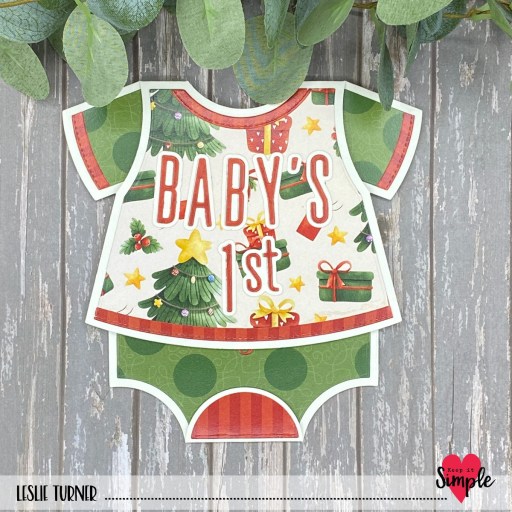
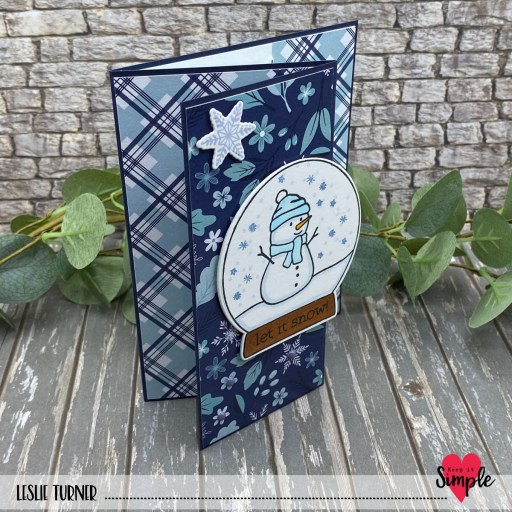
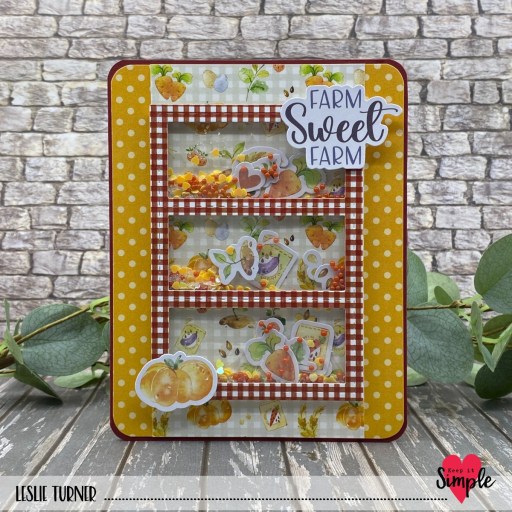
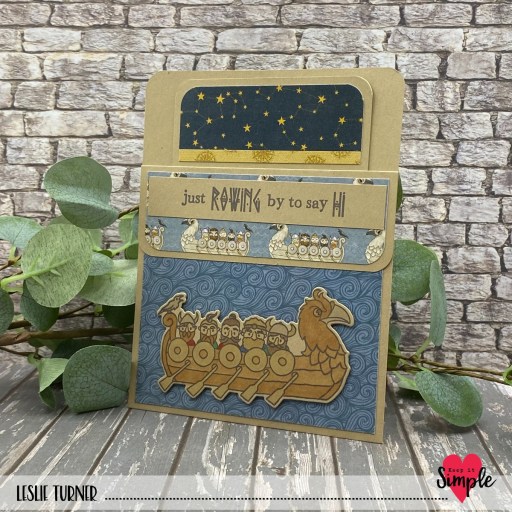
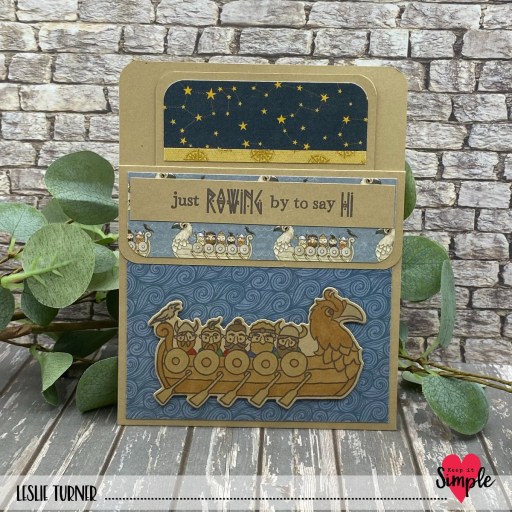
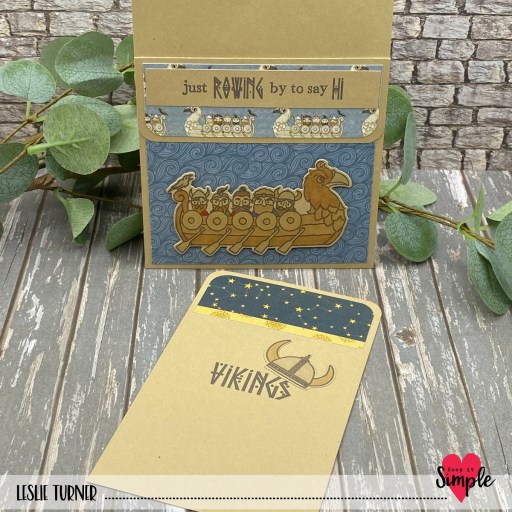
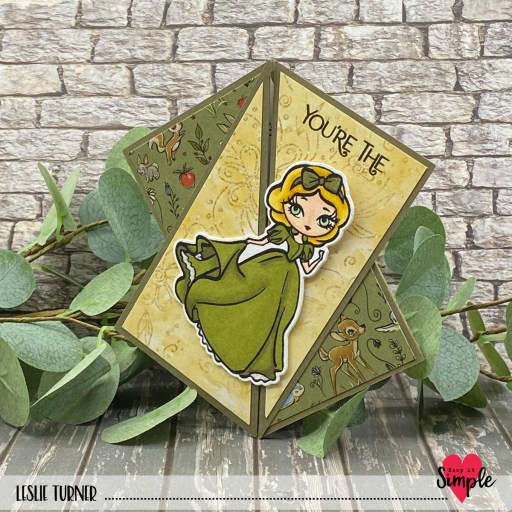
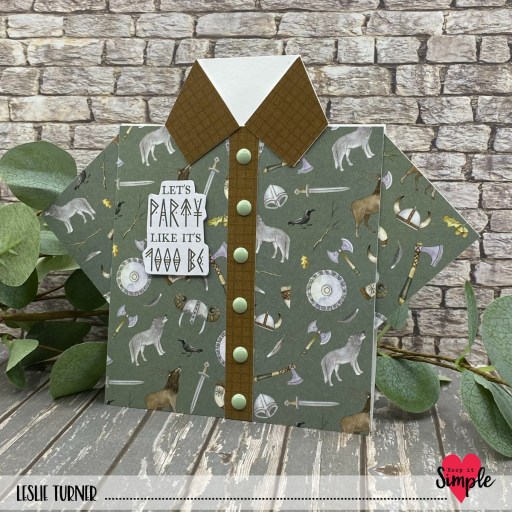
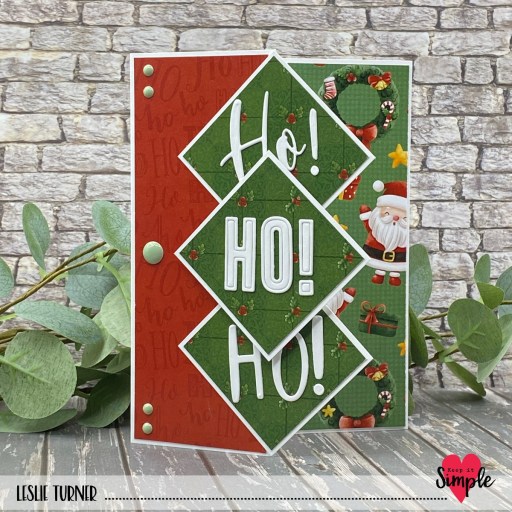
Hey everybody, happy Friday! It’s amazing how fast the weeks in this last month of the year are rolling by! I’m stoked to be back with another super cute and festive project for Keep It Simple! I created a diamond panel card featuring our KIS Cuts Christmas Sentiments Dies, along with papers, stamps, dies and die cut pieces from our Here Comes Santa Claus collection… one of my favorites. Keep It Simple actually has SEVERAL absolutely adorable Christmas collections, and if you haven’t already, you might want to check them out!

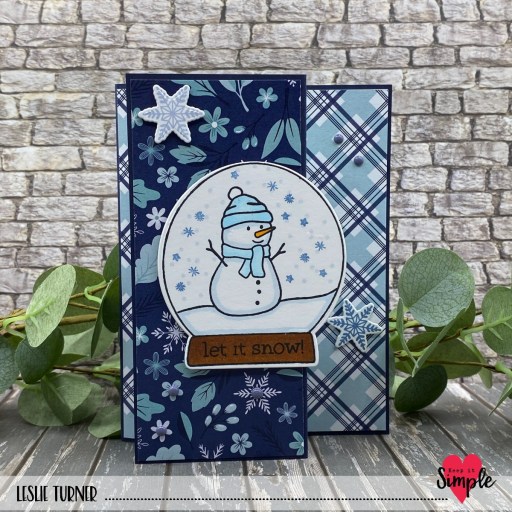
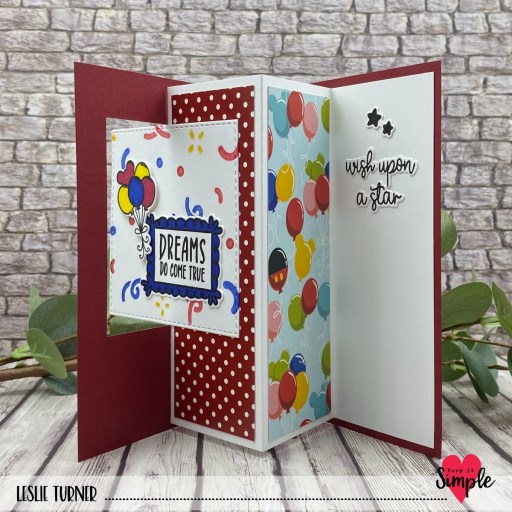
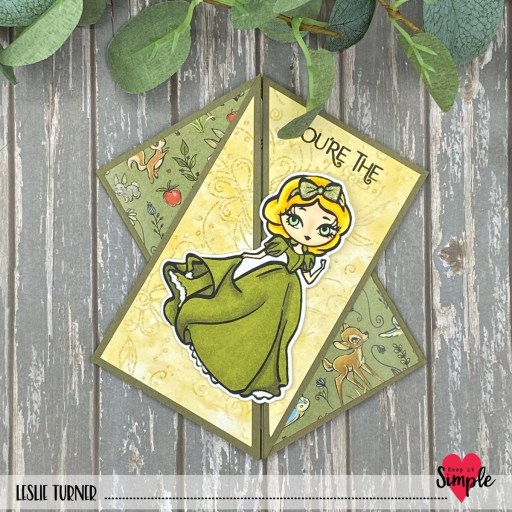
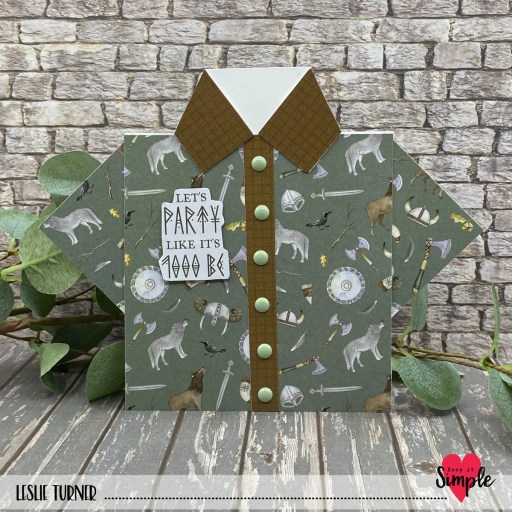
This is a super easy design that is very customizable. It’s as simple as cutting some off the front flap and cutting three squares (turned into diamonds) from that strip. Easy peasy! I cut layering panels from assorted papers in the Here Comes Santa Claus Collection Pack and embellished the squares (diamonds) with die cuts made using KIS Cuts Christmas Sentiments Dies. The center diamond is popped up on one of our Adhesive Basics foam squares. I added a few of our Back To Basics Jade Enamel Dots and the front was finished.
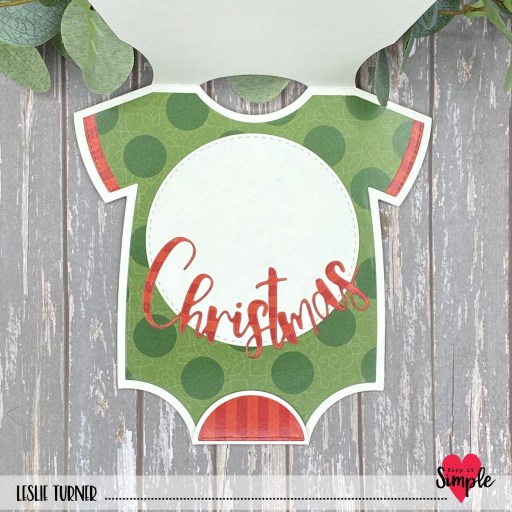
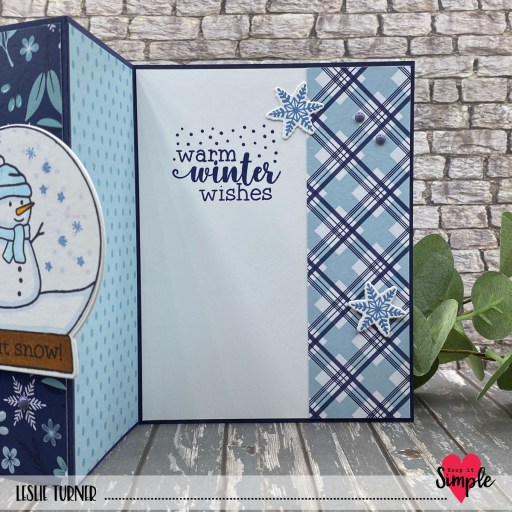
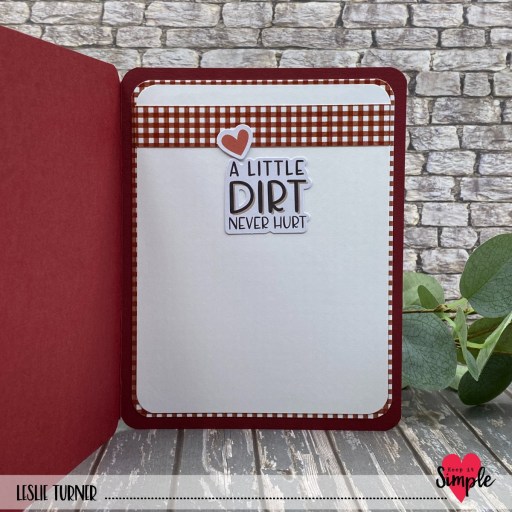
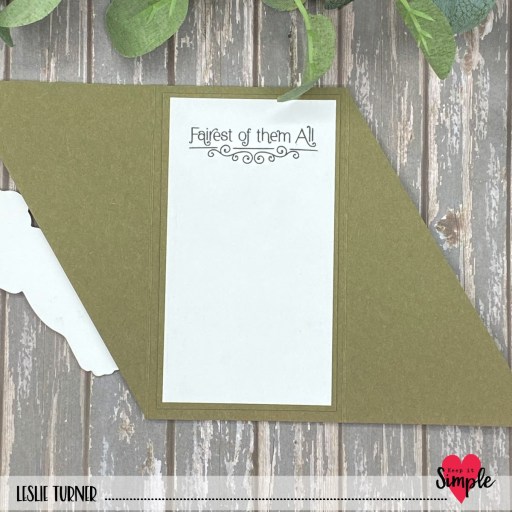
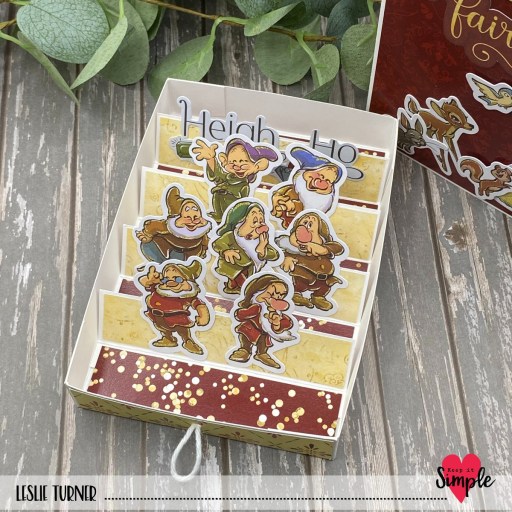
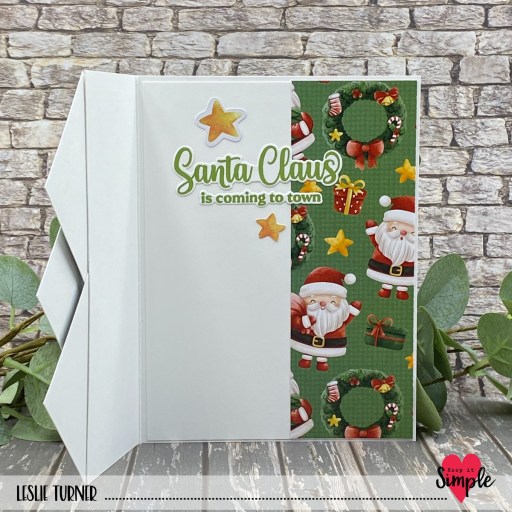
I stamped the inside sentiment (from the Here Comes Santa Claus collection) in Memento Bamboo Leaves ink on a scrap of white cardstock and cut it with the coordinating outline dies. I grabbed a couple stars from the Die Cut Pieces pack and the inside was finished. I told you it was an easy one!
Keep It Simple products used:
KIS Cuts Christmas Sentiments Dies
Here Comes Santa Claus 6×9 Collection Pack
Here Comes Santa Claus Collection Stamps
Here Comes Santa Claus Outline Dies
Here Comes Santa Claus Die Cut Pieces
Back To Basics Jade Enamel Dots
Back To Basics Adhesive Basics Squares & Strips
Affiliate links are used in this post at no cost to you – I really appreciate your support!
Other products used:
CARDSTOCK/PAPER: Neenah Classic Crest 110# Solar White Pre-Folded Card Base, Neenah Classic Crest 110# and 80# Solar White cardstock
INK: Memento Bamboo Leaves Ink
ACCESSORIES: Fiskars 12″ ProCision Rotary Bypass Paper Trimmer, Spellbinders 12×12 Scoring Board, My Sweet Petunia Precision Glue Press, Bearly Art precision craft glue, Mini MISTI, Big Shot
I hope you’ve loved seeing this project as much as I loved creating it and you’re inspired to get crafty! Be sure to check out ALL the fun goodies in the Keep It Simple online store! Save 10% on your entire order when you shop online using code LoveToScrap2 at checkout! There is no minimum purchase requirement and no usage limits, AND it combines with product, order, and shipping discounts! Is that cool, or what?! Be sure to Follow us on Facebook, Instagram, and Pinterest for lots of crafty inspiration! Thanks so much for stopping by today – we’ll see you next time!
Scrappy hugs,