6/15/24 Weekly Favorite at Splitcoast Stampers!
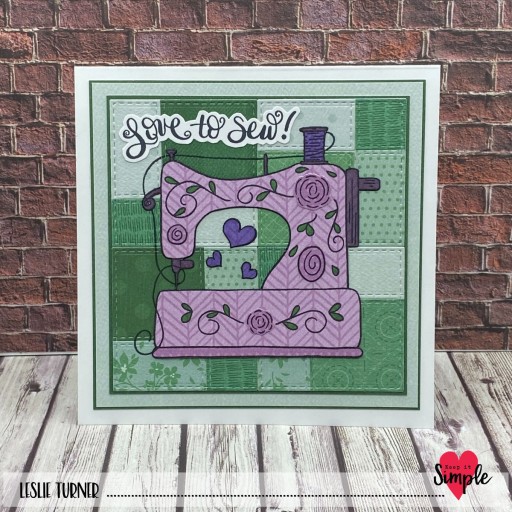
Hey everybody! Well, another week has whizzed by and the weekend is almost here! I’m delighted to share a Keep It Simple DT inspiration project with you today created with the Bizzy Hands Creations Love To Sew stamp set. Our DT leader says today is National Sewing Machine Day so what better reason is there to create a disappearing nine patch card featuring a super adorable sewing machine to celebrate this fun day? Green and purple is one of my all-time favorite color combos so this card is a win-win for me!
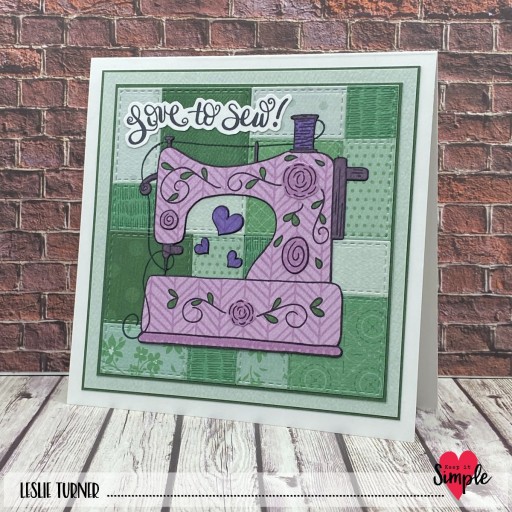
A square card base was cut from Neenah Classic Crest 110# Solar white cardstock along with layering panels from light and dark green prints in the Back To Basics Jade 12×12 Collection Pack. I created the patchwork panel by cutting nine squares using a Back To Basics Stitched Squares Nested Die. I adhered three rows of three squares to a piece of lightweight copy paper, trimmed the edges of the copy paper, and then cut it quarters. I ran the four smaller squares through my Big Shot with another stitched die from the same set. I rotated the quarters until I was happy with the overall pattern and then adhered it to the darker green layering panel.
Any size squares can be cut (with or without a die) depending on how big or small you want your panel. The best size squares in my opinion are around 1-1/2″ so you end up with a 4-1/2″ or so square panel. I paper pieced the sewing machine onto the panel using two prints in the Back To Basics Lilac 12×12 Collection Pack, coloring some of the elements with Sharpie ultra fine point markers. The flowers and hearts were also paper pieced. I stamped the sentiment on a 80# Solar White cardstock scrap and fussy cut it which completed the card front.
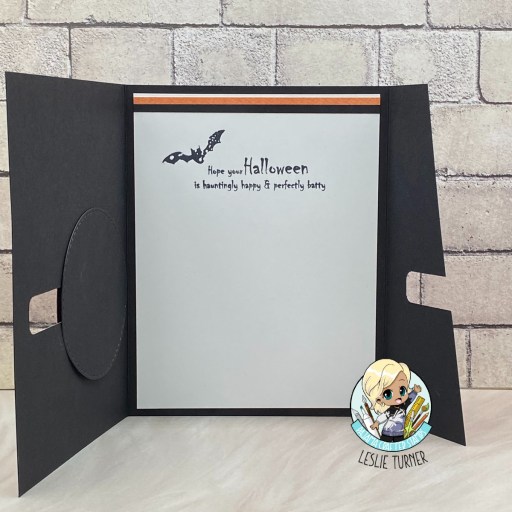
I cut the inside panel from 80# Solar White cardstock using a Back To Basics Stitched Squares Nested Die and layered it on the dark print from the Jade collection pack leaving a slightly larger border around the square. I finished the inside with a another sentiment from the stamp set stamped in black ink.

Keep It Simple products used:
Back To Basics Jade 12×12 Collection Pack
Back To Basics Lilac 12×12 Collection Pack
Bizzy Hands Creations Love To Sew stamp set
Back To Basics Stitched Squares Nested Dies
Affiliate links are used in this post at no cost to you – I really appreciate your support!
Other products used:
CARDSTOCK/PAPER: Neenah Classic Crest 110# and 80# Solar White cardstock
INK: Memento Tuxedo Black ink (pad and marker); Sharpie Ultra Fine Point Markers- purple, green and gray
ACCESSORIES: Fiskars 12″ ProCision Rotary Bypass Paper Trimmer, Elmer’s Craft Bond Tape Runner, Bearly Art precision craft glue, MISTI stamp tool, Big Shot
I hope you’ve loved seeing this project as much as I loved creating it and you’re inspired to get crafty! Be sure to check out ALL the fun goodies in the Keep It Simple online store! Save 10% on your entire order when you shop online using code LoveToScrap2 at checkout! There is no minimum purchase requirement and no usage limits, AND it combines with product, order, and shipping discounts! Is that cool, or what?! Be sure to Follow us on Facebook, Instagram, and Pinterest for lots of crafty inspiration! Thanks so much for stopping by today – we’ll see you next time!
Scrappy hugs,