Hey everybody! Happy Tuesday – I hope you’re having a great week! It’s Day 2 of the 2022 Cat Lovers Hop and I’ve popped in this morning to share a fun Halloween card. This is the 8th year Janis has organized this amazing Hop and it’s going on until the 29th, so if you’re a fellow cat lover, come join us! There’s fun and games to join in every day, and Janis has lined up some pretty awesome prizes to give away at the end!
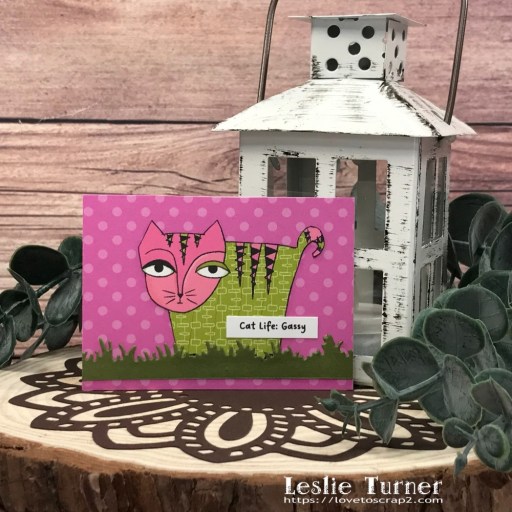
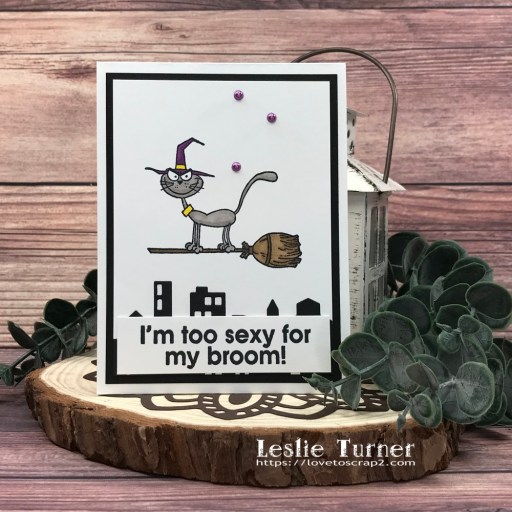
I typically don’t make many Halloween cards but I have made a few this year and I just had to use Burt on his broom and the coordinating sentiment! I absolutely LOVE the Riley & Co. Funny Bones line and Burt is one of my favs! He’s such a hoot!
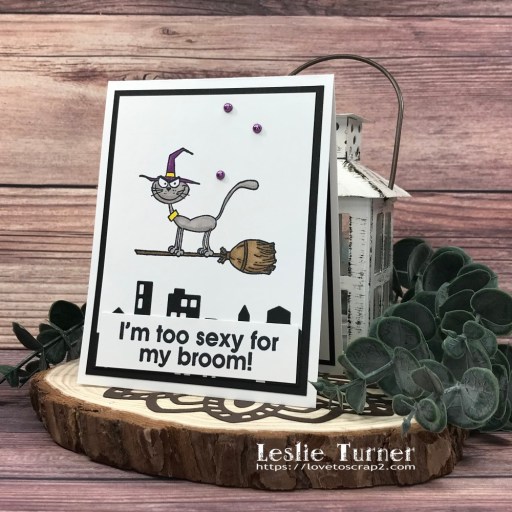
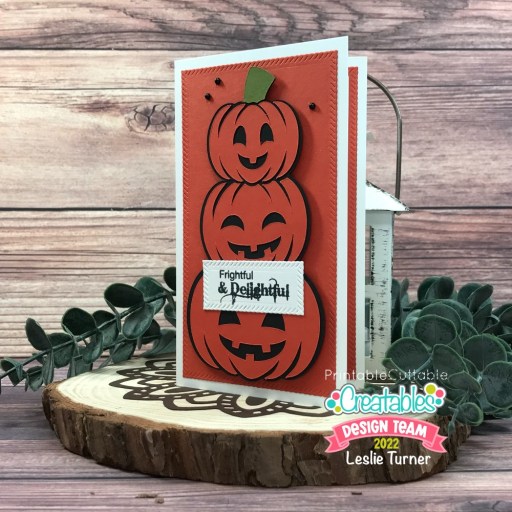
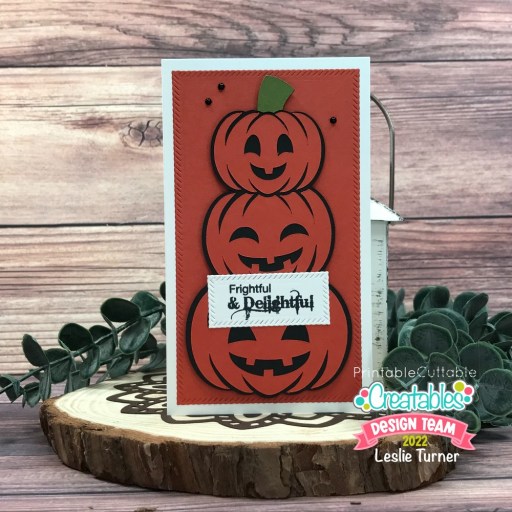
I cut a standard A2 size top-folding card base from Neenah Classic Crest 110# Solar White cardstock along with a layering panel and die cut cityscape (using the Memory Box Cityscape Nighttime die) from CutCardStock Pop Tone Black Licorice cardstock. I also cut a layering panel from Neenah Classic Crest 80# Solar White cardstock and adhered the cityscape at the bottom. I stamped Burt on his broom and colored him with alcohol markers, and adhered the panel to the black licorice layer and then to the card base. I stamped the sentiment on a scrap piece of Solar White cardstock, trimmed it and adhered it over the cityscape. The finishing touch was adding several pearls from an Eyelet Outlet purple Pearl Bling Strip.
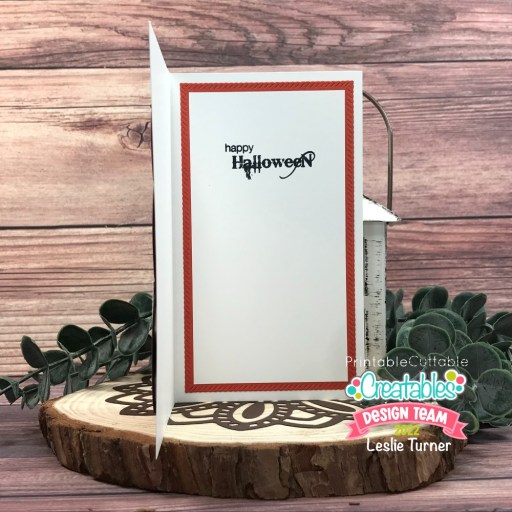
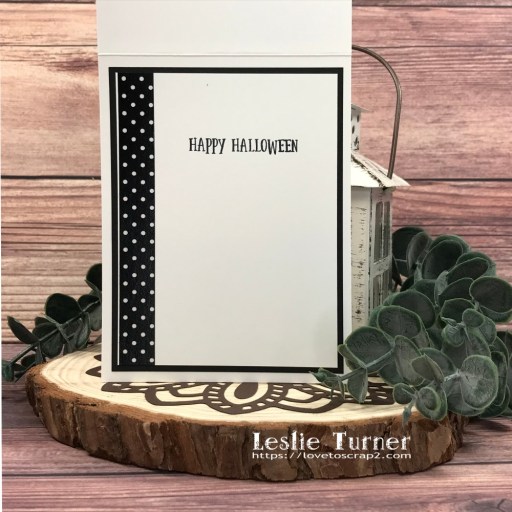
I cut the inside panel from 80# Solar White cardstock and embellished it with a strip of Doodlebug Design Beetle Black Swiss Dot Washi Tape. I stamped a Halloween sentiment from The Project Bin Cool Ghoul stamp set that I had out on my desk from another project, and layered the panel on black licorice cardstock.
Sharing in the following challenges:
1. Aud Sentiments Challenge Blog: #298 – Halloween/Fall + A Sentiment
2. Cardz 4 Galz: #184 – Halloween or Anything in Halloween Colors
3. Country View Challenges: October 2022 – Halloween or Harvest
4. Crafting Happiness Challenges: #135 – Halloween all month long
5. Crazy For Cats: #1 – Anything Goes
6. Make My Monday Challenge Blog: #186 – Spooky or Halloween Colors
7. Try It On Tuesday: Halloween Time
Affiliate links are used in this post at no cost to you – I really appreciate your support!
Products used:
Cardstock/Paper: Neenah Classic Crest 110# and 80# Solar White cardstock, CutCardStock Pop Tone Black Licorice cardstock
Stamps: Riley & Co. Burt on Broom cling stamp and I’m too sexy for my broom cling stamp; The Project Bin Cool Ghoul stamp set
Ink: Memento Tuxedo Black ink; Arteza alcohol markers- BR82/84, WG06, P23, Y02
Dies/Punches: Memory Box Cityscape Nighttime die
Accessories: Tonic Studios 12″ Guillotine Paper Trimmer, Bearly Art precision craft glue, MISTI stamp tool, Big Shot, Doodlebug Design Beetle Black Swiss Dot Washi Tape, Eyelet Outlet 4mm purple Pearl Bling Strip
I hope you’ve enjoyed today’s project and you’ll consider joining us! Pop over to the 2022 Cat Lovers Hop to get all the details! Thanks so much for stopping by today – we’ll see you next time! ;)
Scrappy hugs,