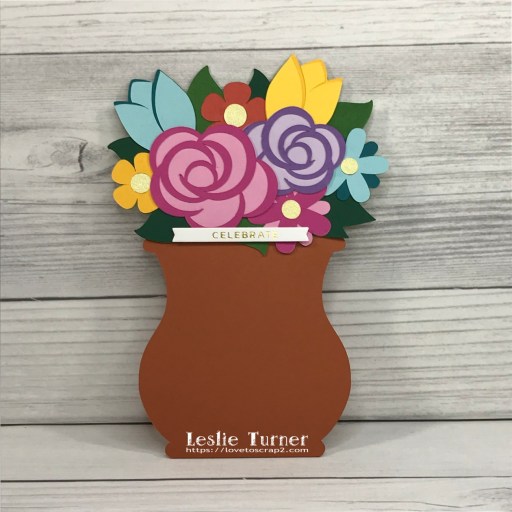
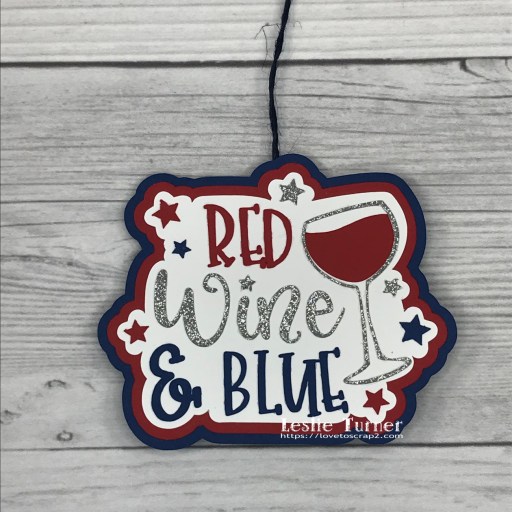
Hey everybody! You up yet?! We are early risers and are up bright and early every morning, and this is actually my second post this morning! ;) This time I’m sharing a super adorable wine bottle card/tag created with the Red Wine Blue cut file from Printable Cuttable Creatables! How stinkin’ cute is this?! It was so easy to make and I think it would be a hit on a bottle of wine taken to a 4th of July gathering!

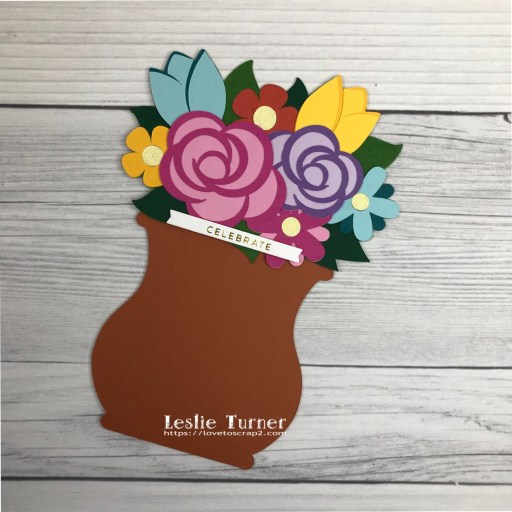
Using my Scan N Cut, I cut all the pieces (plus extra background pieces) from Neenah Classic Crest 80# Solar White and CutCardStock Basis Navy, Basis Red and Silver Glitter cardstock. I created a card with the two navy pieces by scoring horizontally across the top of the back piece and adhering it to the front piece. Then I assembled the front and added navy blue twine for the hanger.
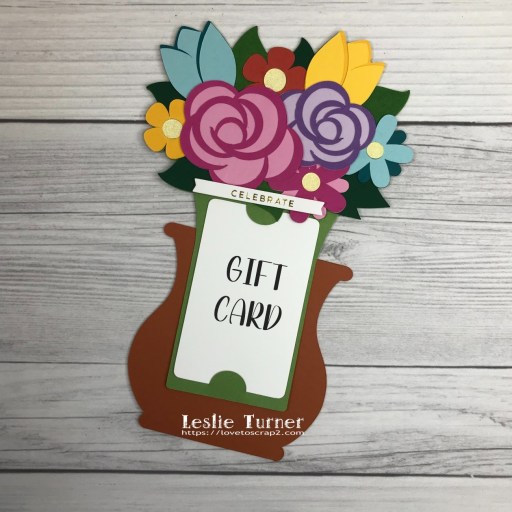
I trimmed off the tops of the extra red and white pieces, adhered them together and then to the inside of the card, and stamped the sentiment from the Stampin’ Up Happy & Heartfelt stamp set in Catherine Pooler Suede Shoes ink.

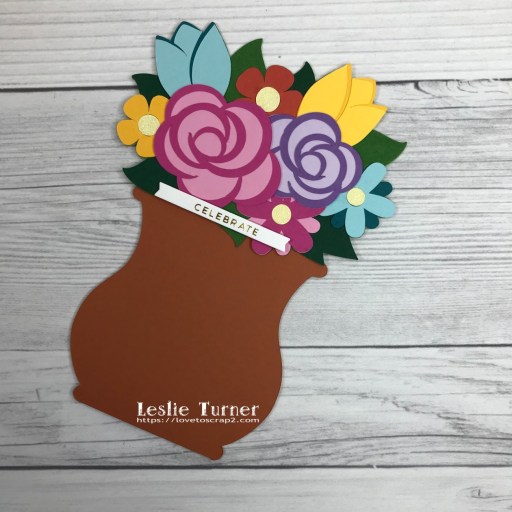
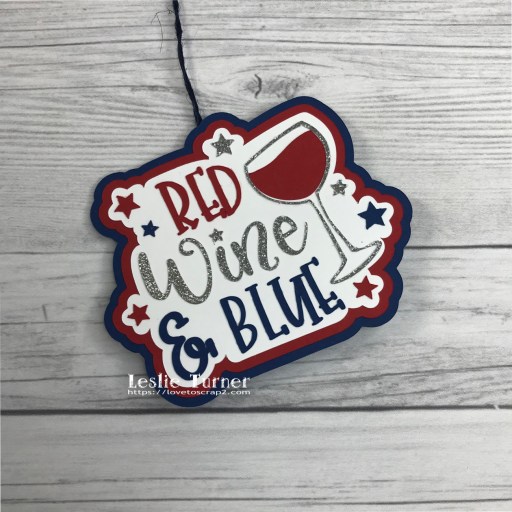
And one more peek… OMGosh, I’m so smitten! I love this cut file and I’m sure I’ll be using it again and again! Such a fun project!
Sharing in these additional challenges:
1. 613 Avenue Create: #202206 – Anything Goes / optional Let It All Hang Out (playing twist :)
2. A Perfect Time To Craft Open Challenge Blog: #6-2022 – Anything Goes
3. Classic Design Challenge: June #6 – Anything Goes
4. Crafting Happiness Challenges: #124 – Anything Goes Always
5. Crafty Gals Corner: #232 – Anything Goes
6. Fab ‘n’ Funky Challenges: #553 – Celebrations (July 4th)
7. Use Your Stuff: #449 – Anything Goes
Affiliate links are used in this post at no cost to you – I really appreciate your support!
Products used:
Cardstock/Paper: CutCardStock Basis Navy, Basis Red and Silver Glitter cardstock; Neenah Classic Crest 80# Solar White cardstock
Stamps: Stampin’ Up Happy & Heartfelt stamp set
Ink: Catherine Pooler Suede Shoes ink
Dies/Punches/Cut Files: Printable Cuttable Creatables Red Wine Blue cut file
Accessories: Brother Scan N Cut, Bearly Art precision craft glue, MISTI stamp tool, Studio Blackbirds navy blue twine
I hope you’ve enjoyed seeing this wine bottle card/tag! Thanks so much for stopping by today – we’ll see you next time! ;)
Scrappy hugs,